
Home›Forums›Members’ Builds and Rides›VB – VC – VH – VK – VL›VB LSA Commodore build
This topic contains 380 replies, has 16 voices, and was last updated by ![]() Judge1 Frazer 2 years, 6 months ago.
Judge1 Frazer 2 years, 6 months ago.
-
AuthorPosts
-
April 14, 2020 at 9:51 pm #31910
What’s your thoughts process here?
-
This reply was modified 4 years ago by
 cava454.
April 15, 2020 at 7:35 am #31915
Judge1 FrazerParticipant- new zealand
- 1983 VB LSA MG9 6060 6 speed
View build HERE
Posts: 775
What’s your thoughts process here?
just want to see where my motor sits in comparison to of the shelf mounts ( as I made my own) as I wanted the motor to sit back further this will give me an idea ( don’t worry spacers have been thrown in the sell basket)
-
This reply was modified 4 years ago by
 Judge1 Frazer.
April 15, 2020 at 10:33 am #31918
Heron SSVParticipant- Central Coast NSW
- 2009 Pajero Exceed 84 VK SL LS3
View build HERE
Posts: 585I have CAE mounts on a VS V8 k frame. Sump is off a VX. The bottom of the sump is level with the bottom of the k frame. I can easily run my index finger around the sump on three sides in the gap between the sump and the k frame. Space is great, didnt need to modify the sump or k frame. Hope that helps.
April 16, 2020 at 11:25 am #31926
Judge1 FrazerParticipant- new zealand
- 1983 VB LSA MG9 6060 6 speed
View build HERE
Posts: 775I have CAE mounts on a VS V8 k frame. Sump is off a VX. The bottom of the sump is level with the bottom of the k frame. I can easily run my index finger around the sump on three sides in the gap between the sump and the k frame. Space is great, didnt need to modify the sump or k frame. Hope that helps.
Thank Heron but need measurements as I have modified my sump and it sits back just want to know how much
April 16, 2020 at 3:48 pm #31930hey frazer, I could be wrong but just a idea/thought that might help for you to get measurement in a different way.
I measured my 2 original kframes, a vc 6cyl and a vr/vs v8 and the measurement from the centre of power steering rack hole to the centre on top of original welded engine mounts is 190mm, both kframes are the same measurements.
You made your own mounts and shifted location on kframe so if you measure yours now in the same manner I did and subtract from the 190mm, the difference would be the amount your engine is further back from standard engine location. Then you can measure back from your HB it will give you an idea on the sump length difference.
Just an idea if it helps
April 16, 2020 at 4:13 pm #31934
Judge1 FrazerParticipant- new zealand
- 1983 VB LSA MG9 6060 6 speed
View build HERE
Posts: 775hey frazer, I could be wrong but just a idea/thought that might help for you to get measurement in a different way. I measured my 2 original kframes, a vc 6cyl and a vr/vs v8 and the measurement from the centre of power steering rack hole to the centre on top of original welded engine mounts is 190mm, both kframes are the same measurements. You made your own mounts and shifted location on kframe so if you measure yours now in the same manner I did and subtract from the 190mm, the difference would be the amount your engine is further back from standard engine location. Then you can measure back from your HB it will give you an idea on the sump length difference. Just an idea if it helps
Thanks vin
but since I have made everything from block mount to kframe I would need a reference from the motor some where , there is other way for the measurement from what you just said gave me the idea ,from the back of kframe or power steering hole to the back of sump or block that maybe an easer way
April 16, 2020 at 8:36 pm #31937yep ok since the kframe engine mounts of the VC/VH and VR/VS V8 are in the same position and distance back to steering rack holes… get Heron who has the vs kframe and LS3 with standard VY LS sump…. to measure for you from the steering holes to the engine mounting plates holes on the ENGINE, and when you measure yours, it will show the difference in setback your engine is.
Just curious why you need this info if your engine is in, fits and you have cut the sump. The LS1 with VY sump fits the VS kframe without any cutting into the VC/VH and with heron’s VK/LS3.
Is cutting your sump to do with your self made engine mounts for setback and/or to using later LS motor ??
April 17, 2020 at 7:57 am #31939
Judge1 FrazerParticipant- new zealand
- 1983 VB LSA MG9 6060 6 speed
View build HERE
Posts: 775Hey Vin I wanted to sit the motor back further to help with the blower the more it goes back the less it stick out the front of bonnet it maybe 10-20mm but makes a huge difference ,, yes I could of gone the simple way but what fun is that
April 17, 2020 at 7:00 pm #31941
Judge1 FrazerParticipant- new zealand
- 1983 VB LSA MG9 6060 6 speed
View build HERE
Posts: 775hey all had some time in the garage today and just about got the a/c pump in just needs a few more adjustments
 20200417_164645 by Frazer Russell[/url], on Flickr
 20200417_164651 by Frazer Russell[/url], on Flickr
 20200417_171835 by Frazer Russell[/url], on Flickr
 20200417_171859 by Frazer Russell[/url], on Flickr
 20200417_172834 by Frazer Russell[/url], on FlickrApril 17, 2020 at 8:19 pm #31942
Is that the factory LSA kit? Or an aftermarket setup?
April 18, 2020 at 10:10 am #31945
Judge1 FrazerParticipant- new zealand
- 1983 VB LSA MG9 6060 6 speed
View build HERE
Posts: 775Is that the factory LSA kit? Or an aftermarket setup?
Hay Cava it is the factory set up but modified to hell a bit of welding and a lot of time on the mill
April 18, 2020 at 5:24 pm #31955
VRSenator065Participant- Adelaide SA
- VR Senator LSx454 1960 Kombi (project) 1921 Nash Hot Rod (future project)
View build HERE
Posts: 5 777Looks great. +1 to taking more time and the harder route for a better result!!
-
This reply was modified 4 years ago by
 VRSenator065.
April 18, 2020 at 5:55 pm #31958
Judge1 FrazerParticipant- new zealand
- 1983 VB LSA MG9 6060 6 speed
View build HERE
Posts: 775Cheers Gary
Yip really happy with the a/c mount will be able to use dipstick aswell just needs a bit of bending
going to post photos tomorrow but had to start again on the engine mounts as I set them up with the spacers taking Spacers out has throwing everything out, sump was siting on k-frame , engine mount bushes were binding up and sump was further away from k-frame was 5mm ended up 25mm
 angels I suppose , so cut the mounts of the block plates move engine in to the right position and go about welding them again , only thing is the engine is between 4.5-5 degrees( front to rear) and the gear box hits the tunnel so won’t go up any more, Ian has said that’s as far you wont to go , what hits is the service bolt and one way breather I think so I could dill a couple holes but not sure how much that would give me impossible to get in there to measure
photo’s tomorrow
April 19, 2020 at 5:24 pm #31965
Judge1 FrazerParticipant- new zealand
- 1983 VB LSA MG9 6060 6 speed
View build HERE
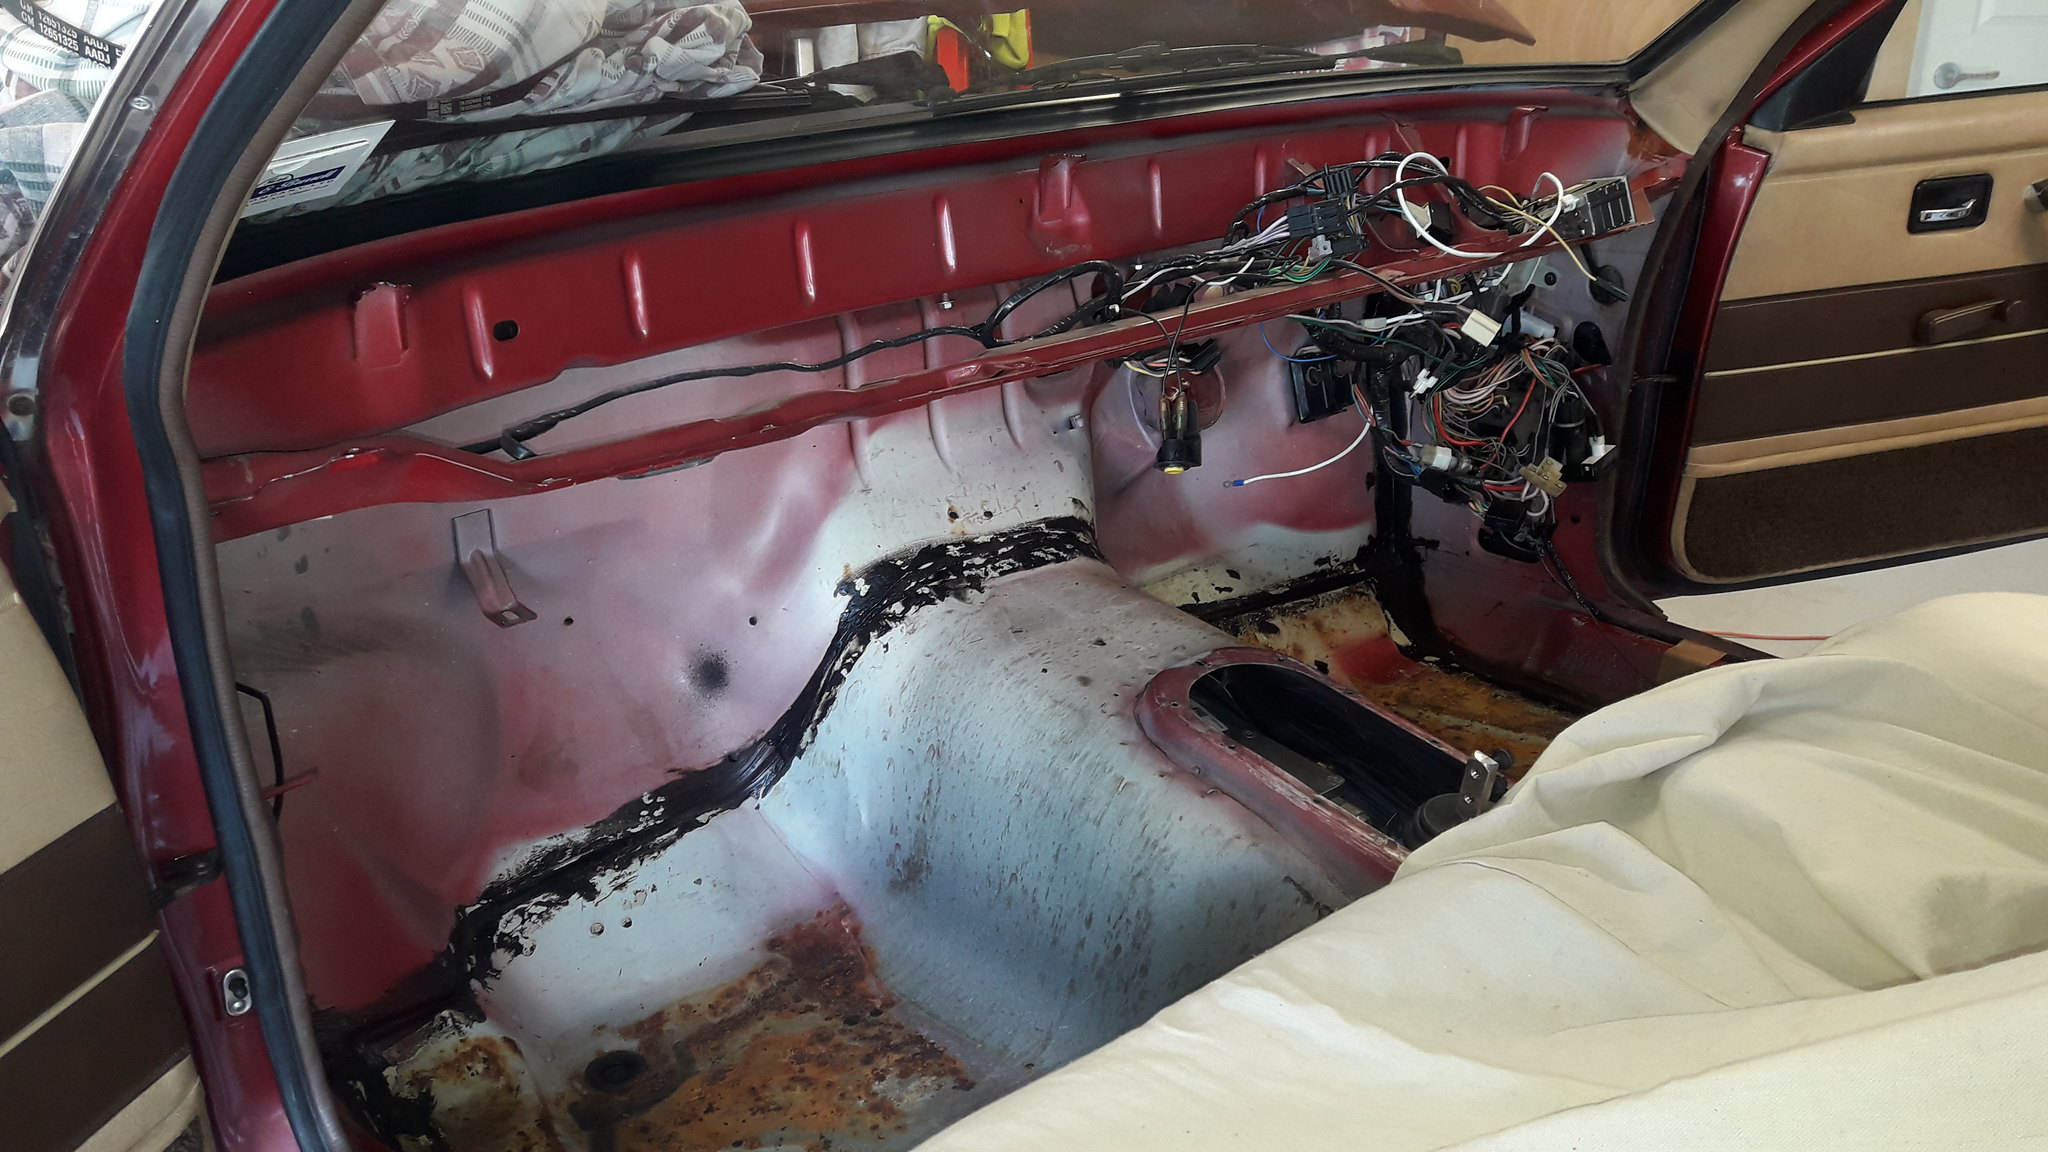
Posts: 775Well what a day started by removing the dash ,heater etc carpet out and sound deadening just fell off bit of surface rust to clean up ,so marked out the tunnel and cut a hole in it for the gearbox so have motor sitting at 3.5 degrees now , not sure on other builds but there must be a lot of ls’s conversions that have a lot of angle back 5 degrees or more as mine would not sit in there without modifying the tunnel ( I did remember with mine I have the larger and longer bellhousing for the twin plate clutch) anyway cuts mounts of the engine plates yesterday sit back in ready to tack again
 20200419_154218 by Frazer Russell[/url], on Flickr
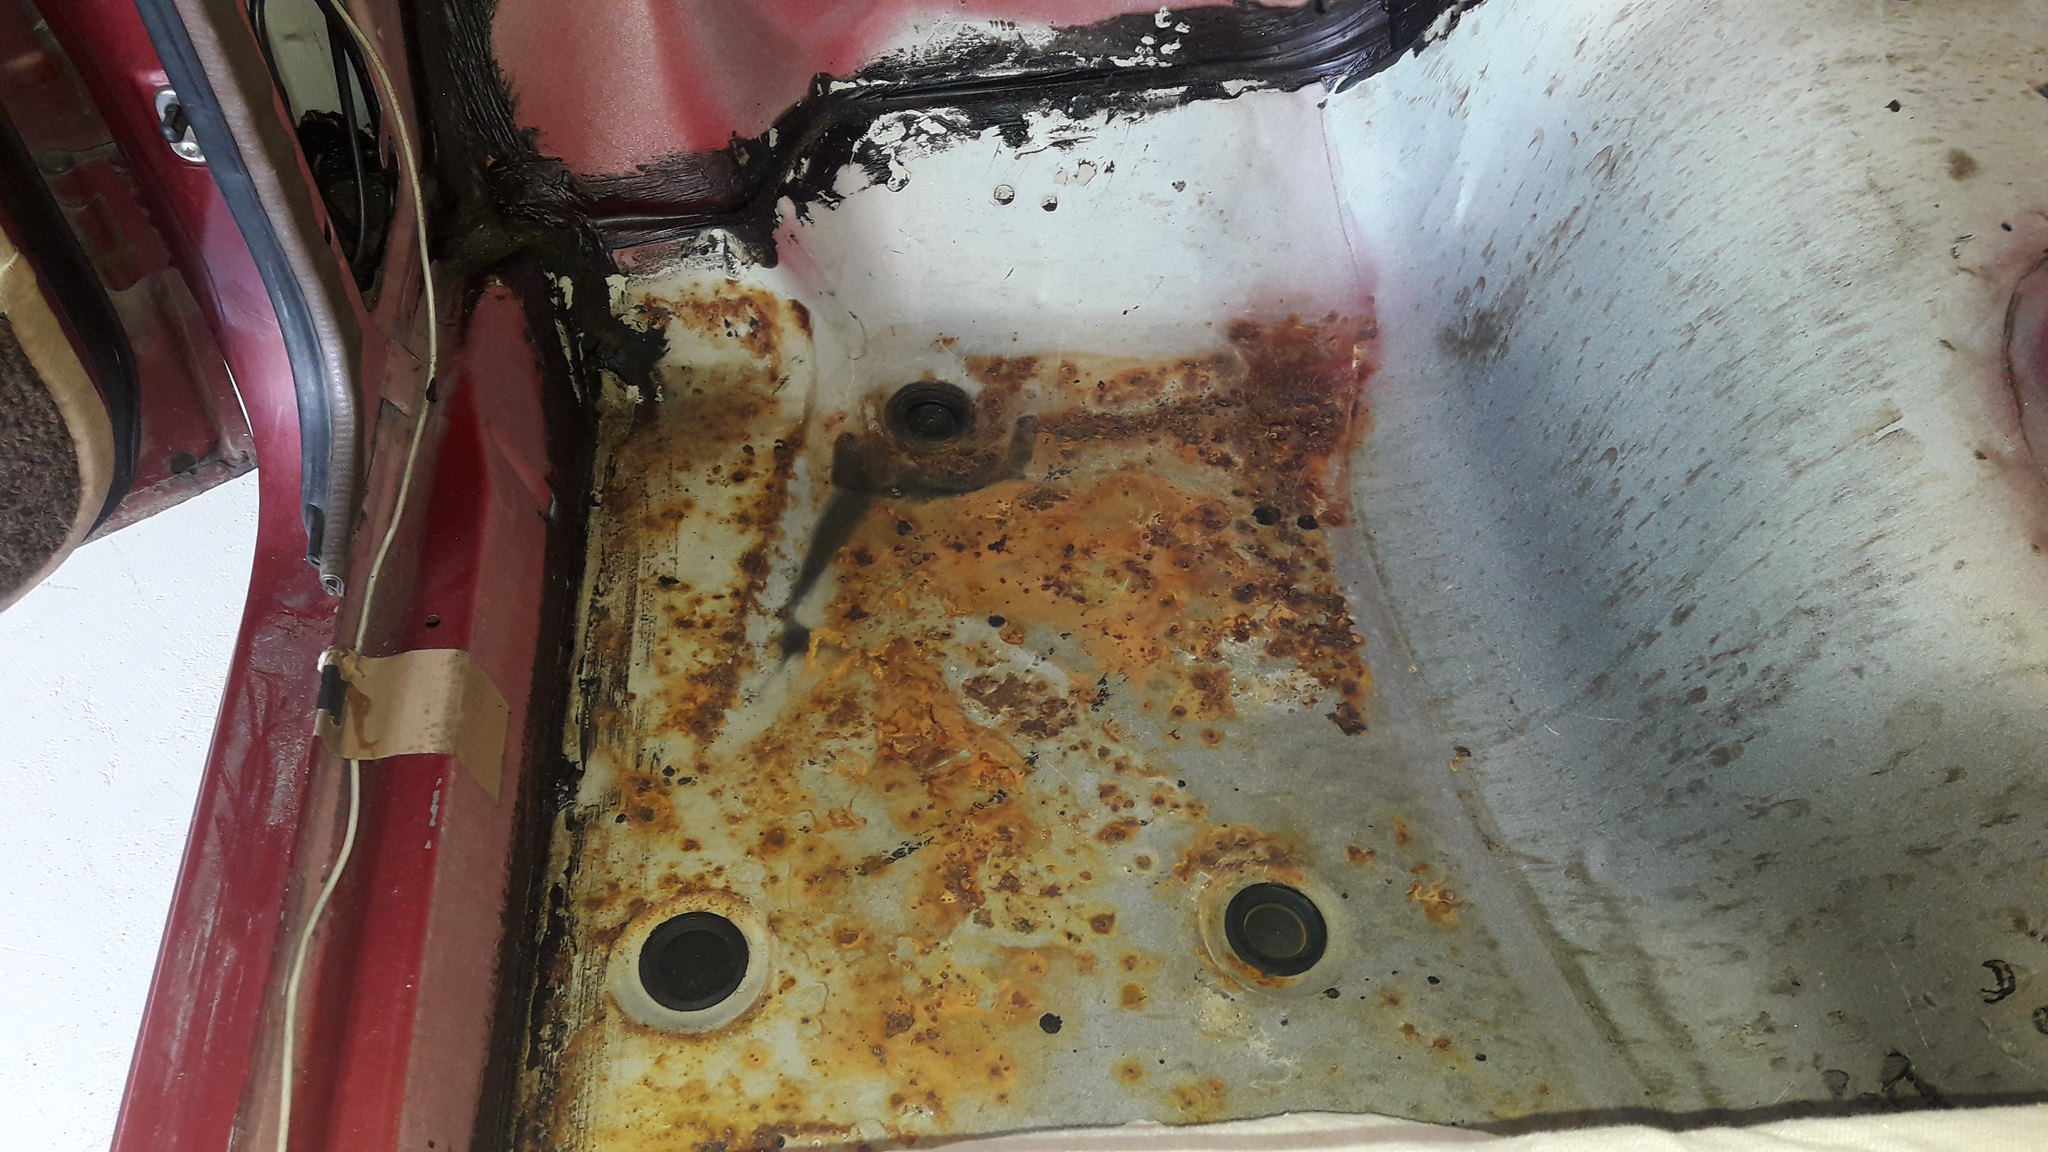 20200419_154225 by Frazer Russell[/url], on Flickr
 20200419_154231 by Frazer Russell[/url], on Flickr
 20200419_171748 by Frazer Russell[/url], on Flickr
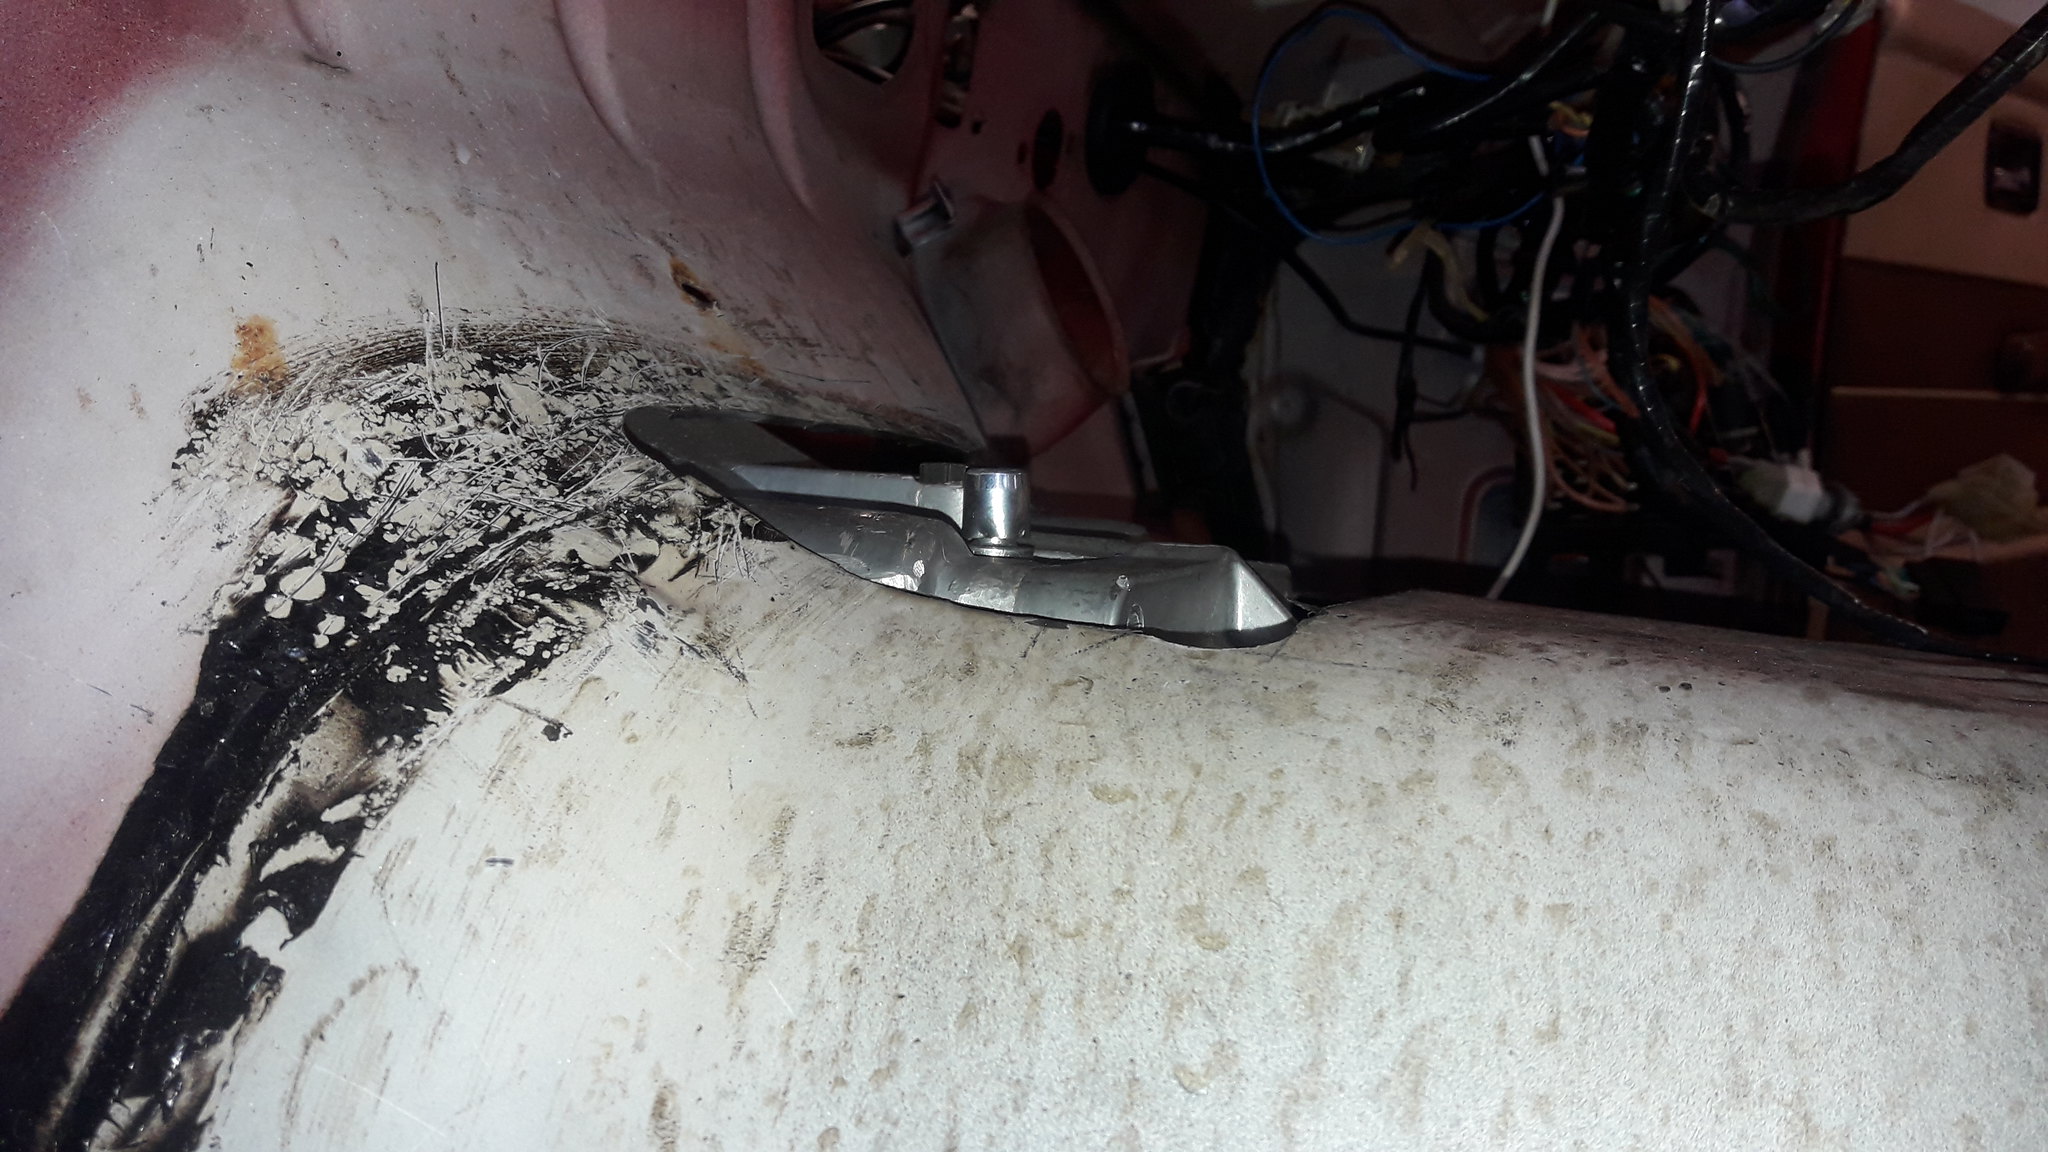 20200419_171759 by Frazer Russell[/url], on Flickr
 20200419_173449 by Frazer Russell[/url], on Flickr
 20200419_173502 by Frazer Russell[/url], on FlickrApril 22, 2020 at 9:05 am #31992
Judge1 FrazerParticipant- new zealand
- 1983 VB LSA MG9 6060 6 speed
View build HERE
Posts: 775Hey all well got the aircon compressor all bolted up just had to take the lip of the chassis rail need to find a belt and weld two alloy pieces to the back of the bracket so i can bolt the back of compressor
 20200421_172845 by Frazer Russell[/url], on Flickr
 20200421_172859 by Frazer Russell[/url], on Flickr
 20200421_172921 by Frazer Russell[/url], on Flickr
also had to make room for the reverse lock out solenoid used a bit of pipe, bolt and nut as could not get in with a hammer without dropping everything so put these things together ,, well you see on photo’s
photo of motor with angle gauge about 3-3.5
 20200421_160907 by Frazer Russell[/url], on Flickr
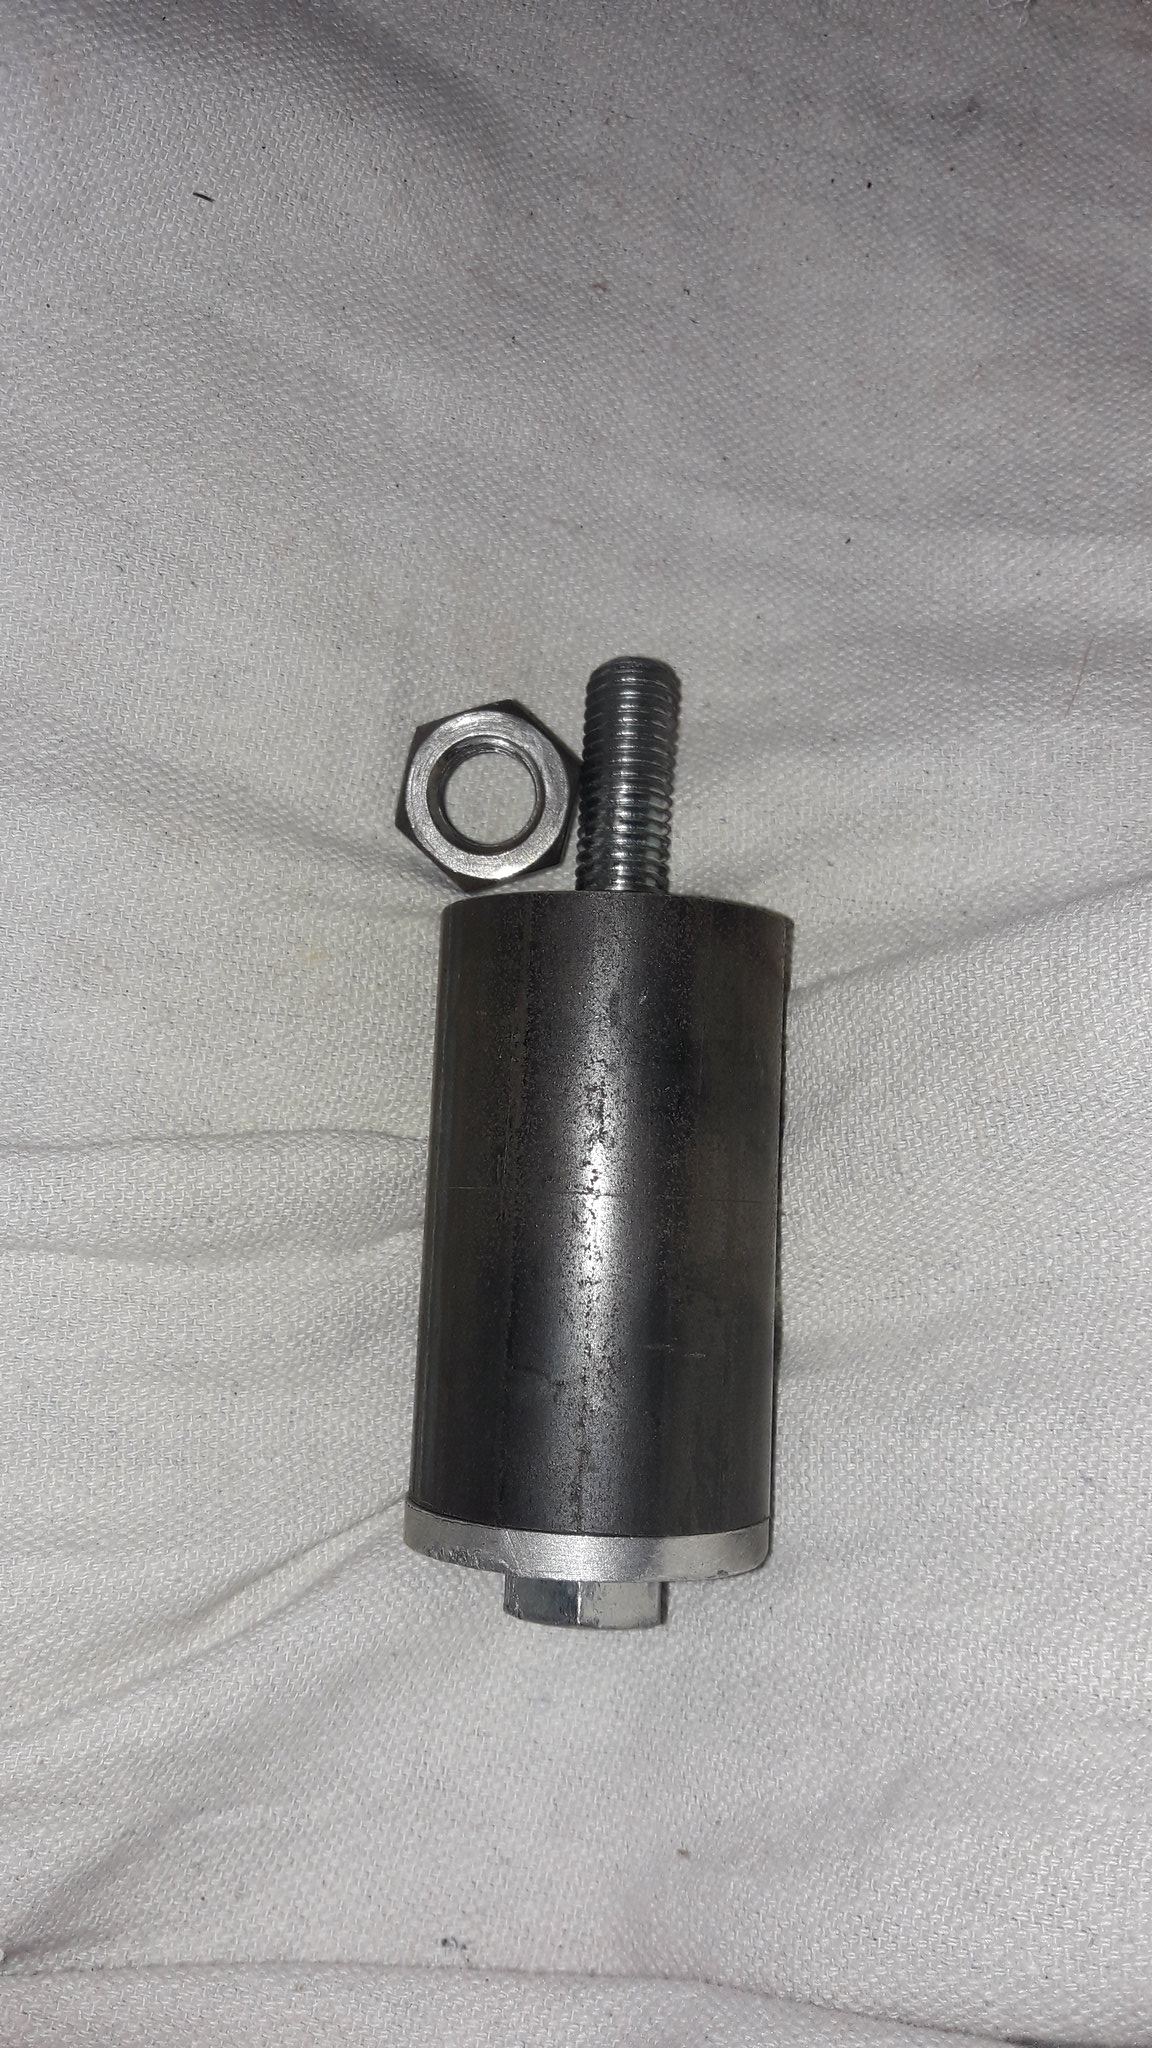 20200421_160927 by Frazer Russell[/url], on Flickr
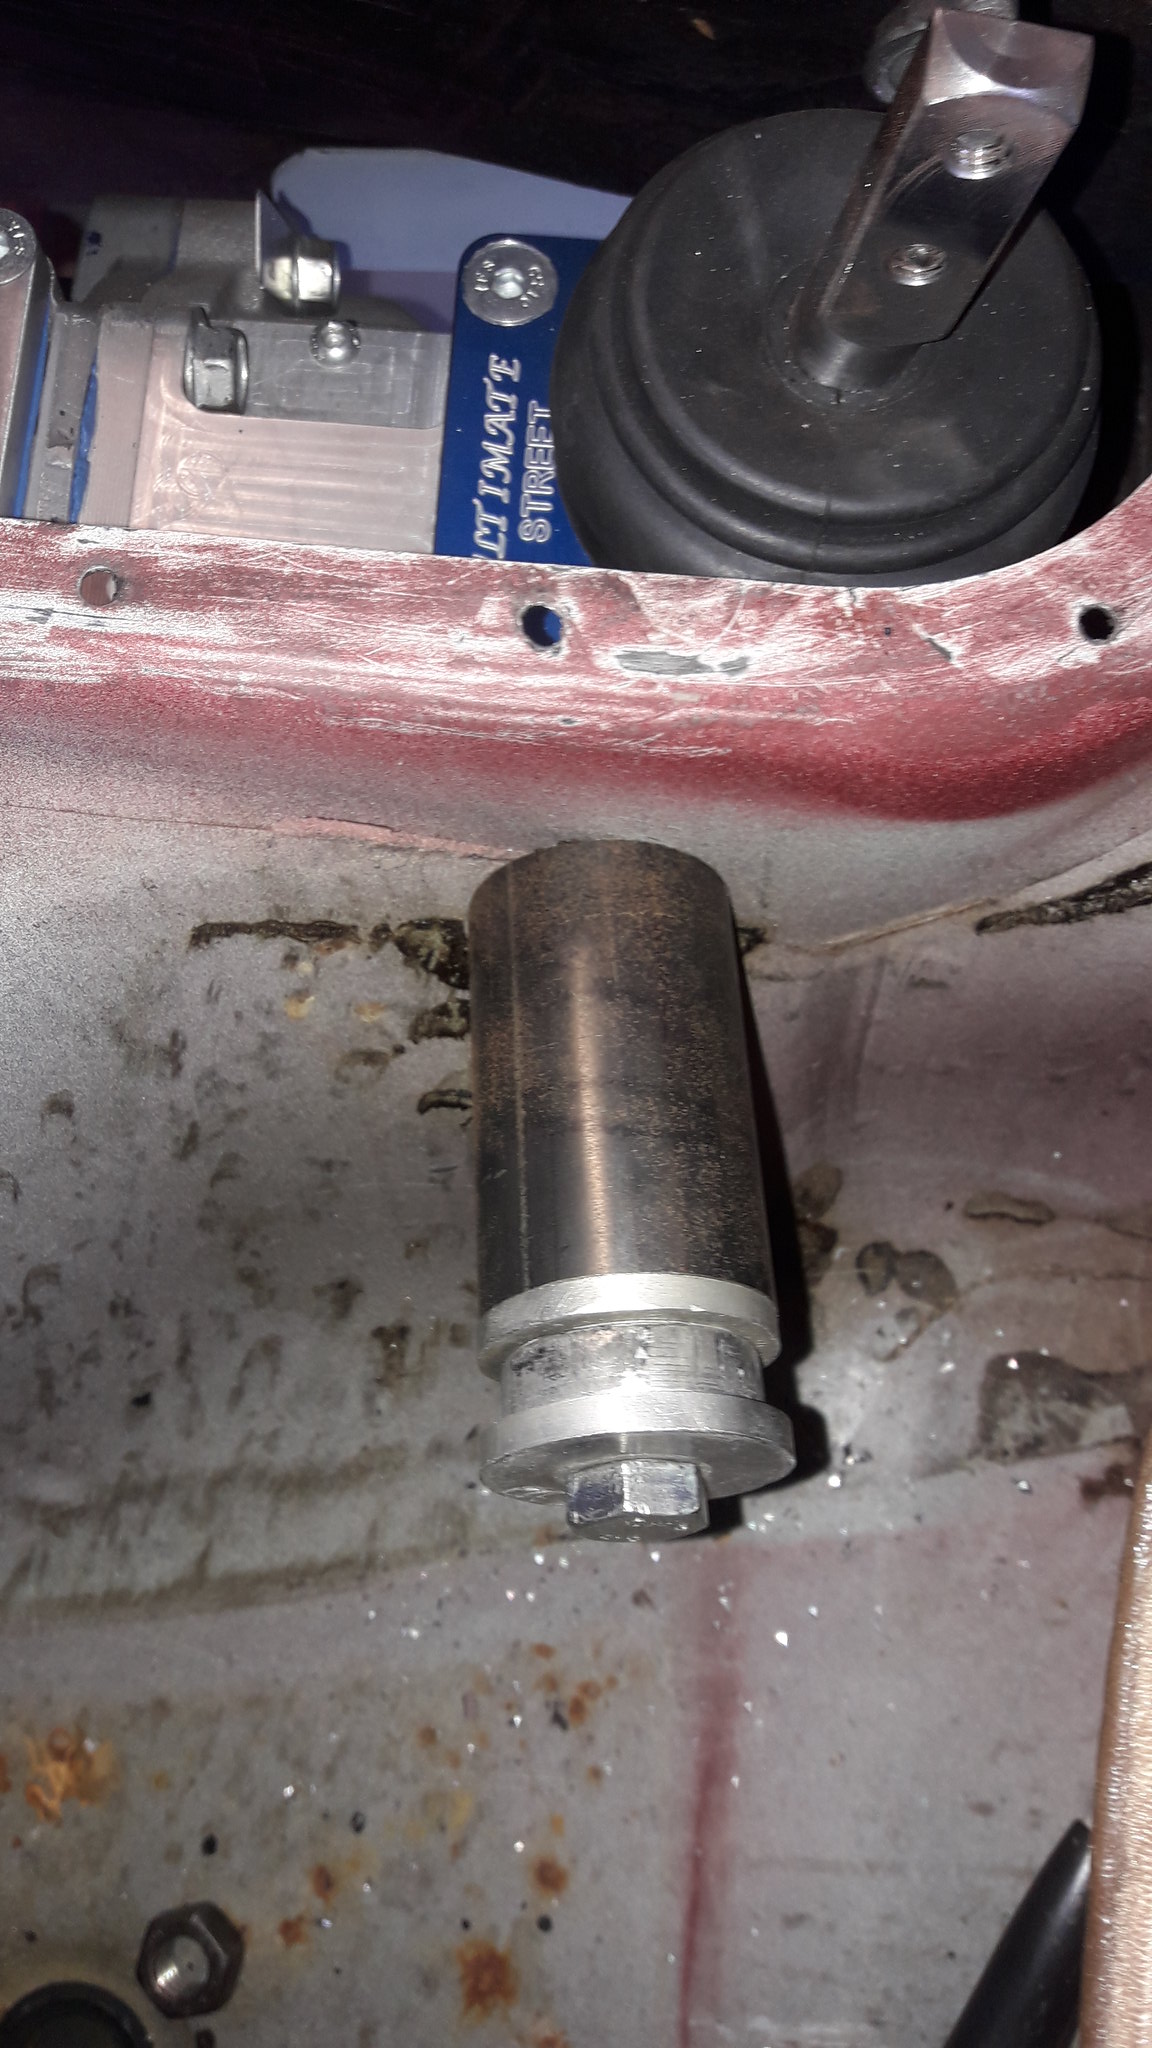 20200421_161148 by Frazer Russell[/url], on Flickr
 20200421_161613 by Frazer Russell[/url], on Flickr
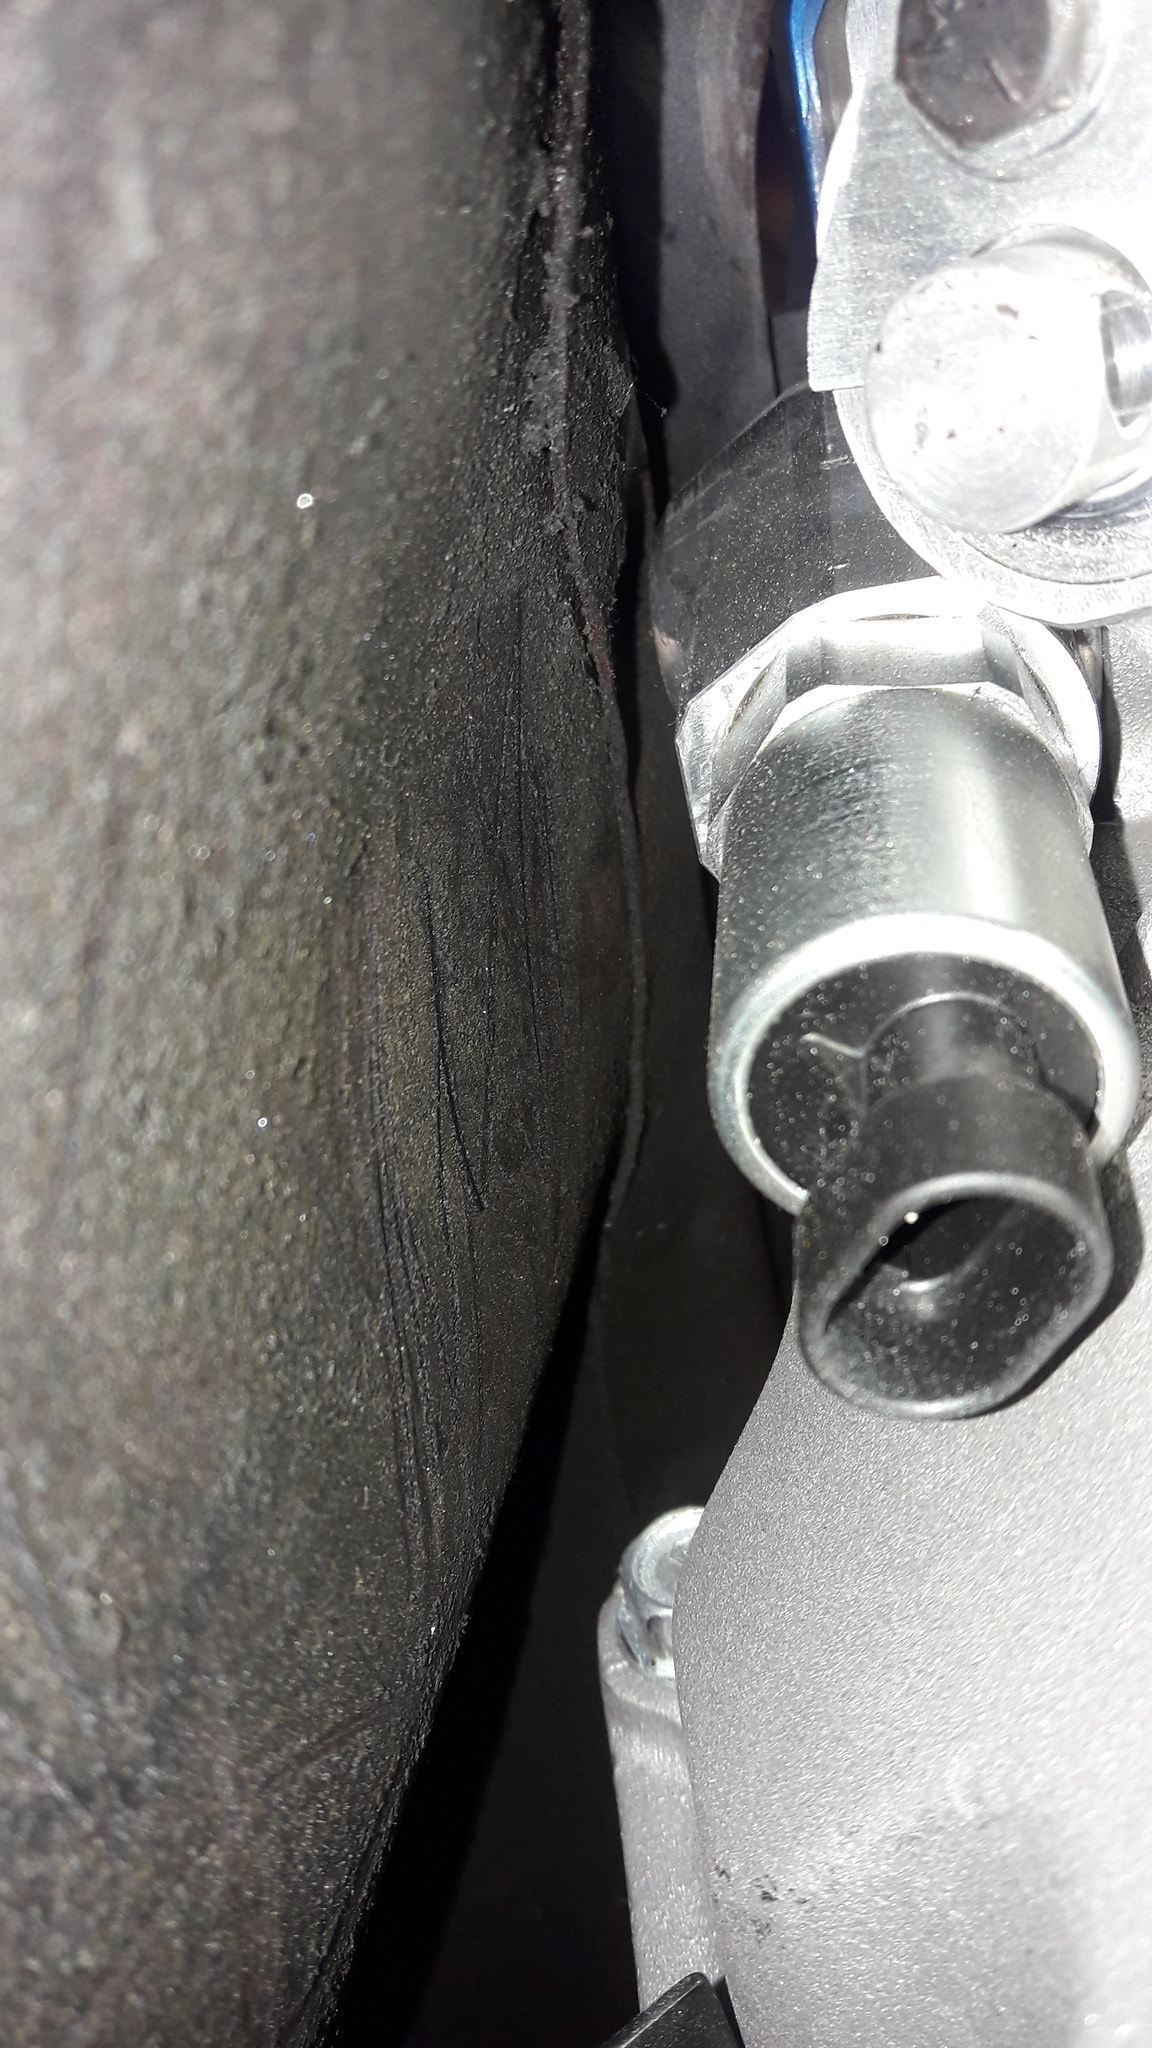 20200421_162131 by Frazer Russell[/url], on Flickr
 20200421_173019 by Frazer Russell[/url], on Flickr
-
This reply was modified 4 years ago by Judge1 Frazer.
April 22, 2020 at 10:52 am #31995All part of the game Frazer, well done!
April 22, 2020 at 3:07 pm #31998
VRSenator065Participant- Adelaide SA
- VR Senator LSx454 1960 Kombi (project) 1921 Nash Hot Rod (future project)
View build HERE
Posts: 5 777Yep, these sorts of conversions when you first dummy fit the engine look easy, nek minnit…. Nice work.
April 25, 2020 at 4:43 pm #32007
Judge1 FrazerParticipant- new zealand
- 1983 VB LSA MG9 6060 6 speed
View build HERE
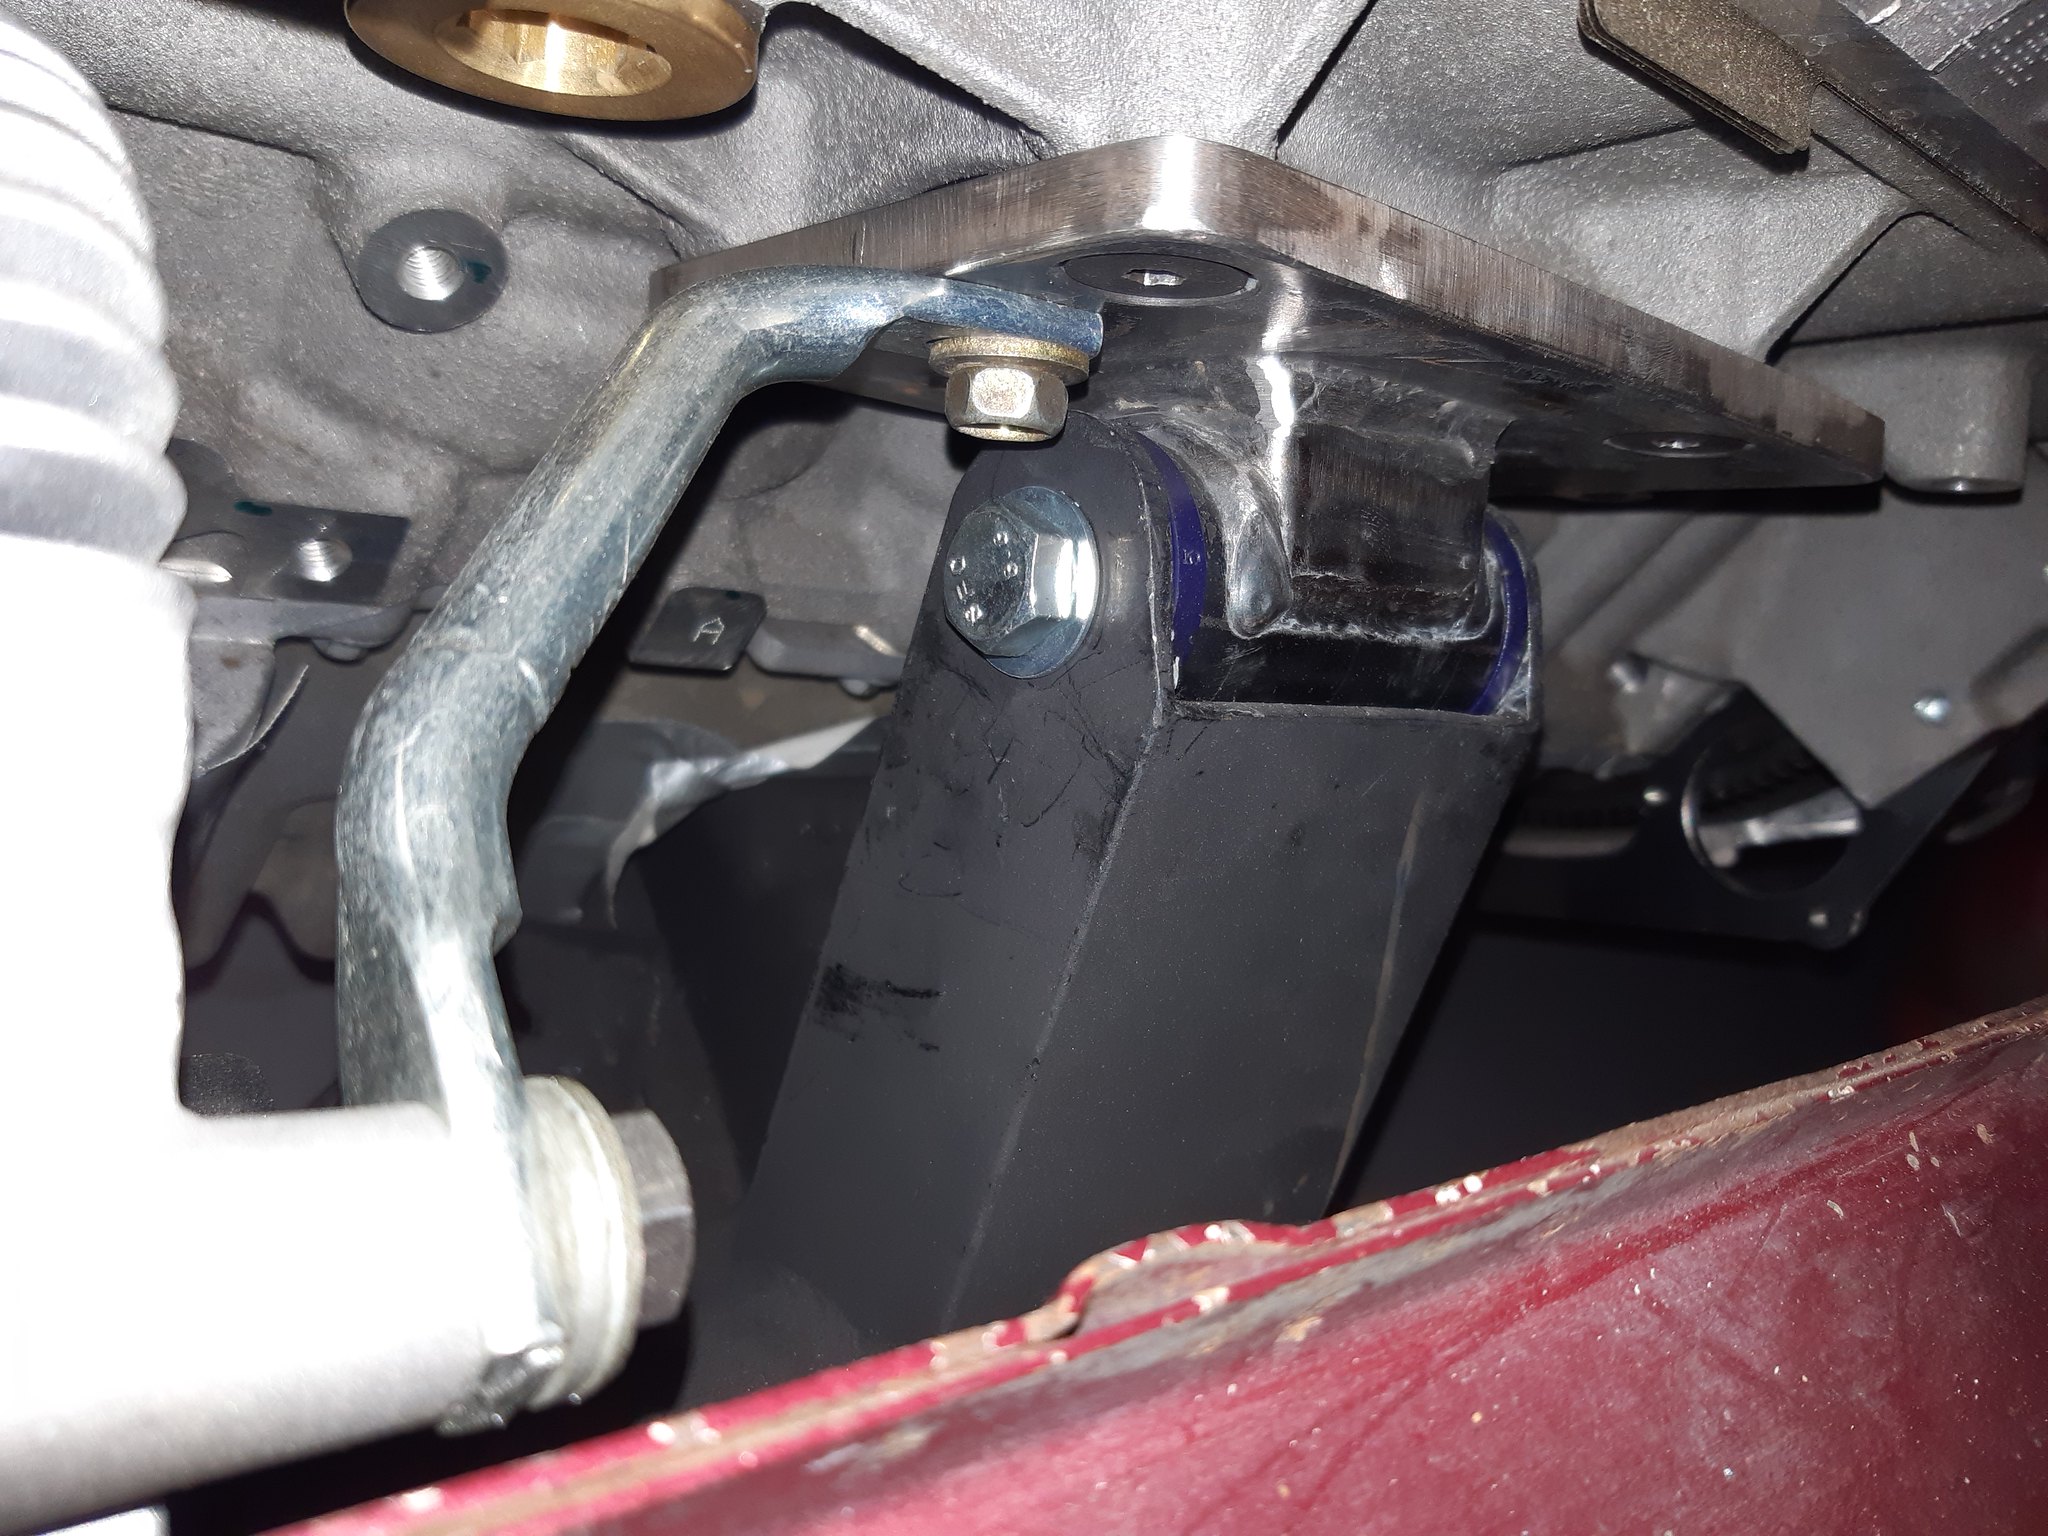
Posts: 775Engine and gearbox mounts all done hopefully that’s it went right back to plumb bob down from sills both sides drew two lines parallel and squared a front line on the floor got the centre and made sure everything was parallel lucky i did it as was sitting 11mm out of parallel , engine and box are 7mm of centre
 20200425_172539 by Frazer Russell[/url], on Flickr
 20200425_172551 by Frazer Russell[/url], on Flickr
 20200425_172622 by Frazer Russell[/url], on Flickr
 20200425_172647 by Frazer Russell[/url], on Flickr
 20200425_172715 by Frazer Russell[/url], on FlickrApril 25, 2020 at 6:22 pm #32009
I like the gearbox crossmember!
April 25, 2020 at 6:59 pm #32011
Judge1 FrazerParticipant- new zealand
- 1983 VB LSA MG9 6060 6 speed
View build HERE
Posts: 775I like the gearbox crossmember!
I think it looks good and tucked up out the way on my gold vk the dam thing hung down pita
-
This reply was modified 4 years ago by
-
AuthorPosts
You must be logged in to reply to this topic.
