
Home›Forums›Members’ Builds and Rides›VN – VP – VR – VS›VN S – 5l – T5
This topic contains 50 replies, has 12 voices, and was last updated by ![]() Piston 304 7 years, 5 months ago.
Piston 304 7 years, 5 months ago.
-
AuthorPosts
-
August 31, 2016 at 7:27 am #19334
They did. Not a whole heap of adjustment left though. And not practical in a daily. But thats not what it is.
Mounting a swaybar and new rear suspension is next.
I have a fair few photos of the day now. Just need to wait for internet at my new house. Then ill put some up.
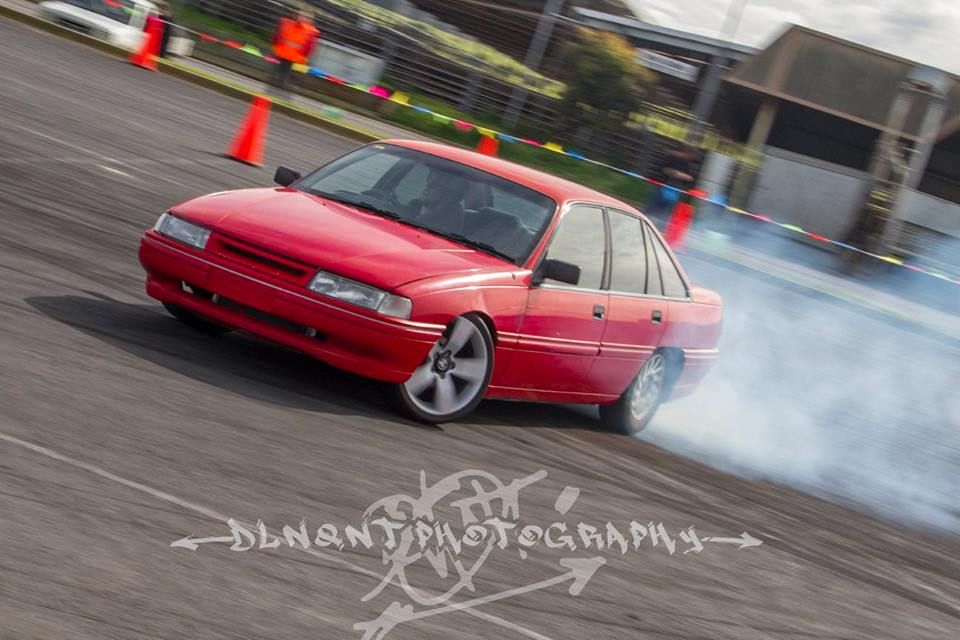
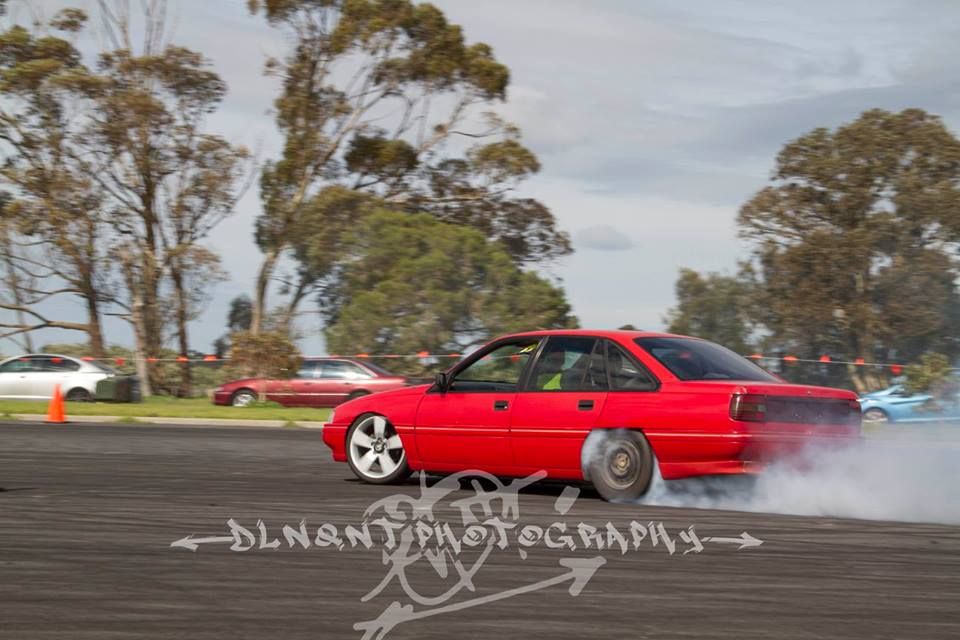
September 8, 2016 at 9:17 pm #19513Right. Have internet again. And a shed!
Heres a few pics. of the last day.
Apparently, I was supposed to cut the lock stops off of my control arms. which i didnt do. so will do that soon and see what extra lock i get.


 September 9, 2016 at 8:47 am #19518
VRSenator065Participant- Adelaide SA
- VR Senator LSx454 1960 Kombi (project) 1921 Nash Hot Rod (future project)
View build HERE
Posts: 5 777
Cool pics
 September 9, 2016 at 8:52 am #19521
That actually looks pretty awesome.
You must be getting a fair bit of rubbing on the front guards though?
Be very careful cutting off lock stops – if you turn the wheel too far you’ll either bottom out the rack or get steering bind. Essentially you physically won’t be able to turn the wheels back from heavy lock. Not the greatest result.A better option is to modify the steering arm on the knuckles. An easy way to do this is to cut and shut the steering arm mounting point, with the big caveat that you weld the cast arm back together properly (i.e. lots of pre heat, correct welding material, and a controlled cool down). Otherwise you’ll crack the arm pretty quickly.
September 9, 2016 at 6:33 pm #19533Thanks! Next event is early november. Got a few things to do before then. Like. Lower the rear more. Somehow. Sway bars, including twin rear. Hydro with dual calipers.
The steering arm on the knuckles has been shortened. And vs rack ends + tie rods fitted. So the stops are whats stopping steering travel. The guy that modified the knuckles recommended the stops be cut.Also ive taken to the gaurds with a bar to the point that they almost dont scrub. The inner wheel well is another issue. Haha. Needs more cutting and welding. Ill try to update as i do things. If anyones interested.
-
This reply was modified 7 years, 8 months ago by
 Piston 304.
September 10, 2016 at 11:05 am #19546
VRSenator065Participant- Adelaide SA
- VR Senator LSx454 1960 Kombi (project) 1921 Nash Hot Rod (future project)
View build HERE
Posts: 5 777For sure we are interested mate, good to follow along
September 10, 2016 at 1:22 pm #19552love this thread
 September 12, 2016 at 9:10 pm #19626
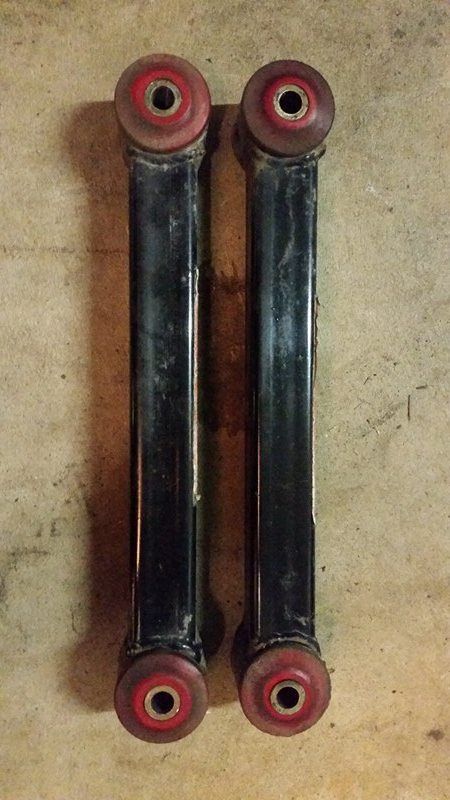
Alright. Took the Nolathane rear upper control arms out of another VN i have. Slightly used, But didn’t cost anything. and chucked some stockers into that. If the Nolathane crumbles ill switch to another brand.
Will do the same with the lower rear arms, which are also Nolathane, Then plan to cut another pair of lower control arms i have to box the tops of the Nolathane arms. Will take photos as i go.
Also going to have a go at making my own adjustable pan hard bar. Picked up a pan hard for free. among other things. The plan there is, cut a section out, get a large bolt that fits inside. cut the head off, weld to the pan hard, drill some holes and drop more weld in there. weld a nut to the other part of the pan hard, and also have a locking nut. Should work.
And now have 3 sway bars to choose from, the dual setup will go. Mount > RHS welded to mount > Mount. and will probably use all thread or a long bolt as a link pin. Again. photos will happen as i go.
Lacking cash at the moment so everything i do will involve minimal money for now. Hydro will be purchased eventually. also have an idea how to mount my second calipers
 October 16, 2016 at 10:05 am #20165
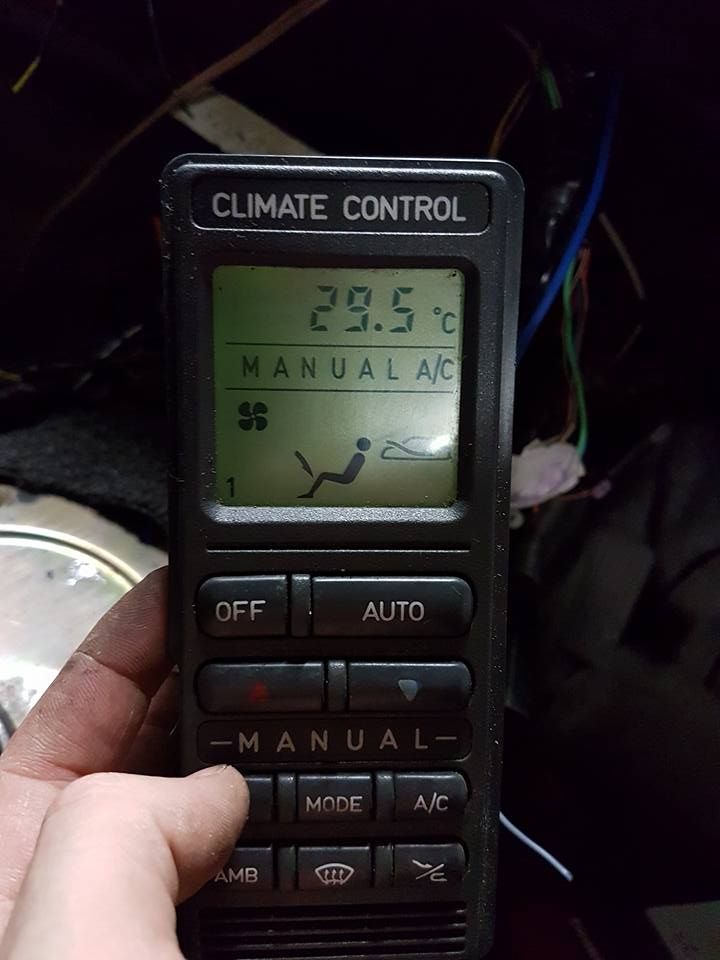
Something different. Wired my climate control up last night.
Now i just need an ambient temp sensor, a/c compressor, heater hoses, and gas. haha
But it works. Will post the instructions I followed in the how to section. with a few modifications.
 October 16, 2016 at 12:59 pm #20175
VRSenator065Participant- Adelaide SA
- VR Senator LSx454 1960 Kombi (project) 1921 Nash Hot Rod (future project)
View build HERE
Posts: 5 777Nice work, and thanks for posting up the write up. At some stage I am thinking I might try and get mine all back and working.
November 28, 2016 at 10:16 pm #20791Well, Last day was wet, bashed way too much limiter and Spun a bearing
ended up with a seized 5l, another engine is now in and running.
Twin rear swaybars are fitted up also.
Running 18″ thunder wheels now.
Hydro and spacers are next up
Attachments:
You must be logged in to view attached files. -
AuthorPosts


You must be logged in to reply to this topic.
