
Home›Forums›Members’ Builds and Rides›VN – VP – VR – VS›Marc's VN SS
This topic contains 20 replies, has 6 voices, and was last updated by Marc 3 years, 10 months ago.
-
AuthorPosts
-
May 7, 2016 at 11:30 am #16645
Hello Everyone.
Long time lurker, first time poster.
Here’s some pics of my VN SS I’ve been slowly restoring/modifying over the last few years.
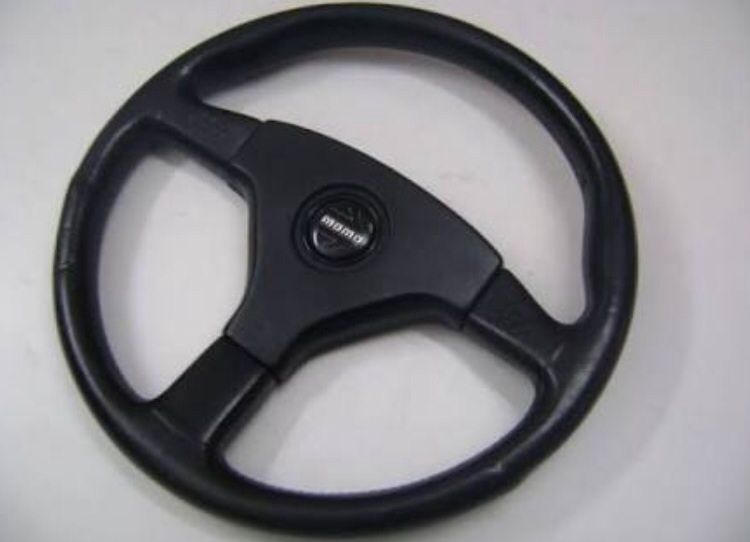
When I bought it, it didn’t run, the body was straight but the paintwork peeling, various electrics didn’t work, interior was out of a VT for some reason, had a crappy aftermarket steering wheel etc.
So I’m slowly making it how it came from the factory, but with some mods along the way:
Engine:
Standard 304
New distributor
New ignition module
All new sensor harness
New sensorsNew inlet manifold and throttle body
Pacemaker extractors
All hoses etc replaced
New gear reduction starter
All battery wiring, alternator and starter wiring replaced
Gilmer belt drive
A/C delete
Electric thermo fan and controller
VT engine covers
New engine mounts
New accelerator cable
Twin 2.5 inch exhaust dumped at the diffTransmission/Diff:
Standard trans
Trans pan changed to one with a drain plug
New trans mount
Rebuilt diff with True Trac centre and 3.7 gearset
Aluminum diff coverInterior:
VP SS seats front and rear
Power windows
Central locking
Chrome door handles
Re-trimmed hood-lining and parcel shelf
New door seals
New bailey channel rubbers
VR boot trim pieces
New seat beltsBody:
Genuine VN SS kit (except for front bar)
Powder coated VS door handles
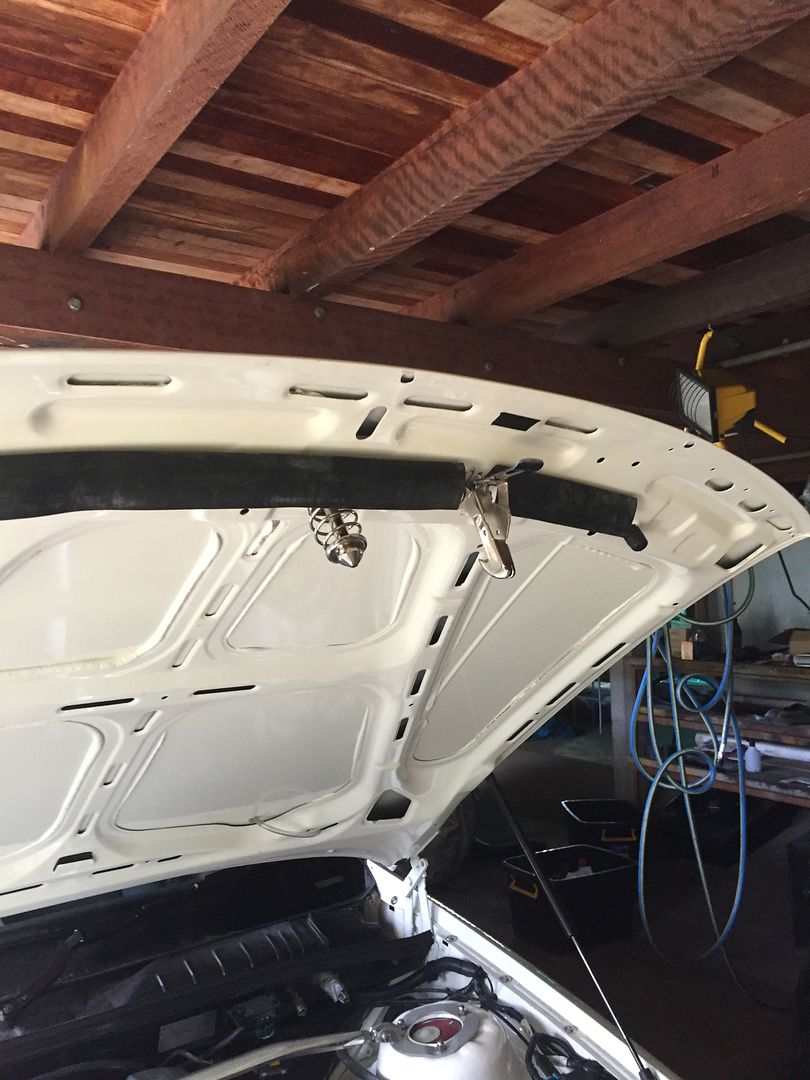
New bonnet
All new door and boot locks
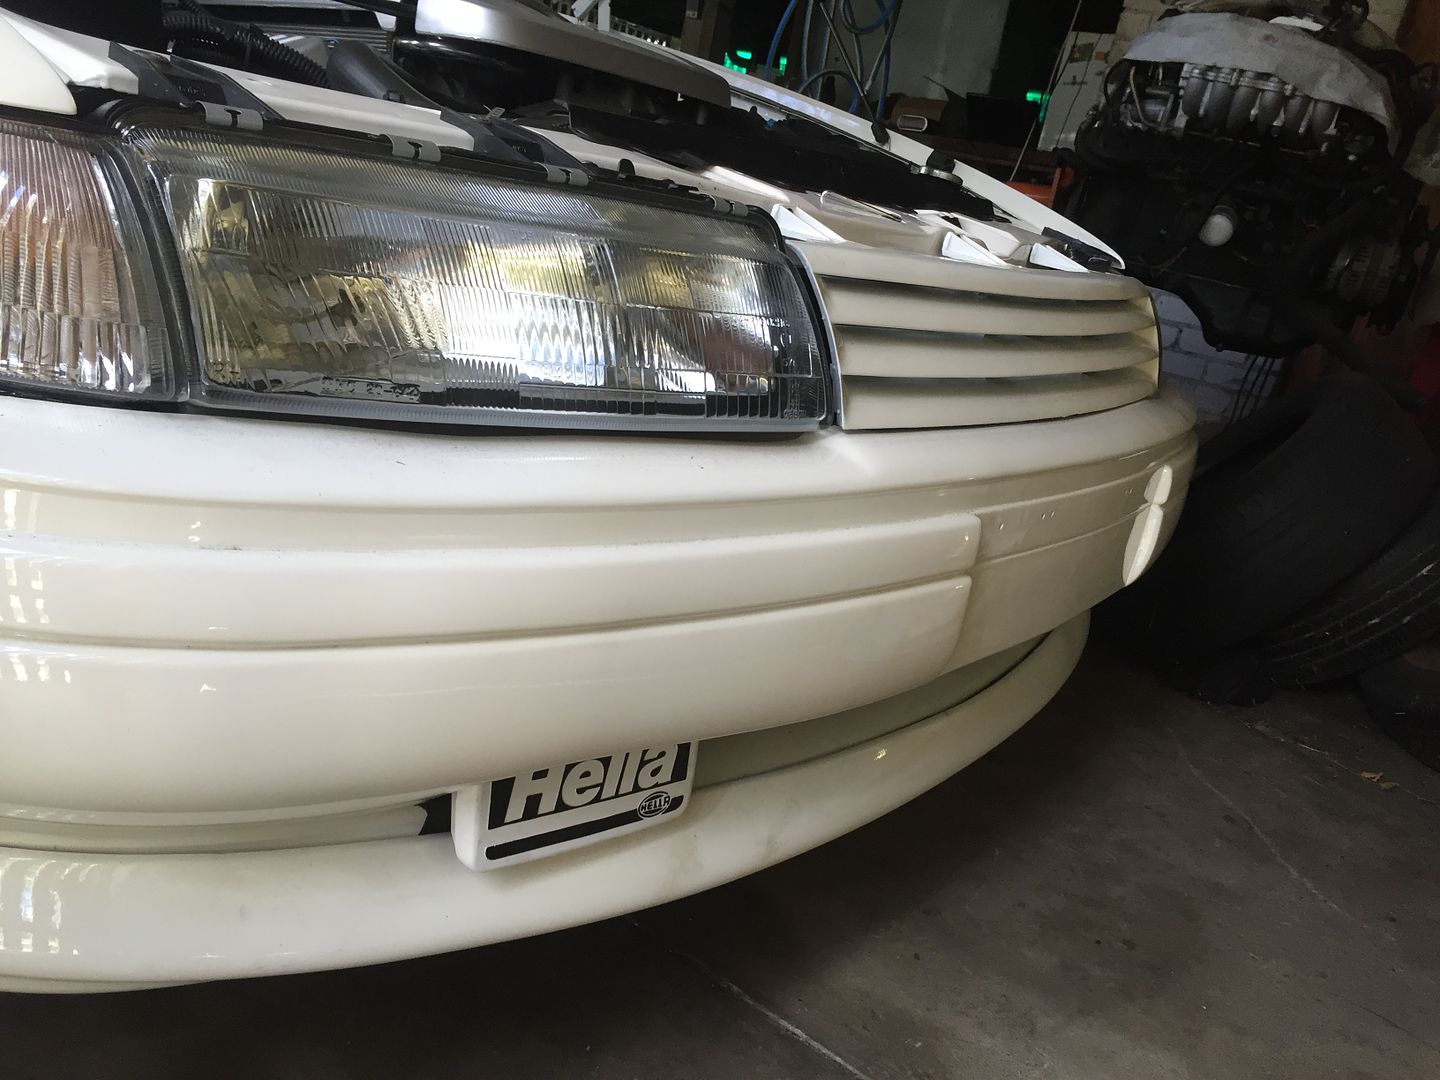
Replacement Hella front spotlights (had to modify them and the front bar somewhat to make them fit – still have the genuine ones)
New headlights and indicators
New taillights and tail light harness
Chrome door strikers
Chrome bonnet lock
Fuel tank cleaned and swirl pot hose replace
Fuel tank breather hoses replaced
Chrome quarter guard boltsSuspension:
All bushes replaced with Super Pro bushes
Koni shocks front and rear
New strut towers
New Kings springs
Adjustable panhard bar
Strut brace
Adjustable strut tops
New radius rodsWheels/Brakes:
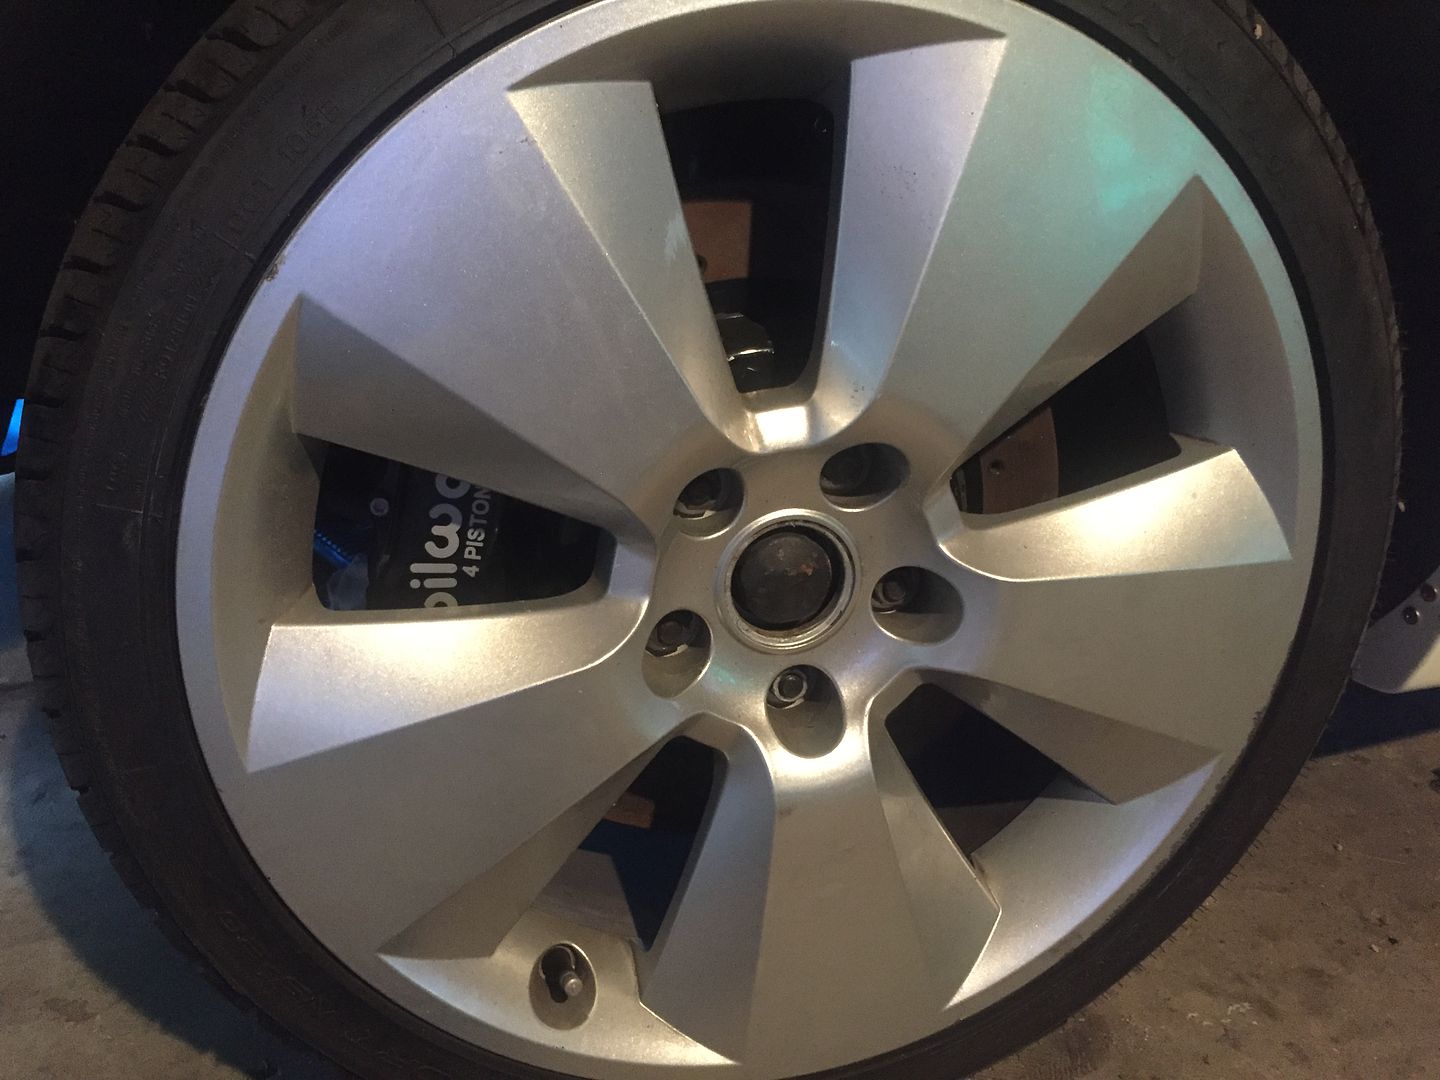
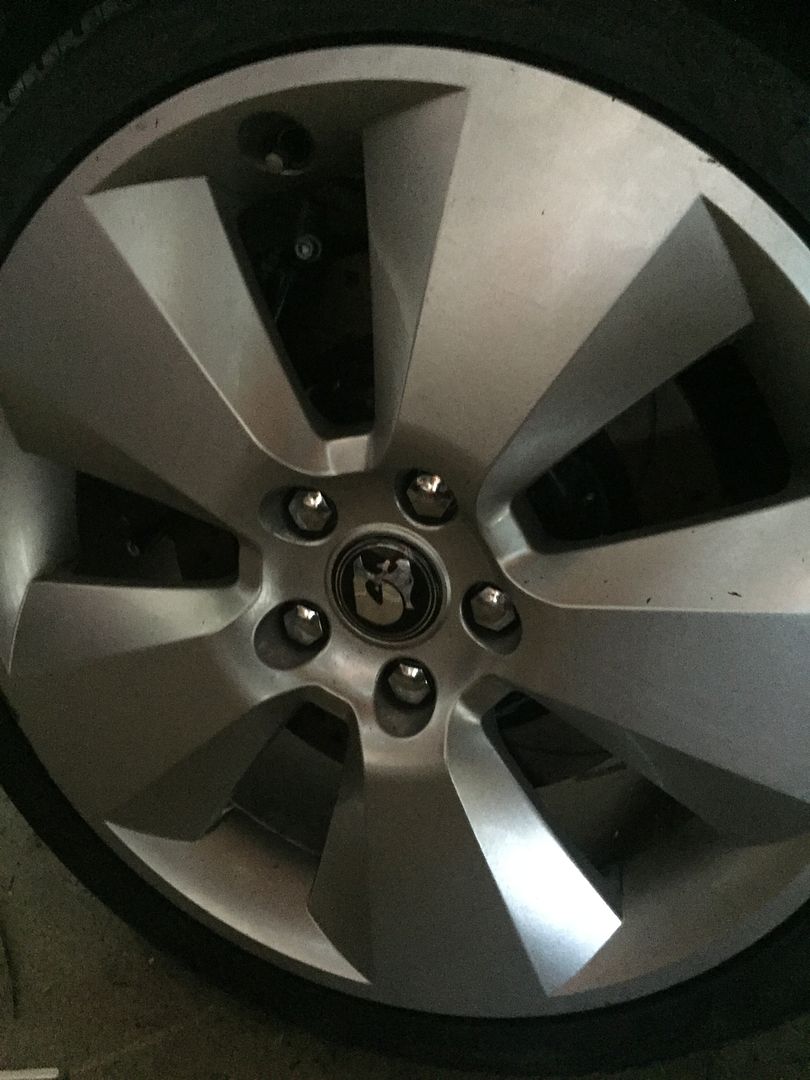
Genuine HSV Senator Signature wheels
Wilwood calipers front and rear
Drilled and slotted rotors
New handbrake cable
VT master cylinder
VS boosterPics:
I don’t have many pics of how it was when I got it unfortunately.
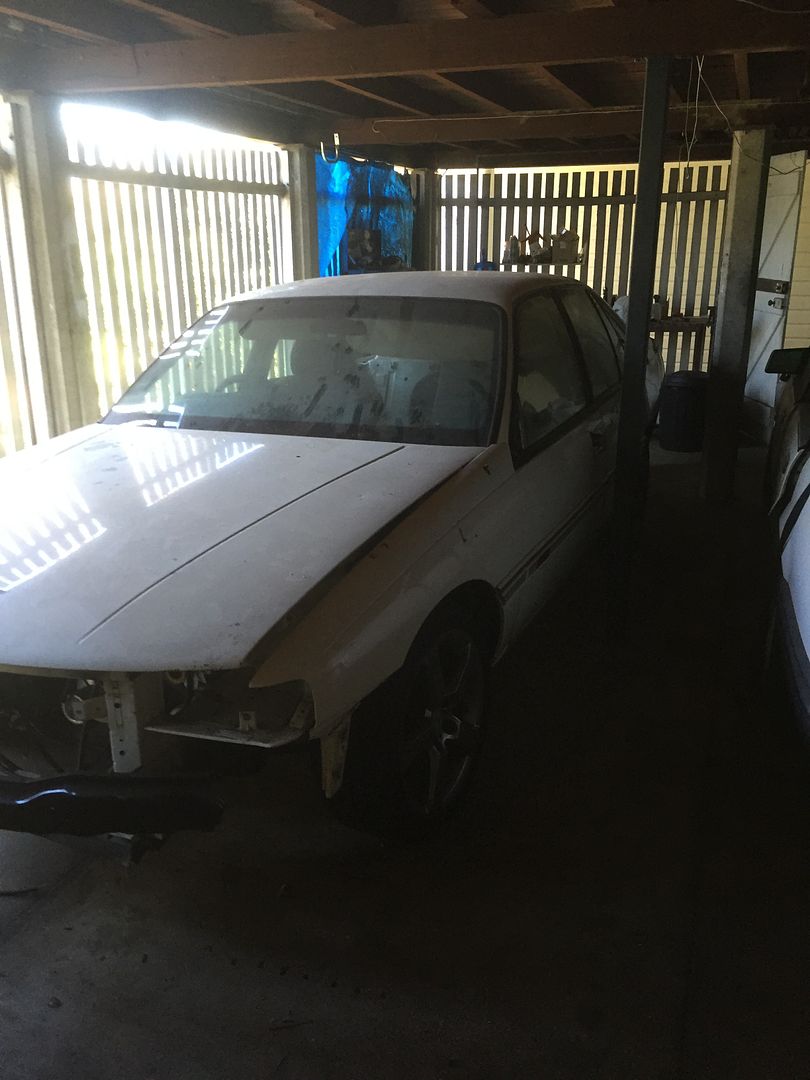
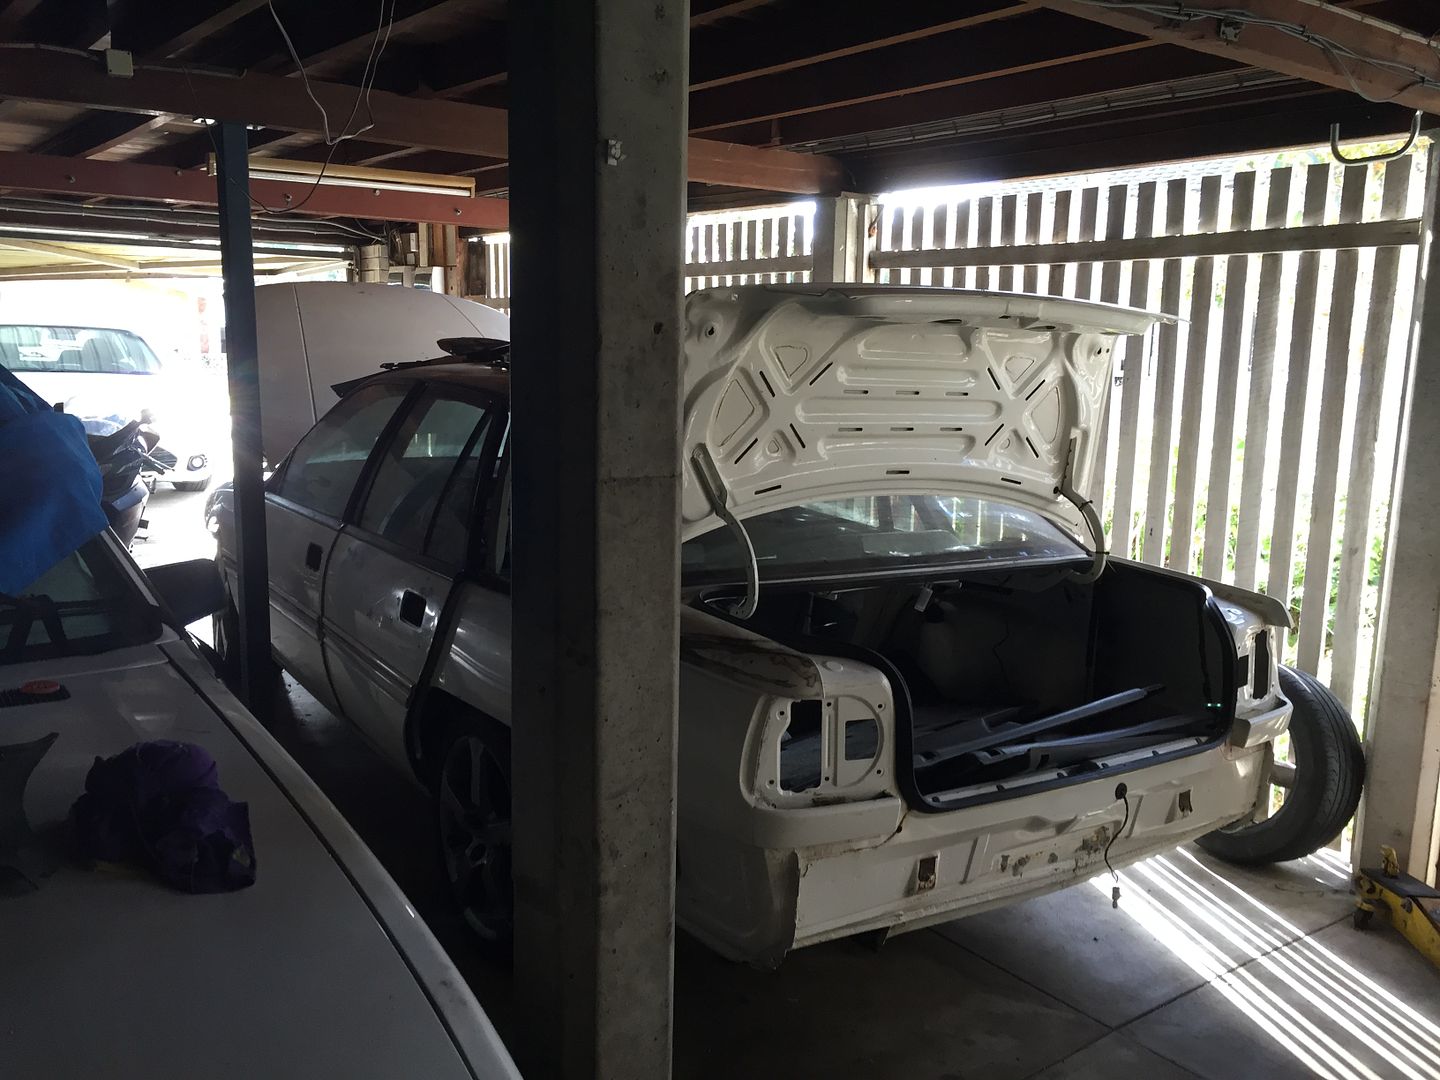
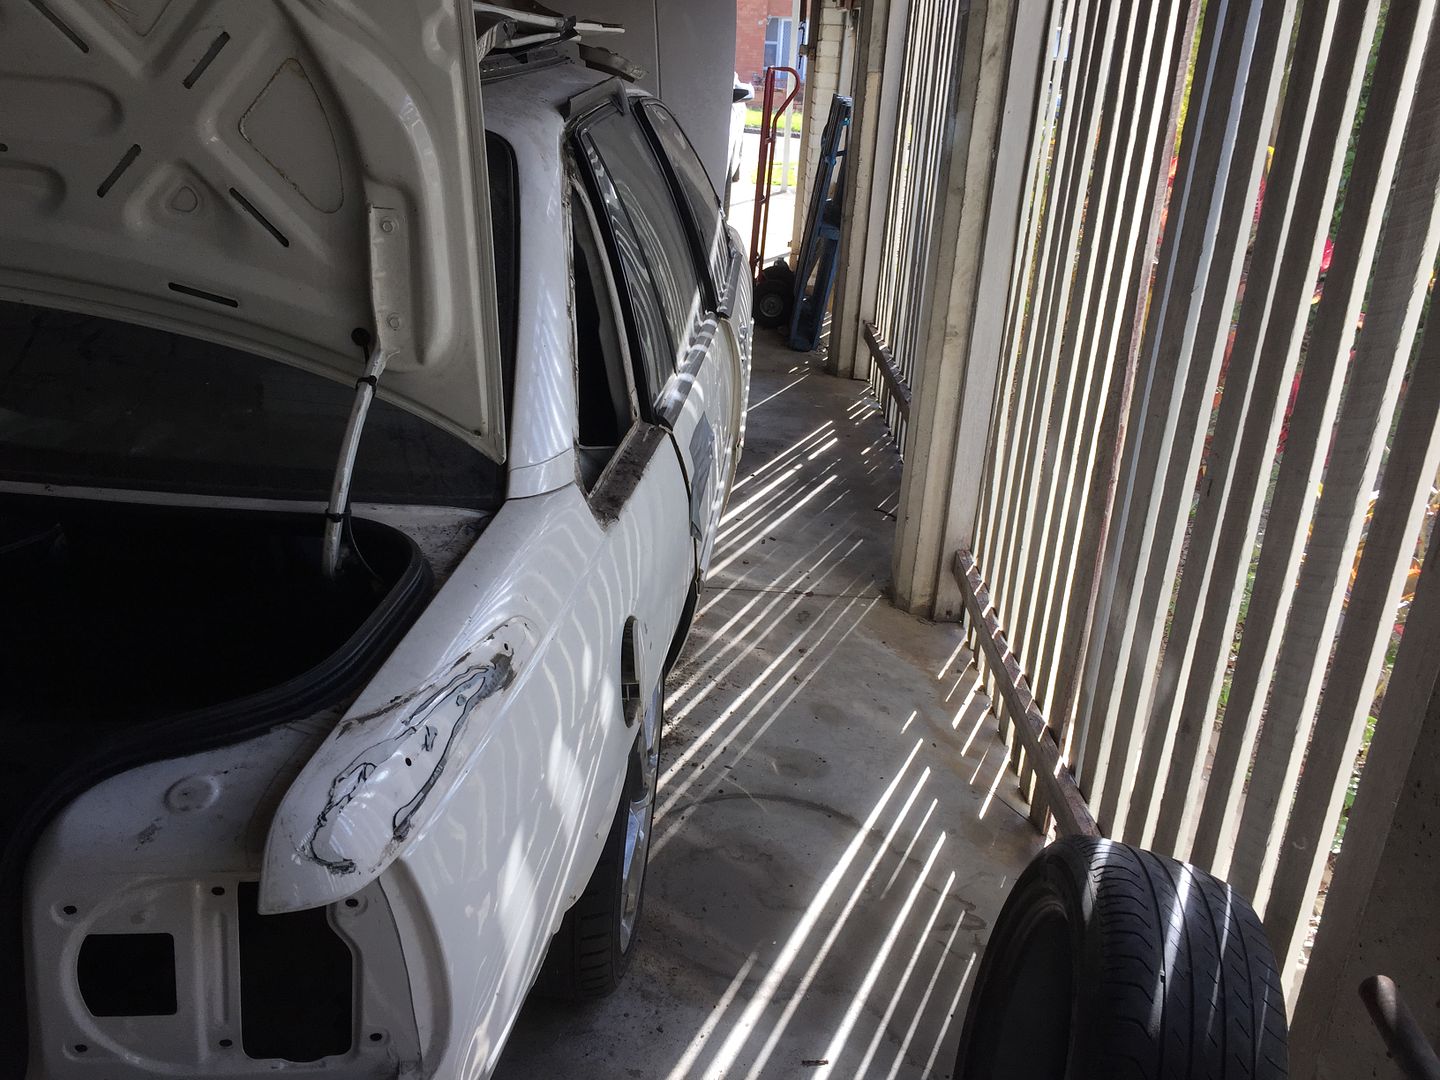
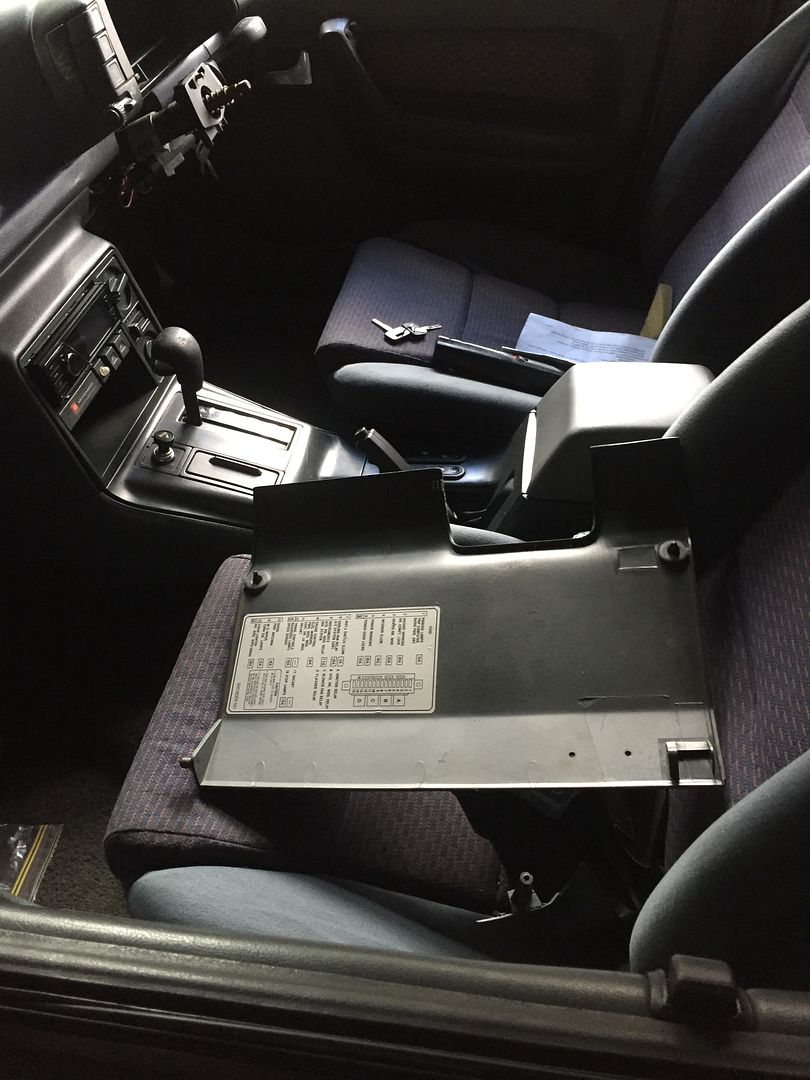
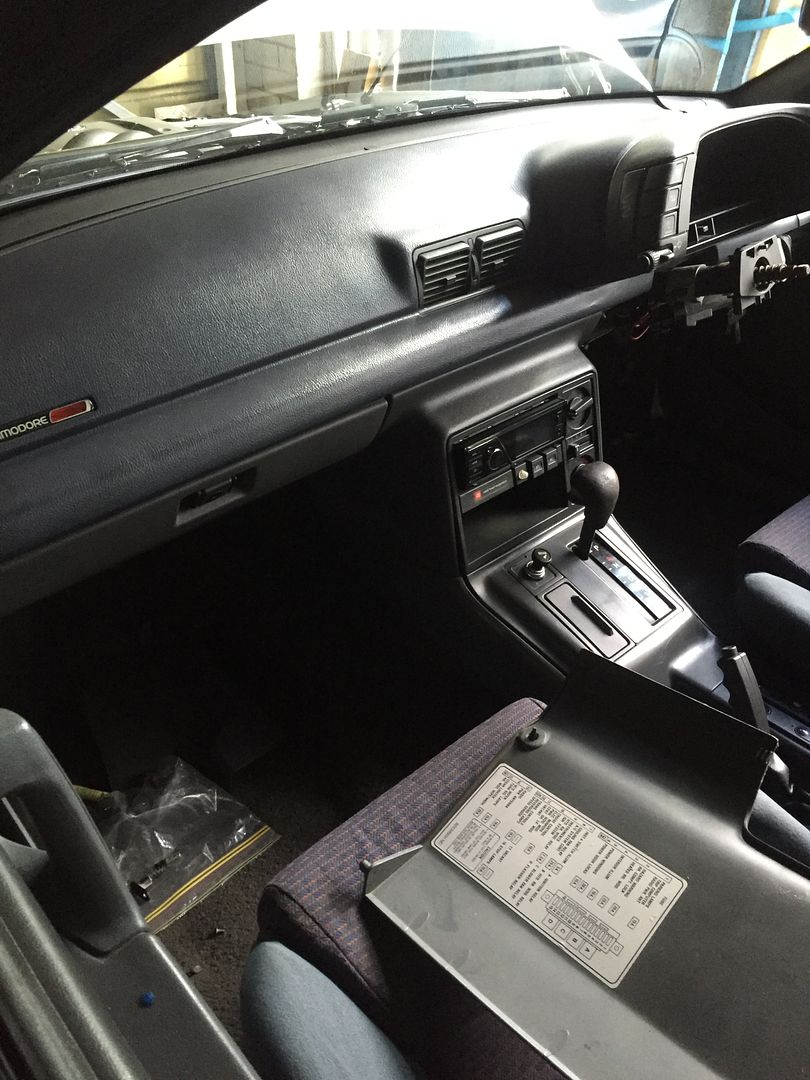
Starting to strip it for paint:
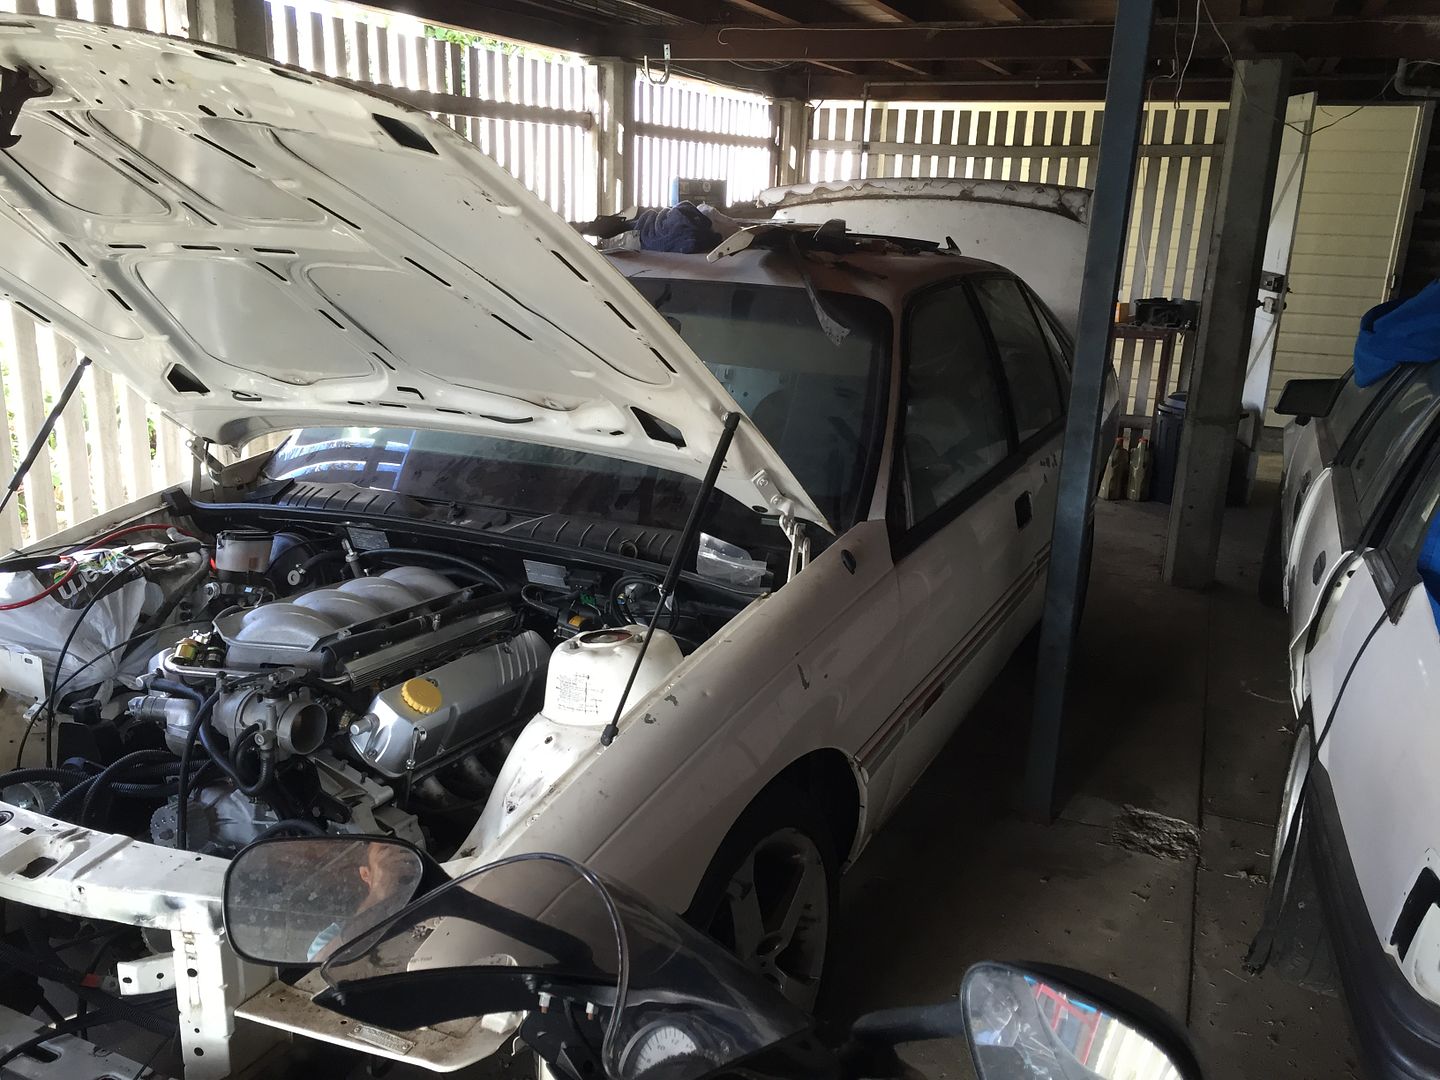
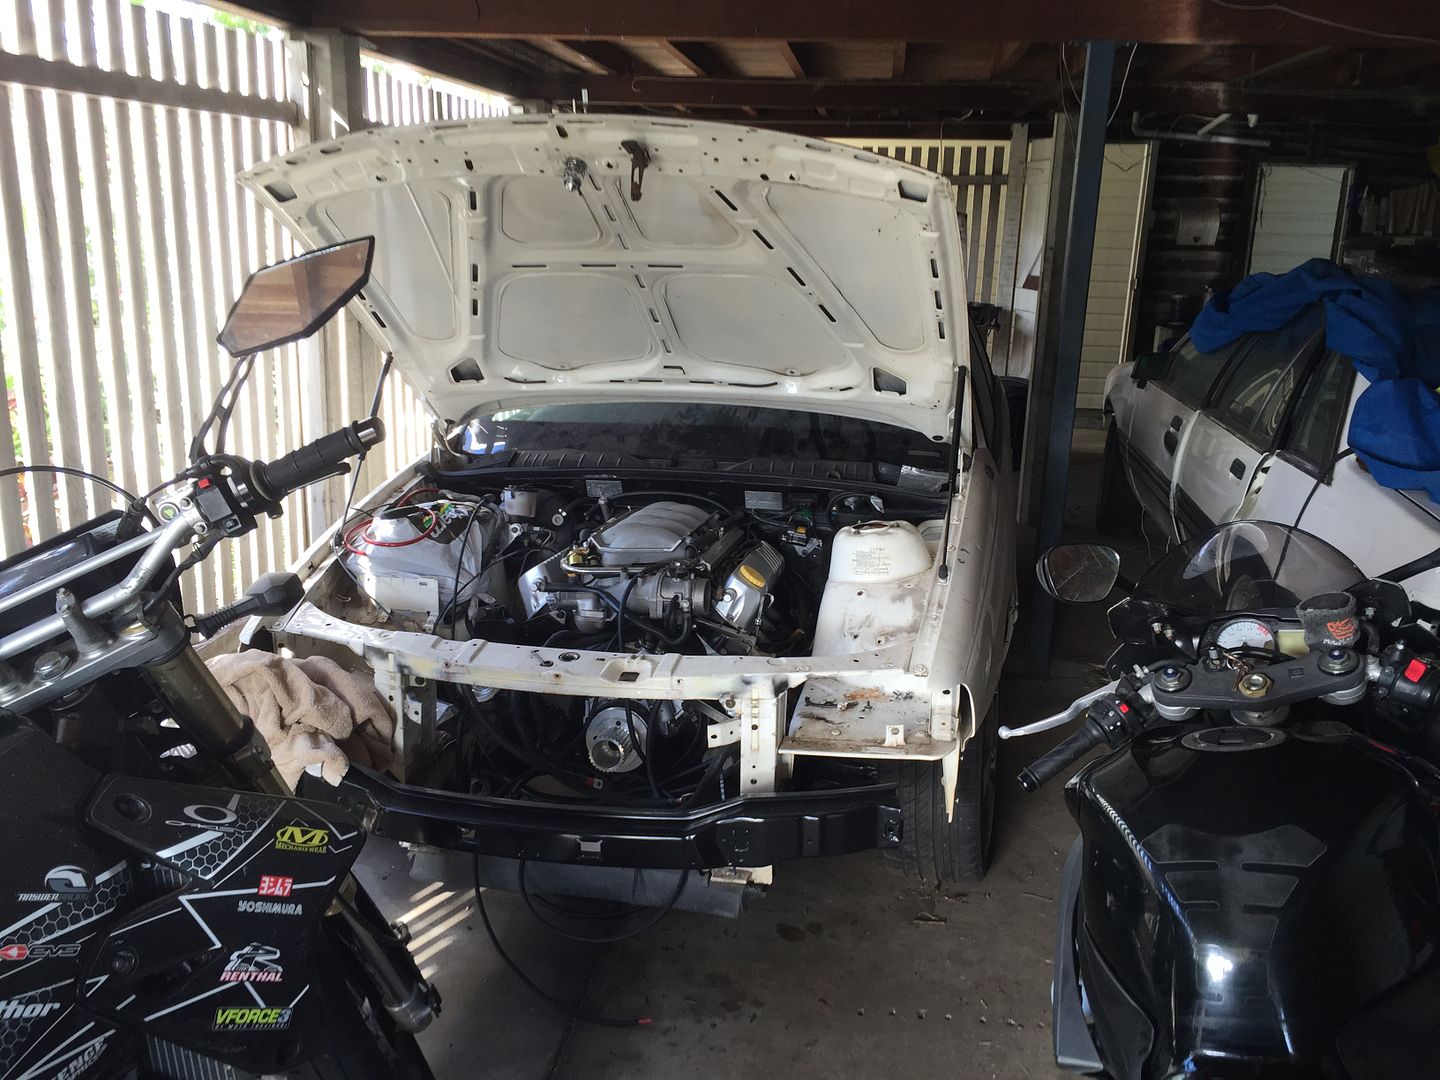
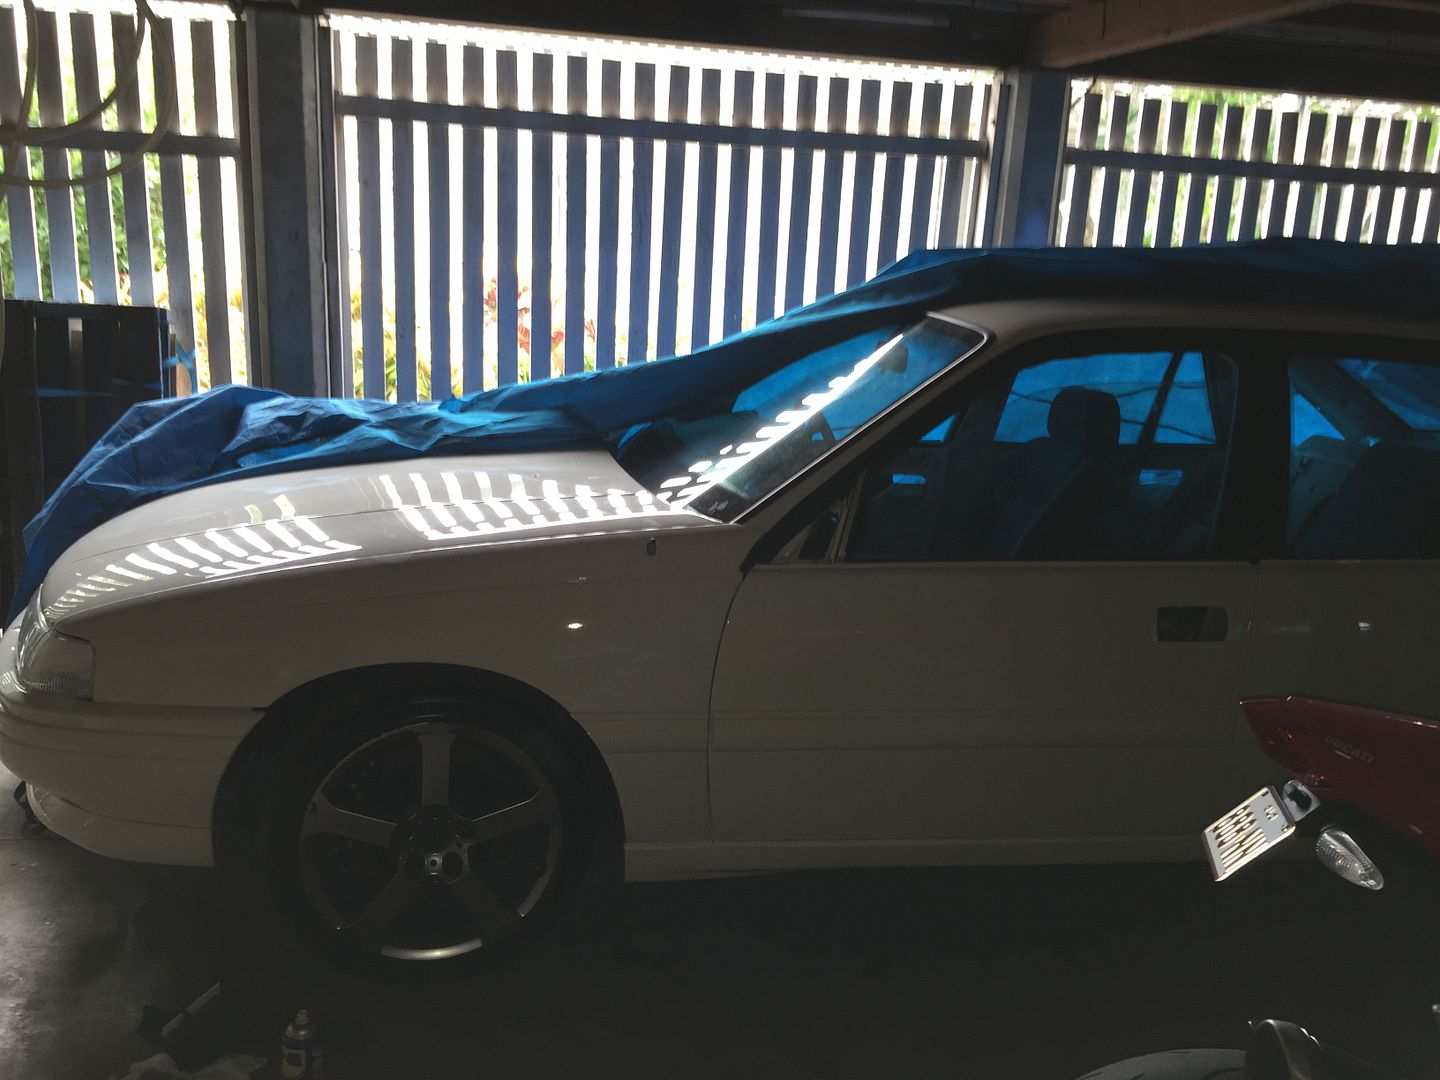
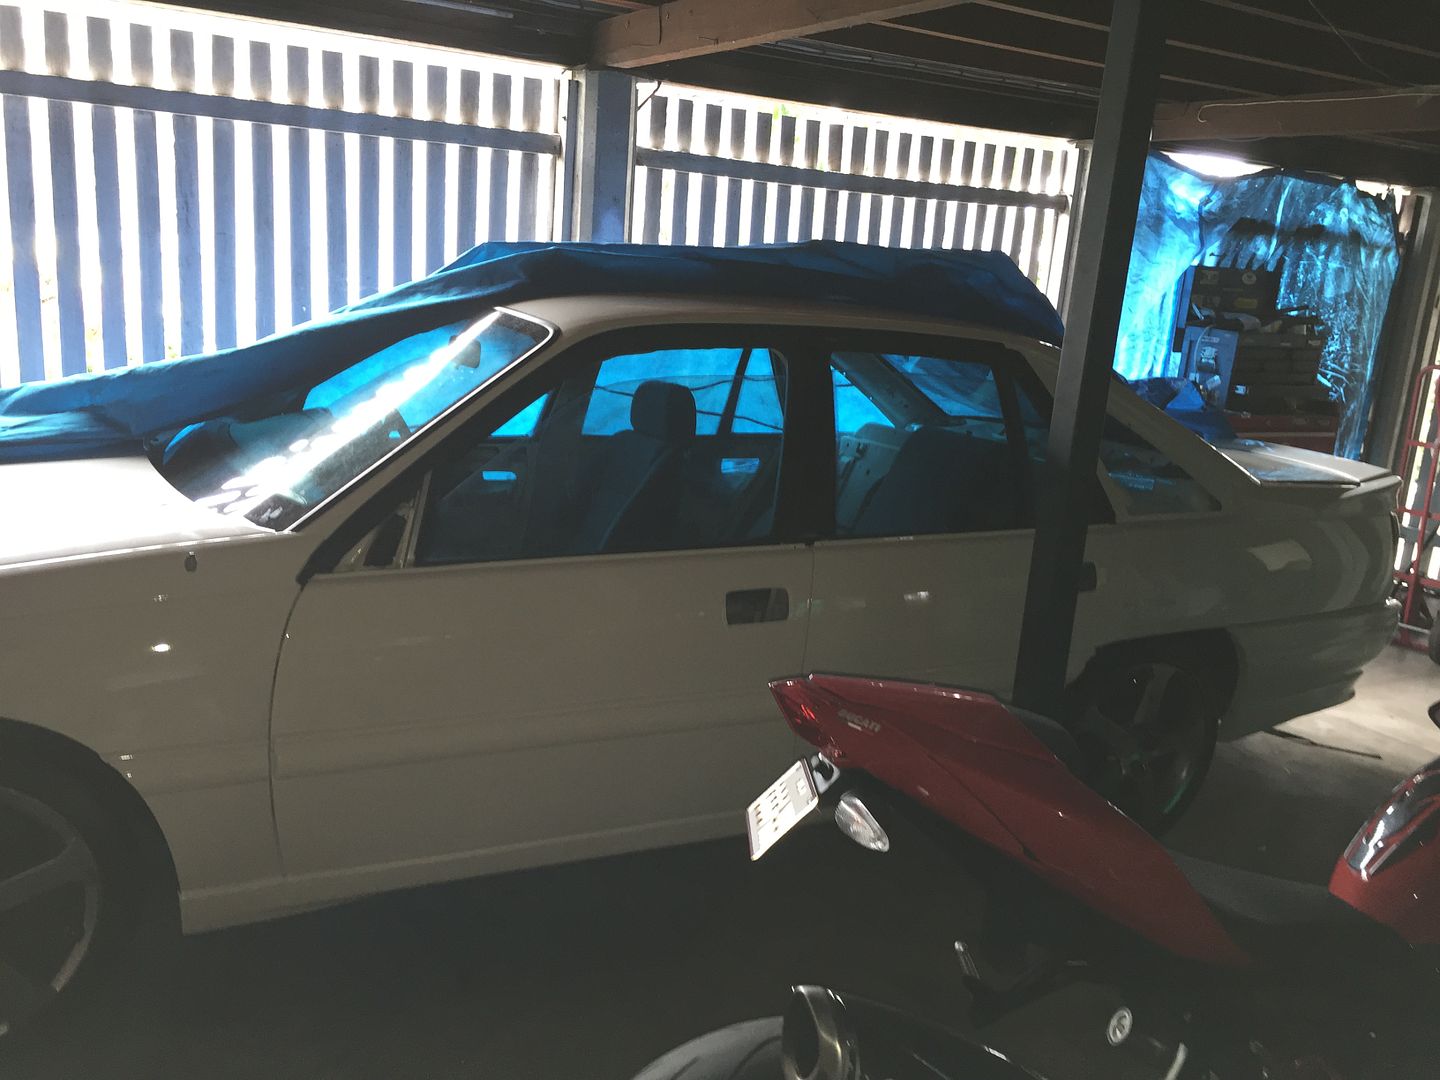
Once I got it back from the panel shop and started fitting everything:
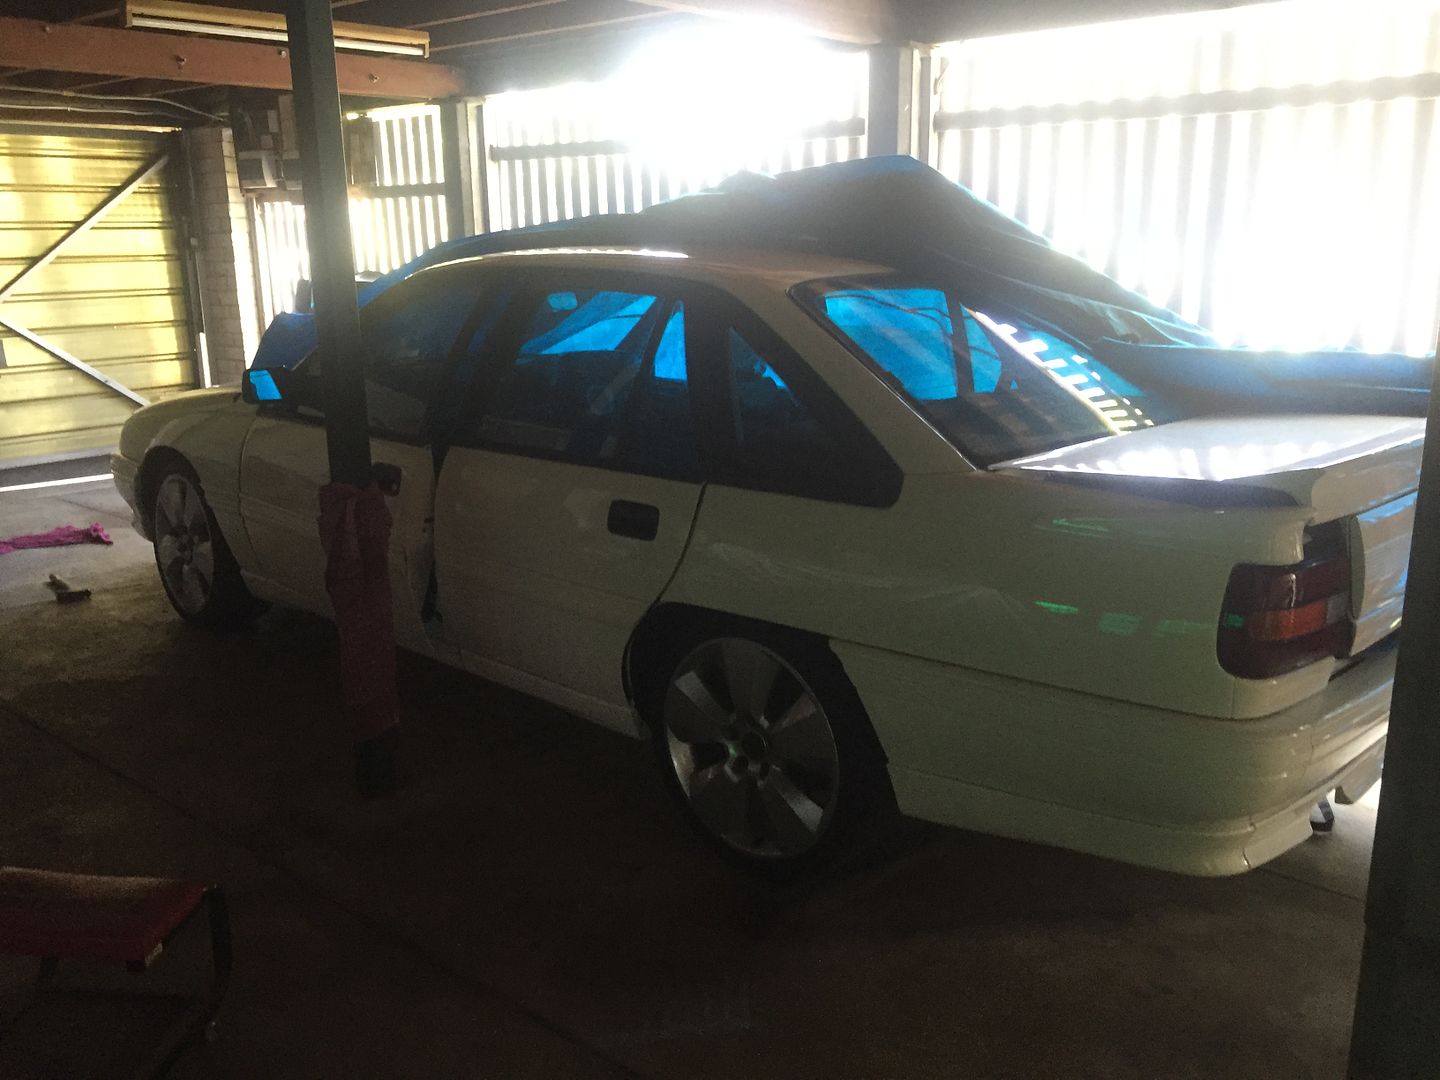
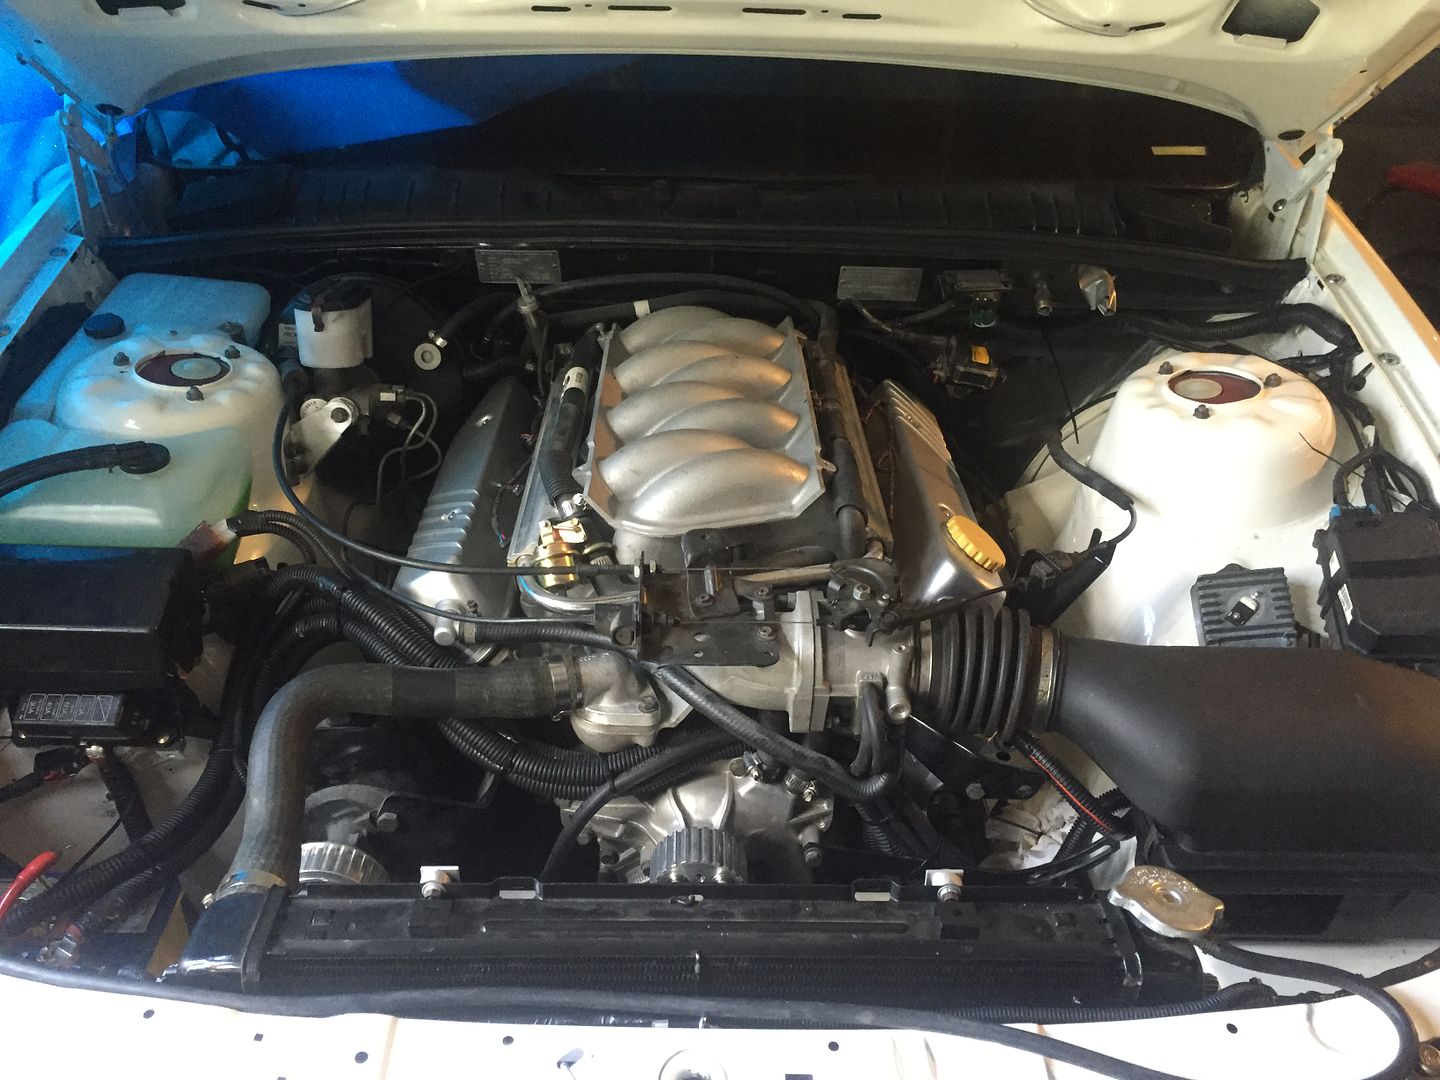
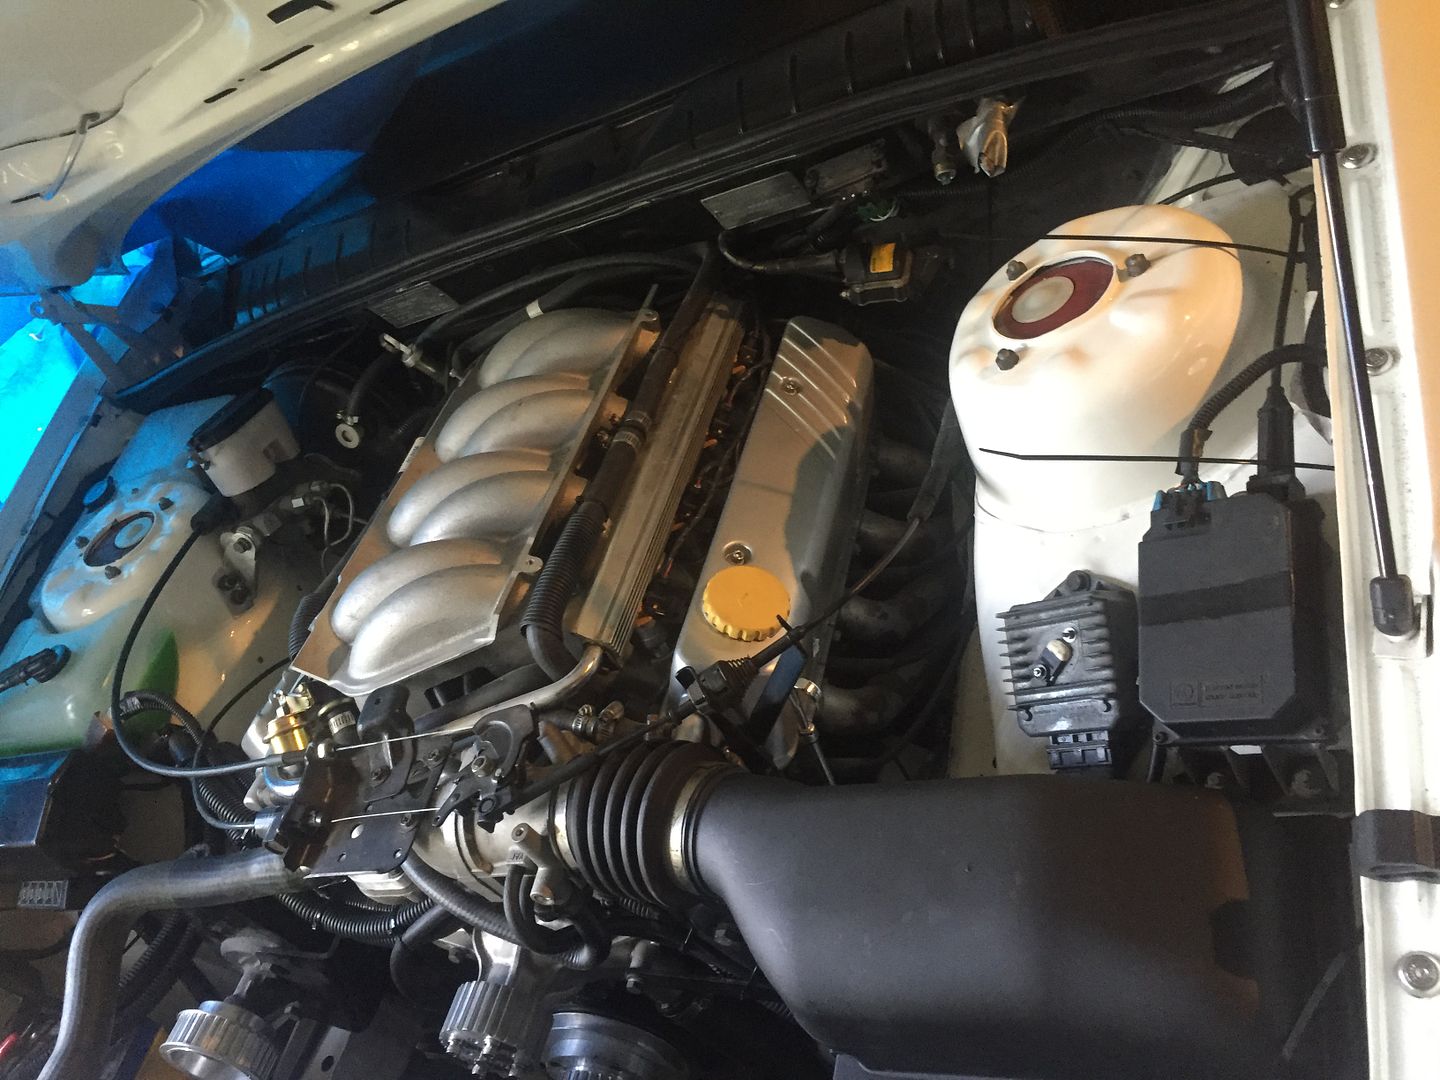
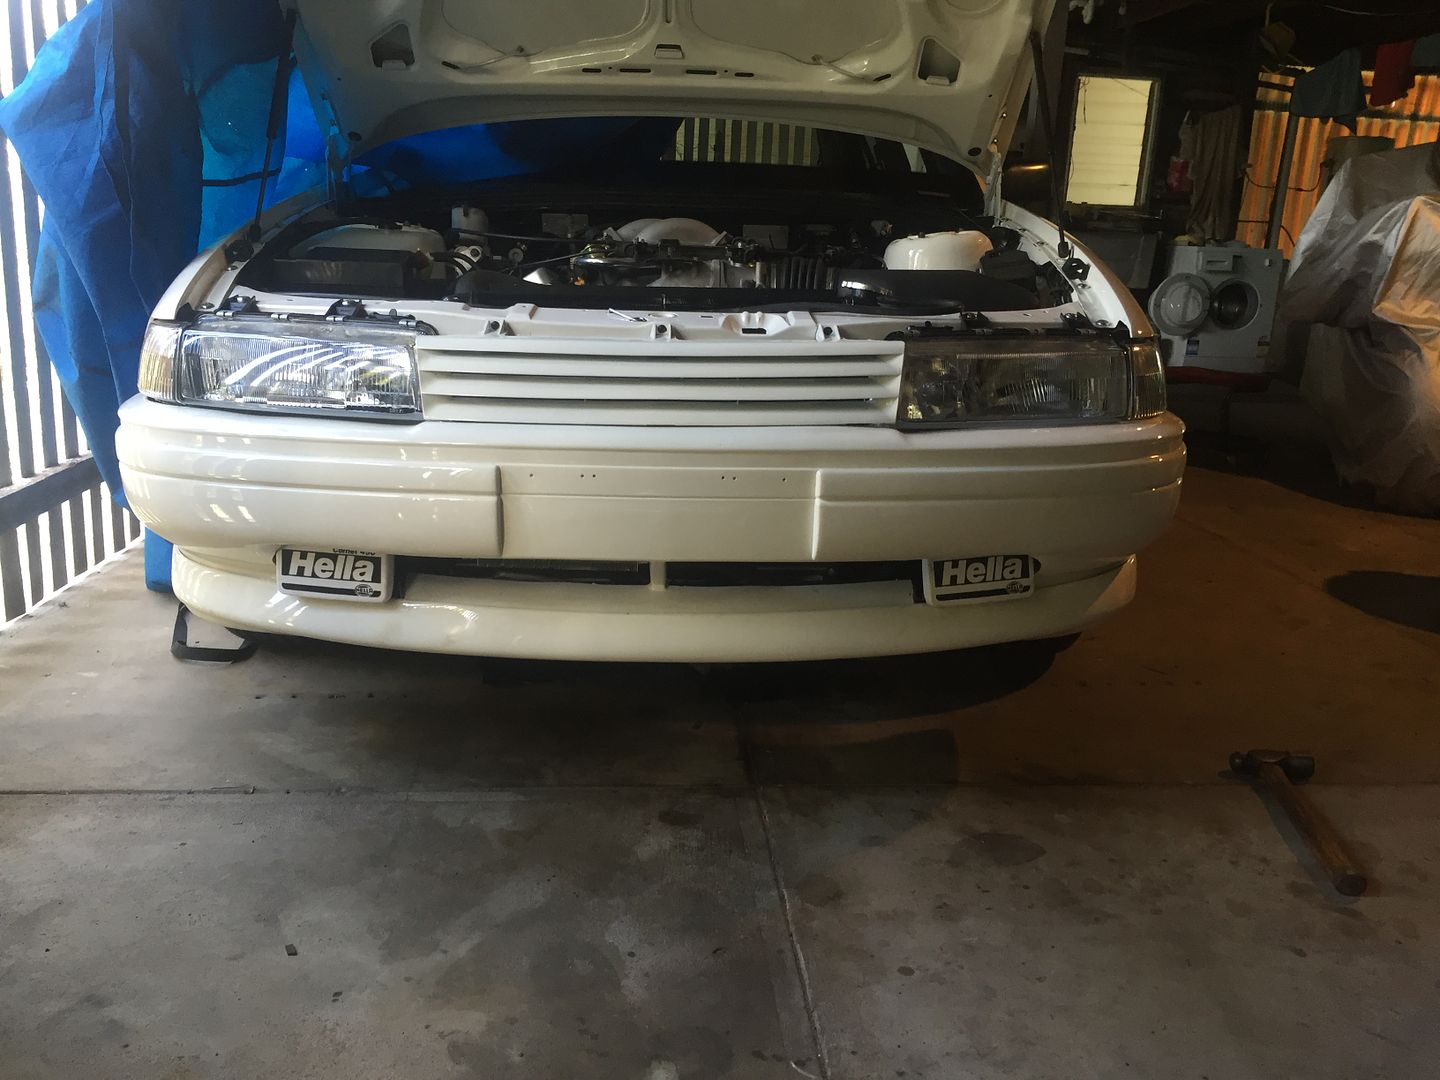
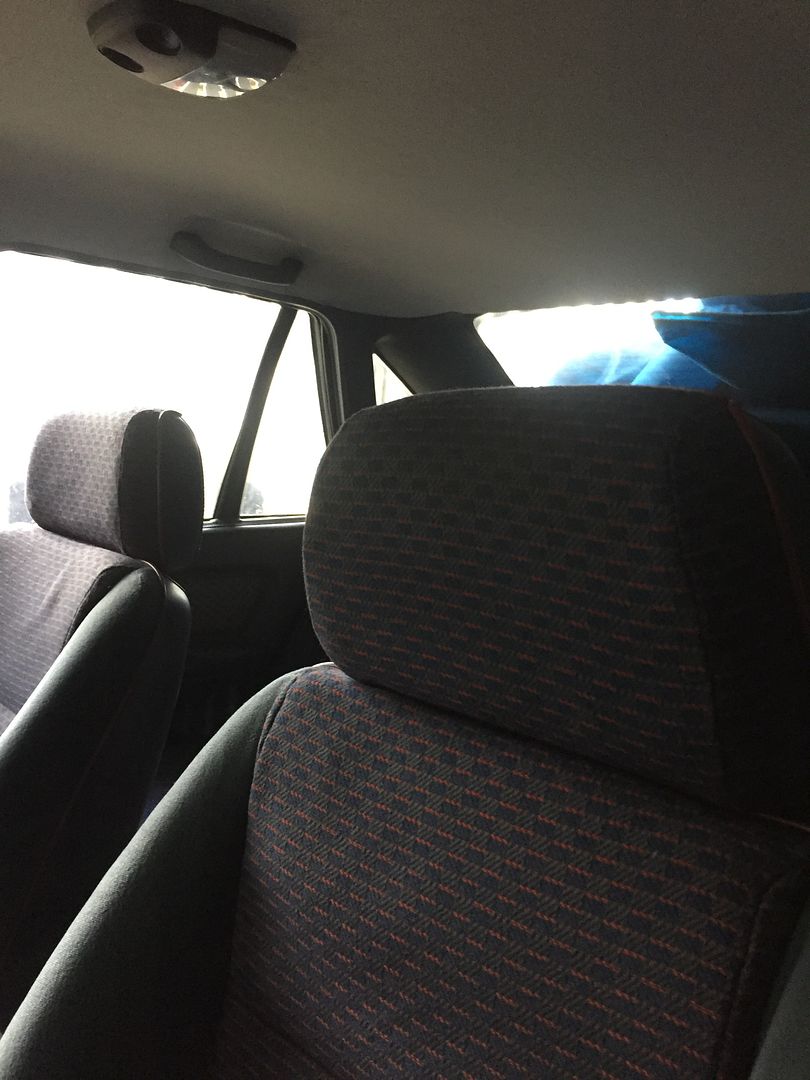

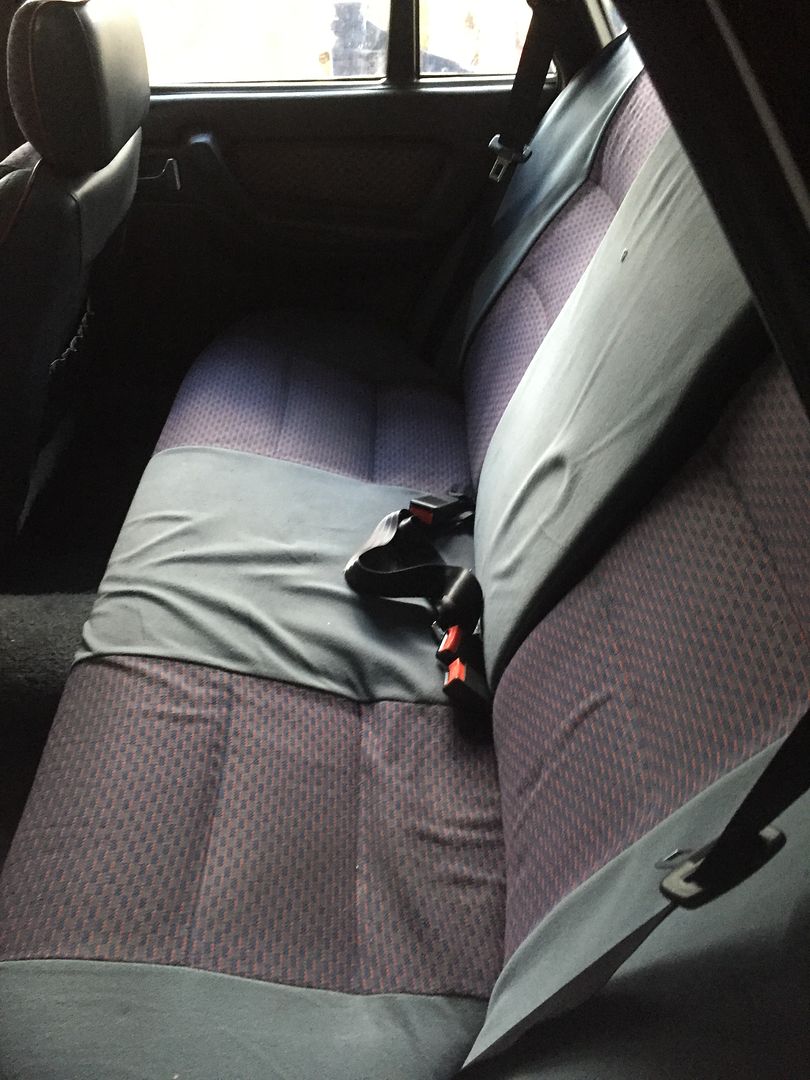
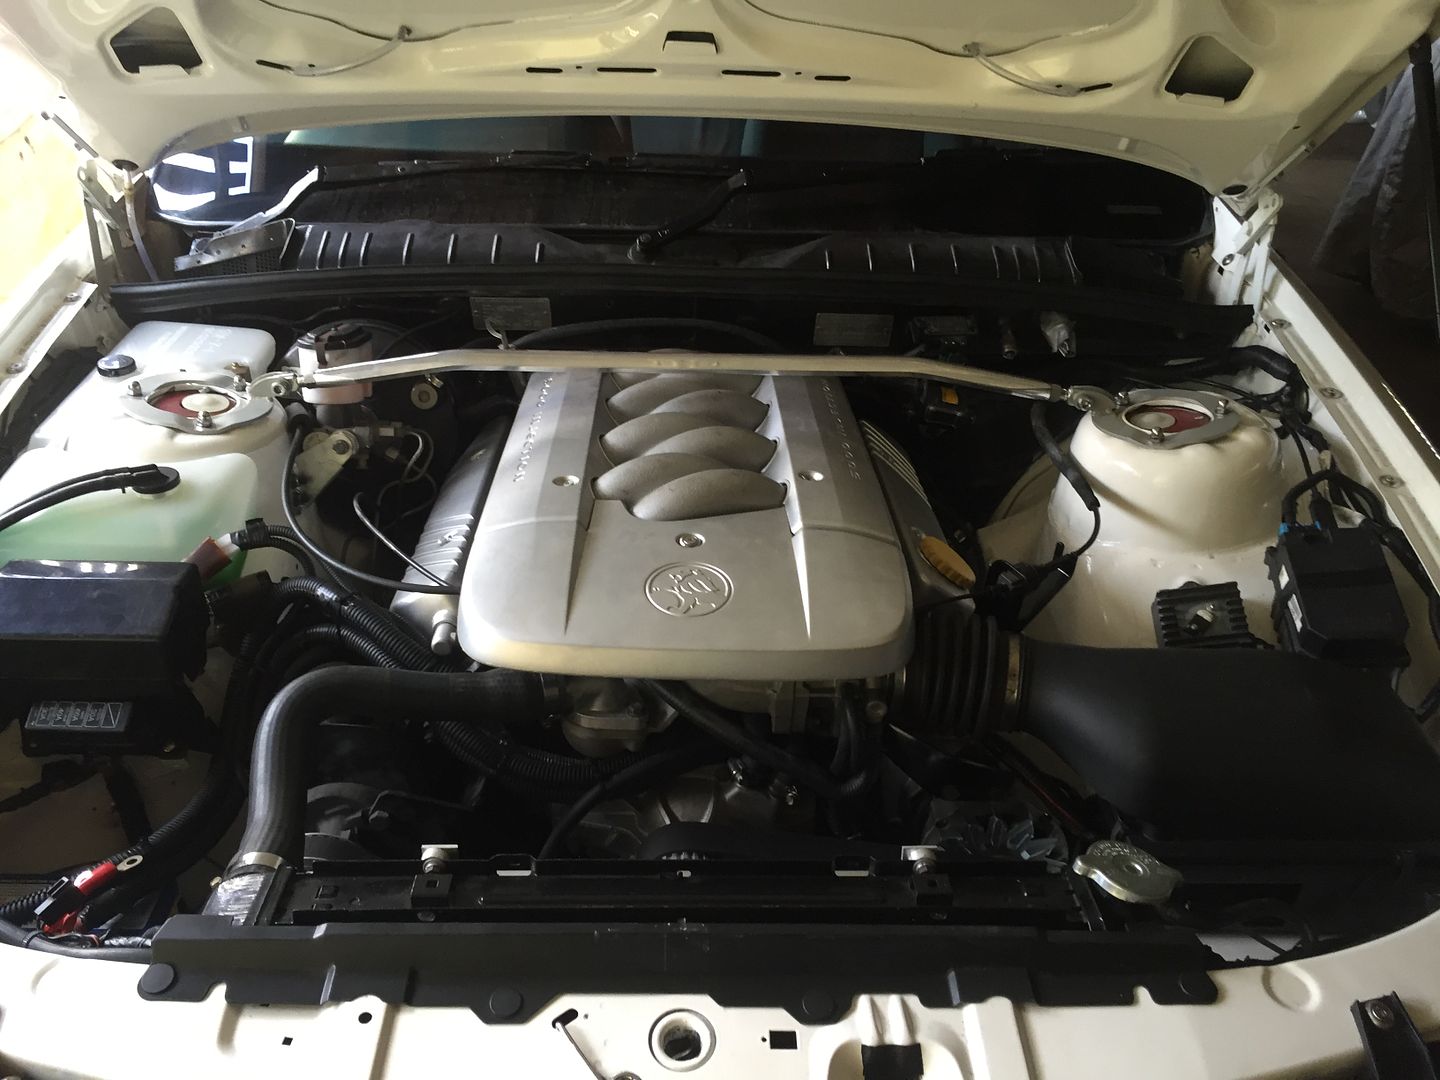
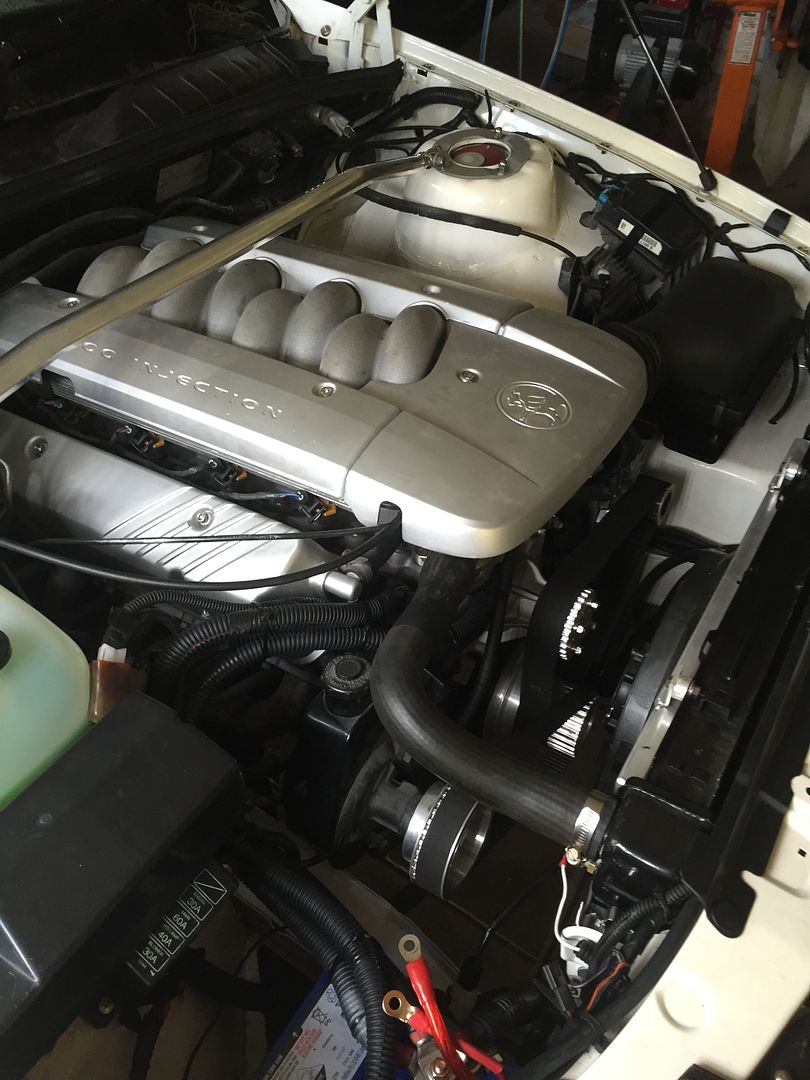
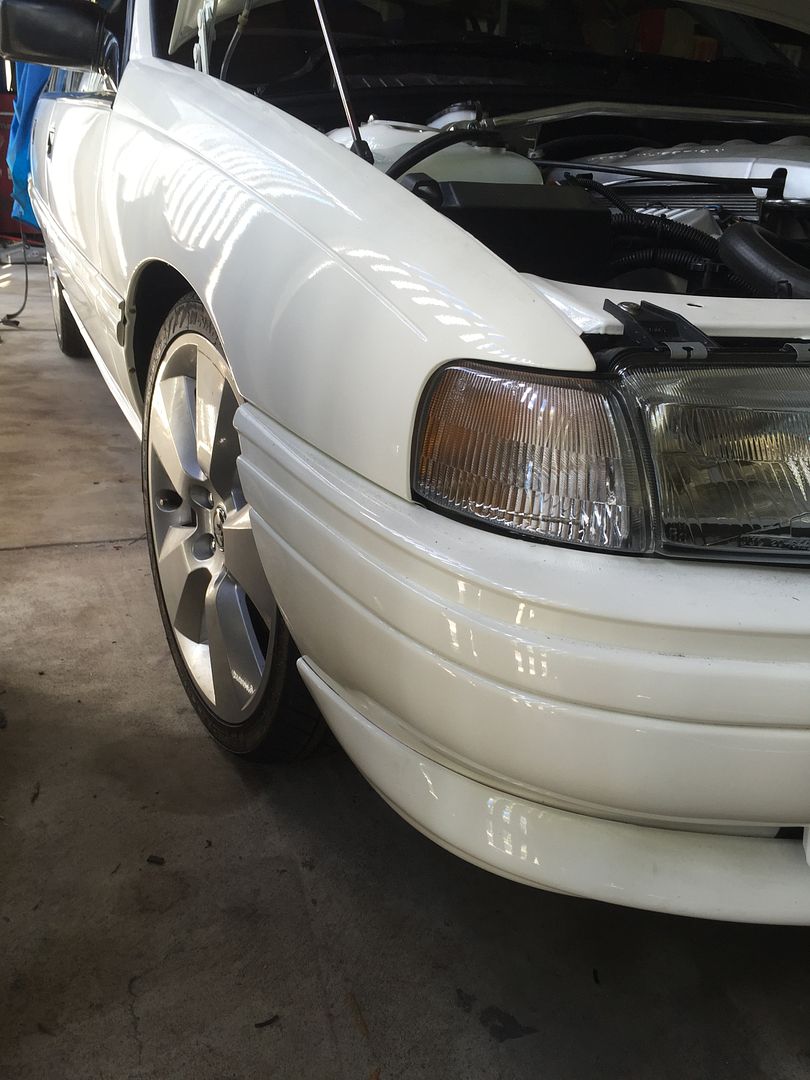
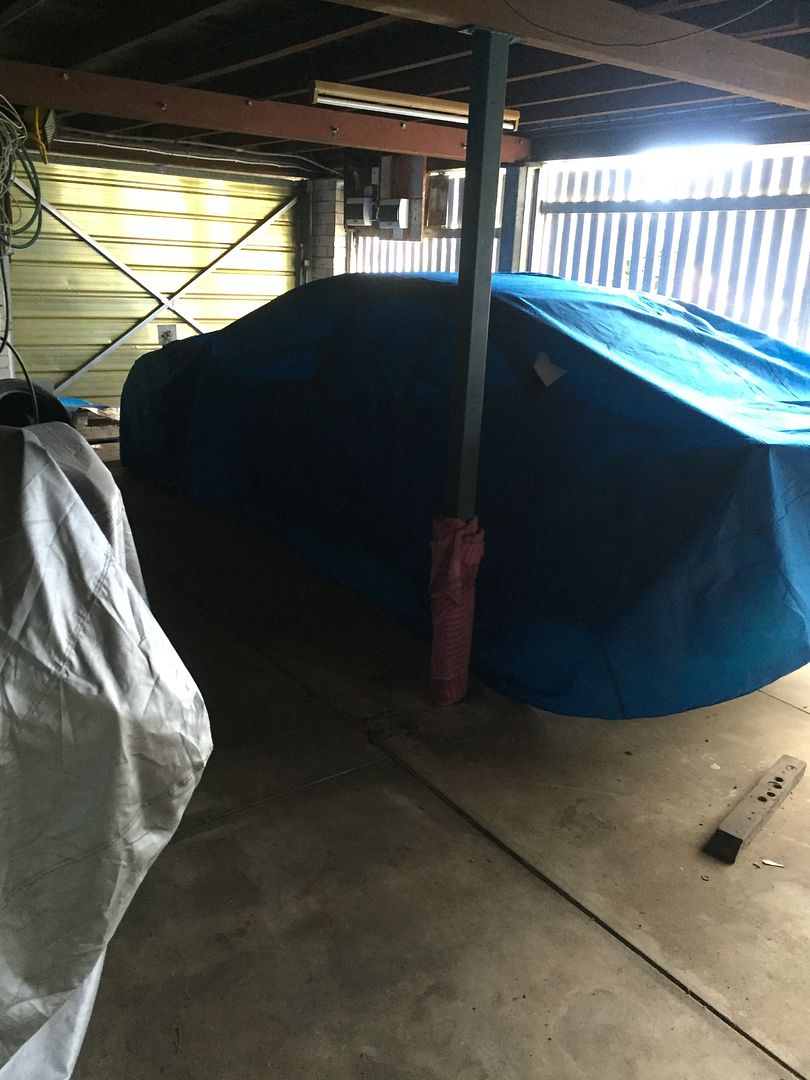
And as it sits when I’m not messing with it:
Still a work in progress obviously. Need to fit the decal kit, replace the ignition barrel, finish putting the rest of the interior back together, adjust the handbrake cable and give it a really good clean.
I’d like to replace the steering wheel with a Momo one. Any ideas if they are legal, and a good place to get one from?
Thanks for looking.
May 7, 2016 at 12:32 pm #16654
VRSenator065Participant- Adelaide SA
- VR Senator LSx454 1960 Kombi (project) 1921 Nash Hot Rod (future project)
View build HERE
Posts: 5 777
So nice to see these cars being brought back from the edge like that, great work!! Did you do the Wilwoods? I have them on mine, awesome brakes, are they the set designed for the GTO? Great project mate, thanks for posting.
May 7, 2016 at 3:04 pm #16659So nice to see these cars being brought back from the edge like that, great work!! Did you do the Wilwoods? I have them on mine, awesome brakes, are they the set designed for the GTO? Great project mate, thanks for posting.
Yeah, it is nice to see them restored instead of being neglected like this one was when I got it. I’m still finding dodgy work done by previous owners!
I fitted up the Wilwoods, but I dont know a great deal about them as I bought them second-hand from a guy who had previously fitted them to a VN (it was that candy-apple red VN with a turbocharged and supercharged RB30 on Just Commodores)
A majority of the work has been done by me, except for the painting. It helps being a diesel mechanic by trade with all my tools at home!
May 7, 2016 at 3:27 pm #16660
HDN05LParticipant- Canberra ACT
- VS Olympic Edt 383 stroker Ute
View build HERE
Posts: 289As far as the momo steering wheel goes, if your car didnt come out with an air bag you can fit an after market wheel. It must have a horn pad to protect you incase you have an accident.
I found mine from gum tree $90 in awesome condition.
May 7, 2016 at 3:41 pm #16661
HDN05LParticipant- Canberra ACT
- VS Olympic Edt 383 stroker Ute
View build HERE
Posts: 289<span style=”background-color: rgba(255, 255, 255, 0);”>
 </span>November 14, 2019 at 8:18 am #30507
So… still a lurker, not much of a poster. The VN is now for the most part complete:

However, an LS conversion is now in the parts acquisition stage. I’ve managed to get hold of a low kilometre LS1 and 4l60E transmission combo which is waiting at a mates workshop. I’ll source all the parts, remove the old engine and transmission and send the car to him for the rest.
I’ve read the guide on this forum for LS conversions, but have a few questions:
Im looking at the Muscle Garage kit – Tuff Mounts, starter conversion, Pacemaker headers etc. Its a bit more expensive than the CRS kit, with the main difference being the headers and engine mounts. As I’m not expecting to be chasing huge horsepower (so not concerned about the headers) , is the Muscle Garage kit the better option?
Is the high mount alternator kit necessary? I’ve seen some pictures of cars with them and some without. I’m not intending to run any forced induction so is there any requirement to move the alternator up? Or is it usually something that is determined on a case-by-case basis?
Thanks for any responses to my questions, much appreciated.
November 14, 2019 at 11:45 am #30508
VRSenator065Participant- Adelaide SA
- VR Senator LSx454 1960 Kombi (project) 1921 Nash Hot Rod (future project)
View build HERE
Posts: 5 777Hi mate. imo the Tuff mounts full kit is the way to go. Pacemaker headers are far and away the best for clearance and make good numbers anyway. The Tuff mount kit just works as all of it is designed to work together and Jason the owner of Muscle Garage/Tuff Mounts is very easy to deal with and helpful if you strike a problem.
I am not running the high mount alternator, mine is just an aftermarket Aeroflow alternator mount in the regular spot which maybe got it a little closer to the block. It’s close to the rail but my engineer had no issue. the engine torques over the other way anyway.

Don’t hesitate to ask any questions, lots of us on here have either done it or are doing it.
Hope that helps.
November 14, 2019 at 1:13 pm #30512Thanks very much for the response VRSenator. I’ll look to order the Muscle Garage Kit shortly.
I noticed on your build you used a swivel thermostat housing (I’m sure it was yours..I’ve been looking over a few builds). As i intend to use the standard VN radiator (just fitted a new one due to multiple leaks), would a swivel housing be necessary? I’m assuming it will give more hose choices?
November 14, 2019 at 2:14 pm #30513
VRSenator065Participant- Adelaide SA
- VR Senator LSx454 1960 Kombi (project) 1921 Nash Hot Rod (future project)
View build HERE
Posts: 5 777Yea I just used the swivel housing as it meant on mine I could use a standard 90-degree elbow piece of hose. Rad hoses seem a little all over the place, I think as there are so many combinations of radiators etc. Guys like Cav and Heron etc are doing theirs now, so they might be better to ask as their info is more current.
-
This reply was modified 4 years, 5 months ago by
 VRSenator065.
November 14, 2019 at 9:43 pm #30515Muscle car garage kit ftw. Use a late model alternator. High mount is yuk.
November 15, 2019 at 8:45 am #30518Thanks for the replies gents, much appreciated.
Any thoughts on fuel pressure regulators? I read through Heron’s build last night and see he went for the Corvette filter (as did you VRSenator i think?) over a standalone regulator.
Any reason why you guys went that way instead of a standalone? I’m considering getting some adapters so I can mount a gauge directly into the fuel rail, and putting the Corvette filter down near the tank.
I assume the Corvette filters are reliable enough and dont need changing regularly? I dont intend the car to be a daily so I cant see any requirement to change out the filter on a regular basis.
Thanks again for the help.
November 15, 2019 at 11:24 am #30519
Heron SSVParticipant- Central Coast NSW
- 2009 Pajero Exceed 84 VK SL LS3
View build HERE
Posts: 585I used one cause i wanted to keep everything as simple and close to factory as possible. My reg is mounted right in front of the tank so I only have a short supply and return line from the tank to the reg, then a single 3/8 line to the rail. Unless you’re running big power or turbo/blower, the factory style fuel setup is fine/ The regs are relatively cheap and readily available in case of a faulty one or to replace them periodically. Not much point of a fuel pressure gauge on a stock engine either really. The regs are set to the correct pressure, your tuner will know if there is a fuel pressure issue during tuning. Less parts mean less potential issues or time spent troubleshooting. Your budget will also determine what way to go, you can spend at least double to do the whole engine bay mounted reg, feed and return line, pressure gauge etc.
November 15, 2019 at 3:32 pm #30524Cheers Heron, thanks for the response. I like your way of thinking, I’ll add the Corvette filter to the (ever growing) parts list.
Nice car by the way, I enjoyed reading through your build last night.
November 15, 2019 at 4:51 pm #30525Corvette is ALOT easier. Will be plenty good for your setup.
Remove the sherader valve on the rail and get the adapter to mount it there.
November 16, 2019 at 4:07 pm #30530
Heron SSVParticipant- Central Coast NSW
- 2009 Pajero Exceed 84 VK SL LS3
View build HERE
Posts: 585Cheers Heron, thanks for the response. I like your way of thinking, I’ll add the Corvette filter to the (ever growing) parts list. Nice car by the way, I enjoyed reading through your build last night.
Cheers mate, I’ve learned heaps from asking questions on here so don’t be afraid to ask
November 18, 2019 at 4:08 pm #30541
VRSenator065Participant- Adelaide SA
- VR Senator LSx454 1960 Kombi (project) 1921 Nash Hot Rod (future project)
View build HERE
Posts: 5 777Yea, dead head fuel system at normal power levels is fine. Go big HP and a return system imo is the only way to go. I have a separate fuel pressure reg up in the bay on the passenger firewall as its best to have it close to the fuel rails for decent power. Opinions of fuel systems vary a lot, just depends a bit on preference, lots of ways to skin the cat. I personally don’t like in-boot fuel systems for example, others do. I actually have a fuel pressure gauge in the car, I like it, its piece of mind knowing you have full fuel pressure, but again that’s personal preference. Lots to learn with these set ups, best part about this forum is we are all open to share what we have learned
 June 17, 2020 at 5:43 pm #32350
So a bits changed since my last post on here. Ls conversion is now complete. Also sold off the old wheels and fitted some new ones, rear suspension was lowered and guards rolled, and a Haltech dash installed.
Some pics:


New carpet is on the way, and my constant scouring of Ebay and Gumtree scored me a Momo steering wheel and some decent (but used) VY SS allow pedals. I’ve managed to source some NOS VN SS seat material and just scored a set of VS Calais front and rear seats that I’ll get retrimmed once the world stops being crazy.
June 17, 2020 at 7:44 pm #32352
VRSenator065Participant- Adelaide SA
- VR Senator LSx454 1960 Kombi (project) 1921 Nash Hot Rod (future project)
View build HERE
Posts: 5 777Wow, nice. How does it drive?
June 17, 2020 at 8:04 pm #32354Cheers. It drives pretty well. A bit firm on the bigger rims/suspension now, but only really noticeable on shitty roads. It goes pretty well too, much better than the standard 5 litre. I’m happy with it so far!
June 18, 2020 at 8:30 pm #32359
Vsl98Participant- Victoria
- vs ute with l98 and 4l60e
View build HERE
Posts: 63Where did you get the billet rockers covers from and whats the quality of them like
Vsl98
-
AuthorPosts


You must be logged in to reply to this topic.
