
Home›Forums›Technical – General›Engine›Make your own custom Windscreen washer bottle
This topic contains 7 replies, has 7 voices, and was last updated by gtrboyy 7 years, 8 months ago.
-
AuthorPosts
-
August 12, 2016 at 4:24 pm #18995

HDN05LParticipant- Canberra ACT
- VS Olympic Edt 383 stroker Ute
View build HERE
Posts: 289
As the title states you can make your own custom windscreen washer bottle with nothing more than a few bits and pieces from a hardware shop.
I decided to do this so i could not only hide the ugly filler neck but also to free up space so i could run a intercooler.
This can be made to any size and style you like and put anywhere on your car.
It took me 3hrs and cost me $25, you could easily do it cheaper if you are a plumber or have a mate in the trade

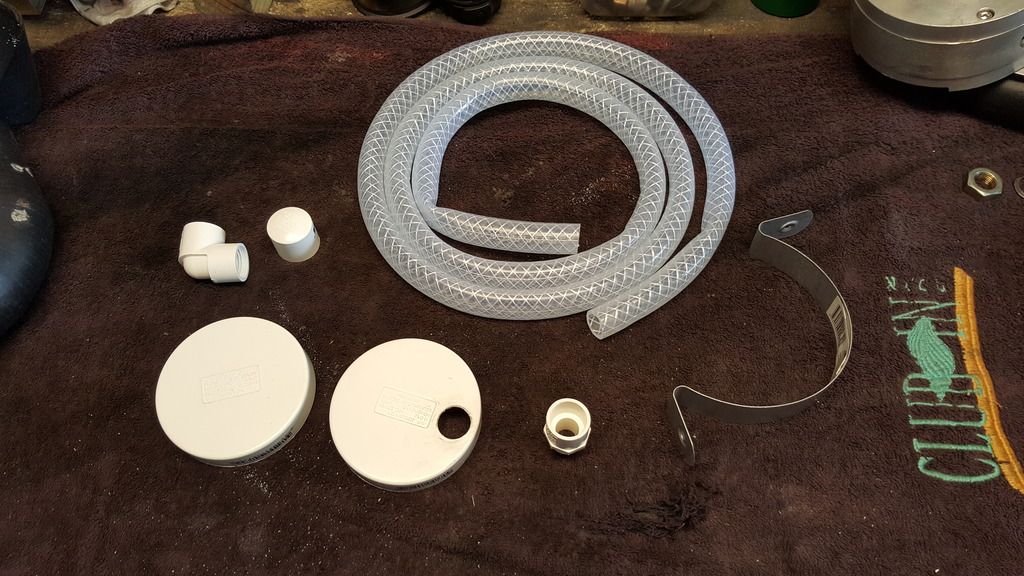
You will need the following parts,
1 x 90mm Down pipe saddle
1 x 20mm press pvc cap end
1 x 20mm external hose 1m length
2 x 90mm pvc push on caps
1 x 150mm length of 90mm drain pipe
1 x press pvc valve socket 15mm x 1/2″
1 x press pvc elbow 90deg 15mm x 1/2″
1 x small container of pvc pipe cement and priming fluid or Sikaflex
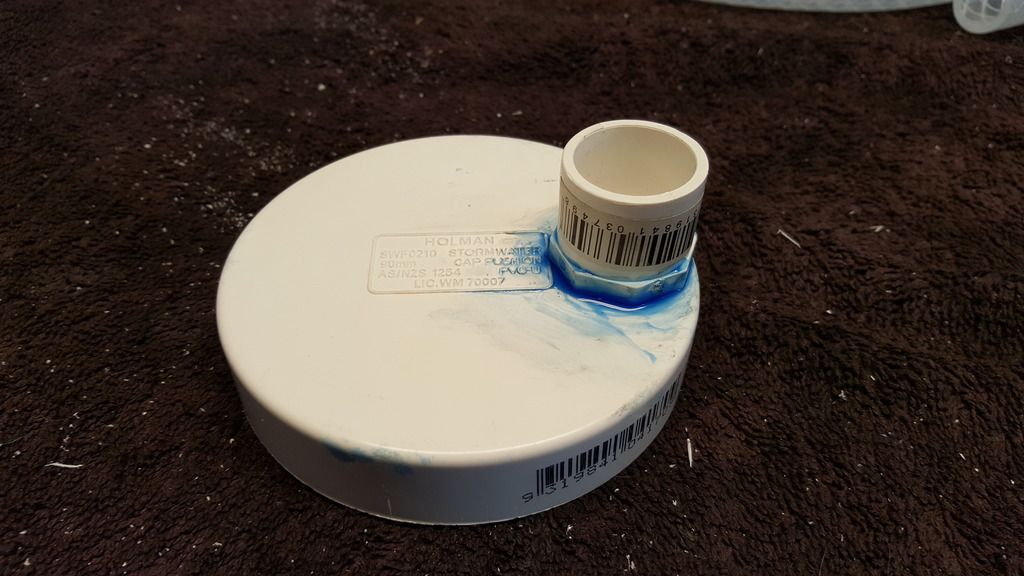
I started by drilling a 20mm hole on one of the 90mm cap end pieces about 25mm in from the edge, so that when you glue the adaptor piece in it finishes 5mm from the edge.
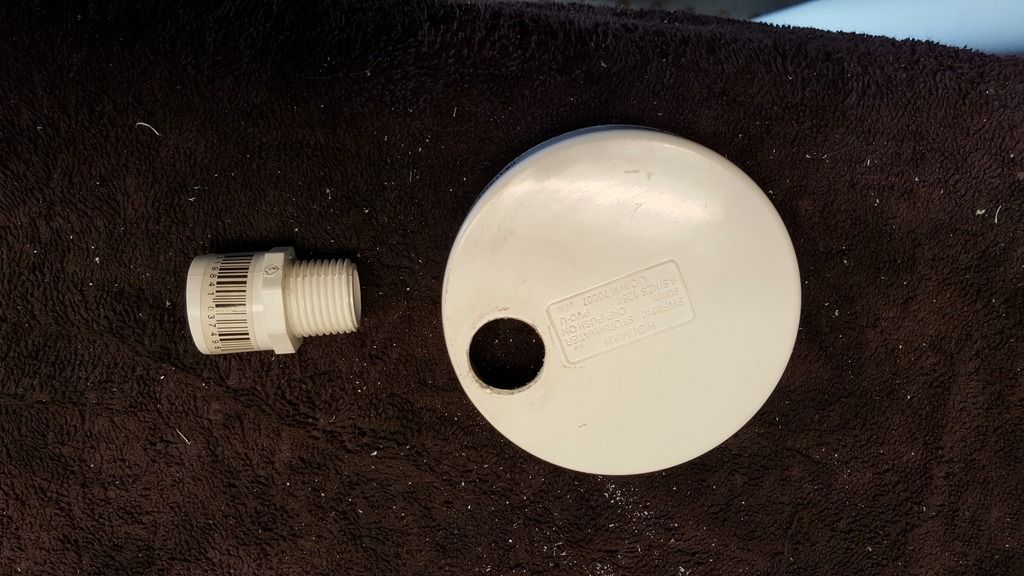
I then glued it in place.
Next i glued the end piece onto my 150mm length of 90mm pipe.
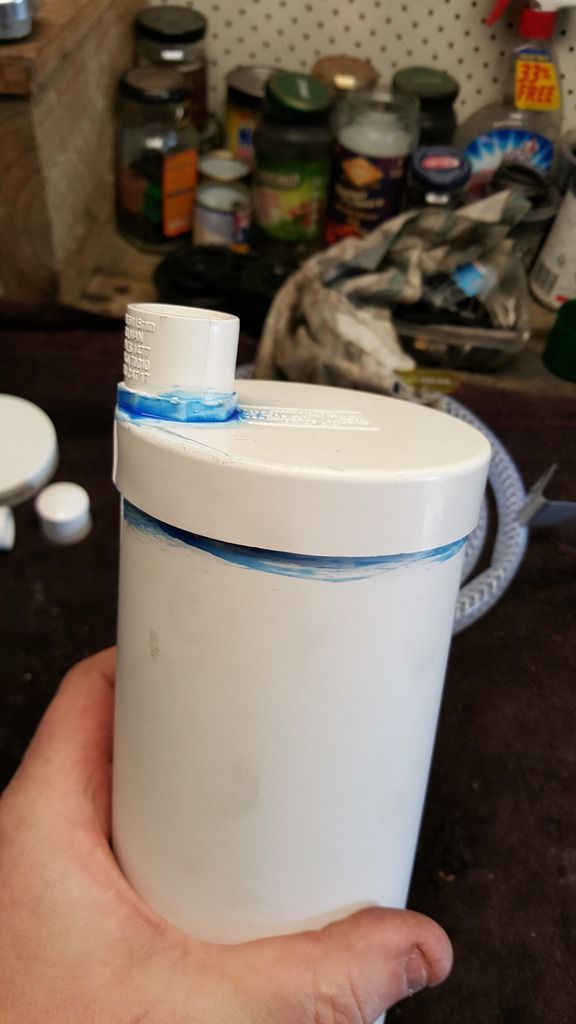
Then i glued the other end piece on as well.
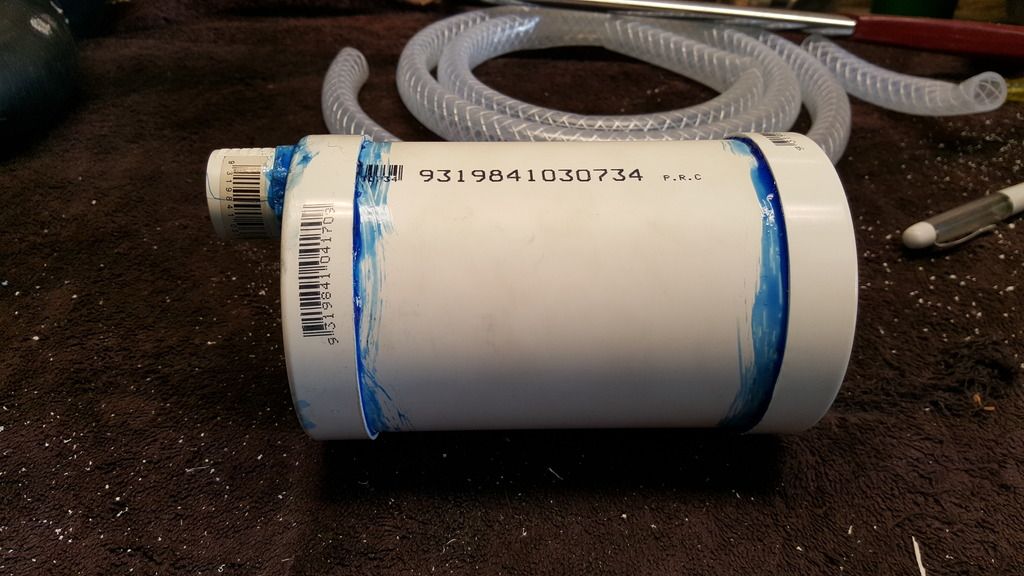
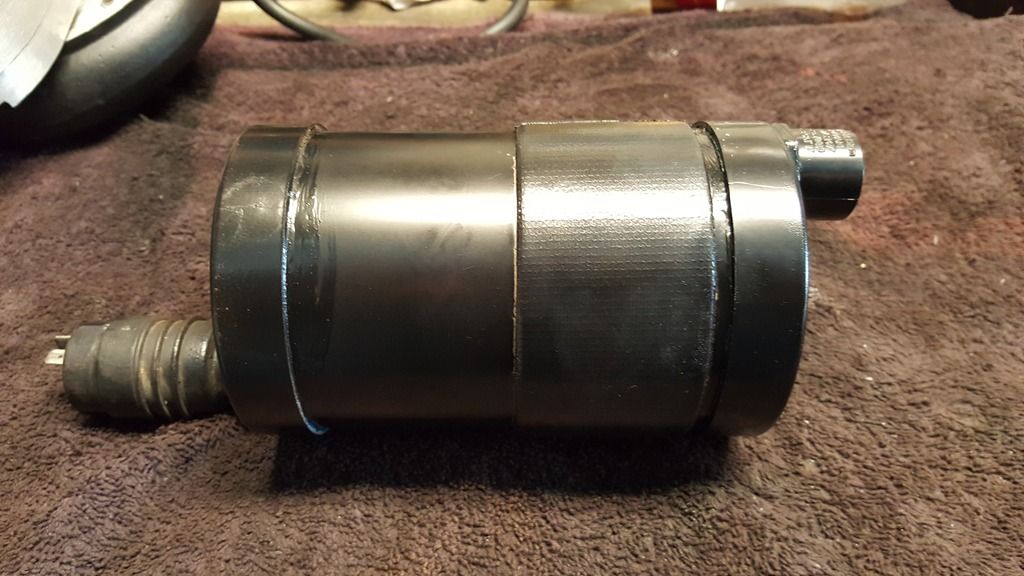
This is what it should look like.
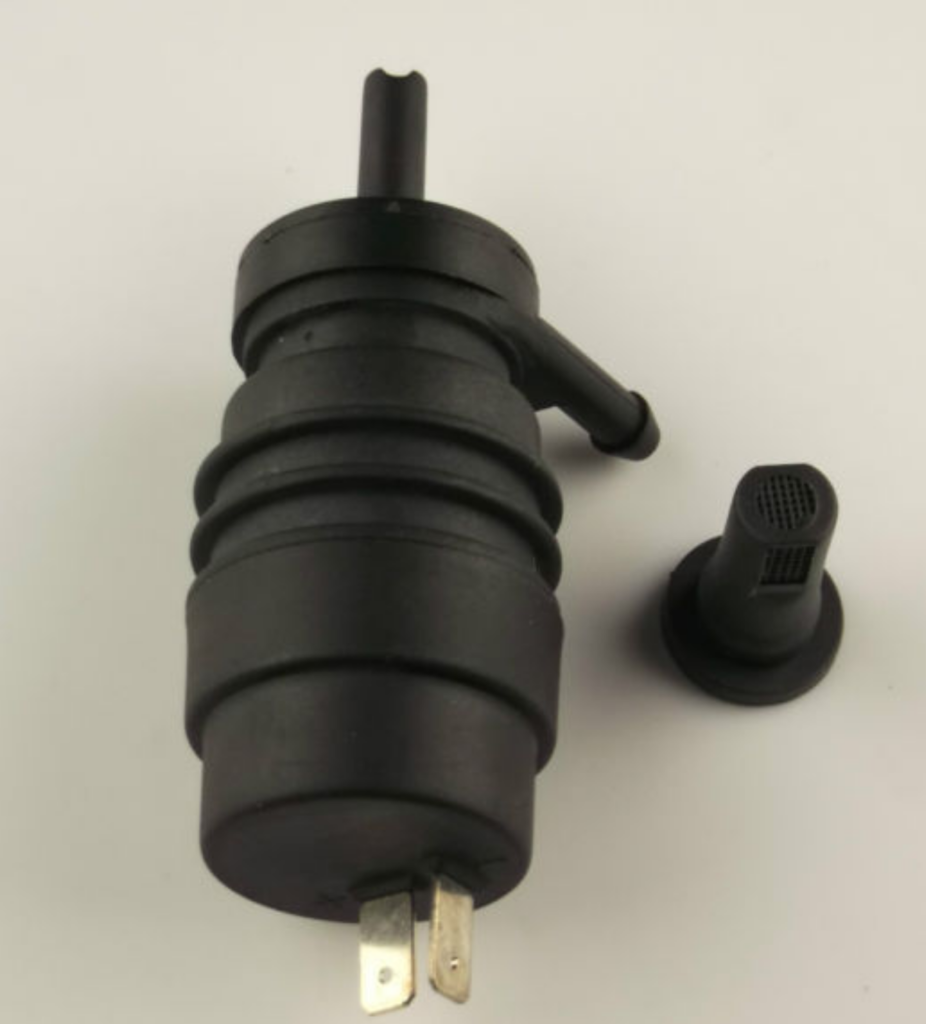
Next i pulled my washer motor from my old washer bottle and made sure not to damage the rubber grommet that keeps the motor sealed in the washer bottle.
I then drilled a hole at the lowest point on the other 90mm end cap so the water would come from the lowest point on the bottle.
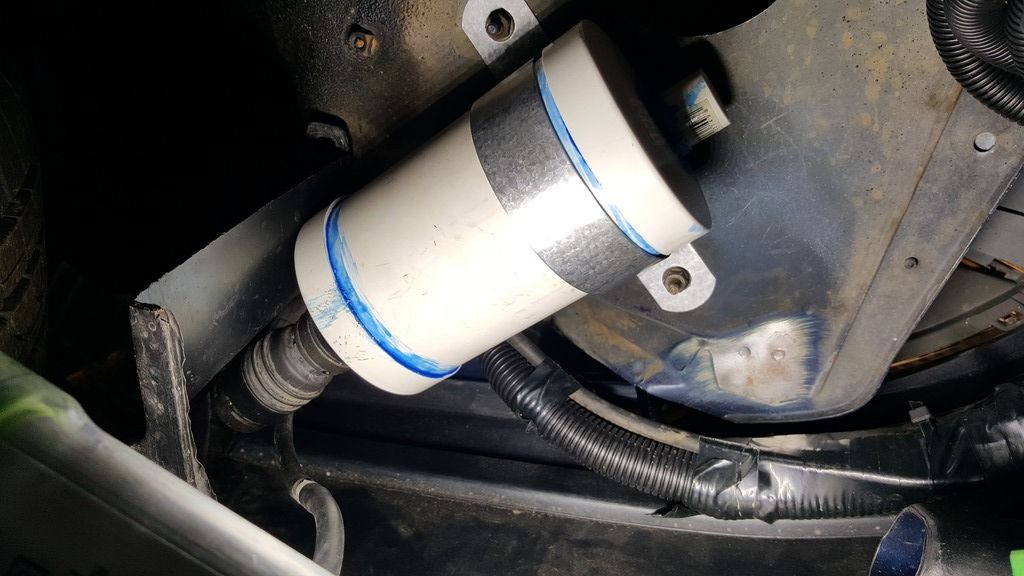
I don’t have a photo of this but this is what it should look like once done and test fitted in the car.
You can also see the pipe saddle that should fit straight onto the old washer bottle screws that are hanging down from underneath. I drilled the saddle end holes out so i had a little bit of movement to get it where i wanted it.
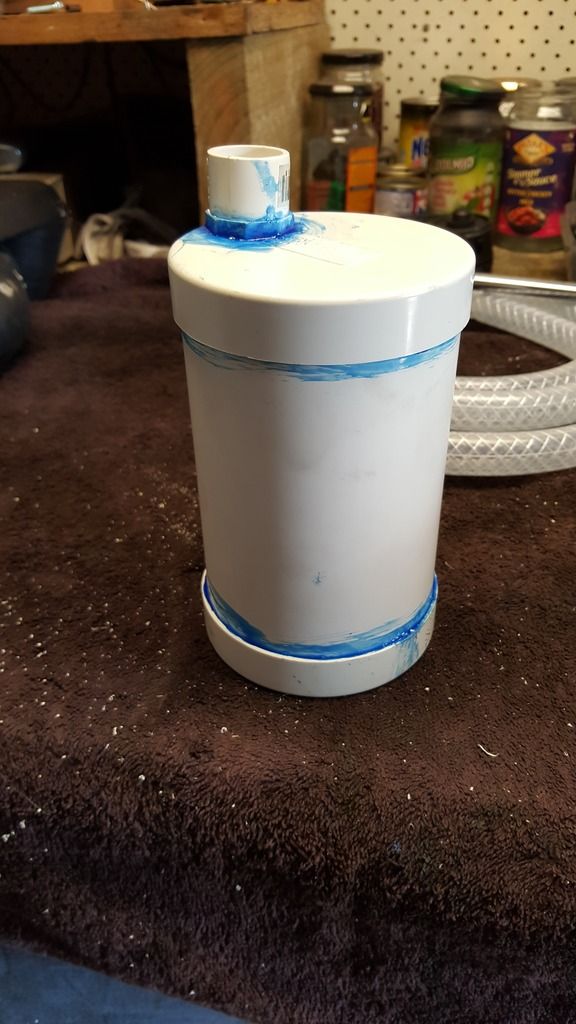
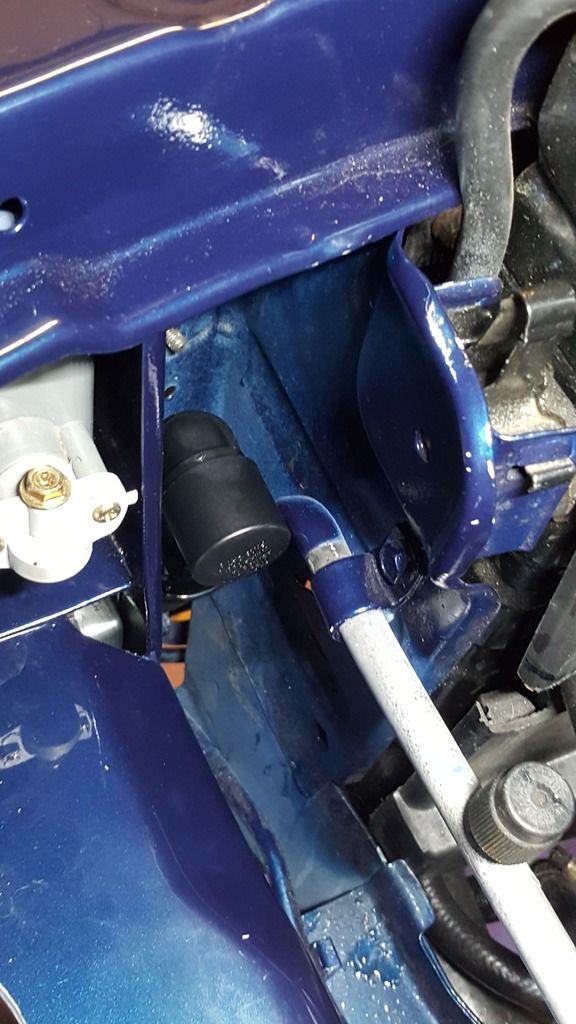
Next i got my 20mm hose and ran a length down from the front of the engine bay next to the radiator. You can see from the picture that i have painted the 90deg 20mm pvc piece and also placed the 20mm end cap on it, these just slip over the hose they do not need to be glued in place. You simply remove this piece when you want to fill with the hose. Make sure that your filler pipe is always higher than you bottle.
I had to run some tape around the 90mm pipe just to make it nice and tight when i bolted the saddle in place. Also make sure you drill a small hole on top off the bottle as this will allow you to fill it up and not cause an air lock to stop the water flowing in when filling it up.
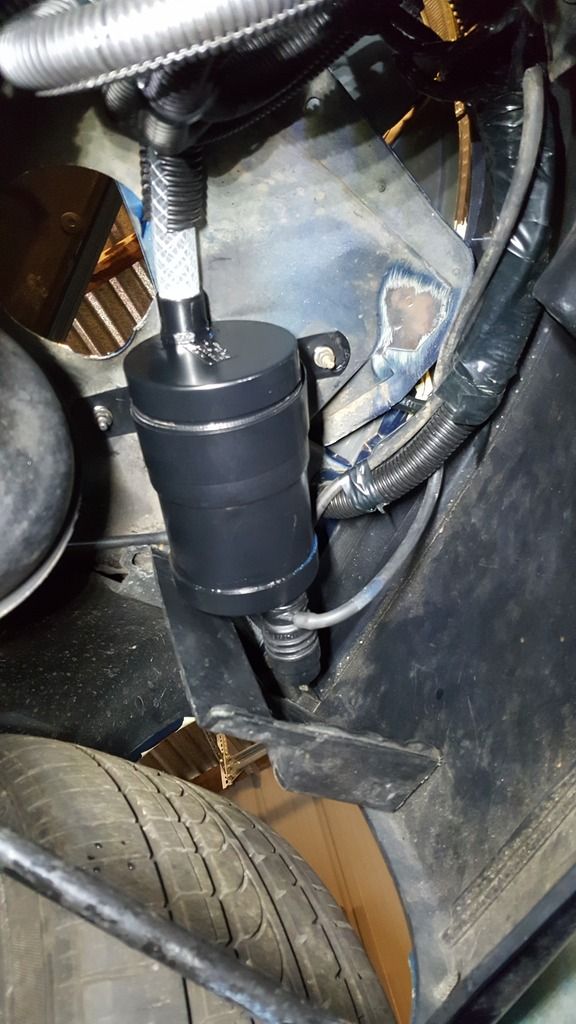
This should be the finished item after a little spray paint and all plumbed in.
 August 13, 2016 at 10:24 am #19005
brilliant idea!
August 13, 2016 at 11:06 am #19010
VRSenator065Participant- Adelaide SA
- VR Senator LSx454 1960 Kombi (project) 1921 Nash Hot Rod (future project)
View build HERE
Posts: 5 777That’s very cool mate, great write up too.
August 13, 2016 at 11:59 am #19011I’m a plumber. I’m disgusted that you haven’t used priming fluid prior to glueing.
August 13, 2016 at 2:26 pm #19012
HDN05LParticipant- Canberra ACT
- VS Olympic Edt 383 stroker Ute
View build HERE
Posts: 289I’m a plumber. I’m disgusted that you haven’t used priming fluid prior to glueing.
I know your a plumber and knew it was only a matter of time before you said something Cav lol
August 15, 2016 at 12:15 am #19040
Slow355Participant- Victoria
- hectic spec 355 vs ss ute
View build HERE
Posts: 322I’m a plumber. I’m disgusted that you haven’t used priming fluid prior to glueing.
Hahah i thought same thing!
munch munch ls1s for lunch
Best 1/4 mile 13.1@105mph 60ft-1.8sec Reaction time .8 sec 0/100-4.8secAugust 17, 2016 at 2:34 pm #19089What’s a bit of MEK between friends, really?
August 18, 2016 at 10:32 pm #19129Nice job dude!
Never even thought of trying that.
Might try it for vh plenum…just not sure if urban myth having washer bottle same level as wiper motor if one way valve stops water leaking out as turn corner.
-
AuthorPosts


You must be logged in to reply to this topic.
