
Home›Forums›Members’ Builds and Rides›VT – VX – VY – VZ›VZ Senator: Somebody had to be the first!
This topic contains 128 replies, has 27 voices, and was last updated by ![]() sands vs 7 years, 6 months ago.
sands vs 7 years, 6 months ago.
-
AuthorPosts
-
November 14, 2015 at 1:15 am #11266
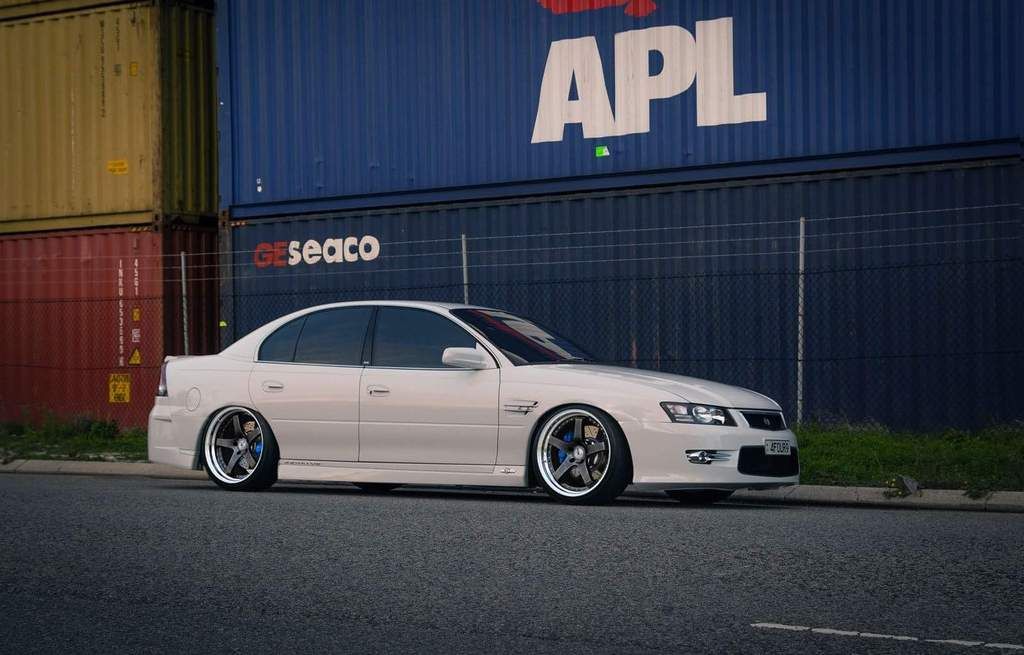
Only problem with concave, is the fronts almost always end up looking flat faced compared to the rears, and a lot of wheels designed with concave in mind look crap when they’re really flat.
So the plan is hopefully something with a bit of dish and concave. It takes me months to decide on a set of wheels haha :(
Recently SSR SP4’s looked promising, but im already leaning towards something else.
Maybe with a set of coupe 4 flares

The thought of simply going 10″ wide rears in the style of wheel it already has, has also crossed my mind. But that’s a bit boring now isn’t it
November 14, 2015 at 8:15 am #11270https://www.facebook.com/All-Aluminium-Welding-121184927956142/
The rims your running now with dish on the back would look porn.
November 14, 2015 at 6:04 pm #11288Wow that guy does some awesome work.
Might look a bit odd with dish on the rear not the front though.
November 14, 2015 at 6:25 pm #11290Yeah his work is 2nd to non. Totally disagree those rims with a few inches of dish on the back would not only looks ACE but it would have to be the only set in the country.
November 14, 2015 at 7:31 pm #11293
VRSenator065Participant- Adelaide SA
- VR Senator LSx454 1960 Kombi (project) 1921 Nash Hot Rod (future project)
View build HERE
Posts: 5 777
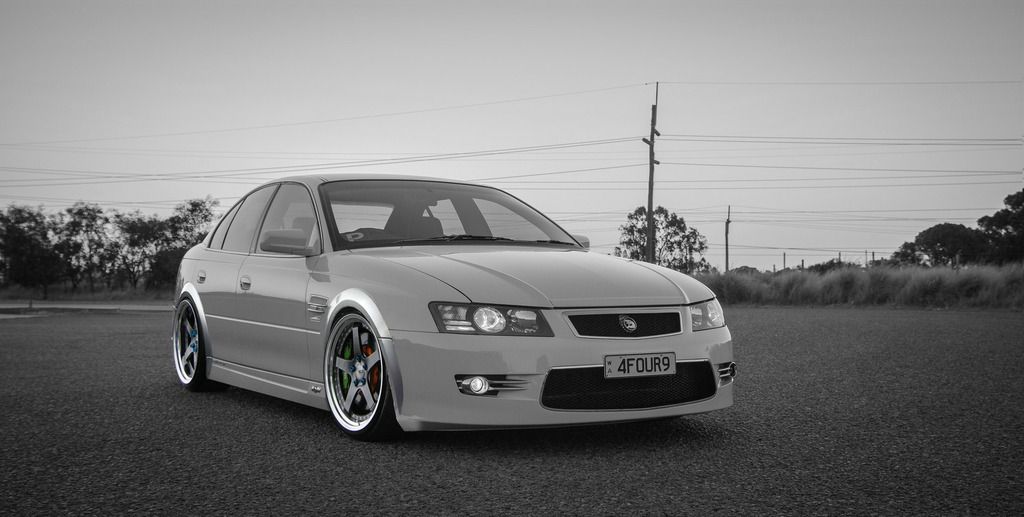
+1 I am so with Cava on this one, I think your current rims just suit the car perfectly, please don’t go FR’s or anything that looks like them…
The thought of simply going 10″ wide rears in the style of wheel it already has, has also crossed my mind. But that’s a bit boring now isn’t it
Well I guess I would be a little biased….
November 14, 2015 at 8:03 pm #11295Yours are a different story gaz man.
My wheels you can purchase in a 19X10 + 20 haha. So I wouldn’t need custom made wheels. But I’d rather change them up a bit anyways. Something 3 pc, polished lip, gunmetal centres. Just hard to find a style I love haha. I’m way to picky.
November 14, 2015 at 9:27 pm #11301
VRSenator065Participant- Adelaide SA
- VR Senator LSx454 1960 Kombi (project) 1921 Nash Hot Rod (future project)
View build HERE
Posts: 5 777I am really digging the polished lips and colored centres on the pics above btw. Wheels are so personal, but they make or break a car…
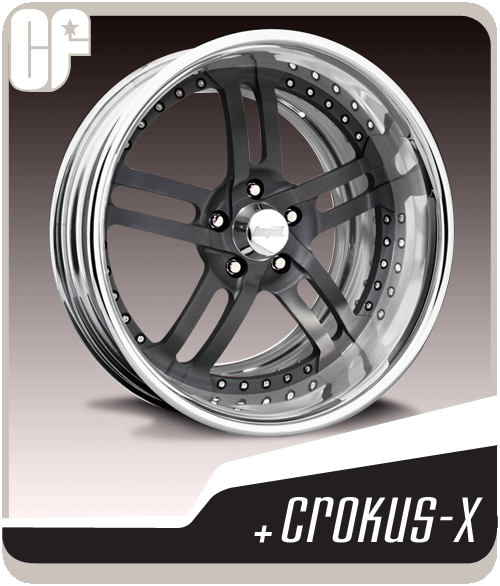
November 22, 2015 at 3:24 pm #11545Bonspeed have a lot of options in there Colorforged range, can order them however you like.
http://www.bonspeedwheels.com/colorforged/colorforgedwheelsgallery.html
 December 4, 2015 at 5:14 pm #11905
Back from work so a bit more progress has been made, have stripped both sets of arms down, removed the spindles and not the VS arms are currently at a workshop having new bearings fitted.
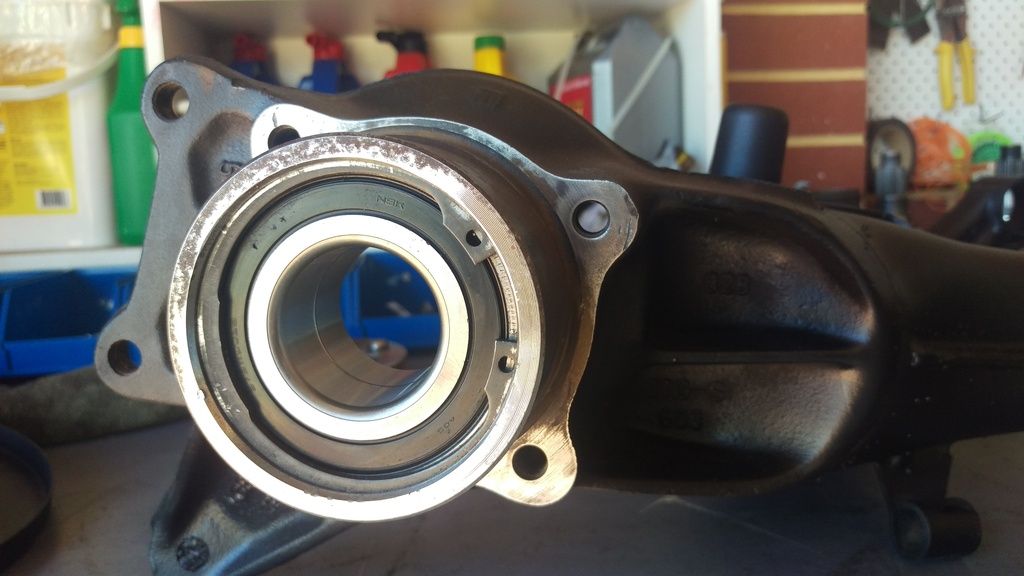
What the arms look like with the spindles removed.
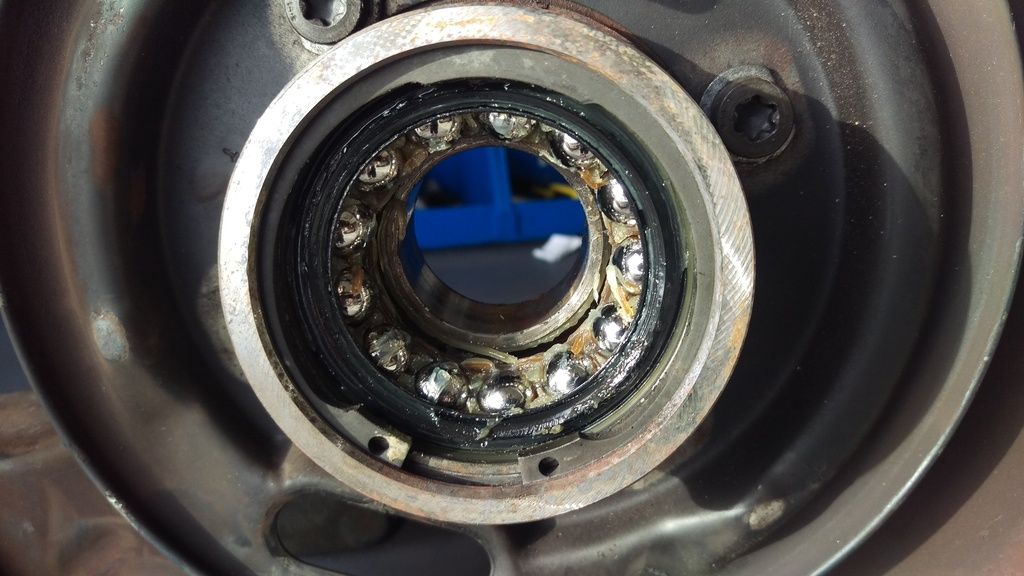
Most of the bearing remains in place, however one section of it sticks to the spindles when removed. I tried using a pulley removal tool to remove them, but I couldn’t get them to grip on the small lip the bearings had.
Even after filing down the arms like so,
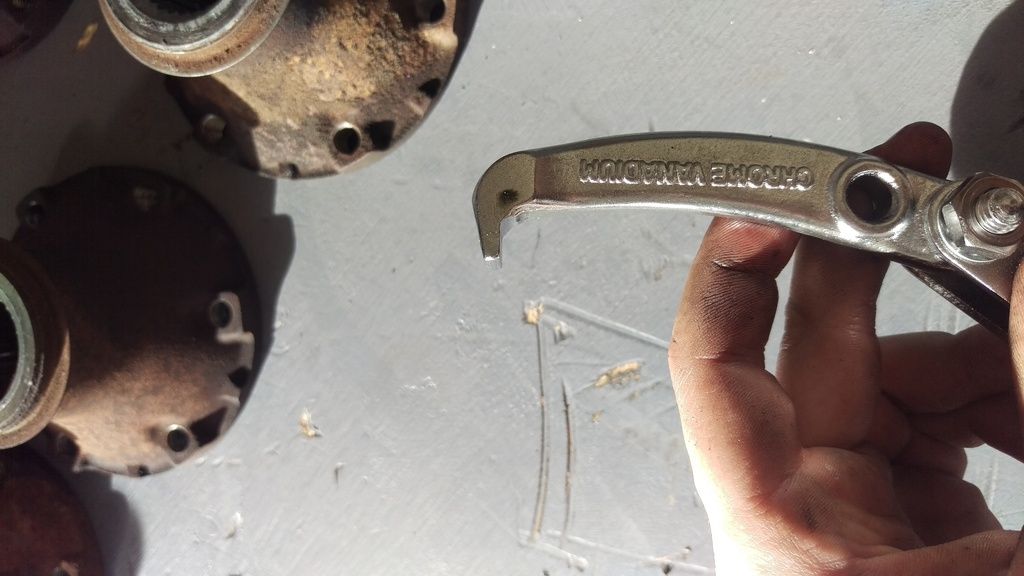
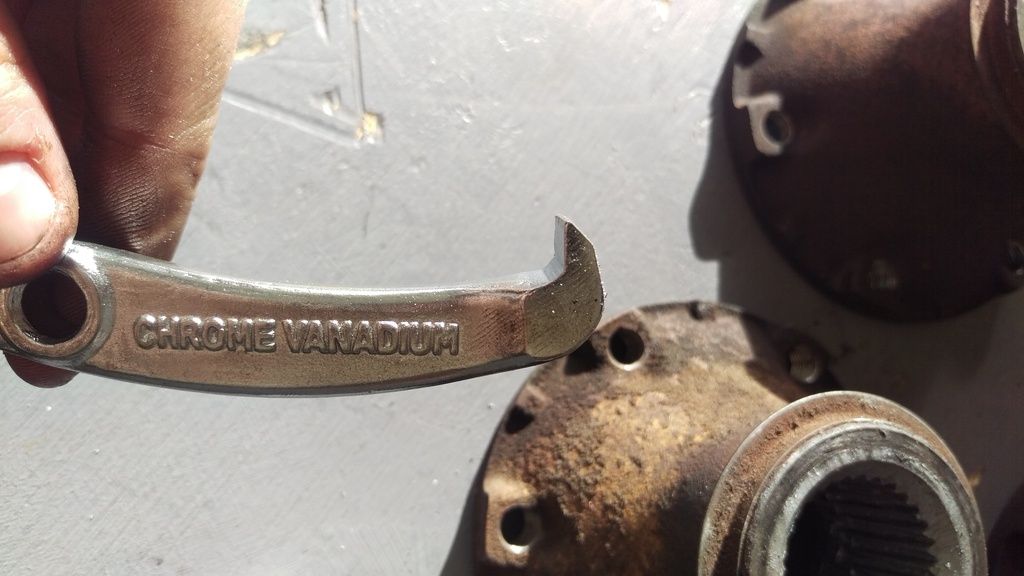
I still had no luck.
Now that they’re all apart i could see the differences between the VT-VZ style arms and the VS.
There is NO difference on the spindles or the piece that connects to the driveshafts. I was hoping these pieces would be a different size, so i could mix and match parts between the generations to get the shorter VS drive shafts to bolt up but had no luck.
VS left, VZ right ( you can also see the remaining piece of the bearings on each spindle )
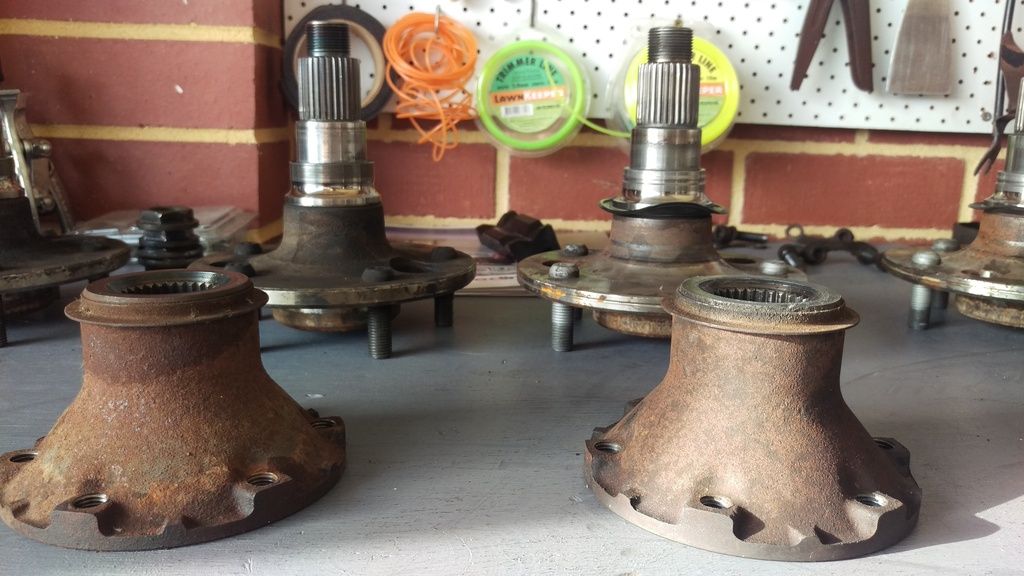
So with this setup you will need custom driveshafts made unfortunately, which adds a fair bit to the cost.
With everything being the same, I will be using the VZ spindles / driveshaft connecting pieces as they’re in a bit better condition and haven’t travelled so far.
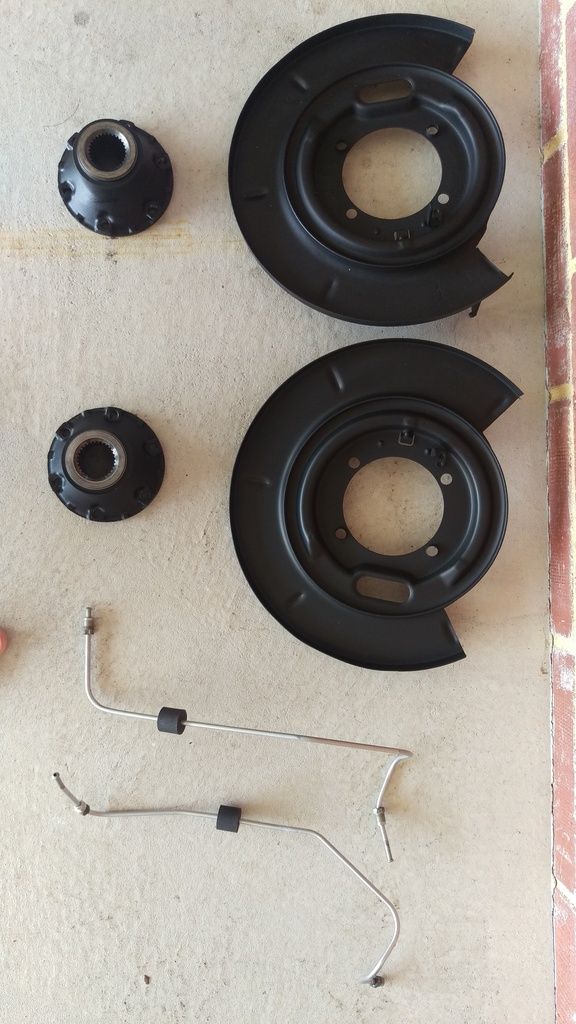
You must also use the VZ hard brake lines, as the VZ handbrake / dust shield has the bracket on it to secure the hard brake lines. With that all said and done, i painted the remaining parts and Monday ill be able to start re assembly.

Sorry for the essay, trying to keep it as informative as possible.
December 4, 2015 at 5:19 pm #11906Not sure on VS arms but on VZ there are 2 small notches on the backside, I just use a drift and a big hammer if the arms are still on the car, if off I press on the bearings… means you can’t reuse them but at this point you usually aren’t anyway..
December 5, 2015 at 9:20 pm #11945
VRSenator065Participant- Adelaide SA
- VR Senator LSx454 1960 Kombi (project) 1921 Nash Hot Rod (future project)
View build HERE
Posts: 5 777Great write up, have you tried heat? Heating up the ring makes it expand and should make it easier to get off with your puller.
December 6, 2015 at 9:52 pm #11968Did not try heat, just wanted it done asap. Was easier to run them up to the old man’s work real quick
Will try sticking the spindles in the freezer to shrink them down when re assembly begins. Just need to clean up the arms and paint them gloss black.What grease did you use for the bearings and handbrake assemblies Gary? Let the last piece of the puzzle for me.
December 7, 2015 at 12:19 pm #11969
VRSenator065Participant- Adelaide SA
- VR Senator LSx454 1960 Kombi (project) 1921 Nash Hot Rod (future project)
View build HERE
Posts: 5 777I just used some regular axle grease i have had for years. Not sure it needs anything exotic
December 7, 2015 at 9:48 pm #11985Thanks mate, ended up with the Castrol high temp bearing stuff.
Got the bearings pressed in.
Also got the handbrake assembly’s fitted up after cleaning and painting the arms. They were supposed to be gloss black but the paint can lied to me and they’ve come out satin, oh well will only get covered in dirt and grime anyway.
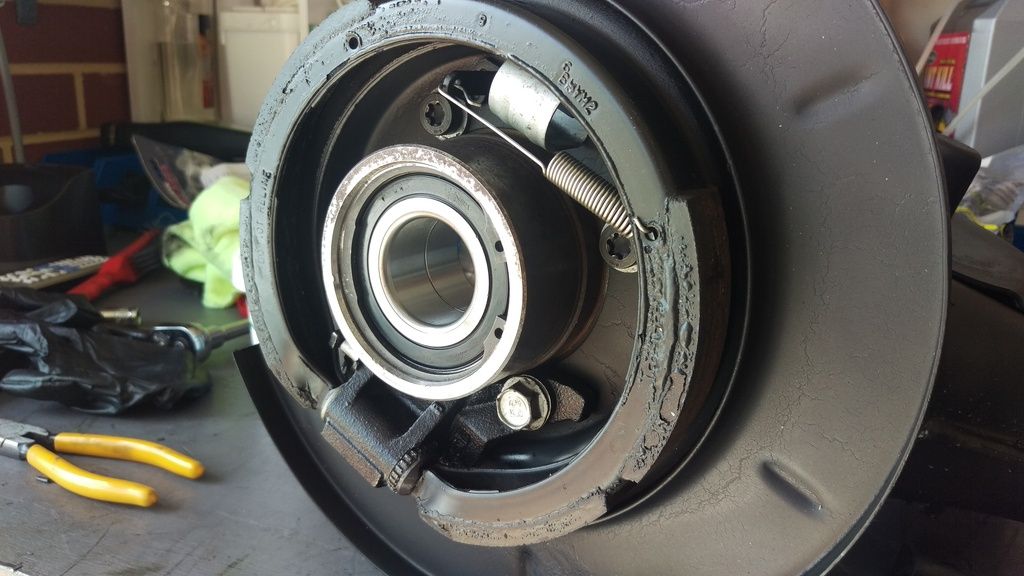
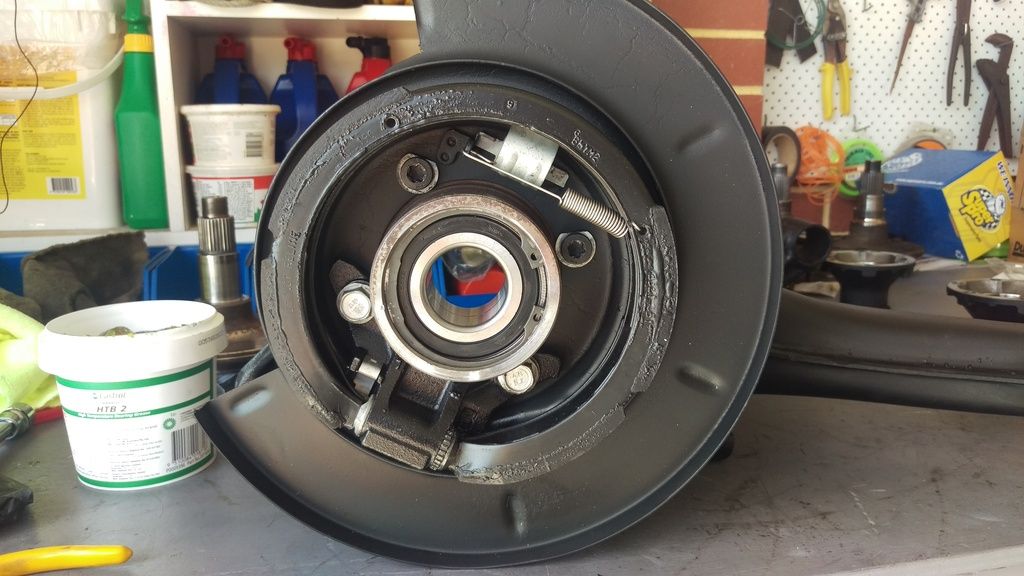
All that’s left to do know is press the stub axles in and bolt the rear pieces back onto the splines. Then it’s ready for custom driveshafts.
Off to work tomorrow and not back until the new year. So until then this will be all haha. :bye:
December 8, 2015 at 9:49 am #11993
VRSenator065Participant- Adelaide SA
- VR Senator LSx454 1960 Kombi (project) 1921 Nash Hot Rod (future project)
View build HERE
Posts: 5 777Very very neat
 January 8, 2016 at 12:59 pm #13131
So the arms are now complete, i just have the issue of the driveshafts. Has anyone ever had custom length ones made?
The car will be running some pretty serious rubber, and I would like shafts that can cope with a few decent launches at the strip etc.
January 9, 2016 at 5:48 pm #13153
VRSenator065Participant- Adelaide SA
- VR Senator LSx454 1960 Kombi (project) 1921 Nash Hot Rod (future project)
View build HERE
Posts: 5 777My G Force units were made to my specified length as they hadn’t done VR before. Cant imagine it being a huge issue. With mine I just had to give them the length from flange to flange, they are also slightly different length side to side. Mine weren’t cheap though, I thing Pete with his blown VS Manta had ones made here in Aus, I reckon it might be in his build thread?
-
This reply was modified 8 years, 3 months ago by
 VRSenator065.
January 9, 2016 at 6:37 pm #13159Found a solution
G Force sell a CV upgrade kit for my driveshafts, using stronger Porsche units.
Then I’ll just get my original shafts machined down and I’ll be good to go!
Gary when you measured up for driveshafts, did you do it once the subframe was back in the car, or before you installed it?
January 9, 2016 at 6:52 pm #13161
VRSenator065Participant- Adelaide SA
- VR Senator LSx454 1960 Kombi (project) 1921 Nash Hot Rod (future project)
View build HERE
Posts: 5 777No i did mine with it assembled on the bench. From memory I removed the springs and got if reasonably level. When you contact GForce, speak to CI Nichols and mention me. He has become a bit of a mate of mine. Very cool guy
January 10, 2016 at 12:22 am #13165
MichaelParticipant- VY Calais 383ci GT42 turbo.
View build HERE
Posts: 208Found a solution
G Force sell a CV upgrade kit for my driveshafts, using stronger Porsche units. Then I’ll just get my original shafts machined down and I’ll be good to go! Gary when you measured up for driveshafts, did you do it once the subframe was back in the car, or before you installed it? I’ve found with the standard shafts, the shafts break or the splines strip. Never had a problem with the cv joint.
-
AuthorPosts


You must be logged in to reply to this topic.
