
Home›Forums›Members’ Builds and Rides›VN – VP – VR – VS›VR Senator with LSx454
This topic has been reported for inappropriate content
This topic contains 2,102 replies, has 82 voices, and was last updated by ![]() VRSenator065 2 years, 11 months ago.
VRSenator065 2 years, 11 months ago.
-
AuthorPosts
-
February 18, 2015 at 1:41 am #427

VRSenator065Participant- Adelaide SA
- VR Senator LSx454 1960 Kombi (project) 1921 Nash Hot Rod (future project)
View build HERE
Posts: 5 777
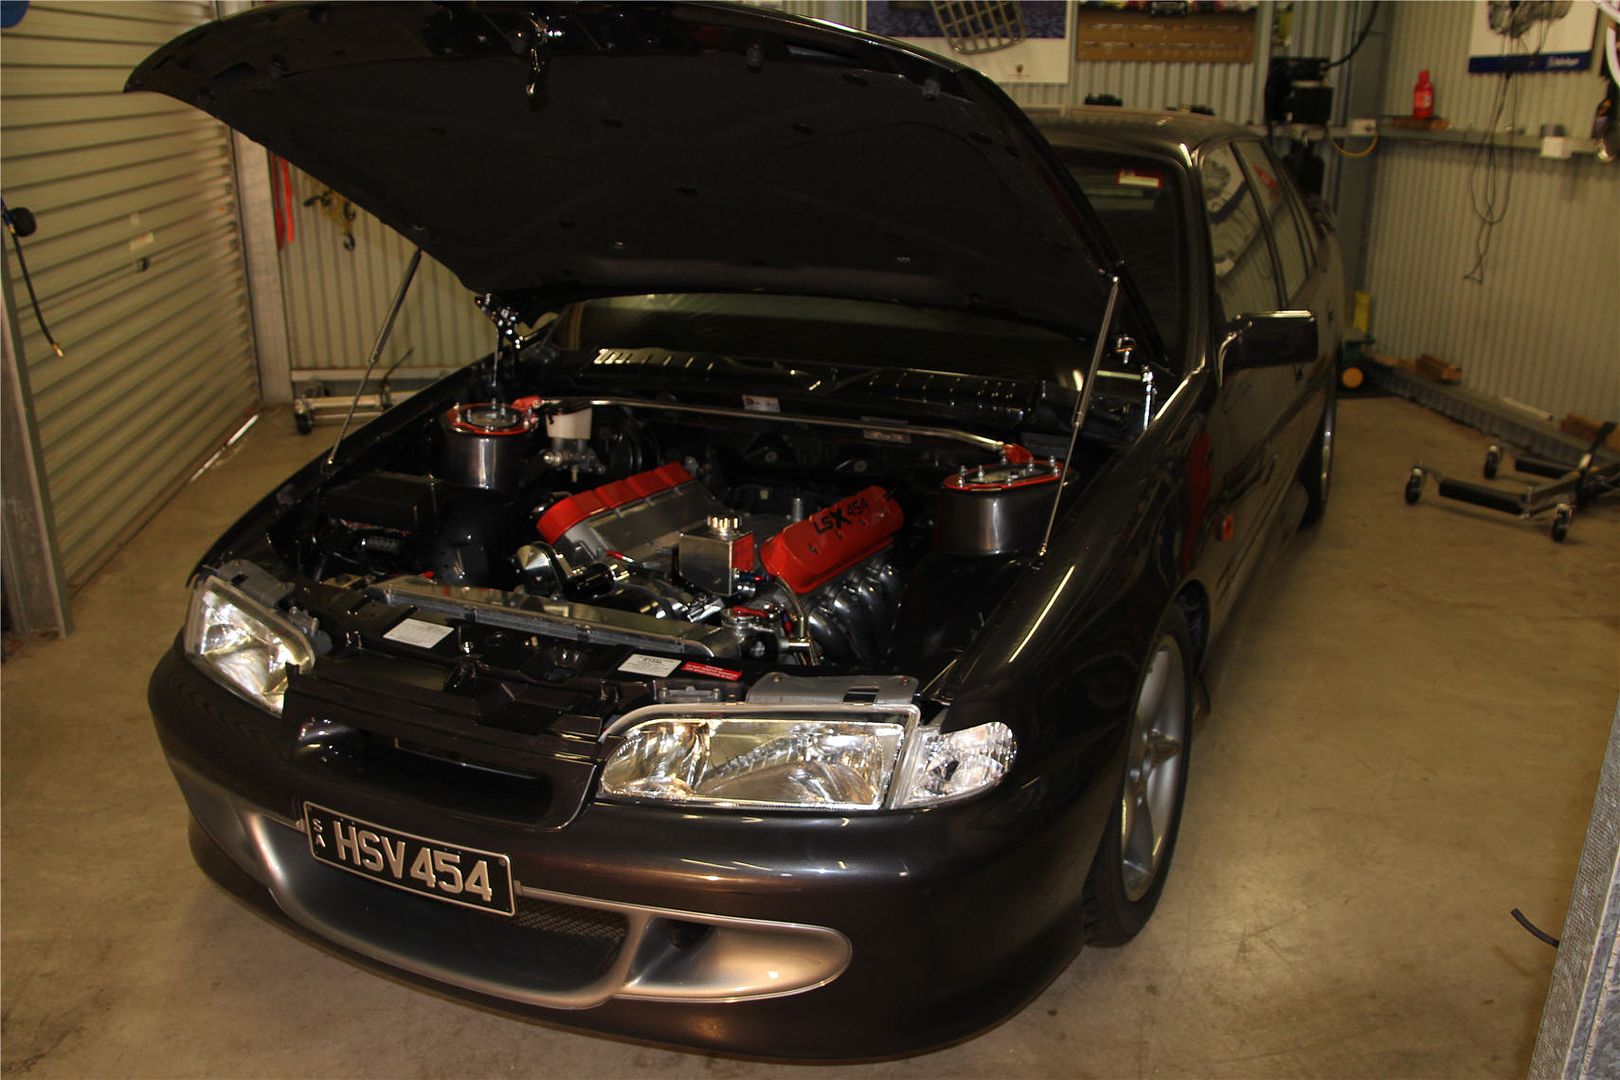
Well its pretty much in completely now :) Really happy, I took my time and got the engine where I wanted it, the way I have done it I was able to spin all the engine mount bolts in pretty much by hand, so I know its not fighting against itself. Tbh its only a few mm from where it would have sat, but has made a lot of difference especially around where the extractors come down past the steering boots. I will try and get hold of some heat shield and make up some shields for them and also the starter but I can do that later.
In the end I went to a wrecker and picked up a crappy standard VR/VS gearbox cross member, and re drilled it to suit the Tuff mount, cleaned it up and painted it and it looks way better and I think will be much stronger.
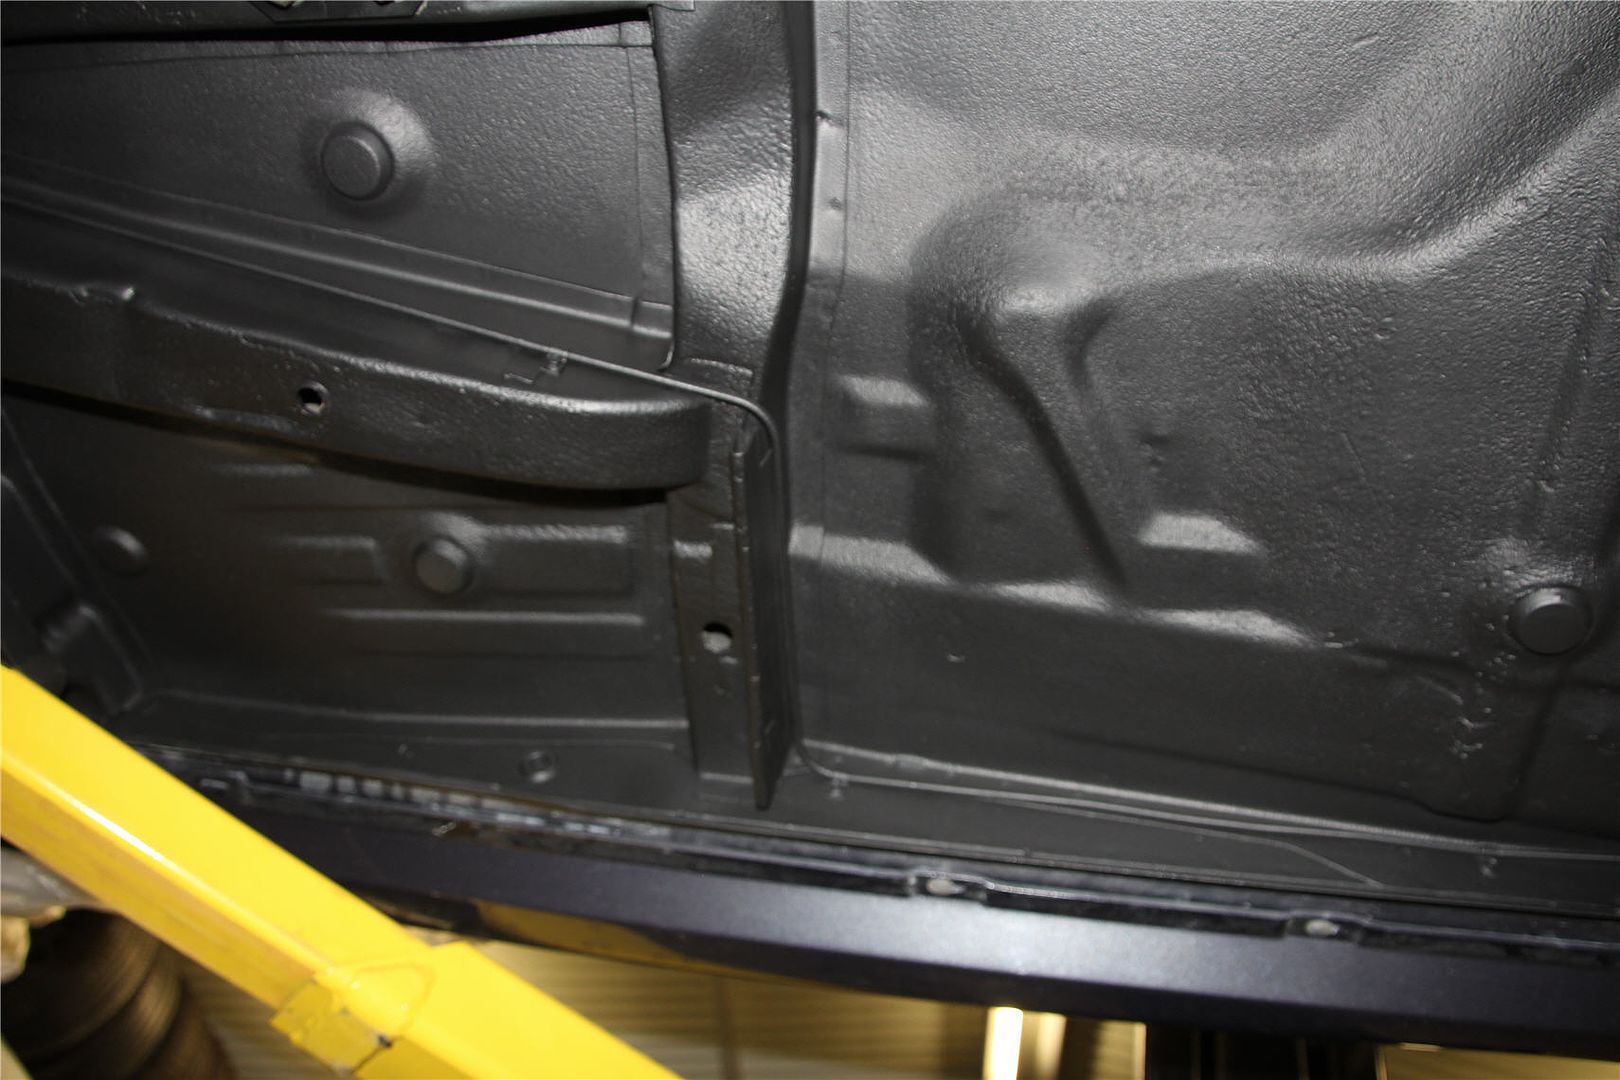
Also got under with a rotary brush and cleaned off the pain and crap off the handbrake brackets and cable and got it looking schmick, bit anal I know but it looked out of place all crappy. One day I will drop the sub frame, gearbox cross members and get them powder coated but for not they look good enough.
Am going to make up a cover plate for the bottom half of the bell housing, will paint it orange and drill and tap the adaptor ring and screw into that. probably wait until the sub frames out so I have a little more room, but again, that can wait.
Only issue I have to sort now is with the sump it needs an adaptor block for the oil feeds out of the block. The one that came with the sump is set up to come vertically down, unfortunately on our cars that’s exactly where the steering rack is. So I think I will model up my own and have it machined out of ally billet that will take the -10 fittings out sideways, then take the hoses forward with 90 degree elbows.
All in all a great couple of weeks though, here’s a few pics…
-
This reply was modified 6 years, 7 months ago by
 VRSenator065.
February 18, 2015 at 1:42 am #428
VRSenator065Participant- Adelaide SA
- VR Senator LSx454 1960 Kombi (project) 1921 Nash Hot Rod (future project)
View build HERE
Posts: 5 777Btw, struck a bit of a snag last night. Got hold of a really nice Aeroflow billet alternator mount, it arrived yesterday, along with the alternator so had a quick trial fit. had a bit of a DOHH moment as my pulleys are 22mm (7/8″) out of alignment.
Something I was unaware of is there are three “depths” of harmonic balancer on LS series engines, Corvette (LS3), Camaro (LS1/2) and Truck (I don’t think in Oz)
So it seems the LSx454 is the LS3 style balancer, so I either need to get LS3 specific ancillary mounts, or change the balancer to the LS1 style and run the LS1 parts. I think I will have an easier time getting the LS1 style stuff and changing to a better damper is a good thing anyway. So I am looking into buying a nice after-market balancer, probably fit at ARP bolt while I am at it, and maybe the split timing case.
-
This reply was modified 6 years, 7 months ago by VRSenator065.
February 18, 2015 at 1:42 am #429
VRSenator065Participant- Adelaide SA
- VR Senator LSx454 1960 Kombi (project) 1921 Nash Hot Rod (future project)
View build HERE
Posts: 5 777Well got a fair bit done today, first minor snag I hit was that the tool to lock the engine from turning so you can torque the balancer bolt, fits into the starter mount and so wont work with the starter swap kit. I had some flat bar and luckily my trick flex plate has other sets of holes so I was able to make up a locking bar to the bottom bell housing bolt holes. once I have done i will paint it up and keep it, sure it will come in handy again.
Second issue is the OE balancer doesn’t have a key, but the new one does. There is the keyway in the end of the crank so its no real drama, but I need one to finish fitting it. Just a bummer as I would have got it all done and dusted but tried ringing around, no one had one so it needs to wait until Monday. Have to say having the special tool kit made it a pretty easy task. I got blutac and put it over all the bolts etc and then offered up the Edelbock timing case to check clearance and there seems to be at least as much clearance to the split timing case as the original, so maybe they are right there are only issues if you go to a double row timing chain that from everything I have read is simply not required on an LSx anyhow. Must say its not the first O ring I have had to fit like that, trick i learnt ages ago was to pack the groove with grease so it holds it in place so you don’t catch it when doing it up.
As I got as far as I could with the balancer I had a good look at the alternator. On mine, not sure they all do, there was a small protrudence in the casing, I ground that off and with the Aeroflow billet mount I have there is about 11mm clearance to the chassis. I got a 10mm diameter pin and it clears easily. Its tight but its tight everywhere so should be OK. All the mounts from what I can see would have the same issue, as the bolts go through the alternator directly into the block. I reckon if its an issue, the two options are (1) Slot the holes in the alternator so you can move it a couple of mm harder against the block, trouble is it makes the alternator custom, and really needs to be done by a machine shop, or (2) source a slightly smaller alternator, I would be surprised if there is not one out there somewhere.
Had a look at the radiator and cooler stuff. I think I can fit one side radiator on the passenger side, but the drivers side is a no go due to the way the battery box sits there. On Monday will chat to PWR and see what they reckon, maybe a trans cooler to the side, as that’s the one I am really concerned with as its heat that kills auto’s, and maybe the engine cooler piggy backed to the rad, not sure on that.
And then the oil adaptor, what a pain in the friggin arse. Its just a shit, its just so close in there. On the LS1 forum a guy has put me onto some very slimline 90 degree elbows, so maybe a 10 or 12mm stainless plate tapped -12AN will work with them. Probably have to get them to see and make it up as I go along.
Have to say today for the first time I reckon I hit that point everyone seems too when doing a car like this. When I look at the car there are just so many small issues to be sorted its a bit over whelming. Its just that just about everything needs a tweak here or there. Anyhow i have come to far to stop now, just need to get a bit energised about it, she will be nice when she’s done but she certainly is not making it easy for me

Few pics
-
This reply was modified 6 years, 7 months ago by VRSenator065.
February 18, 2015 at 1:43 am #430
VRSenator065Participant- Adelaide SA
- VR Senator LSx454 1960 Kombi (project) 1921 Nash Hot Rod (future project)
View build HERE
Posts: 5 777Thanks for the tips, definitely the tyres need to be road legal, not coming this far and stuffing that up!! Will have a look at the Toyo’s.
Well got my beautiful new tensioner in the post today, have to say I love Aeroflow stuff, reasonably priced for that sort of gear and oh so nice. Fitted it up, got a standard GM power steering pump mount plate. The pump and plate look a bit ordinary, might look around and see what else is available. I have a nice polished fabricated reservoir but Holden didn’t have the mount plate in yet.
edit : maybe stupid next time should take the time to look at the belt path before he attempts to fit it ha ha
-
This reply was modified 6 years, 7 months ago by VRSenator065.
February 18, 2015 at 1:45 am #431
VRSenator065Participant- Adelaide SA
- VR Senator LSx454 1960 Kombi (project) 1921 Nash Hot Rod (future project)
View build HERE
Posts: 5 777Got the engine oil cooler mounted today, bloody hot over here so calling it a day. Really happy with how it went, made up a right angle bracket out of 25mm angle for one side, cut & shut it and welded, nailed a nice weld too, cant beat that buzz of a novice like me nailing a weld first go when you haven’t done it for a few months :) Made up a 25mm flat bar bracket for the other side as that where the fittings enter/exit.
Thought I would hold off ordering the fittings until I had it in there since they are so expensive to get wrong, went in nicely with the entry/exit on the engine side, so two 90 degree fittings should work a treat then one hose directly to the engine, the other to the remote filter. Also neatened up the supplied wiring which was a little loose and ordinary.
It looks closer to the washer bottle than it is, and it will give me some nice room to run some large diameter flexible ducting from the side vent in the front grill up to the front of the radiator if I need to.
-
This reply was modified 6 years, 7 months ago by VRSenator065.
February 18, 2015 at 1:45 am #432
VRSenator065Participant- Adelaide SA
- VR Senator LSx454 1960 Kombi (project) 1921 Nash Hot Rod (future project)
View build HERE
Posts: 5 777Well what a thing of beauty, if that doesnt keep it cool nothing will, at this stage I have just dropped it in there for a quick test fit.
-
This reply was modified 6 years, 7 months ago by VRSenator065.
February 18, 2015 at 1:46 am #433
VRSenator065Participant- Adelaide SA
- VR Senator LSx454 1960 Kombi (project) 1921 Nash Hot Rod (future project)
View build HERE
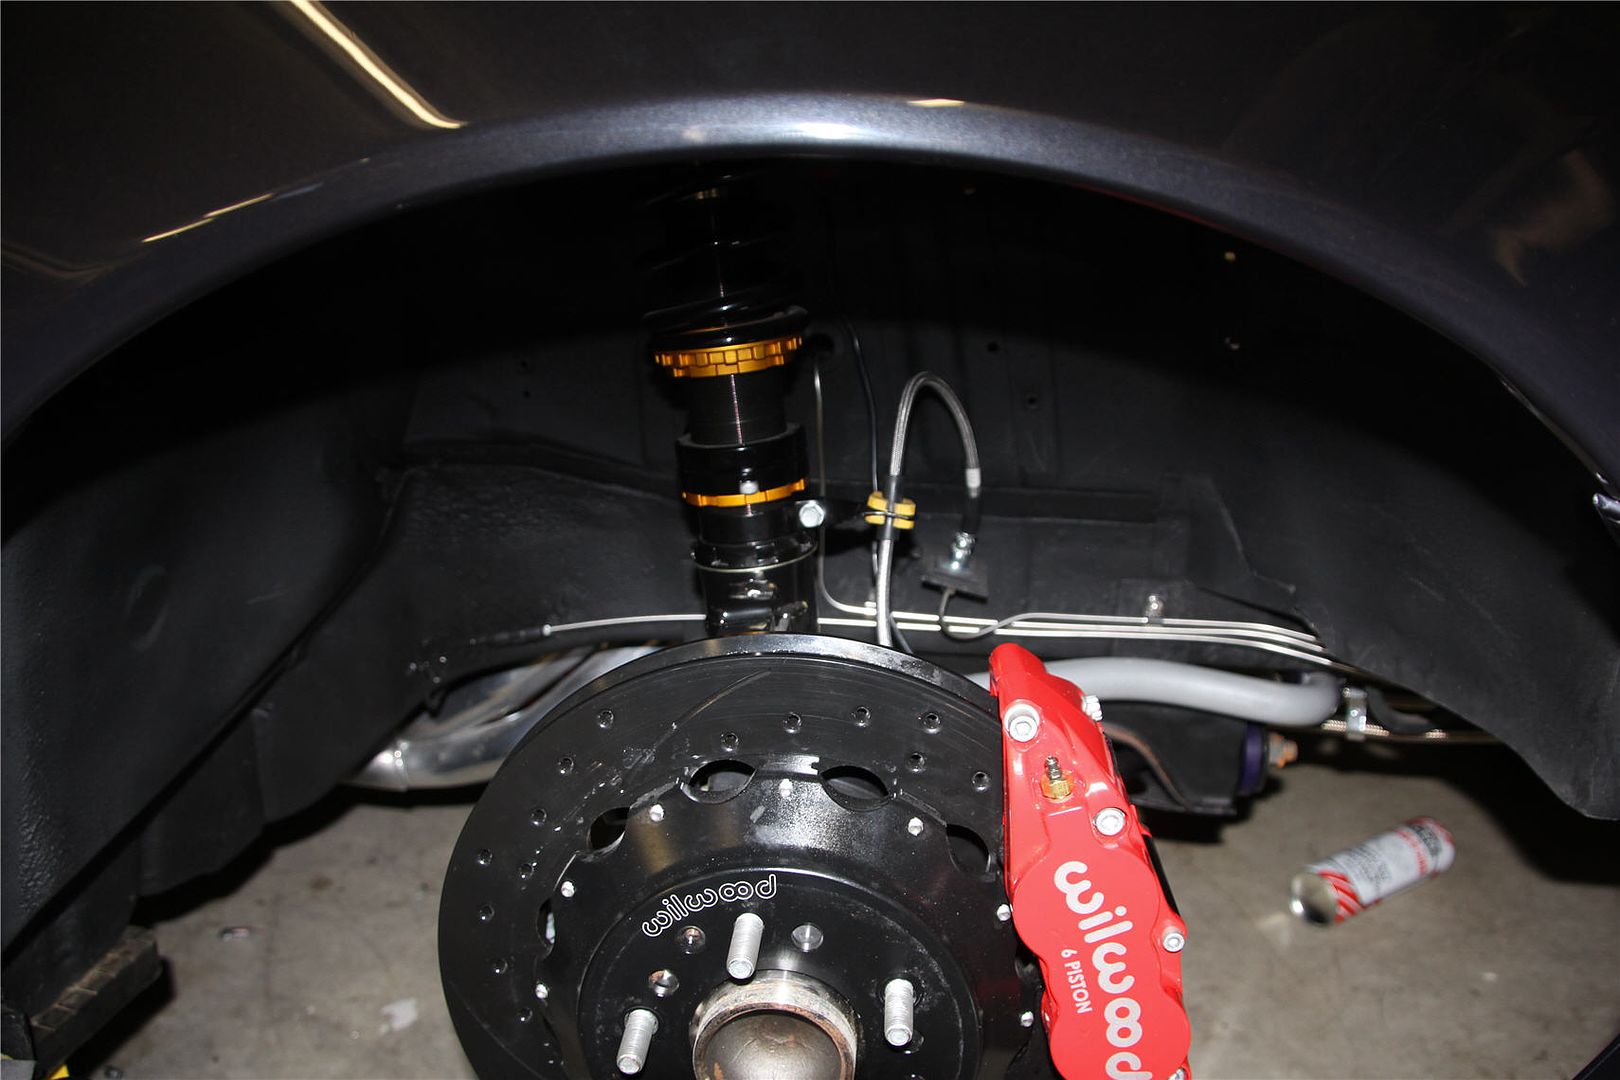
Posts: 5 777Very glad to say got the brakes sorted. Drew up some spacer plates for the calliper mounts, they are doweled as well. Will also get some high tensile longer bolts. Bolted up perfectly today, I think that’s pretty well done and dusted, so its lines and hoses time.
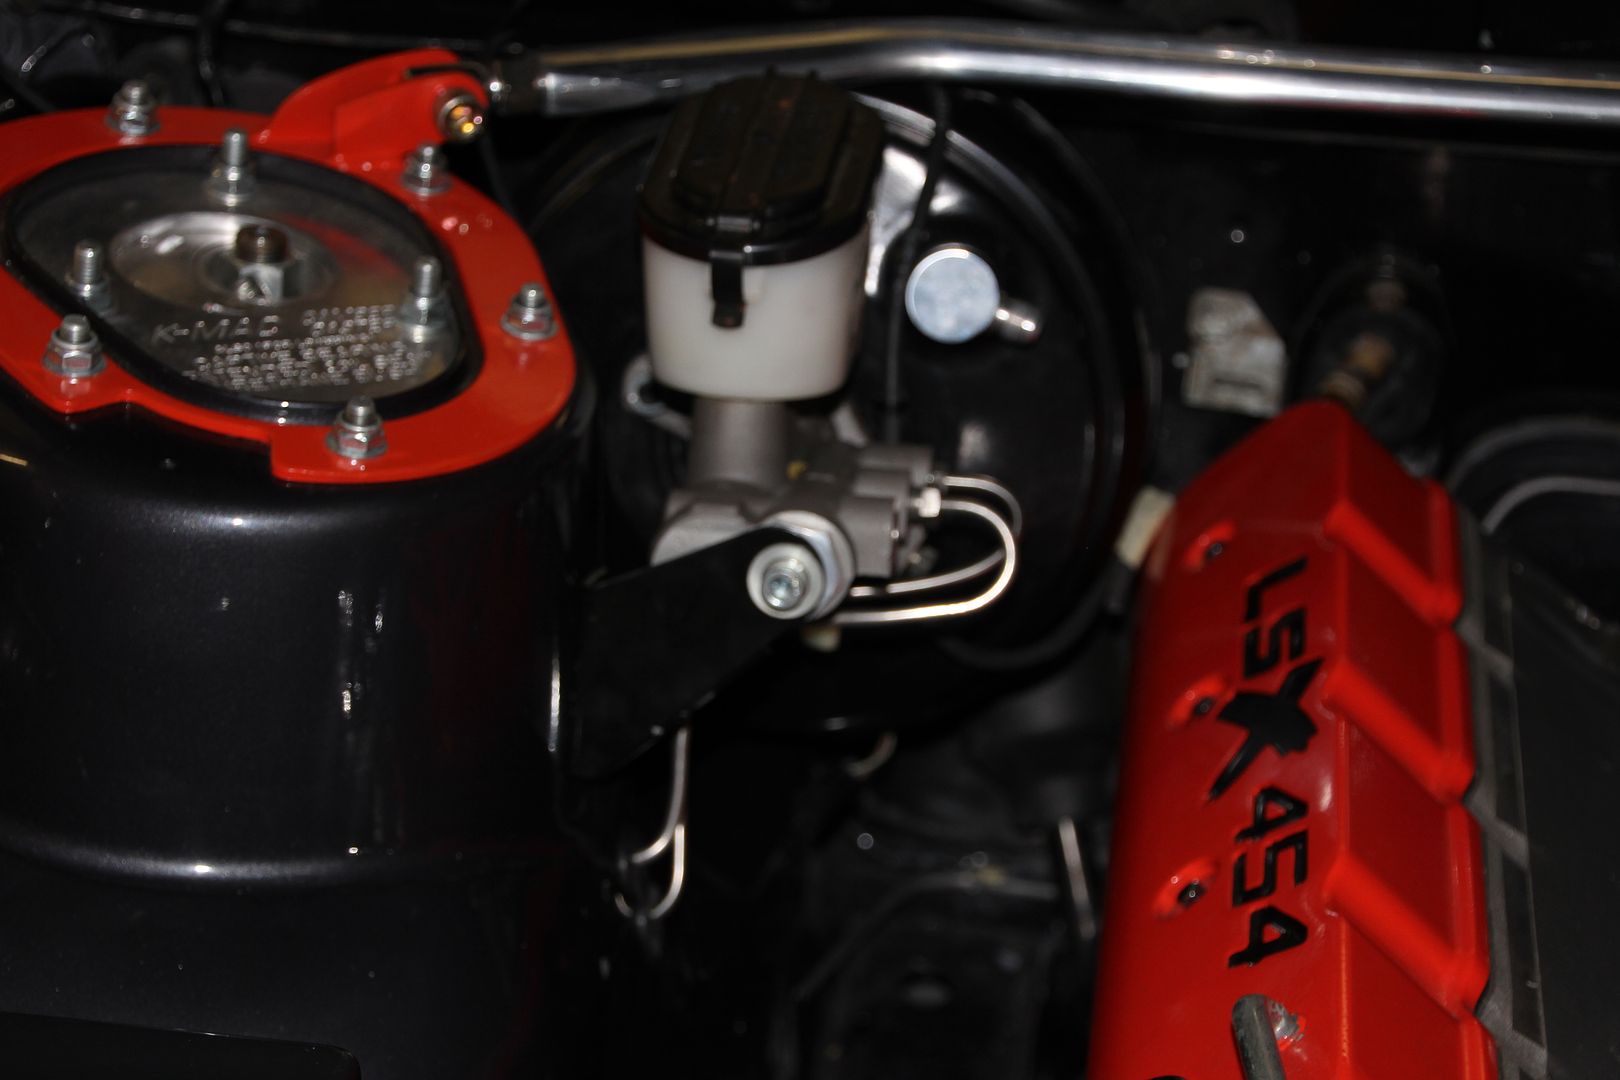
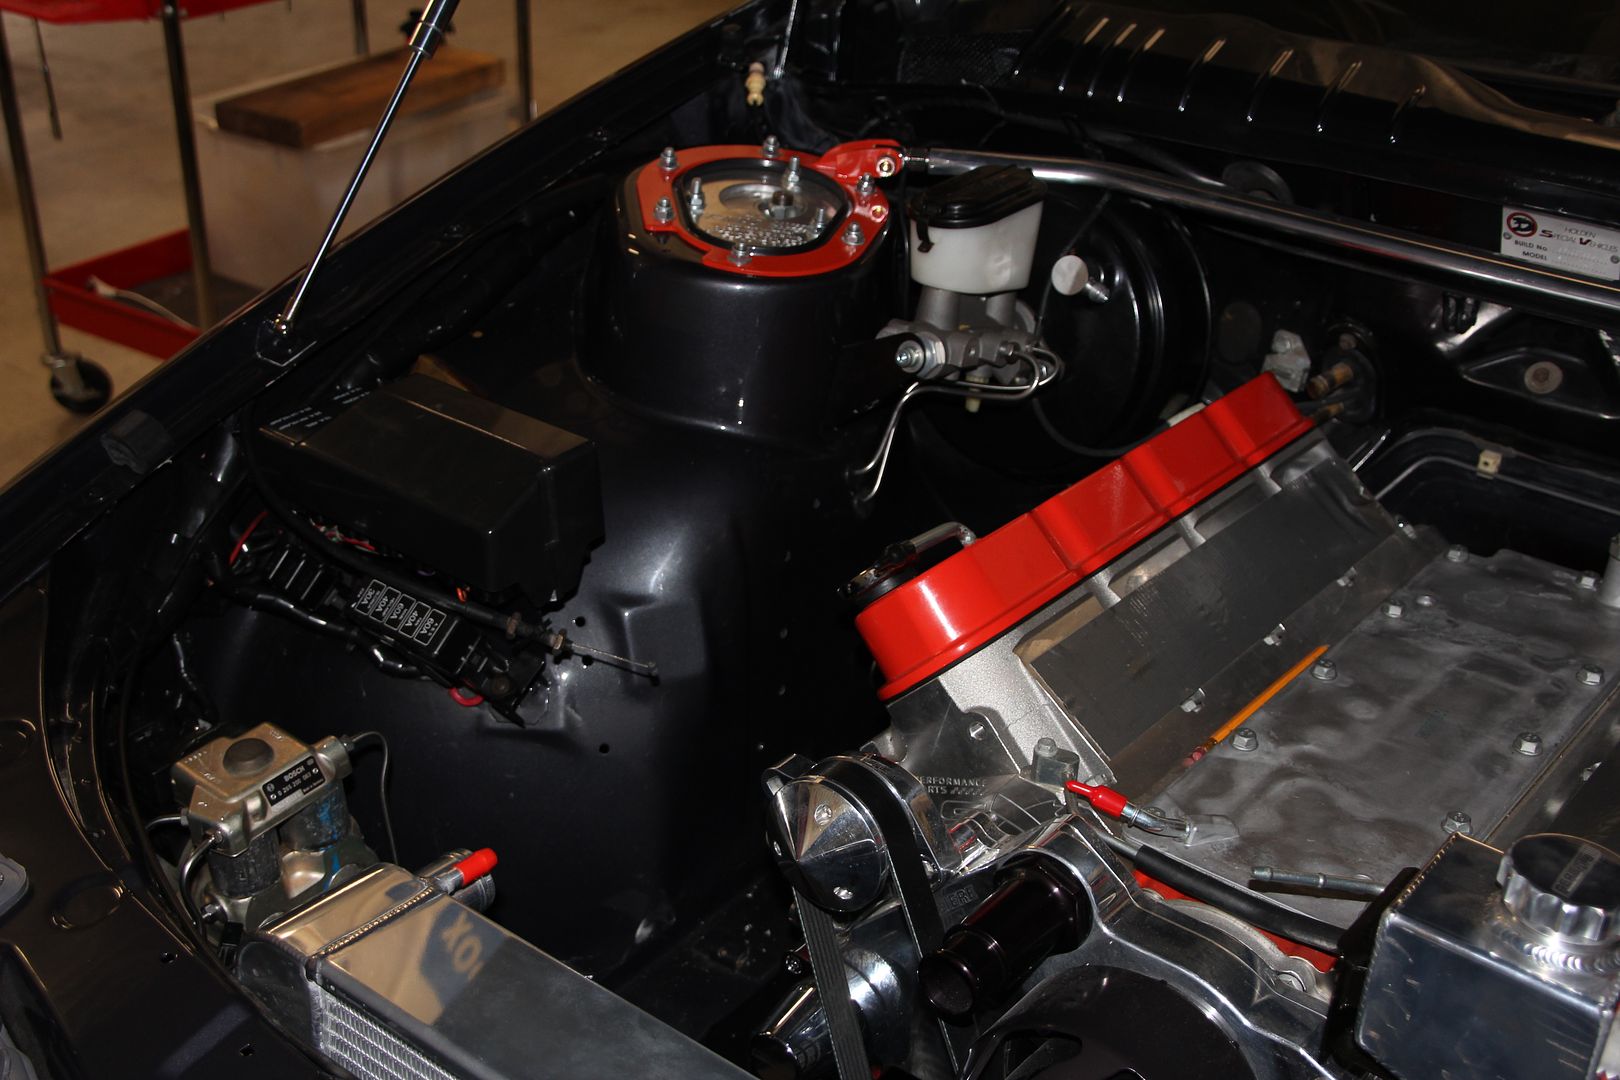
Also finished off the ABS relocating mount, so I used the original mount, cut off the part of it where it bolts to the inner guard and welded it where I had cut away the weld. Then made up a box section. It bolts into the floor of the battery area one bolt goes through the existing hole in the bottom, the other I will need to drill. I think it looks like its meant to be there.
-
This reply was modified 6 years, 7 months ago by VRSenator065.
February 18, 2015 at 1:46 am #434
VRSenator065Participant- Adelaide SA
- VR Senator LSx454 1960 Kombi (project) 1921 Nash Hot Rod (future project)
View build HERE
Posts: 5 777Bit of an update after talking to my engineer about a few things, thought I would post up what I have found.
Note : This info applies to South Australia only, other states (especially the east coast) may (and do) vary, it also varies between engineers.
Brakes
He is happy with my solution to the offset by using a different hat and spacing out the calliper bracket. He was thinking it may be worth drilling and wiring the bolts that hold the hat to the disc, I am not so sure about that, so I will ask Wilwood if they have any cyclic test data on them (which I am sure they would have) worst case by uncle is a retired aircraft engineer so I will get him to show me how its done. He is also happy with my new ABS location.Clearance
I asked him if there was an arbitrary number for minimum clearance, I had heard the figure of 10mm mentioned. So that’s the minimum distance between the alternator and chassis, exhaust to body etc etc. There is NO such number. As is so common to what I have found with engineering it comes down to what is sensible and safe. This is what he said-:“5 mm clearance is usually adequate but perhaps to 6 to 8 sought”
Fuel System
Re putting a surge tank ect in the boot. Seems it can be done, he “prefers” to see it in its own enclosure, with a vent down through the fllow out of the car. This is what he has said -;The negative aspects of in boot pump location are noise and sealing. We have had success with putting the whole assembly in a box, even with a sealed polycarbonate transparent side and fitting panel nipples to take fuel and power cables into and out of the pumps and surge tank. The whole box can be sealed and removed as a unit and drained to beneath the car if there should be a leak.
In my case I am leaning toward making it hidden ie covered in carpet, so it more or less looks like a sub box, but there again maybe a polycarb side would look OK.
Anyhow, just wanted to post it up for interests sake.
Edit: Just found a specific section on the Wilwood brake site showing how to wire the bolts!
February 18, 2015 at 1:47 am #435
VRSenator065Participant- Adelaide SA
- VR Senator LSx454 1960 Kombi (project) 1921 Nash Hot Rod (future project)
View build HERE
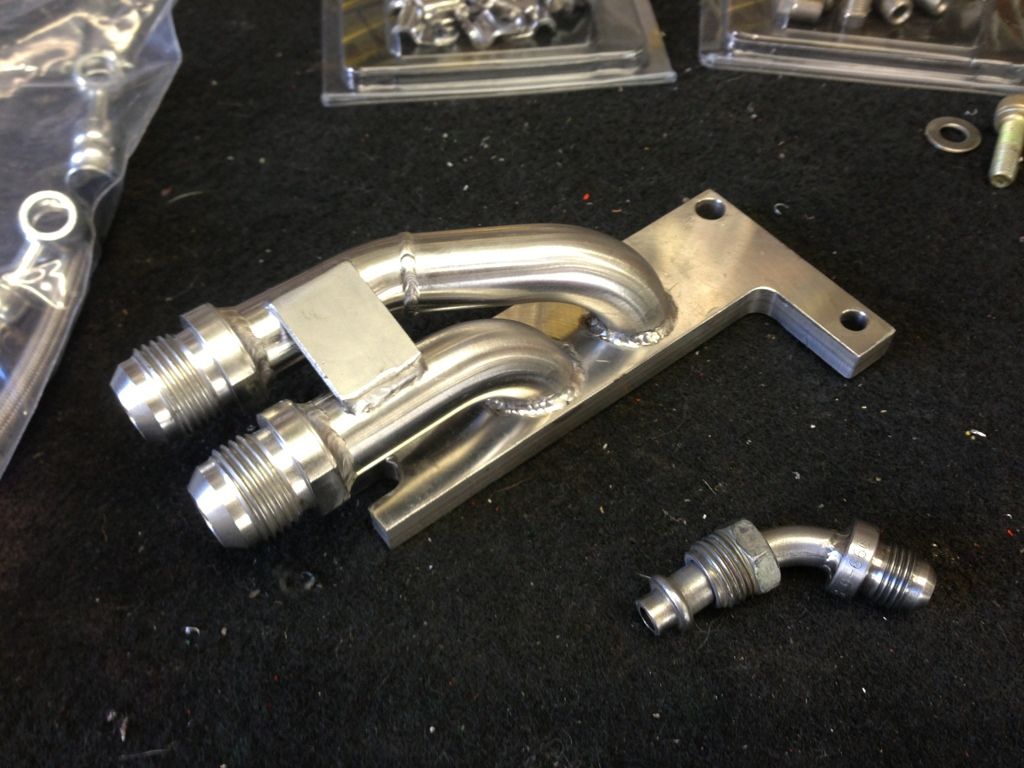
Posts: 5 777Well the parts above are the right numbers, problem is one of them wont work :( Like a lot of stuff on this build its the little thing that get you. The smaller of the two fittings (M16X1.5) run too close to the pipe on the Pacemakers, so you cant get the fitting on. So kicked the cat, chucked a few tools around then did a head scratch. I have managed to find a -6AN banjo thats M16X1.5, I think that will solve the issue, just have to wait for it to arrive.
Moved onto finishing off the oil cooler and mounting the nice billet filter mount, with kick ass Nascar size oil filter. Its one of the things I personally hate about modern cars, i really think the filters are just way too small. Actually quite relaxing making up the braided lines, turned out pretty neat i think. Will have to come up with a relocation of the washer bottle but that’s not a biggie.
Also picked up my oil adaptor plate of agentcrm, he’s done a great job of it, did a test fit, I think it will work great, so just have to think about who to see about making me up some 1/2″ stainless bent tube then tigging it up and that finishes off the oil system.
-
This reply was modified 6 years, 7 months ago by VRSenator065.
February 18, 2015 at 1:47 am #436
VRSenator065Participant- Adelaide SA
- VR Senator LSx454 1960 Kombi (project) 1921 Nash Hot Rod (future project)
View build HERE
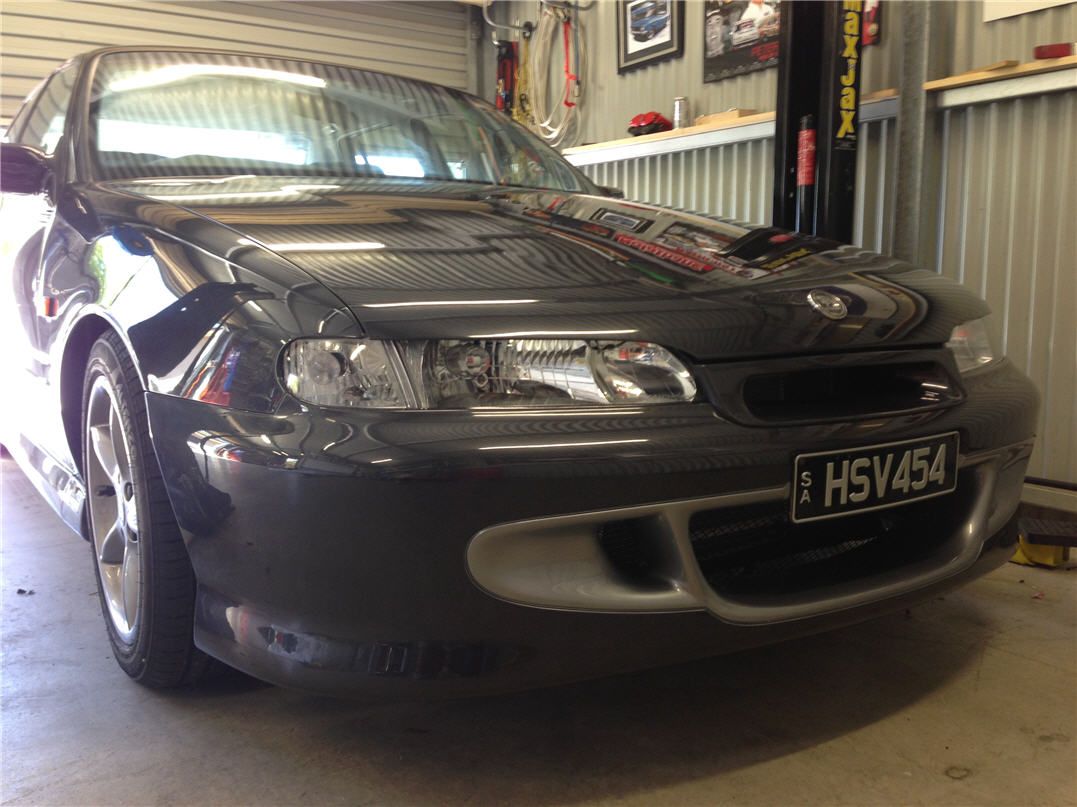
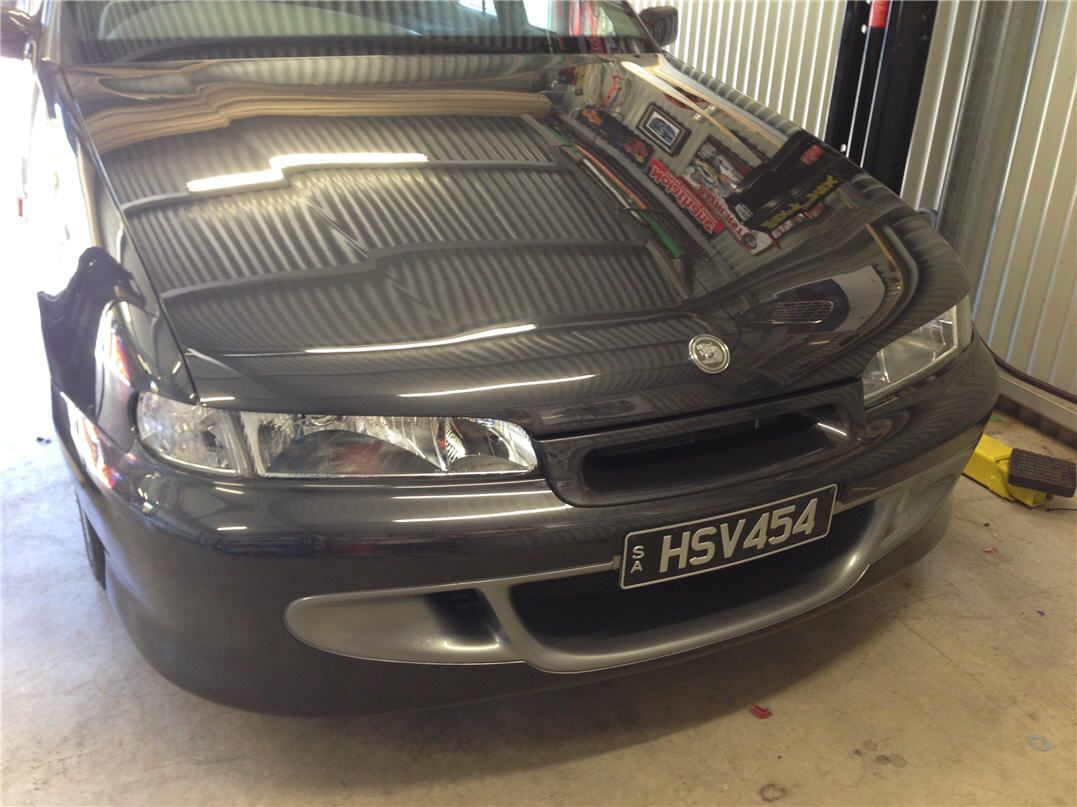
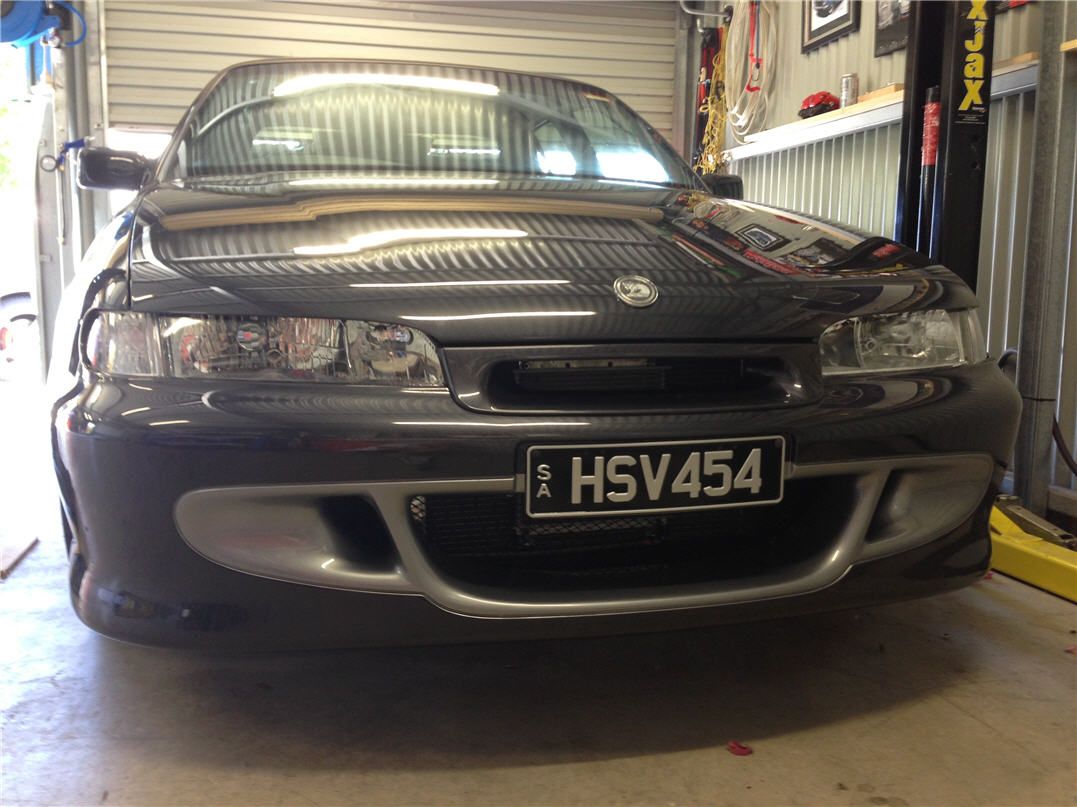
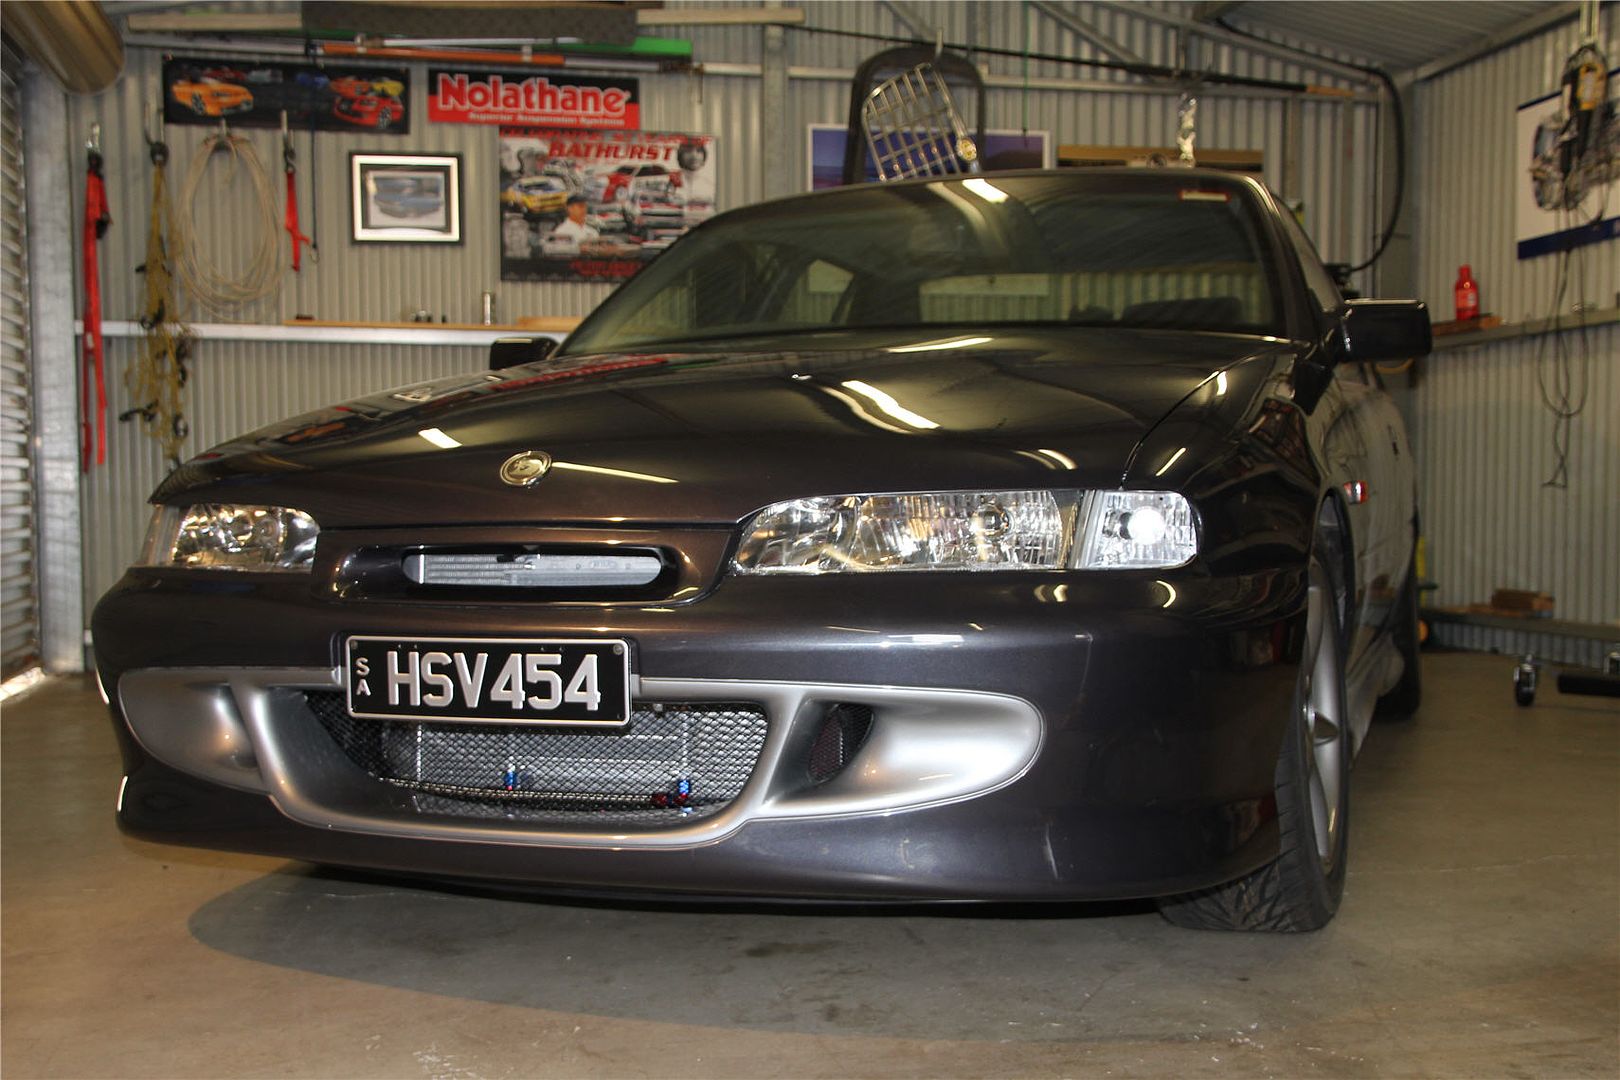
Posts: 5 777On a brighter note, got a little bit more done on the week end. Now I have the trans cooler lines etc done was able to get the front bar back on. First time its been together since she got dismantled for paint.
Also the 3/16 stainless brake line arrived, have borrowed my uncles double flare tool, did a couple of test flares and nice bends, actually I think it will work really well. So probably will turn my attention to finishing off all the brake lines and hard line to the ABS module etc.
Couple of pics of the front, it really needs a good wash, but still looks ok.
 February 18, 2015 at 1:48 am #437
VRSenator065Participant- Adelaide SA
- VR Senator LSx454 1960 Kombi (project) 1921 Nash Hot Rod (future project)
View build HERE
Posts: 5 777A few goodies sorted, hoping to get some good stuff knocked off on the week end

 February 18, 2015 at 1:48 am #438
VRSenator065Participant- Adelaide SA
- VR Senator LSx454 1960 Kombi (project) 1921 Nash Hot Rod (future project)
View build HERE
Posts: 5 777I know I post a lot, but I sort of like to do it that day so its all fresh in my mind.
Got the power steering finally sorted, have to say I am really happy with how it turned out. I had a lot of issues with the side closest to the headers fouling, I went to UPI got an old hose, cut the hard line end off, and spent some time with some heat and carefully curved it. I then got TIG welded a 6AN fitting to the end when they did the oil adaptor. Turned out sweet as. The orange paint damage looks far worse on these photos than you can see in real life but I guess I will hand touch it up one day. Just have to get the hose from the tank to the pump, probably just stay with rubber, its tucked out of the way, no way AN fittings would fit in there.
Also got the oil adapter done and dusted. Actually funny how it works out, the angle I ended up with mistakenly courtesy of the welded actually makes it work really well. I used a full sump gasket and cut off the corner for the adaptor, I also used a smear of good gasket cement top and bottom, should be sweet. It took a lot of messing around but I am really pleased with how neat it looks. I also had a bit of trouble working out what the flow direction is out of the ports, its important to get it right through the remote filter the correct way, I ended up finding this diagram, so thought I might post it for anyone’s future reference too.
-
This reply was modified 8 years, 7 months ago by VRSenator065.
-
This reply was modified 6 years, 7 months ago by VRSenator065.
-
This reply was modified 6 years, 7 months ago by VRSenator065.
February 18, 2015 at 1:49 am #439
VRSenator065Participant- Adelaide SA
- VR Senator LSx454 1960 Kombi (project) 1921 Nash Hot Rod (future project)
View build HERE
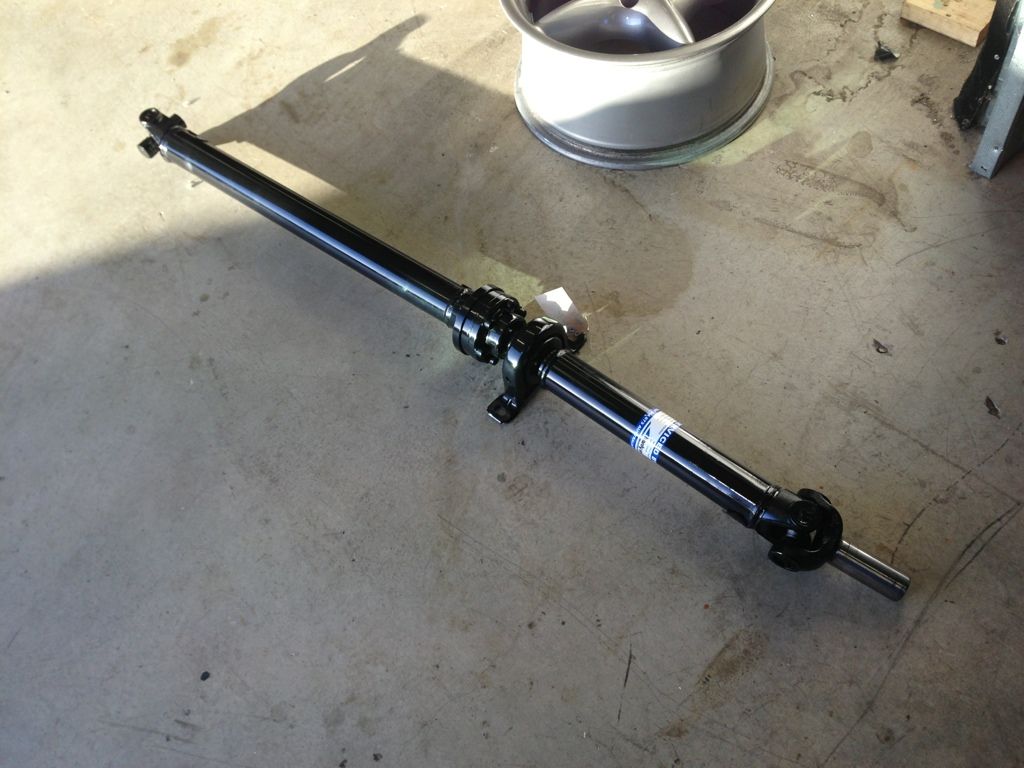
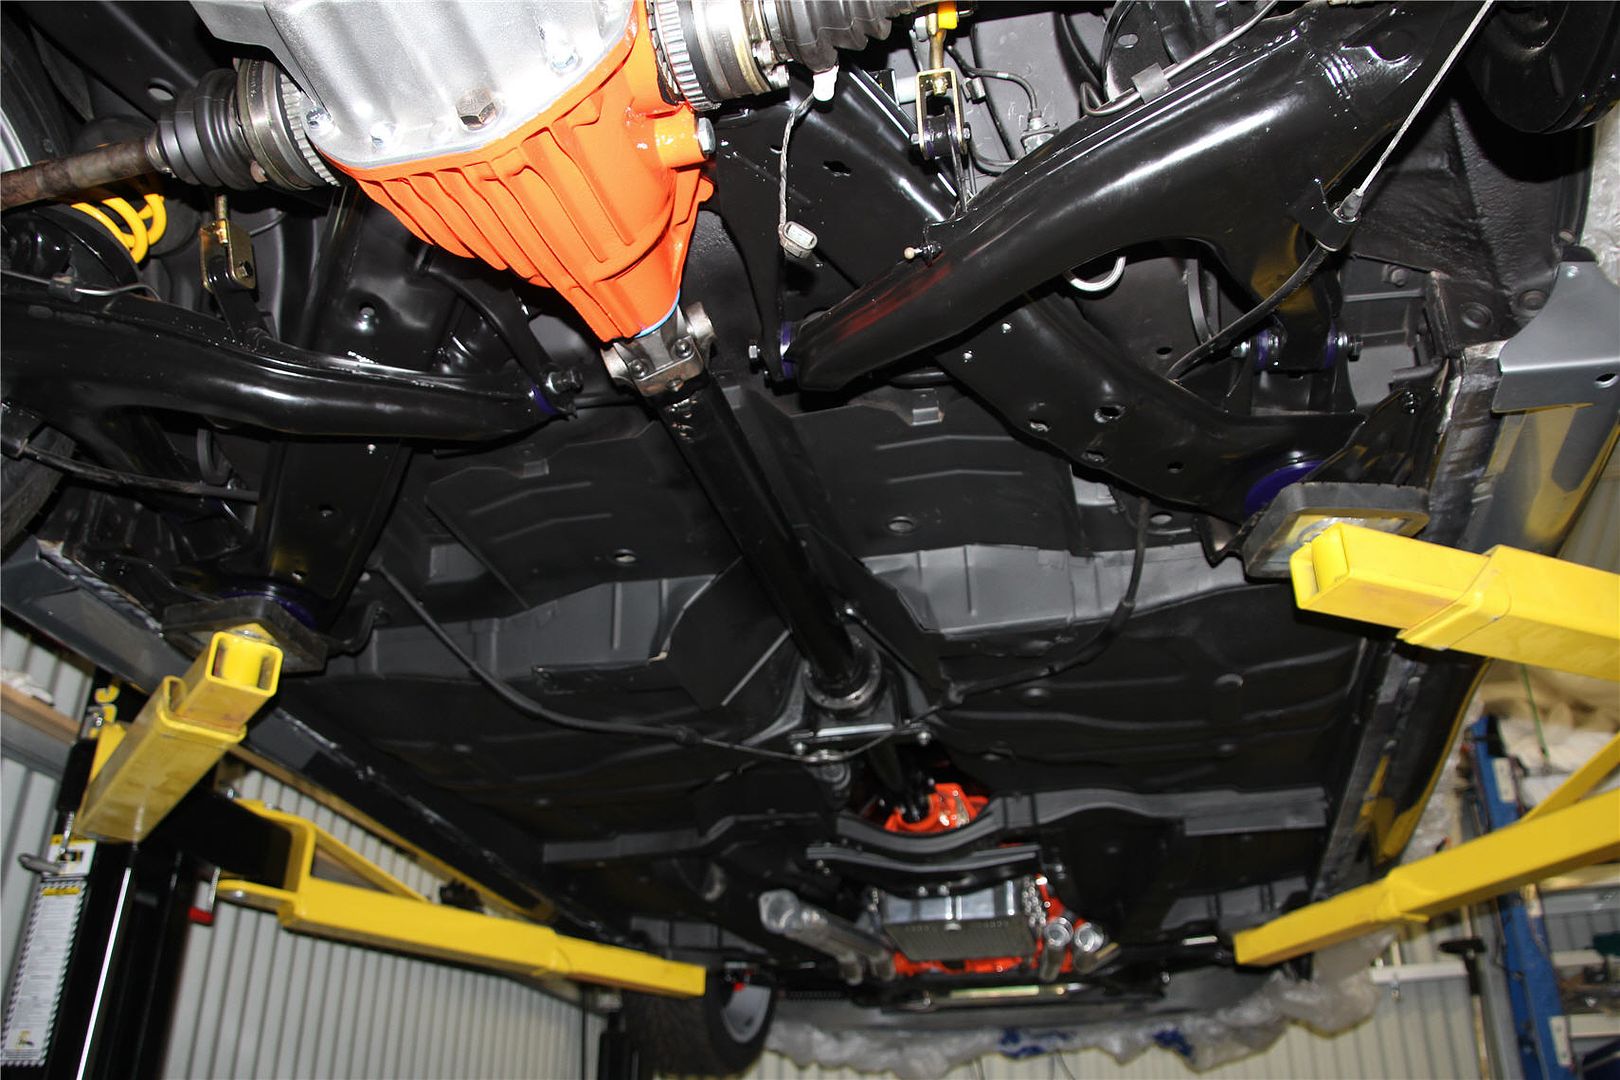
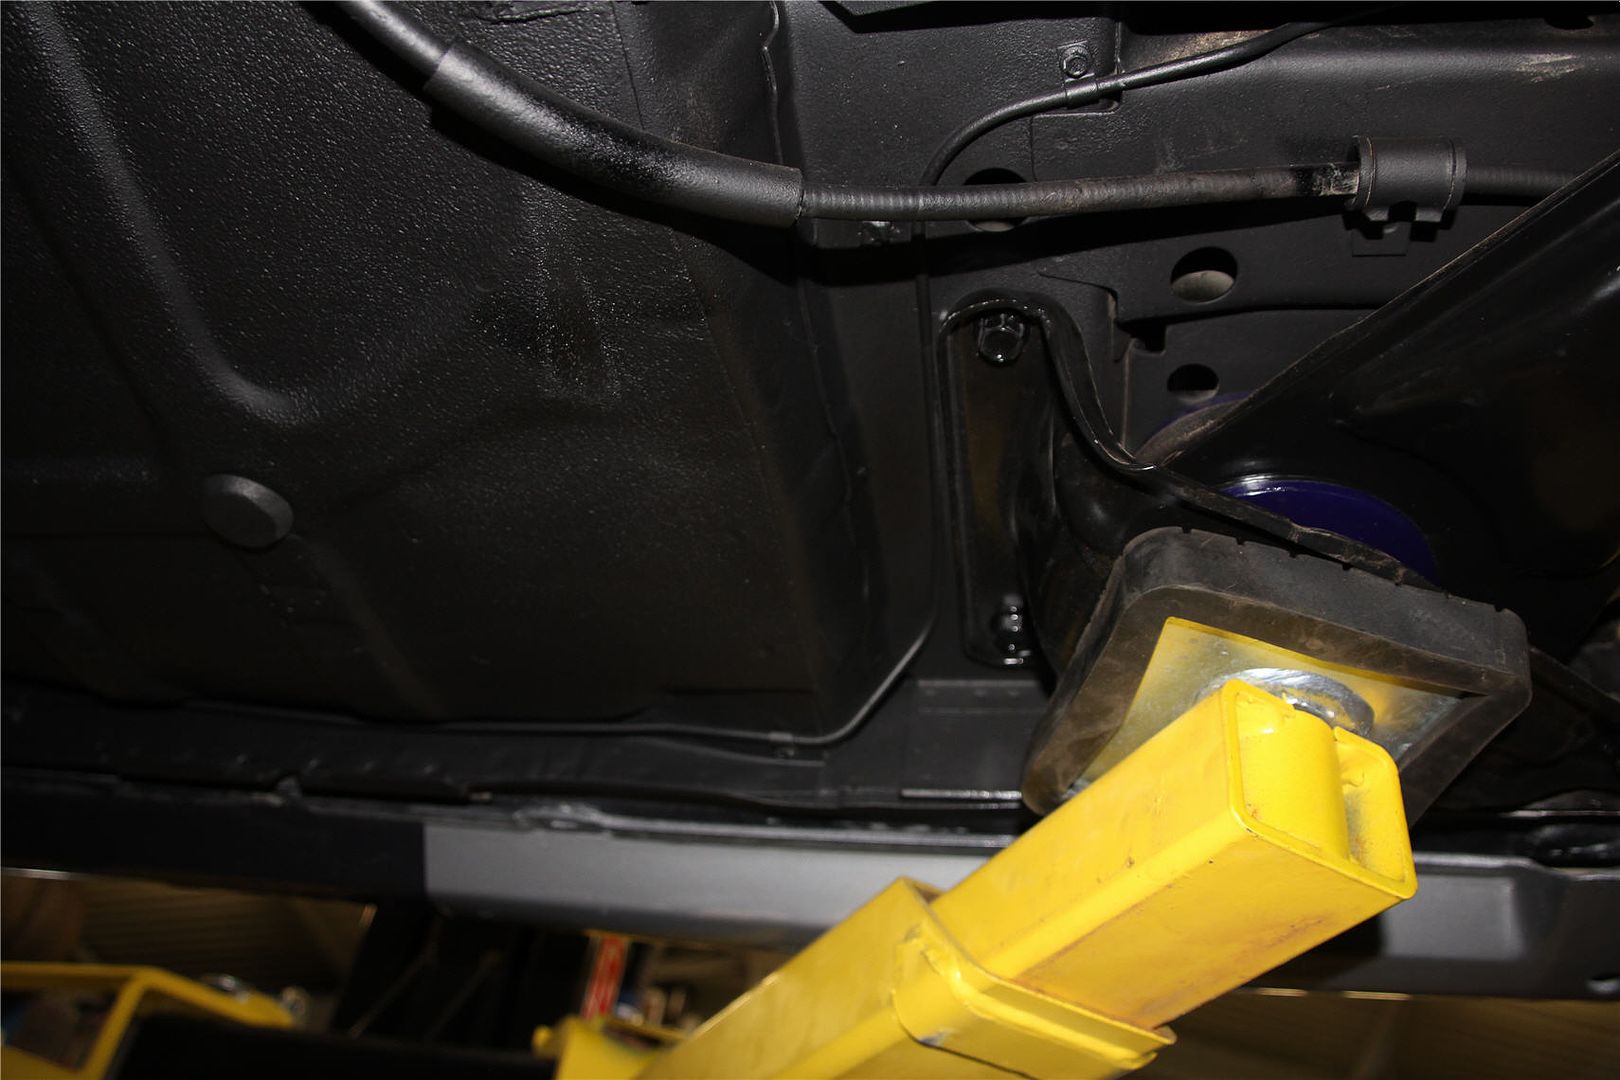
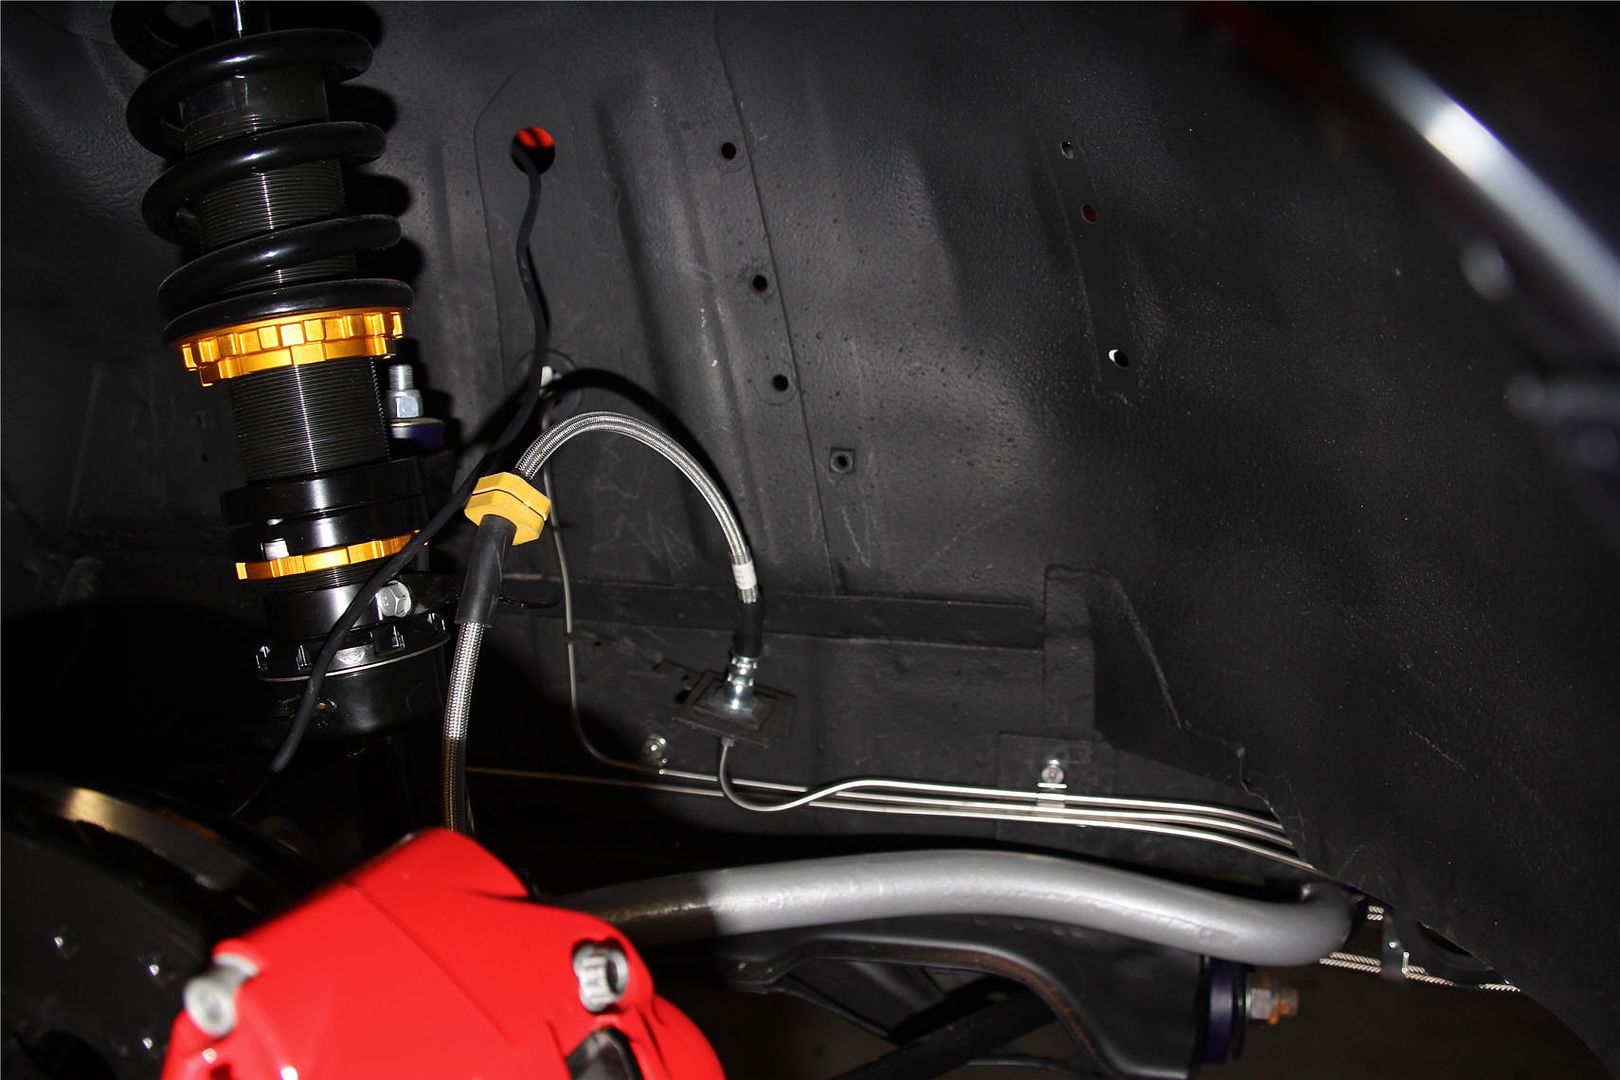
Posts: 5 777I know I post a lot but I got my stainless lines all sorted and fitted tonight and I am stoked at how they came up. The stainless hard lines I made up came up a treat. That’s pretty much the rear suspension completely finished, which is a milestone for me :) Just some shots, and then a couple of random ones of it up on the hoist for posterity.
-
This reply was modified 6 years, 7 months ago by VRSenator065.
February 18, 2015 at 1:49 am #440
VRSenator065Participant- Adelaide SA
- VR Senator LSx454 1960 Kombi (project) 1921 Nash Hot Rod (future project)
View build HERE
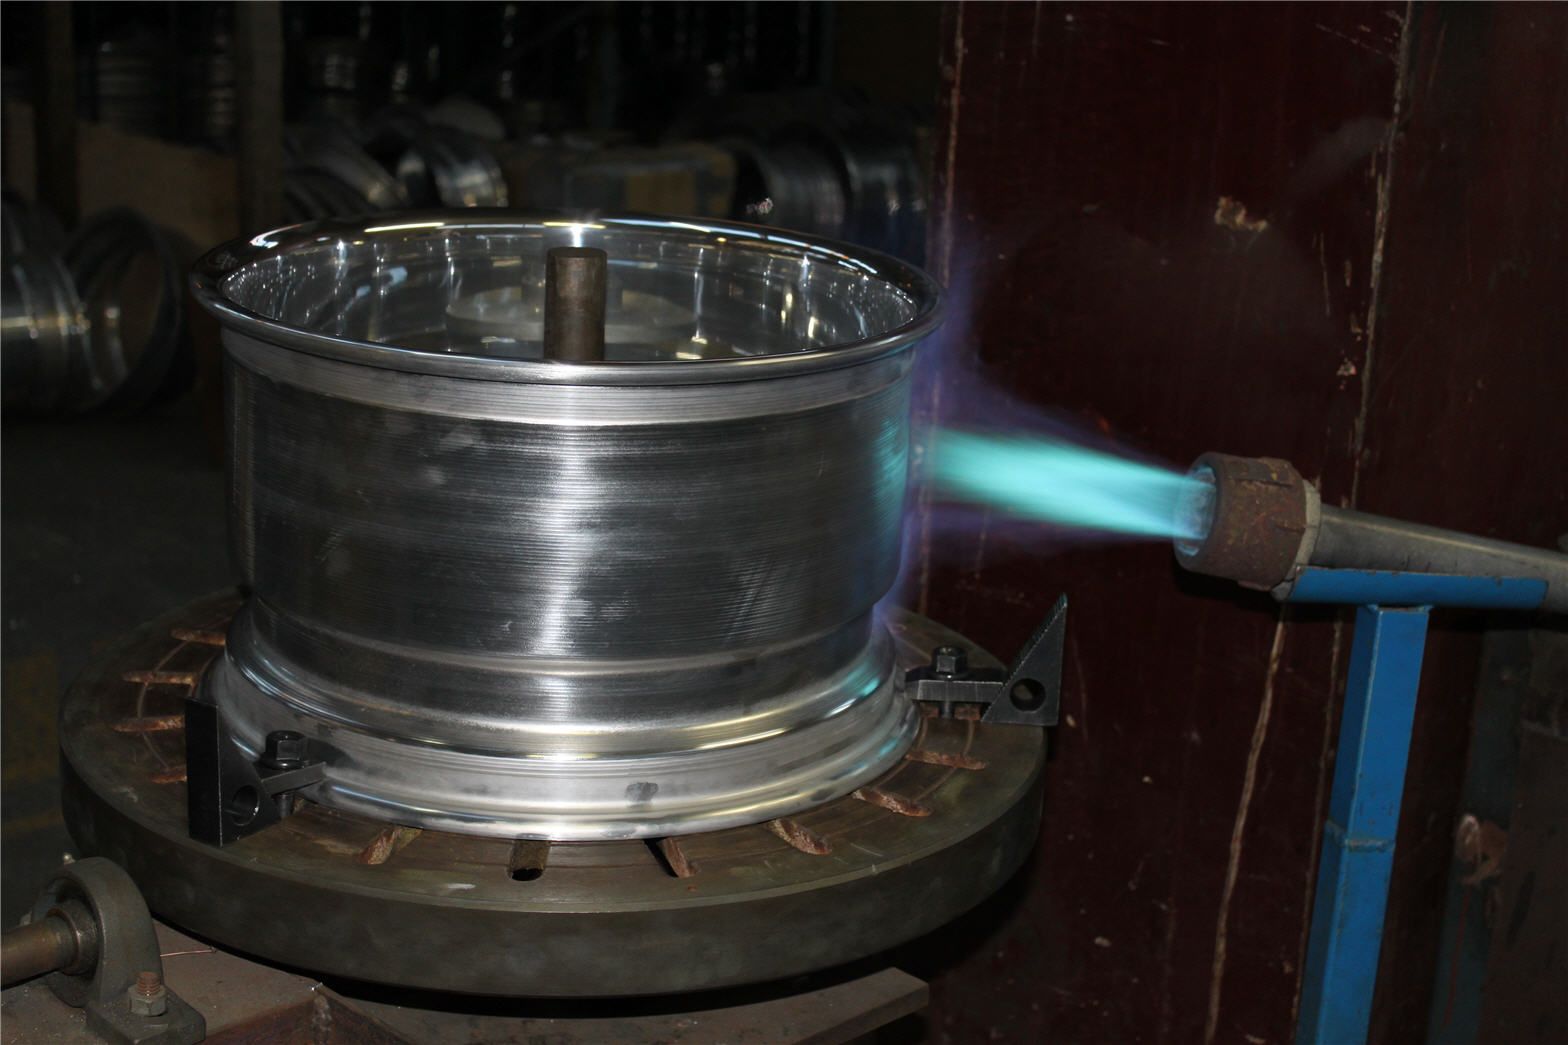
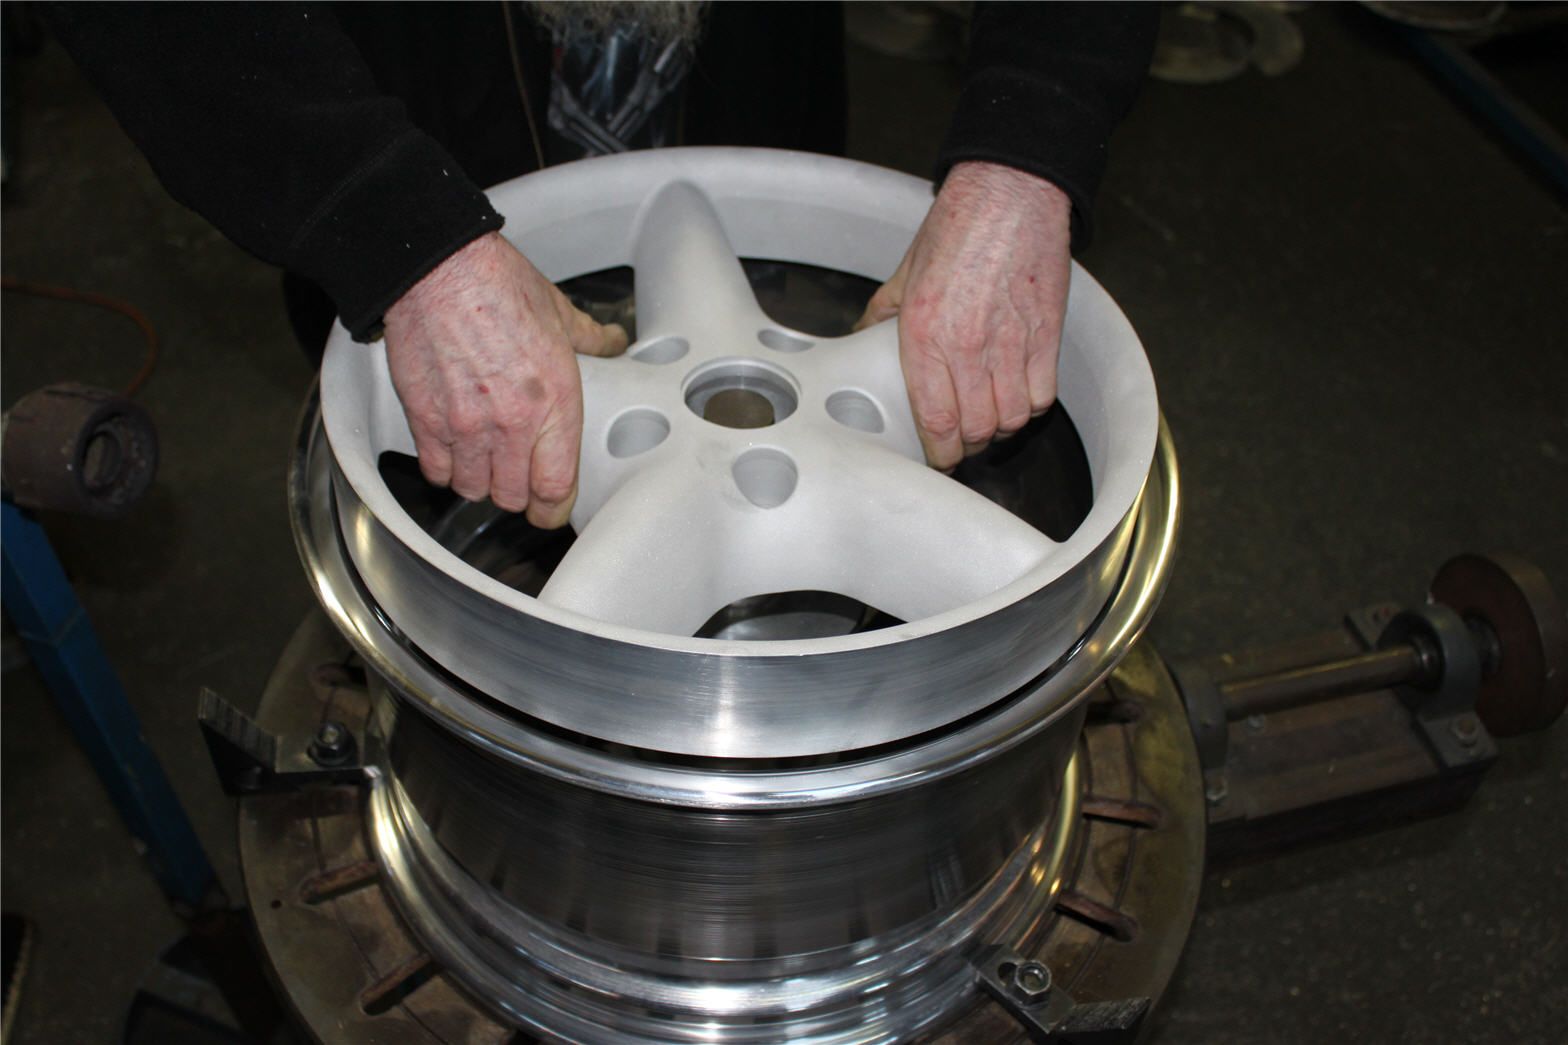
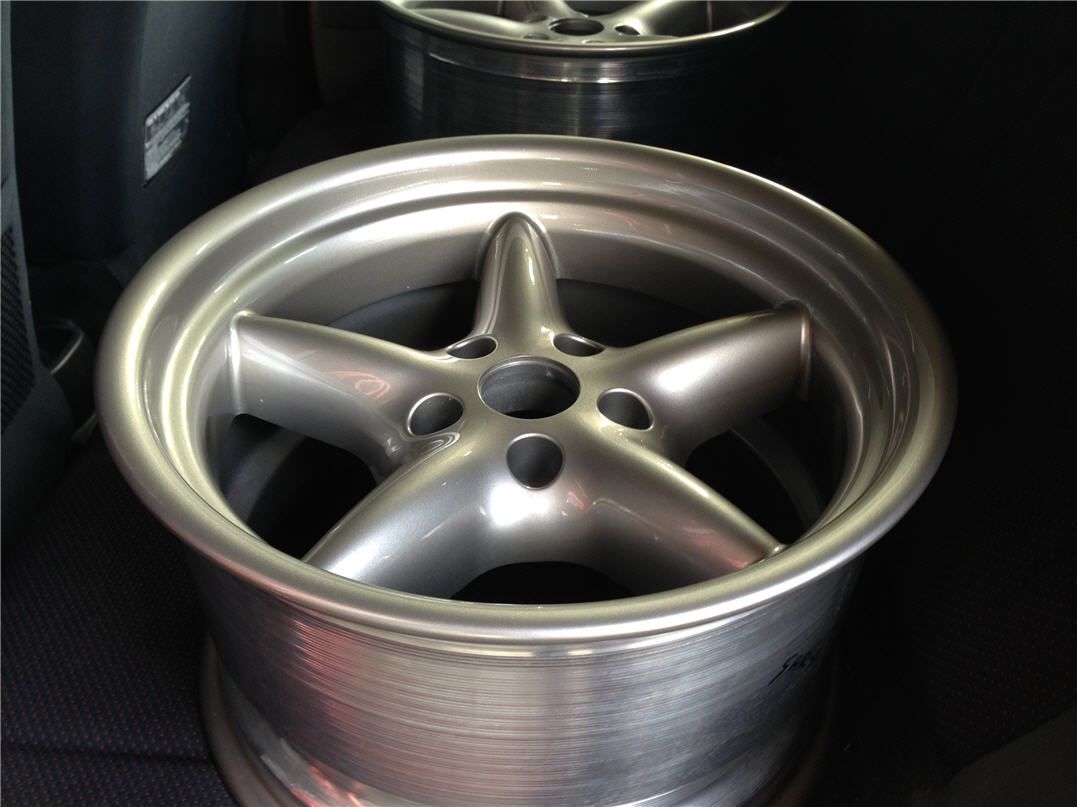
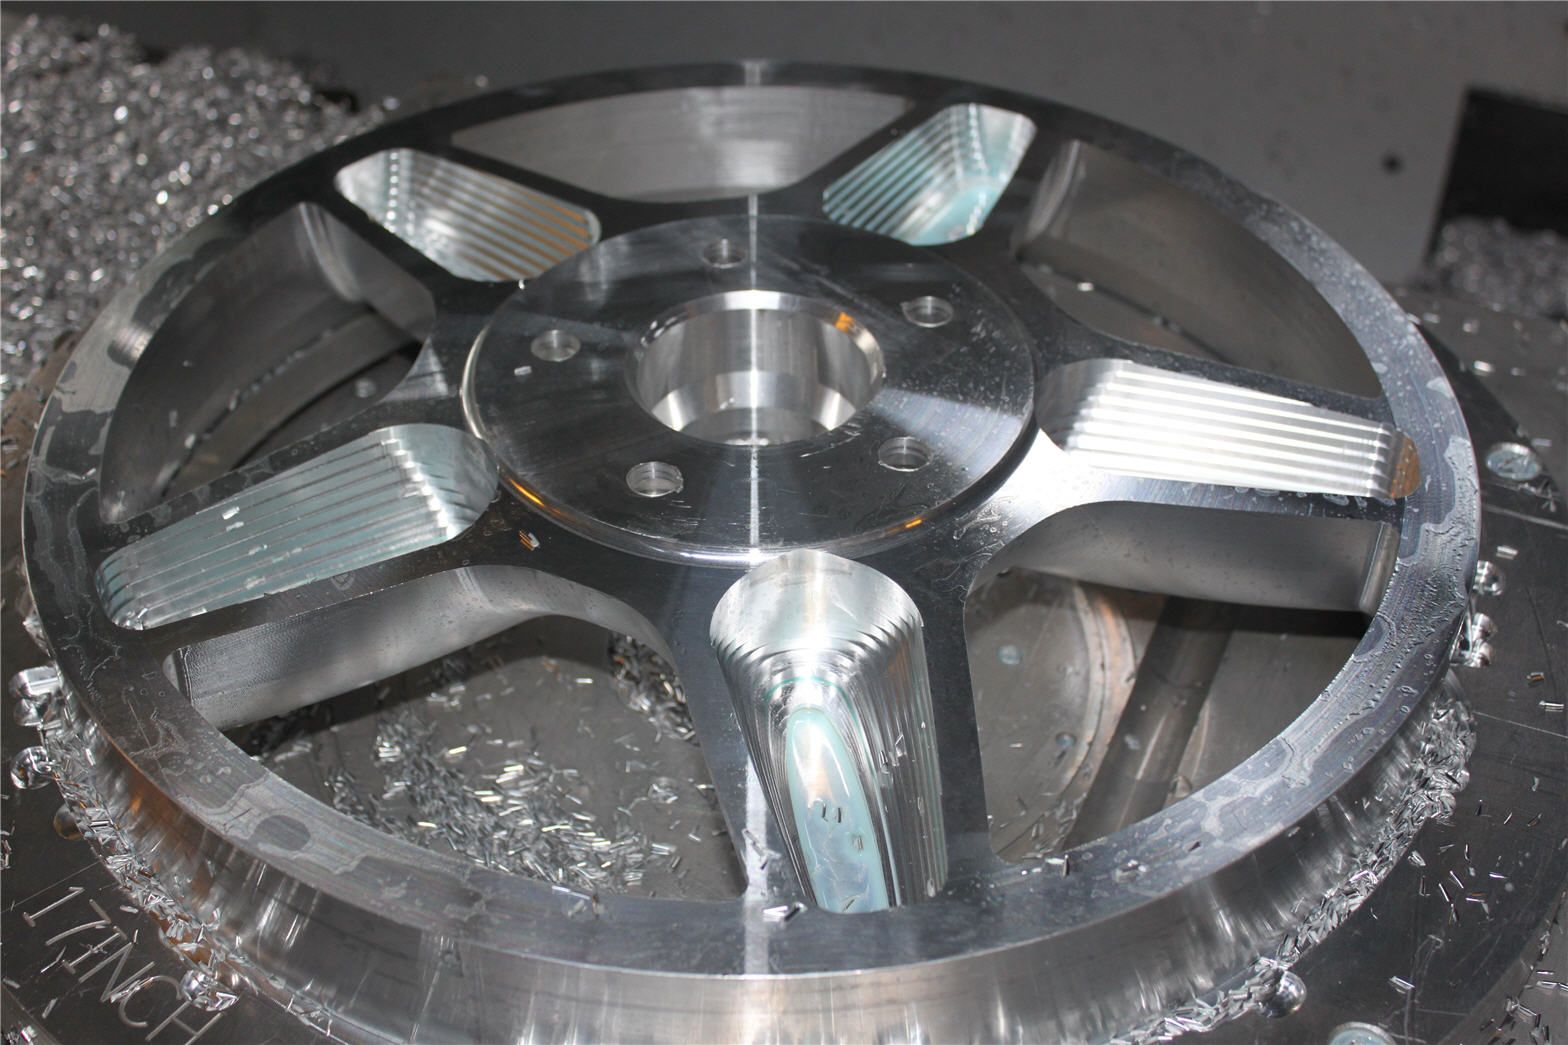
Posts: 5 777Well, to say I am pleased is an understatement, picked up the wheels today, just could not be happier, peaking in fact. This is them fitted, afterwards thought I would post a series of pics of the manufacturing process. No tyres yet, but they look like exactly as I imagined them what seems like months ago. You have to see them in real life to see the effect.
Quote from the misses “but from the side they look the same, its not until you notice how wide they are you realize what you have done” yep, got it in one!!
-
This reply was modified 6 years, 7 months ago by VRSenator065.
February 18, 2015 at 1:49 am #441
VRSenator065Participant- Adelaide SA
- VR Senator LSx454 1960 Kombi (project) 1921 Nash Hot Rod (future project)
View build HERE
Posts: 5 777February 18, 2015 at 1:50 am #442
VRSenator065Participant- Adelaide SA
- VR Senator LSx454 1960 Kombi (project) 1921 Nash Hot Rod (future project)
View build HERE
Posts: 5 777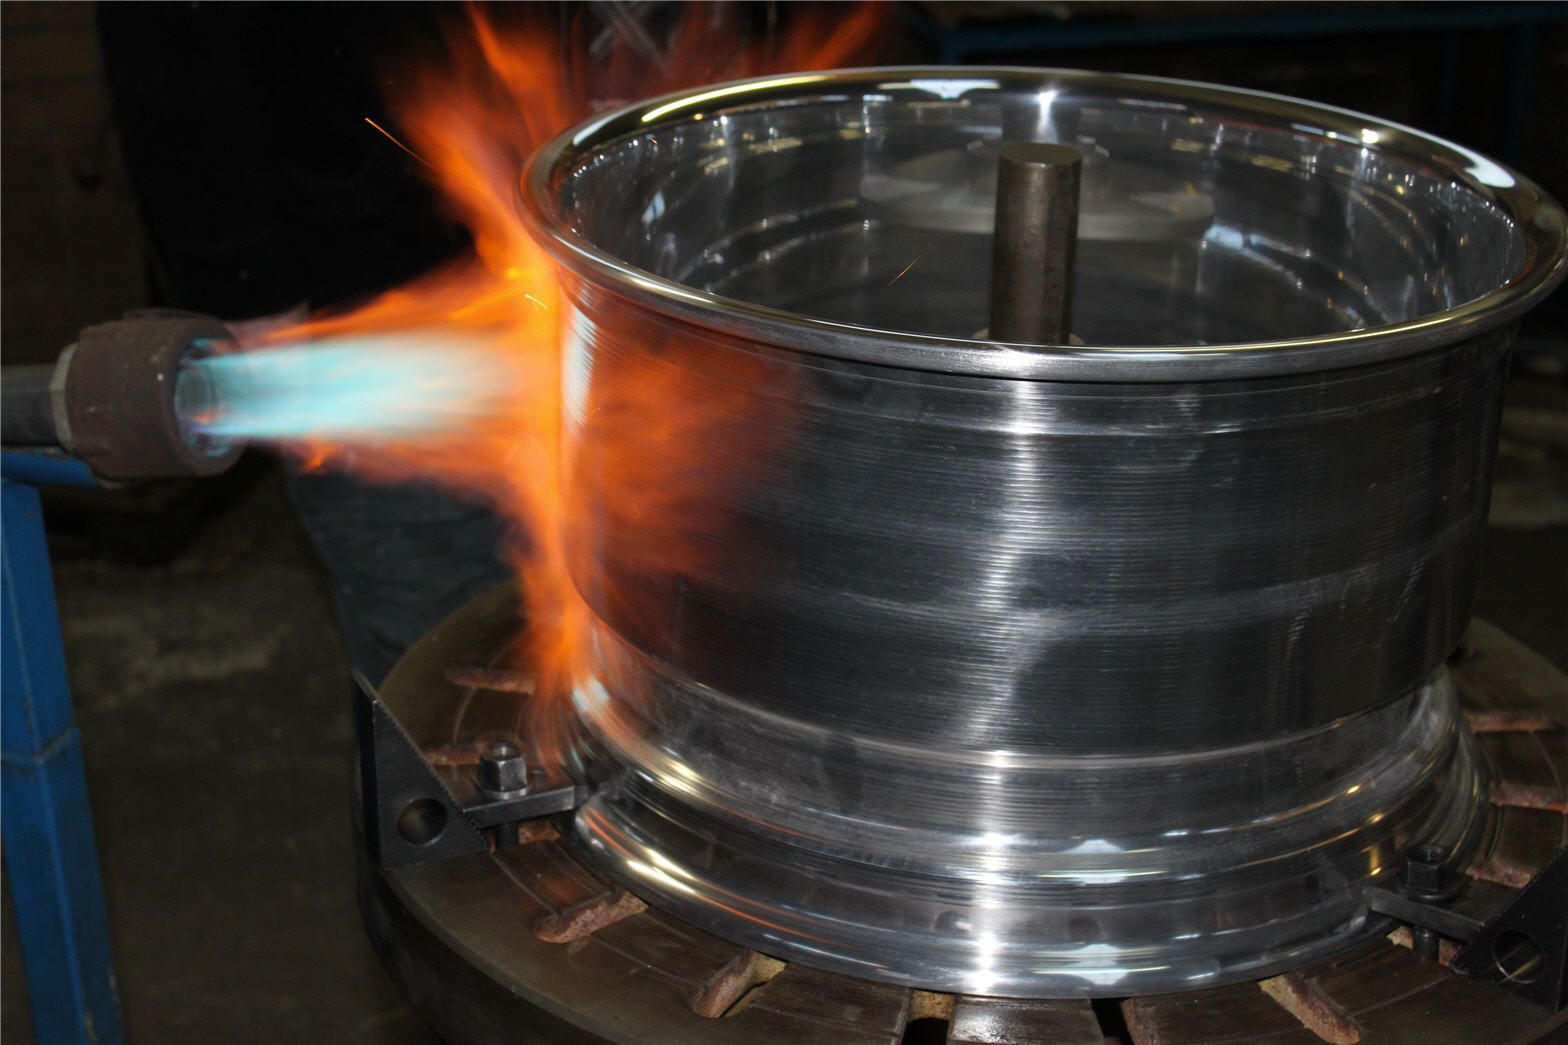
 February 18, 2015 at 1:51 am #443
VRSenator065Participant- Adelaide SA
- VR Senator LSx454 1960 Kombi (project) 1921 Nash Hot Rod (future project)
View build HERE
Posts: 5 777Couple more pics now she is on the ground.
 February 18, 2015 at 1:52 am #444
VRSenator065Participant- Adelaide SA
- VR Senator LSx454 1960 Kombi (project) 1921 Nash Hot Rod (future project)
View build HERE
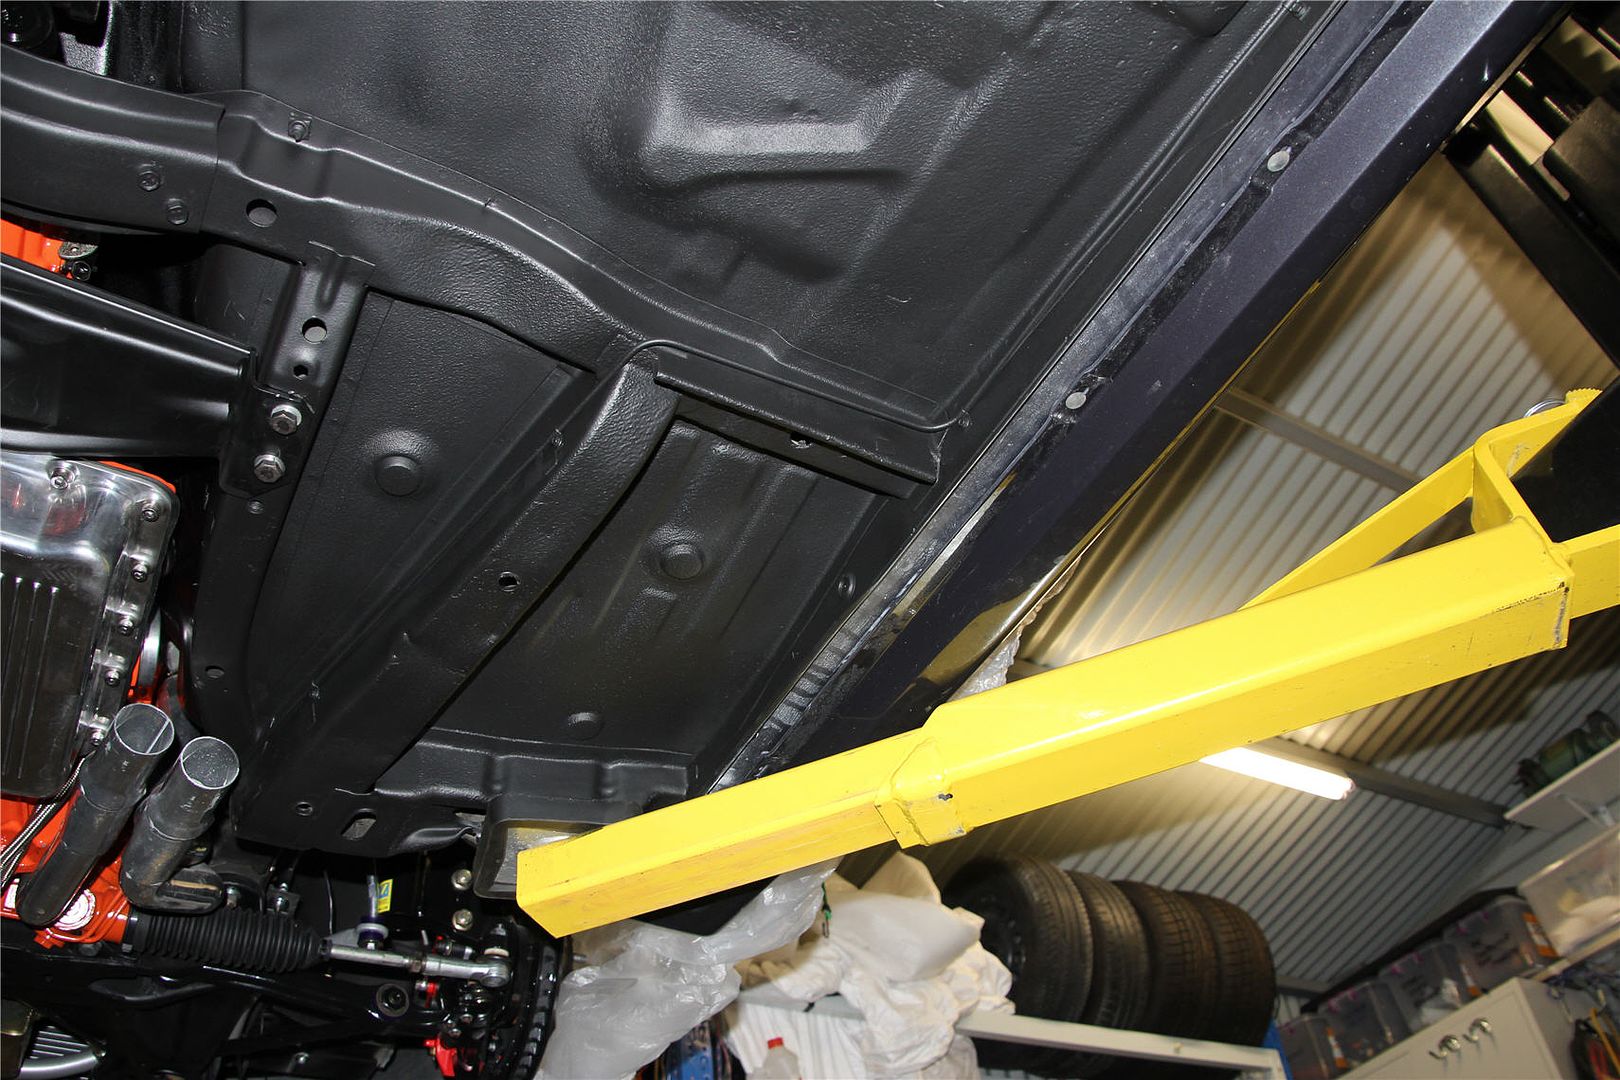
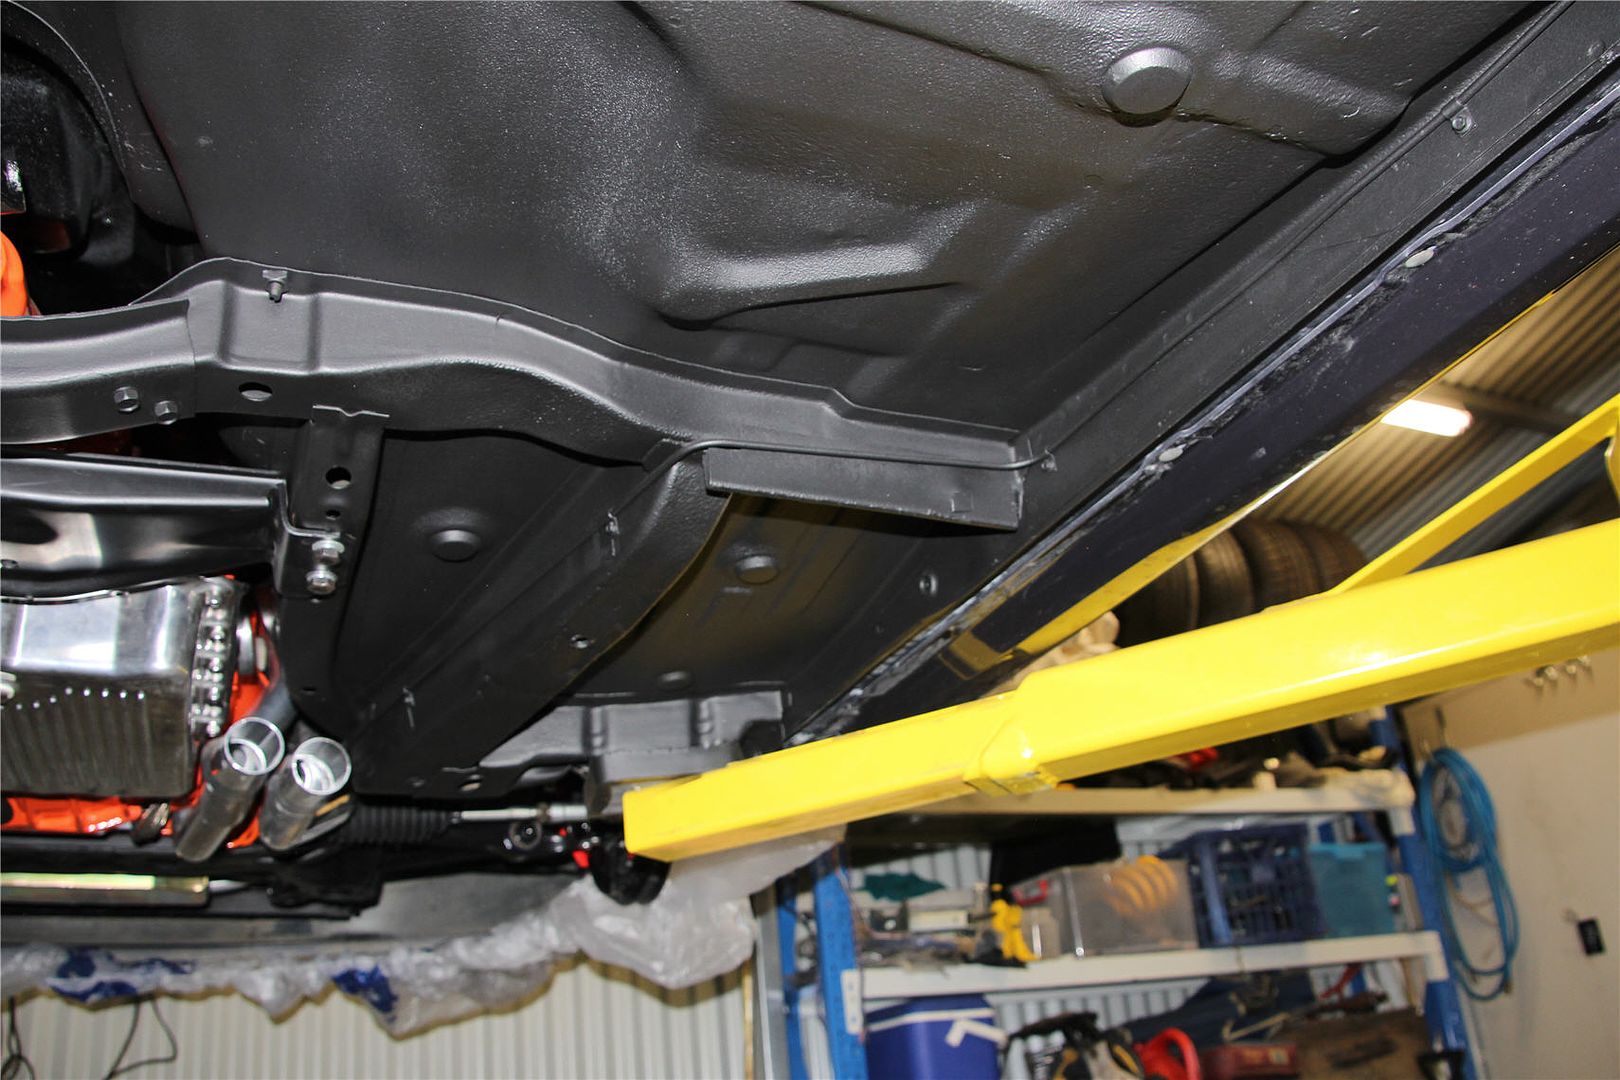
Posts: 5 777Long day today. During the week I pulled out the existing fuel lines, which are also run with the rear brake line. I wanted to re route the rear line out of the bay now the ABS is where the battery was, also get it away form the exhaust, but to be able to flare the end of the tube I needed it out of the car so I could take it the vice to use the flaring tool.
So I pulled it out and a thing that has been annoying me has been the difference in gloss between the body shutz and the areas I have done with the spay can texture coat. So since I was redoing the brake line I masked off the underside of the car and have done it all so it looks matched. I then redid the rear brake line. I think it come up really neat. Ready to do the new fuel lines.
I also finished off the three hard lines that go to each front wheel and the rears, again very happy with them, am going to get a three way billet clamp to finish it off. Tomorrow I am going to tackle the hard lines from master to ABS, not sure I have enough 3/16 line to both, if not I at least want to try and get one done. Heres some pics
 February 18, 2015 at 1:52 am #445
VRSenator065Participant- Adelaide SA
- VR Senator LSx454 1960 Kombi (project) 1921 Nash Hot Rod (future project)
View build HERE
Posts: 5 777Bloody hell, these brakes remind me of doing the trans, very fiddly, time consuming, frustrating but satisfying. Not sure I would want to do another. Not finished yet, one more line, but have run out of tube ( and patience) for the week end, getting there though.
 February 18, 2015 at 1:52 am #446
VRSenator065Participant- Adelaide SA
- VR Senator LSx454 1960 Kombi (project) 1921 Nash Hot Rod (future project)
View build HERE
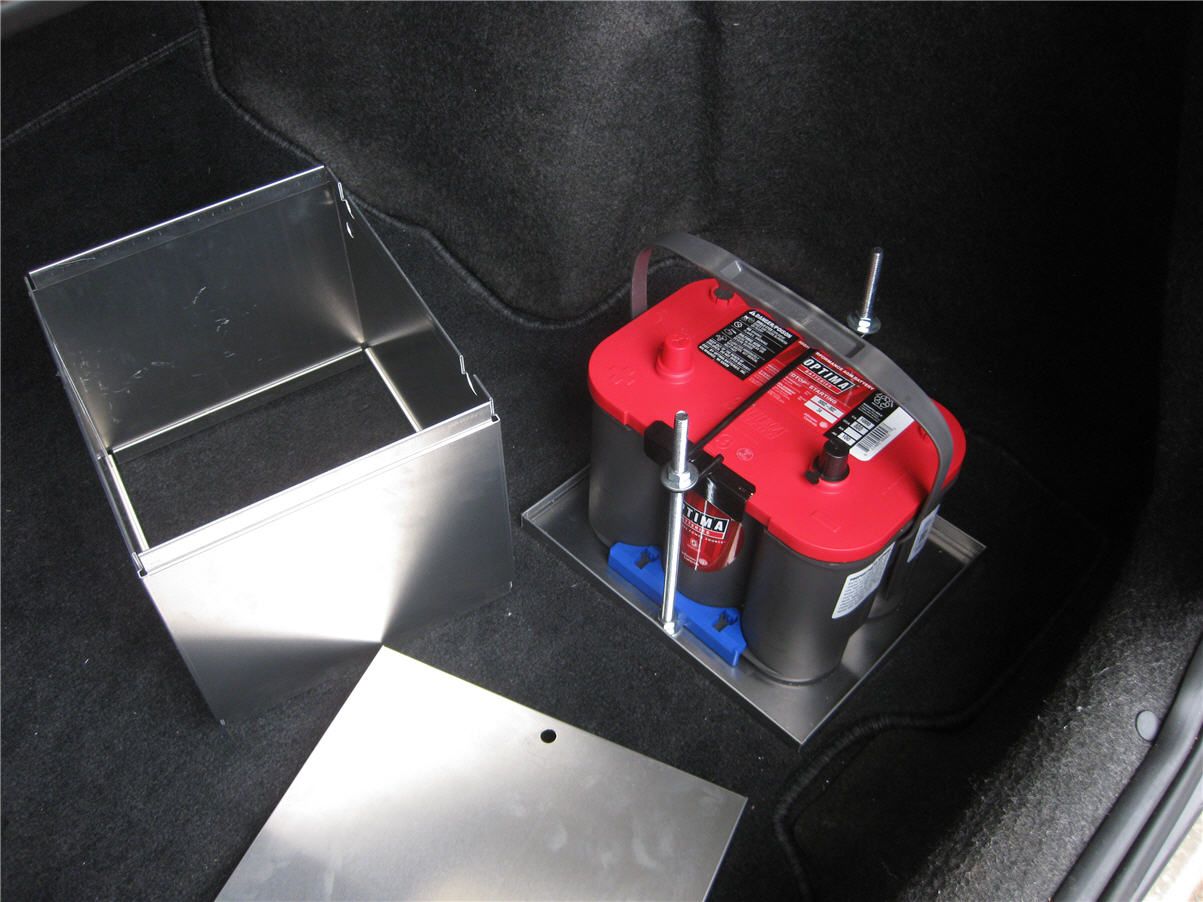
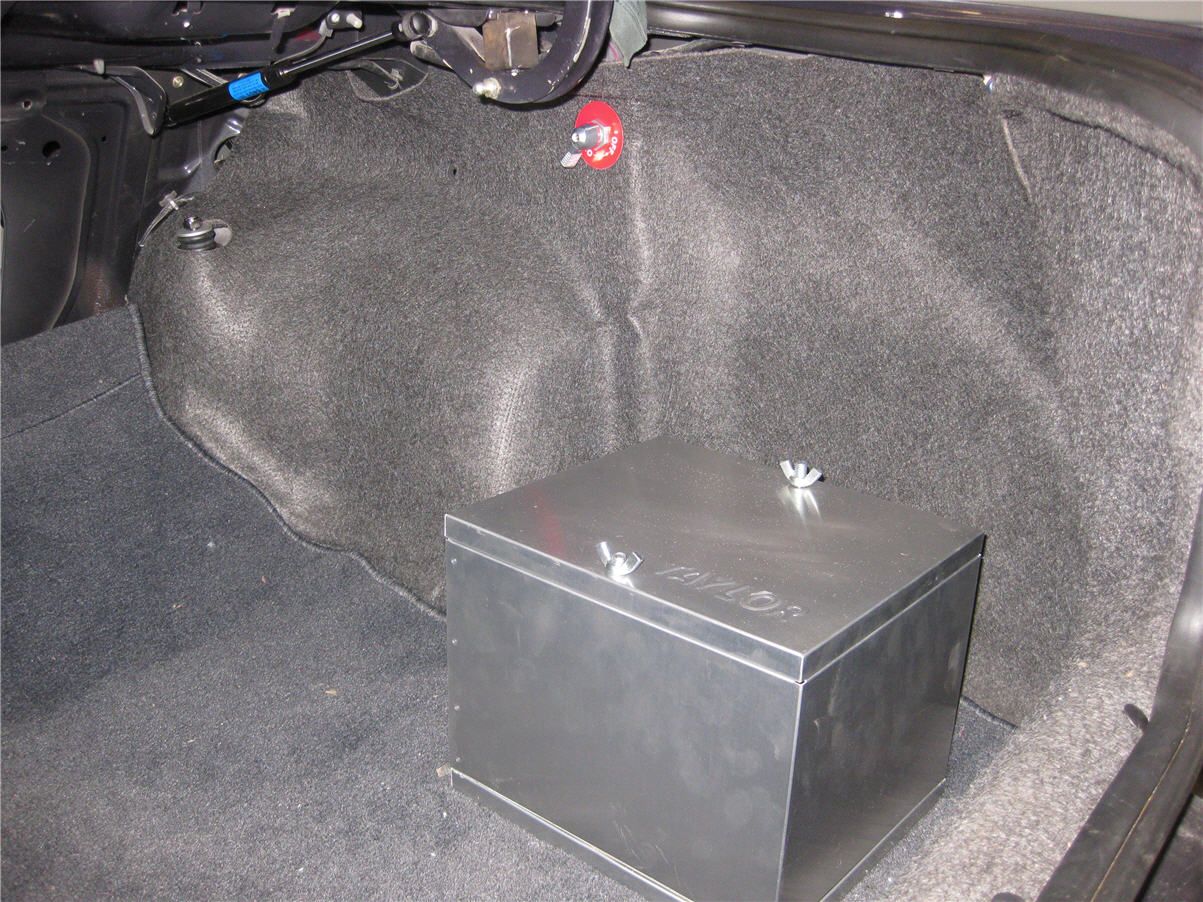
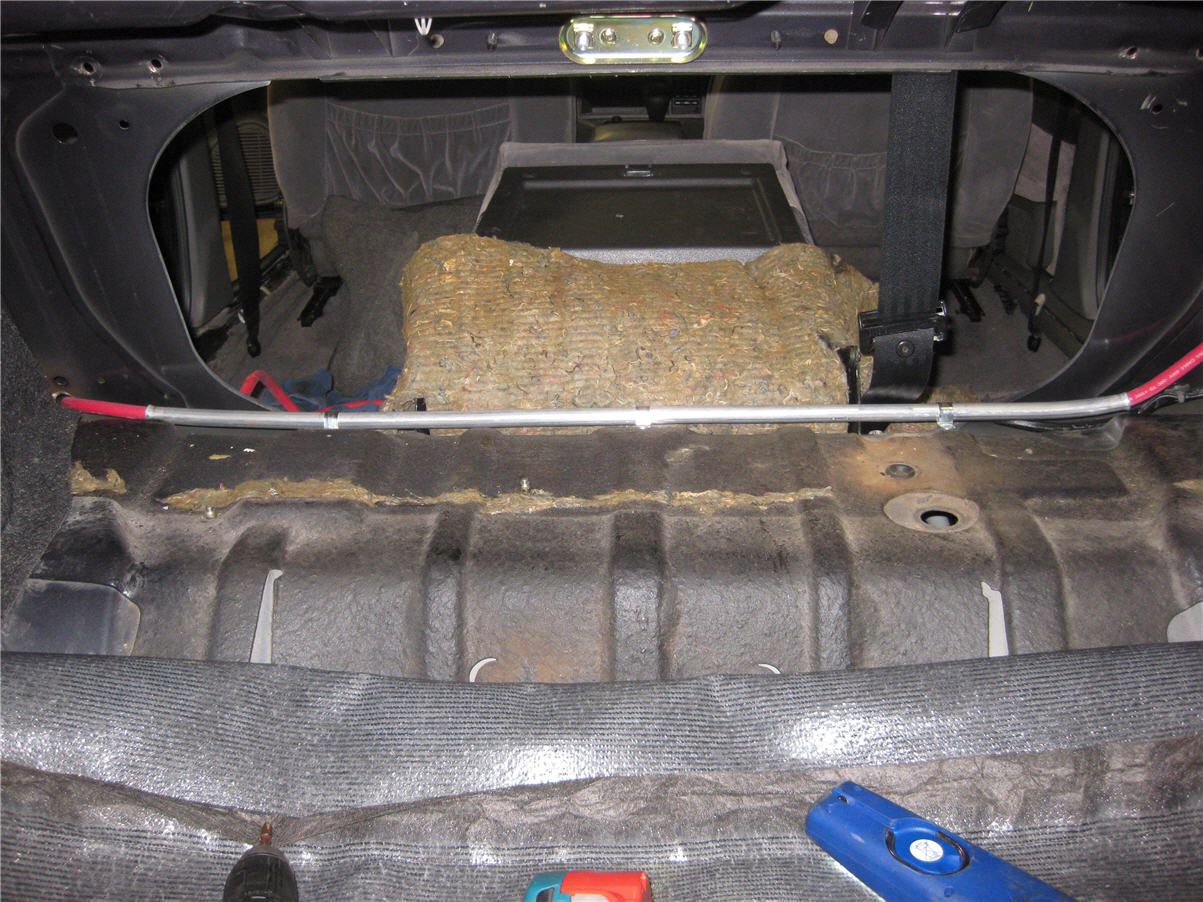
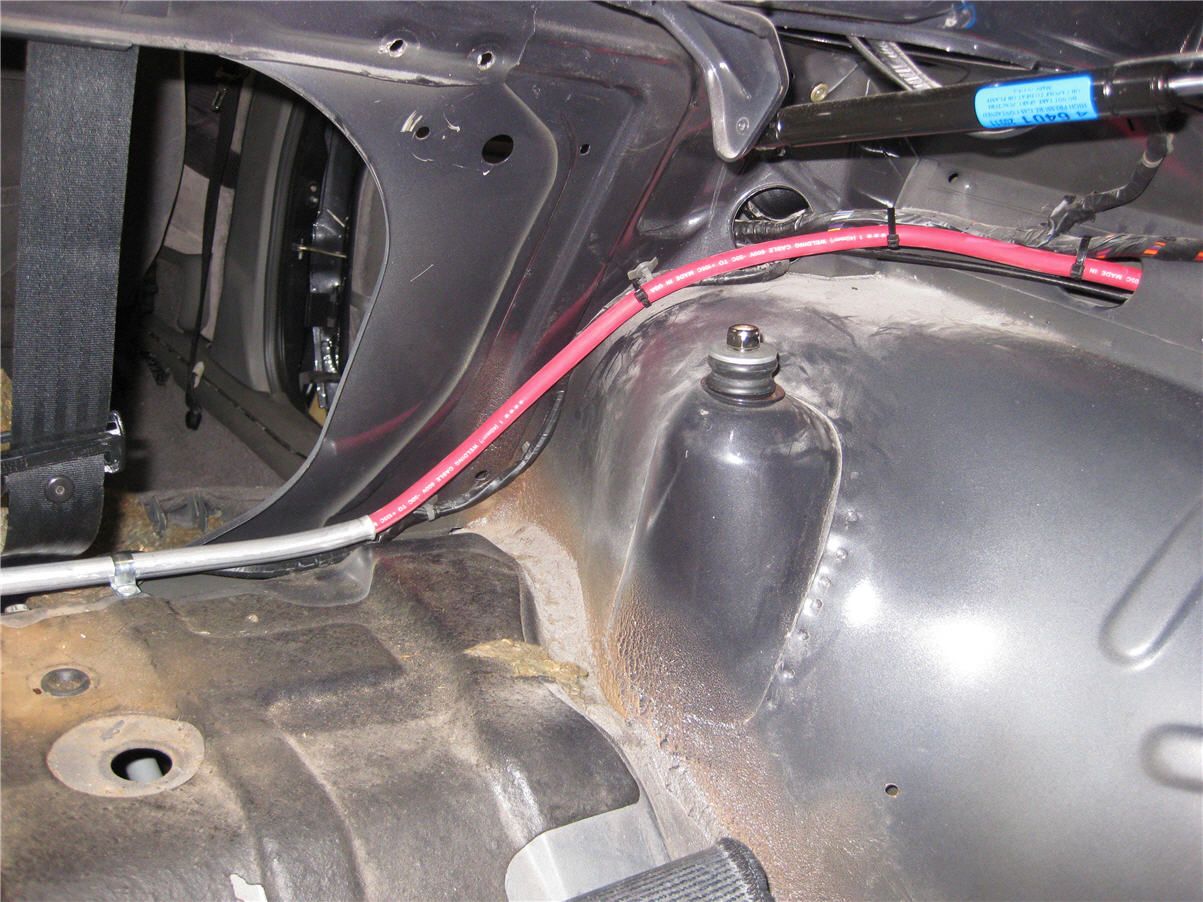
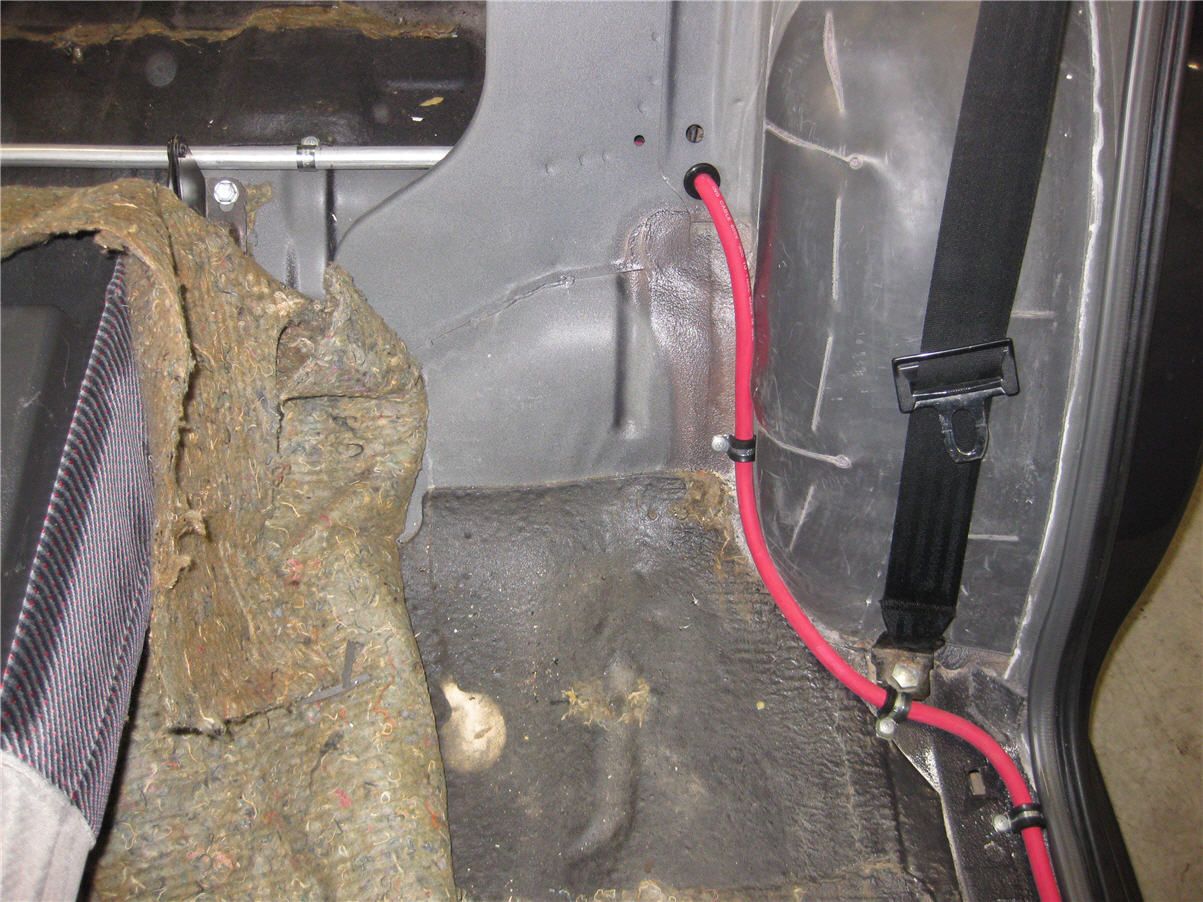
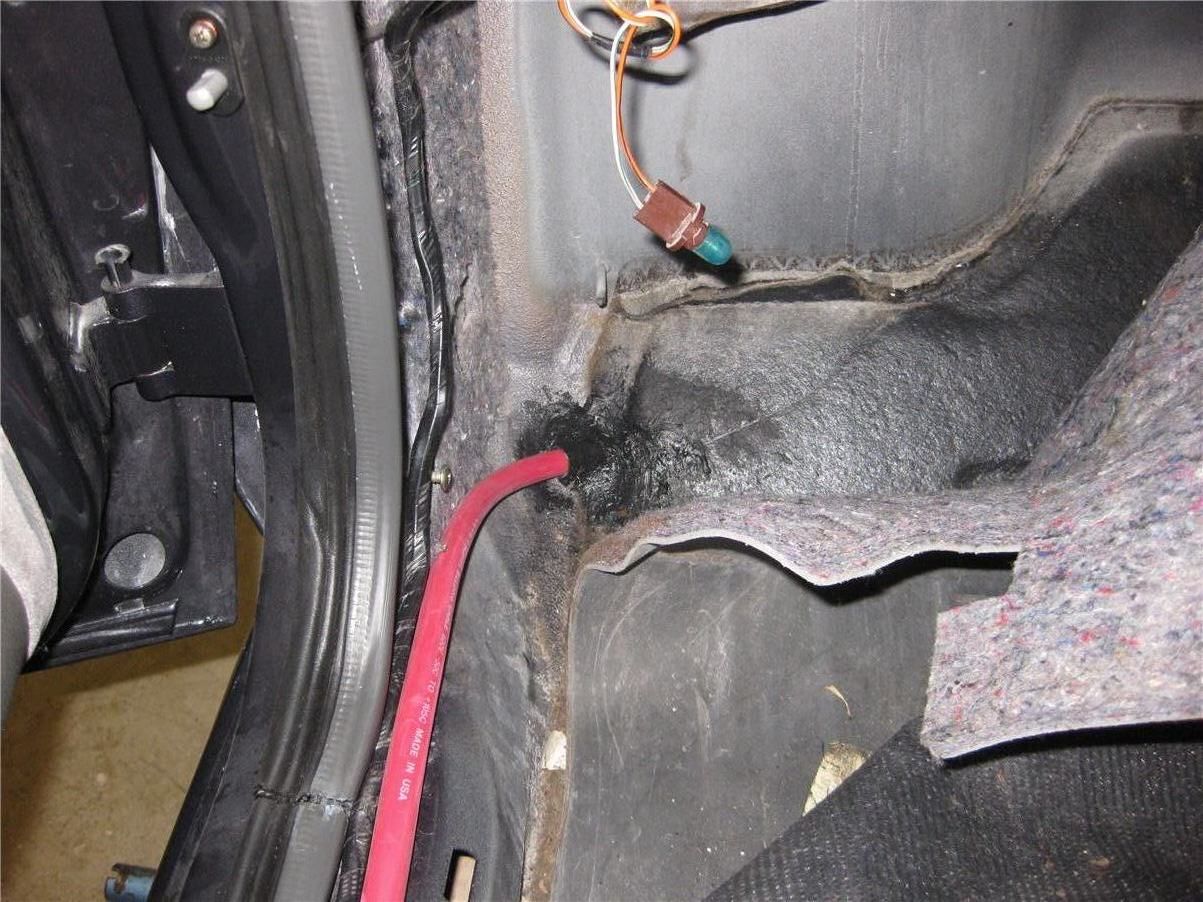
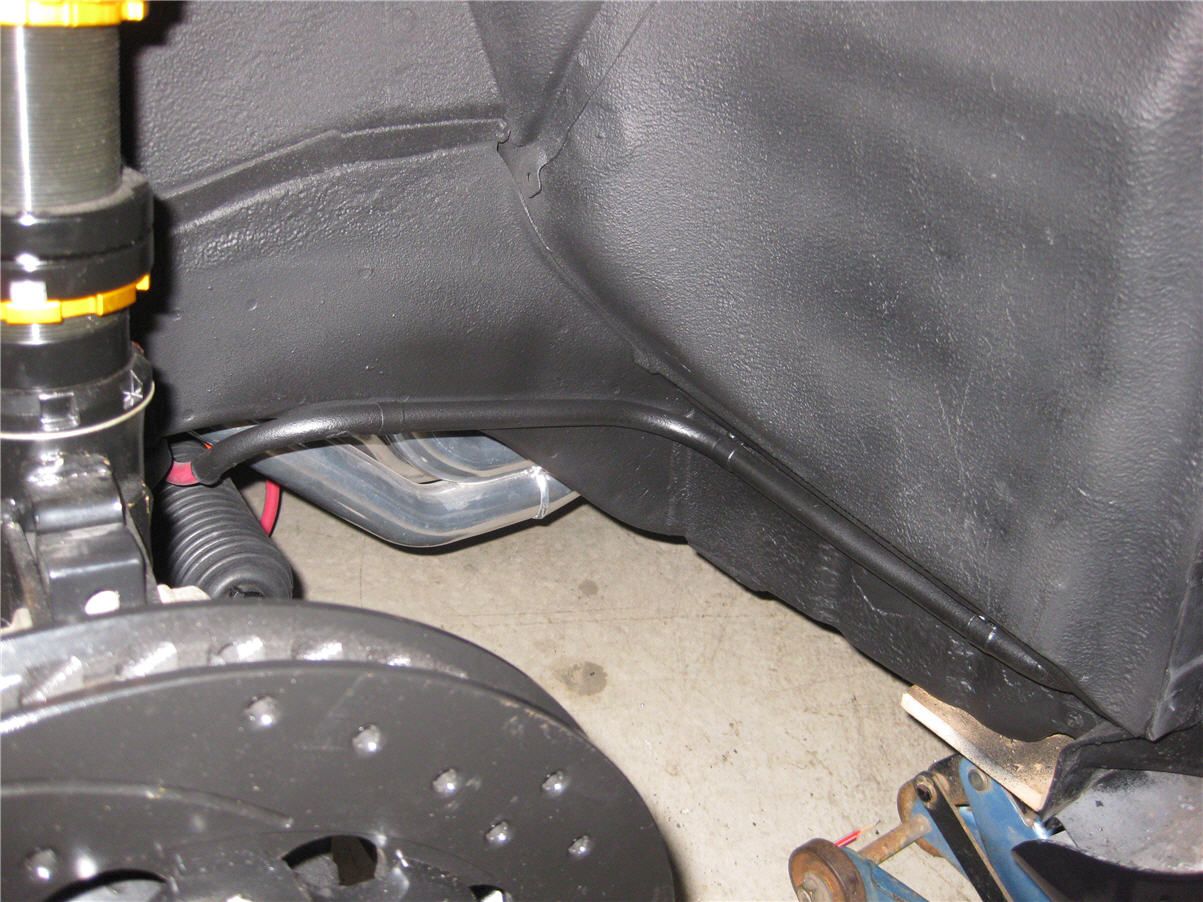
Posts: 5 777Well yesterday got to one of those points where I truly thought the car was fighting against me ha ha. Doing the battery relocation, sort of thought it would be straight forward (laughingly I now realise) Crap loads of head scratching and working out a nice way. Biggest issue was the engine end. There is just no room whatsoever between the engine, pacemakers and firewall, no where to sensibly run the cable. I used some of the 5/8 hard line I had to make up a routing tube (like the back across the boot) and flared the ends so it really nice. With the boot, once the underlay and carpet is in place you cant even notice it. I mounted the isolation with up under near the boot hinge, cut a hole for the side felt panel, really happy with how it turned out. Not totally finished as I am borrowing a crimp tool during the week and am waiting on a 300A circuit breaker, but mostly done.
-
AuthorPosts


 [/URL
[/URL


You must be logged in to reply to this topic.
