
Home›Forums›Members’ Builds and Rides›VN – VP – VR – VS›Vp ute – ls1 t56 Streeter
This topic contains 36 replies, has 8 voices, and was last updated by ![]() Stevoss 6 years, 2 months ago.
Stevoss 6 years, 2 months ago.
-
AuthorPosts
-
December 10, 2016 at 6:57 pm #20975
Hey my name is steve and i am building a vq caprice front ended vp ute. This will be a big step up from the last set up which was a 200rwhp na 3800 v6 all motor
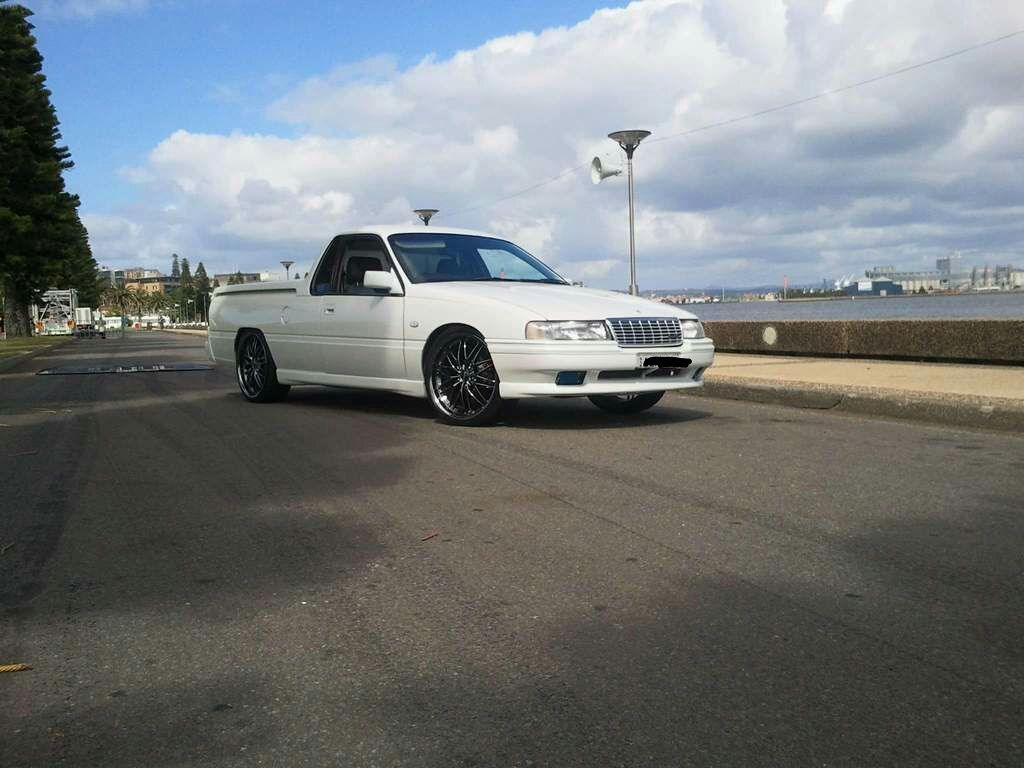
<span style=”line-height: 1.5;”>I have been following many builds on this forum and others. Trying to sponge all the trials and tribulations of a ls1 conversion into a second gen commodore. Big thanks goes out to sam brown ‘savage/scarlett’ and hayden ‘haydes’ for the majority of leg work on seeing what works and doesnt. Will post a lot of my progress pics when i get underway. I have been amassing parts and taking pics as i go. Parted out my vt ss for its driveline but ended up getting a second lower km’s motor cheap so between selling everything else not used in the conversion it helped pay for most of the conversion parts. Hopefully have it running by the middle of next year.</span>
Parts collected:
Vy ls1 with 160 000kms
Vx t56
Vs hydraulic pedal box
Rxt twin plate
Cube short shifter
5345 conversion pacemakers
Tuff engine mounts, gearbox mount and crossmember
Malwood starter relocation
Straight exit thermostat housing
160°f thermostat
New vs clutch master, sump gasket, water pump gaskets
Vl copper brass radiator
Ch1368 and ch4156 radiator hoses
Alloy rocker covers for big breathers T.B.A
Vl manual steering rack- cleaned, new boots, rack ends and tie rods
Vs booster and vt master conversion
Vz senator 330mm 315mm brakes
Lowe fabs fibreglass wiper cowl panel
19″ koya rg teks/ 17″ Vs clubsport gts tri wheels
Coil relocation brackets
Vats removed – mafless pcm
Vt auto tailshaft and ute tailshaft.
Parts i am still chasing
Vs vr rear brake hard line
Vr vs front suspension conversion- xyz coilovers, lcas z bars, knuckles, hubs
Tailshaft rebuilt – new unis and center bearing
Exhaust – 2.5″ diff dumpers and stainless 100 cell cats
Braided lines and qfm a1rm pads
Rear handbrake conversion
Rubber clutch line
Rear main
Ba thermo fans
Jobs to do
Test fit and clearance engine and box
Strip and paint engine bay
Rewire the complete car
Hidden wiring on motor
December 10, 2016 at 7:09 pm #20982save this post for questions
1) v6 throttle cable – compatible with ls1?
2) new black door seals who has used what and where from?
a) rarespares
3) was there much to modify using a vt/vx bonnet cable when hiding it under the guard? 19.12
4) does the pacemaker headers require a clamp at the merge on the drivers side? 23.12
December 10, 2016 at 7:11 pm #20983
VRSenator065Participant- Adelaide SA
- VR Senator LSx454 1960 Kombi (project) 1921 Nash Hot Rod (future project)
View build HERE
Posts: 5 777
Nice list there mate, and welcome to the forum. I am a little partial to the LS swap into second gen commies
 December 20, 2016 at 12:38 am #21134
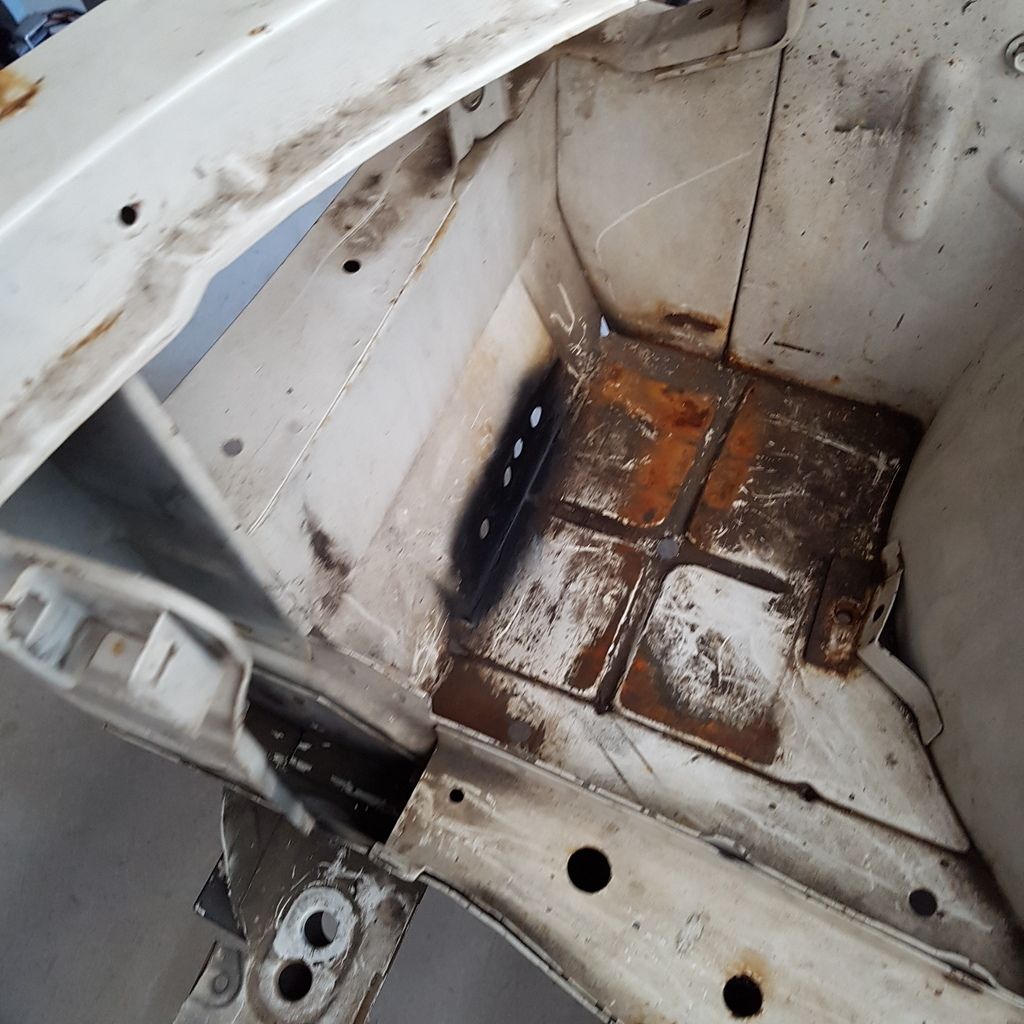
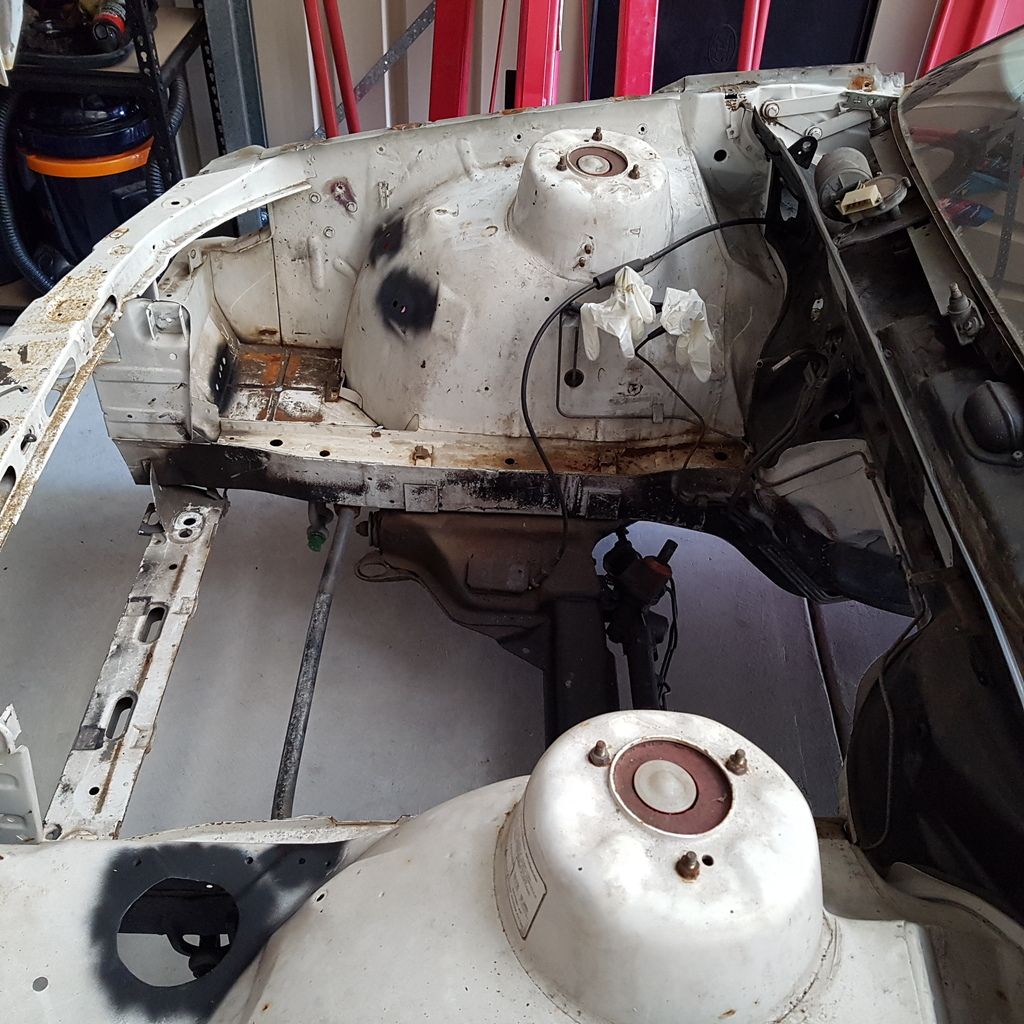
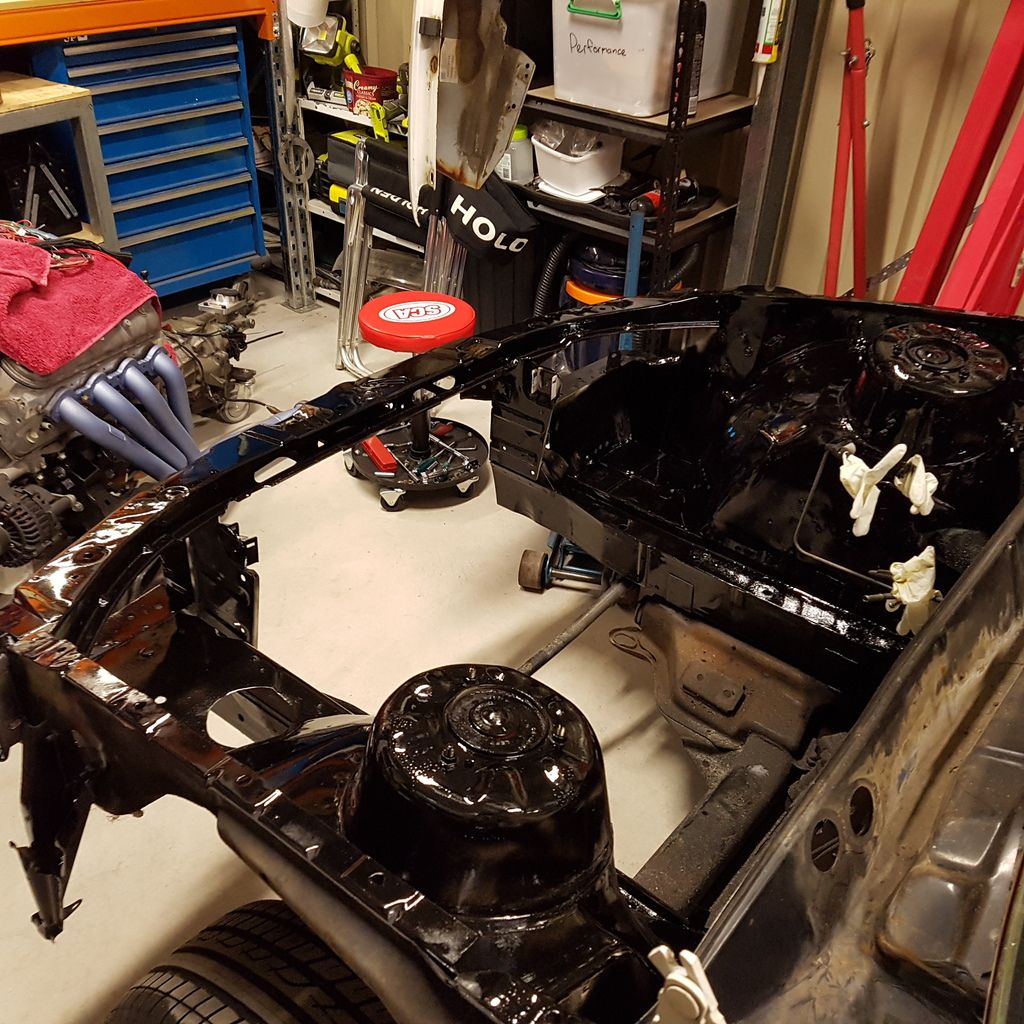
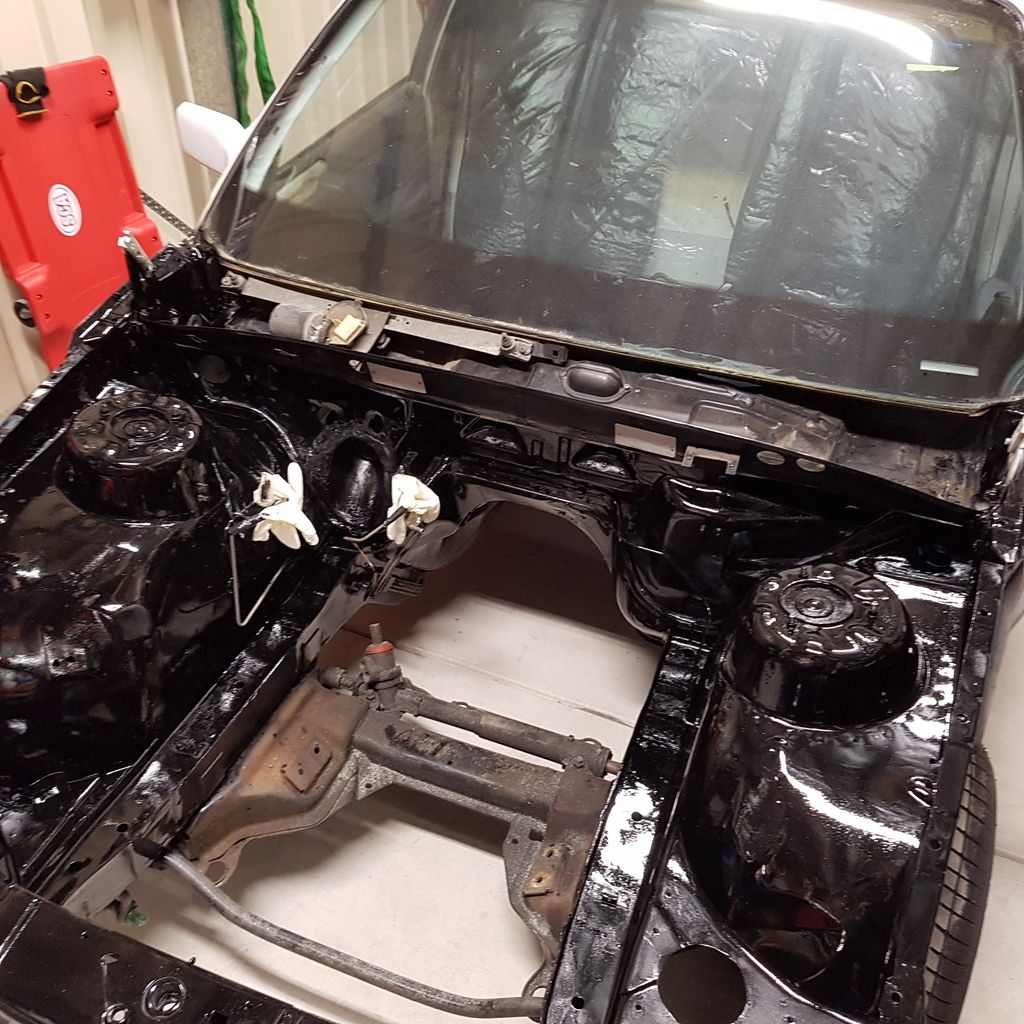
stripped engine bay, removing unused brackets, starting to clean up rust, not sure on how i will temp fix the tear on passenger strut tower. might use a long rectangular grommet and neaten it up.
next on the agenda is a test fit of the engine and box for clearance checking then i can go ahead and complete wire wheel, clean and por15 the bay
when i have finished the cars engineering i will get the bay holes welded up and sprayed properly. engineer hates the idea of boxed in rails or hidden sections
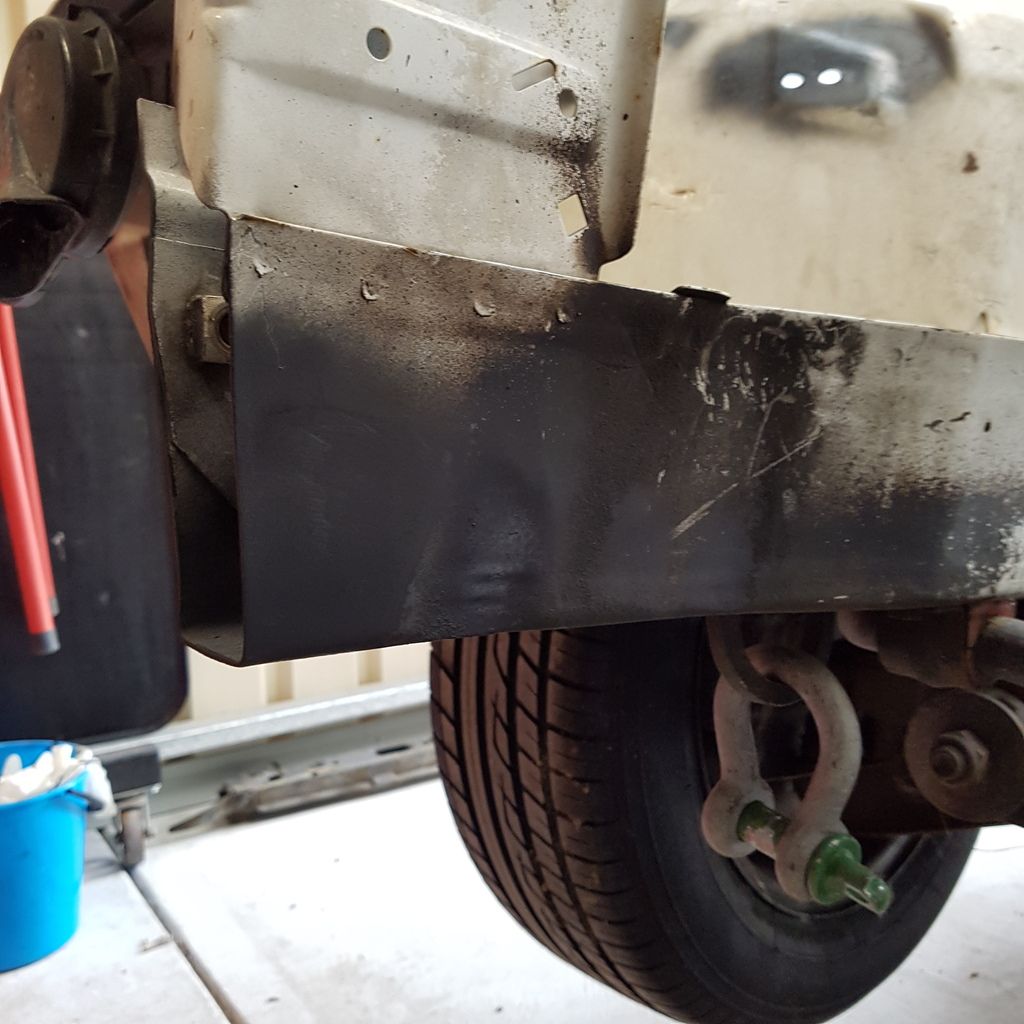
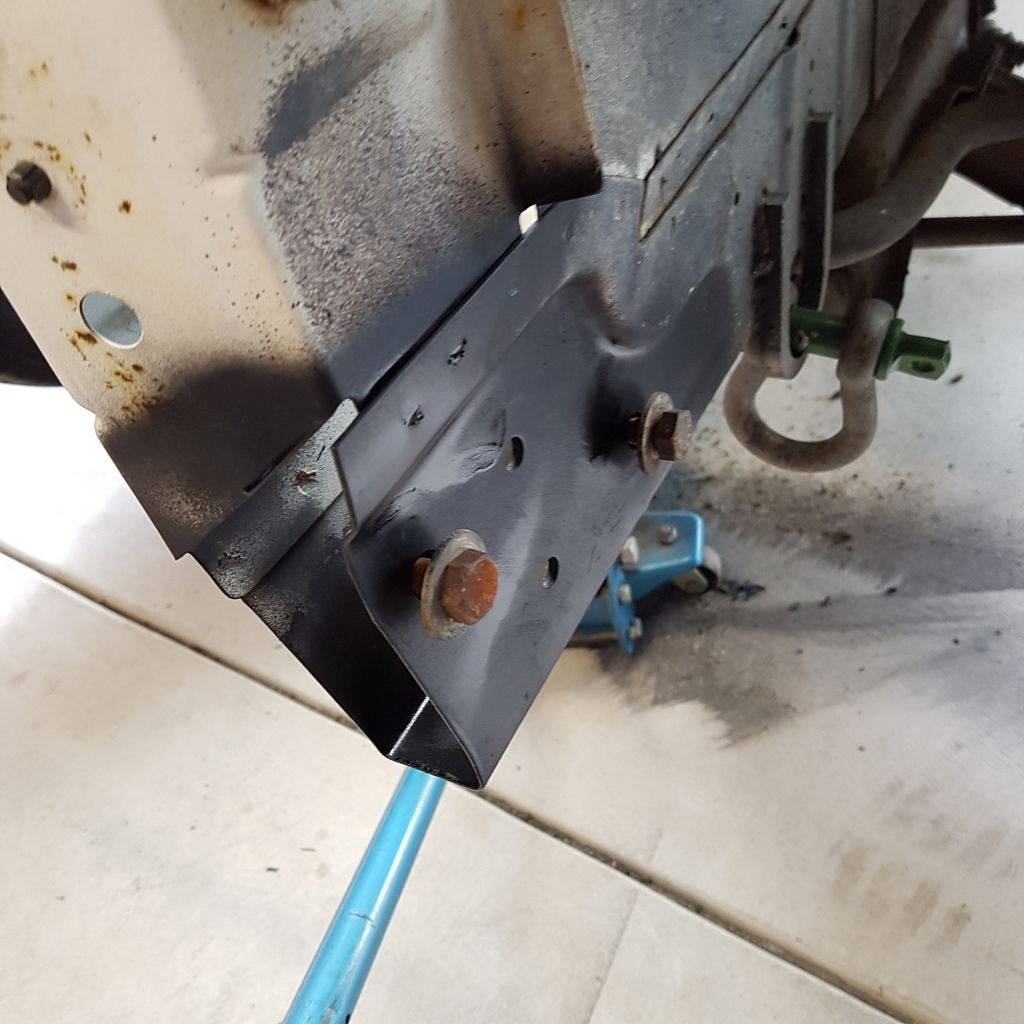
found crushed/pushed back radiator support. will have to cut off and replace. has anyone done a removable section. would make pulling the engine so much better.

 December 20, 2016 at 8:35 am #21143
VRSenator065Participant- Adelaide SA
- VR Senator LSx454 1960 Kombi (project) 1921 Nash Hot Rod (future project)
View build HERE
Posts: 5 7772) new black door seals who has used what and where from?
I bought mine from Rare Spares, door seals were perfect fit etc (not cheap from memory) boot seal I bought at the same time was shite, ended up finding a good condition used one.
Other 2 questions cant help with.
edit: kinda think you wont be needing a boot seal in a ute….
-
This reply was modified 7 years, 4 months ago by
 VRSenator065.
December 21, 2016 at 7:03 pm #21170cool will save my pennies they aren’t cheap but if they fit well they are on the list.
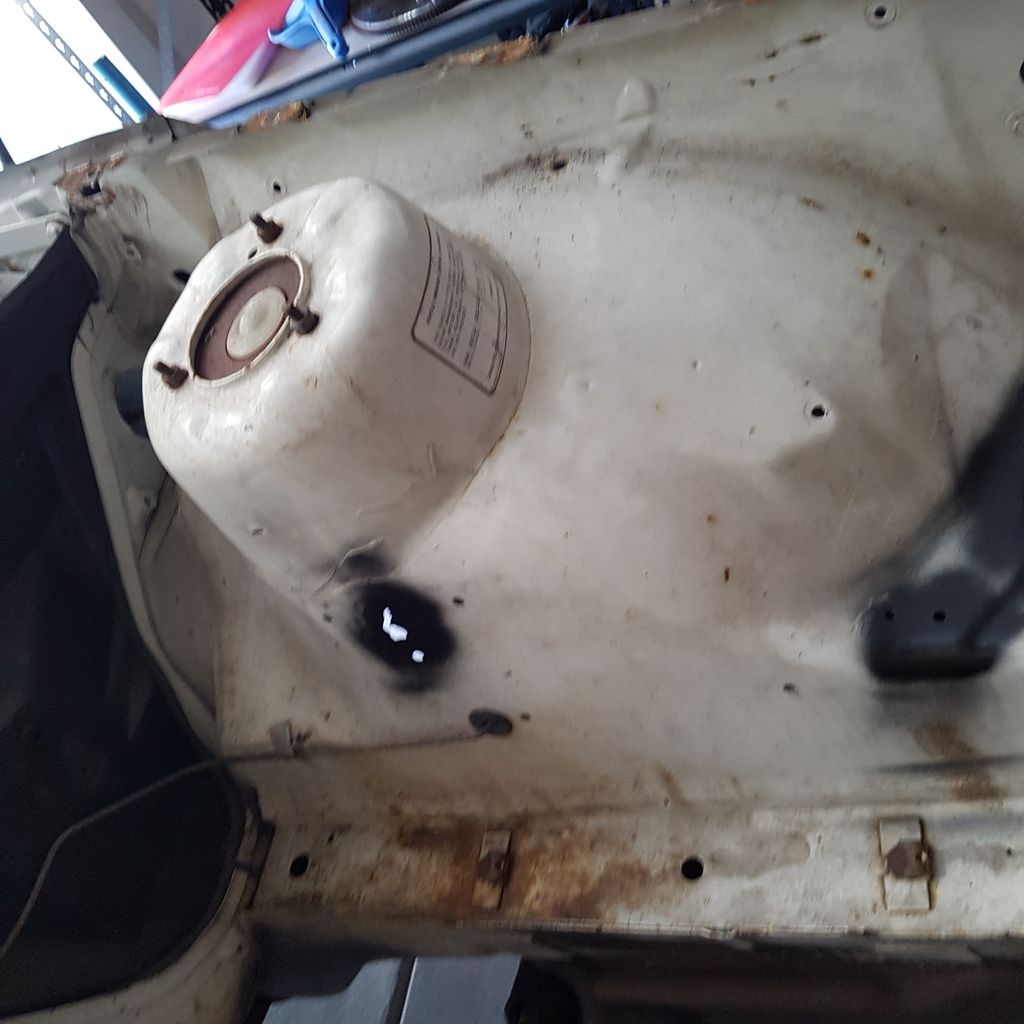
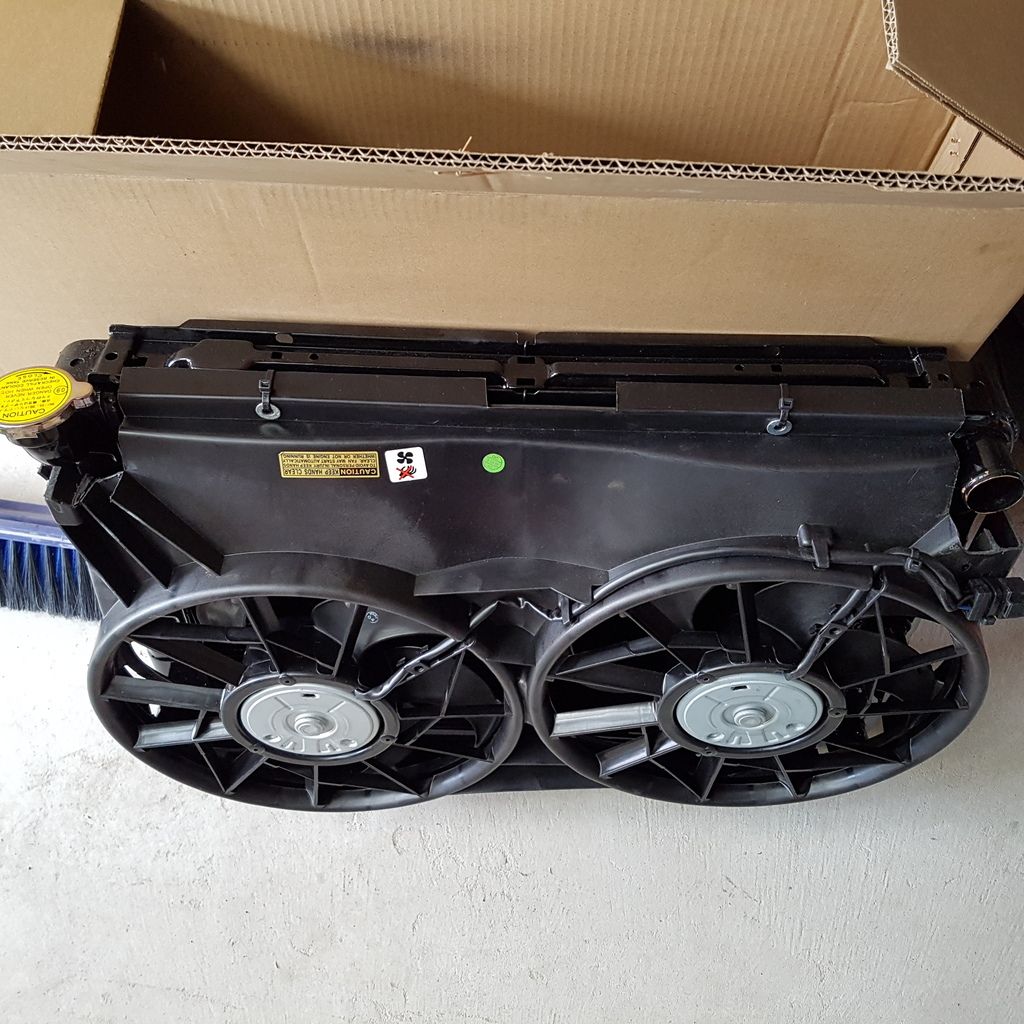
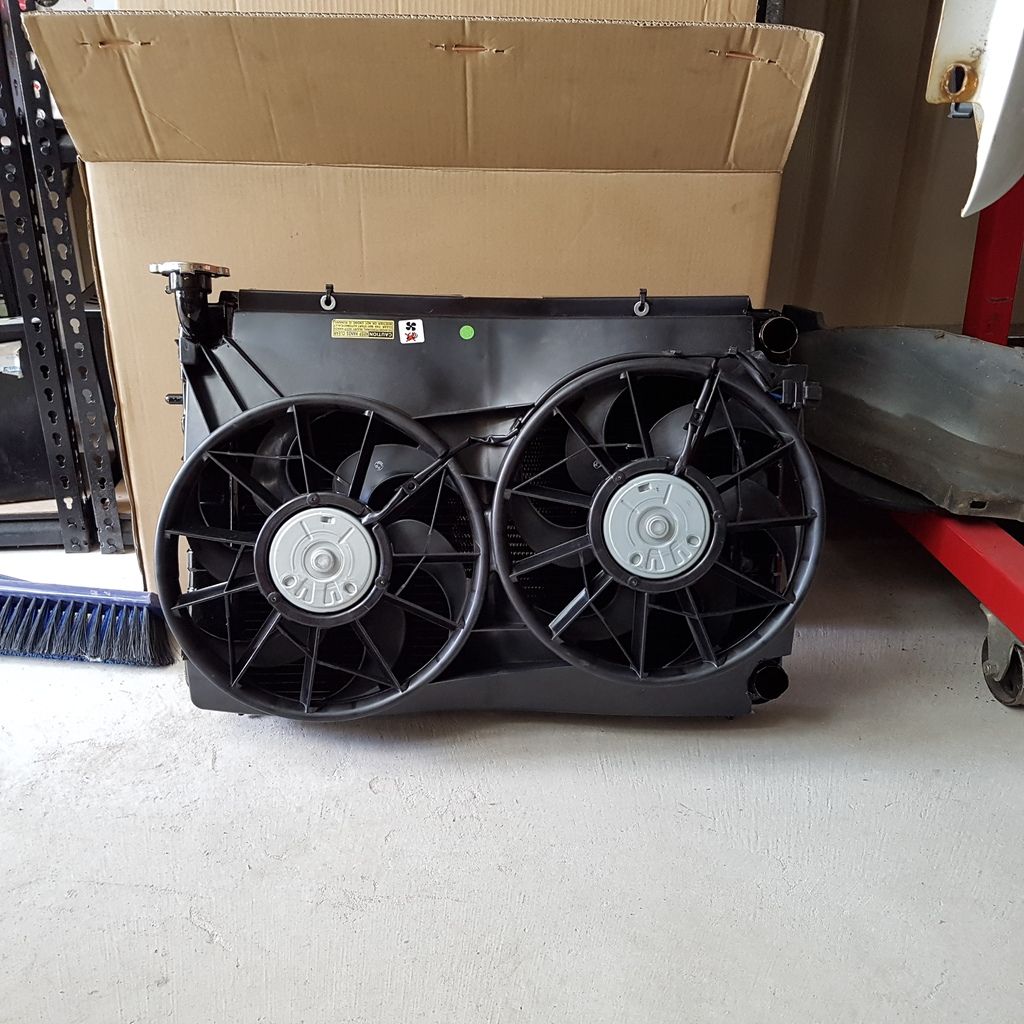
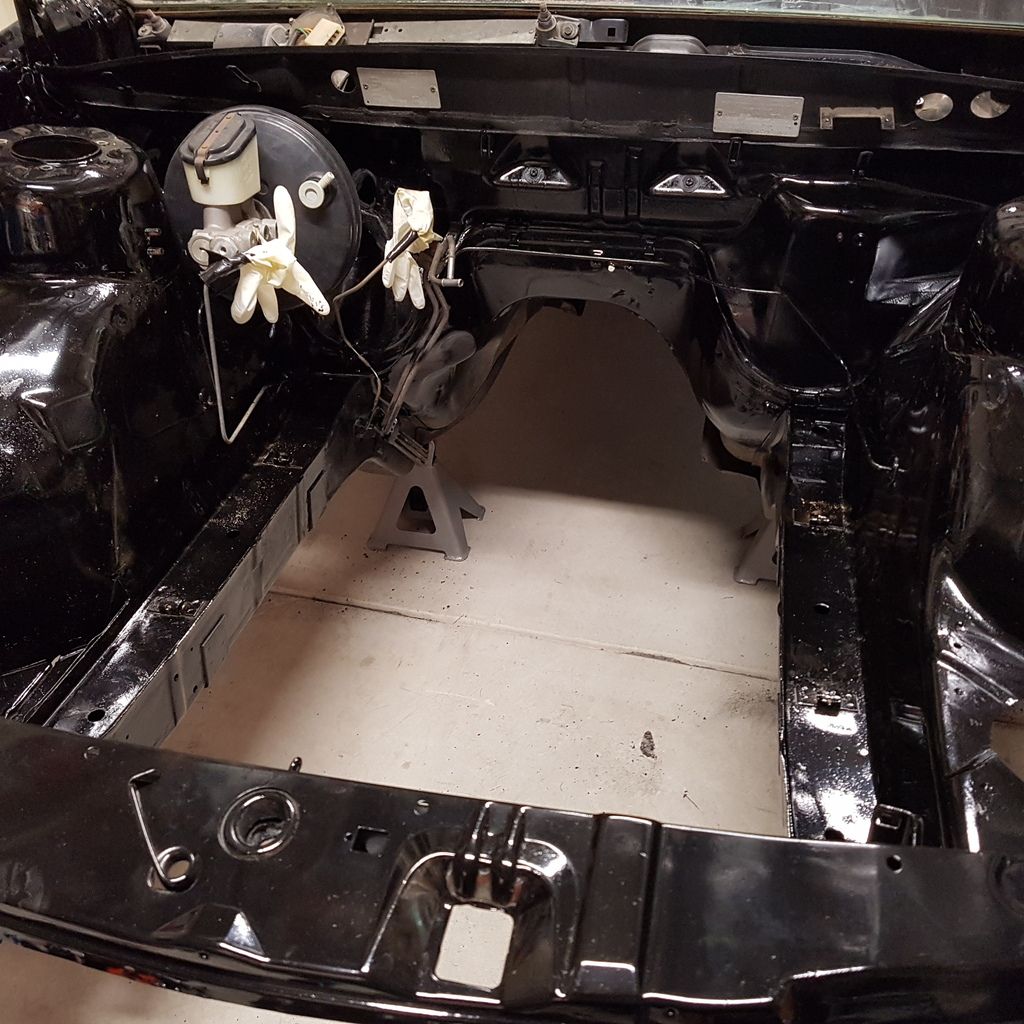
Did a test fit of the radiator and bonnet closes was a little worried as its taller than my old v6 rad. custom lower radiator support is on the plan hoping to drop it 1″ to neaten it up. au thermofans are now modified and fit. pics to come
ch1368 – the top hose looks like its very tight on the radiator top inlet. will have to identify an alternative 33mm id of hose and od of rad is 37mm. outlet on waterpump is 33mm od. will try the hot water trick first.
December 23, 2016 at 11:26 am #21208reading around again a few people have used subaru hoses and a falcon hoses for the top. will suss out an alternative when at supercheap next.
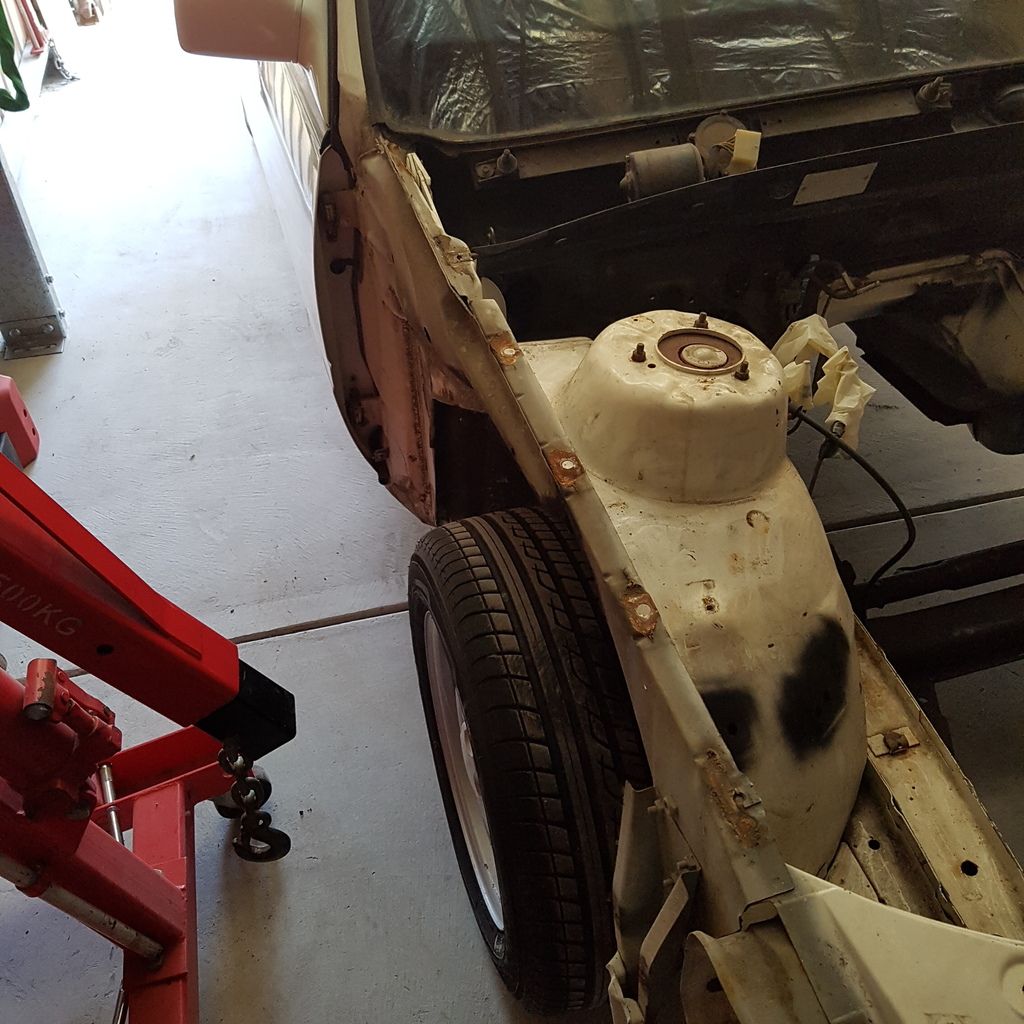
todays job was cut off and clean up the front radiator repair section. will either be replaced with a cut section properly or try and fab a removable crossbeam after i sort the rest of the engine bay work and its all running nicely.
another thought was does the pacemakers need to run a clamp over the split join on the drivers side merge?

 December 23, 2016 at 12:37 pm #21211
VRSenator065Participant- Adelaide SA
- VR Senator LSx454 1960 Kombi (project) 1921 Nash Hot Rod (future project)
View build HERE
Posts: 5 777another thought was does the pacemakers need to run a clamp over the split join on the drivers side merge?
No you don’t need too. I used some exhaust sealant when I put it together though.
Re the hoses not sure with the combo you are running but in my thread in the engine conversions section I posted the top radiator hose I used that fits perfectly. For the bottom I just used an Aeroflow swivel thermostat housing so I could point it straight down then just used a standard 90 degree bend.
December 23, 2016 at 8:49 pm #21224i have a cheap billet straight thermostat housing and hose to suit.
got another chance to attack the bay after lunch. 6hrs of wire wheeling and a quick spray with kill rust. atleast i can start on motor in and clearances without being afraid of scratching the paint. $30 compared to $1600.
dont mind my missed spots i ran out of cans
 or the runs/ bubbles
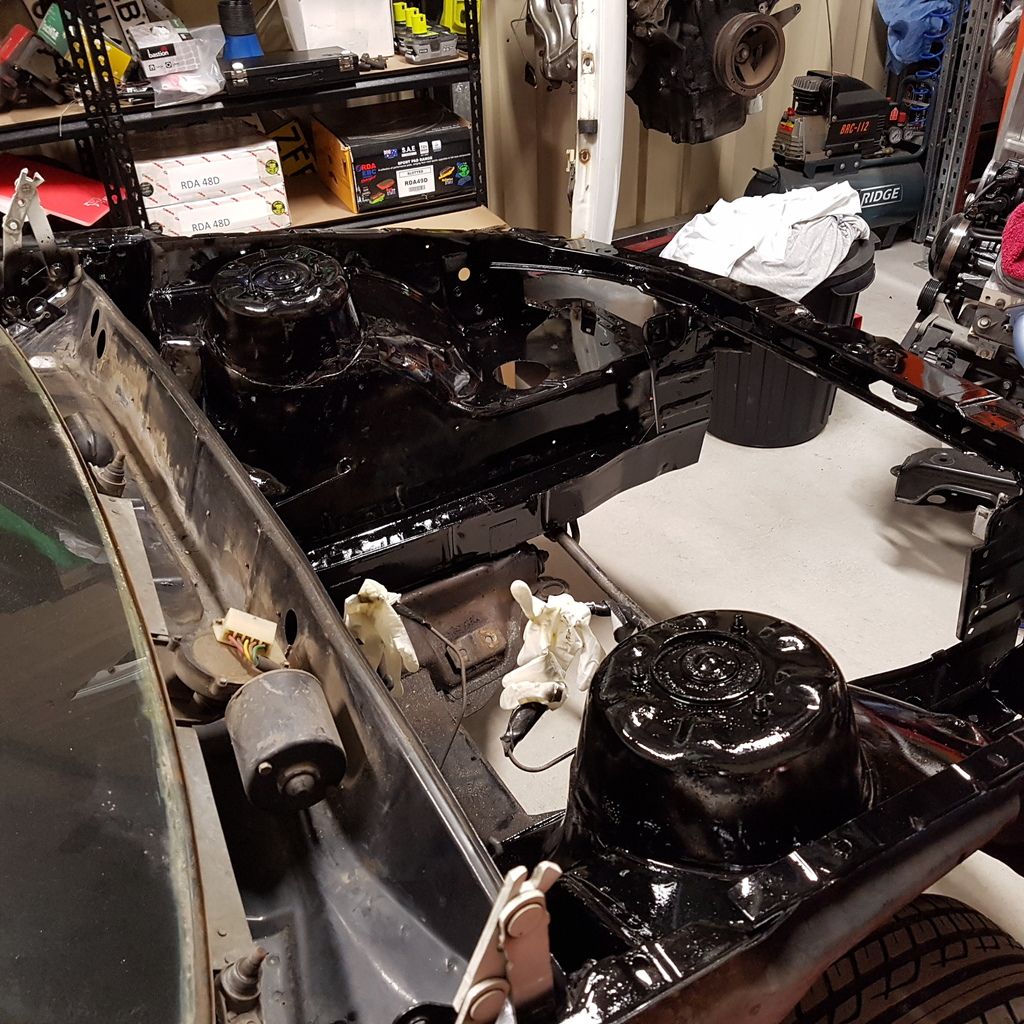
 December 24, 2016 at 4:09 pm #21233
Slow355Participant- Victoria
- hectic spec 355 vs ss ute
View build HERE
Posts: 322Looking like a good project! Good to see more Utes on here
munch munch ls1s for lunch
Best 1/4 mile 13.1@105mph 60ft-1.8sec Reaction time .8 sec 0/100-4.8secDecember 27, 2016 at 7:28 pm #21267Thanks. love the idea of big power utes.
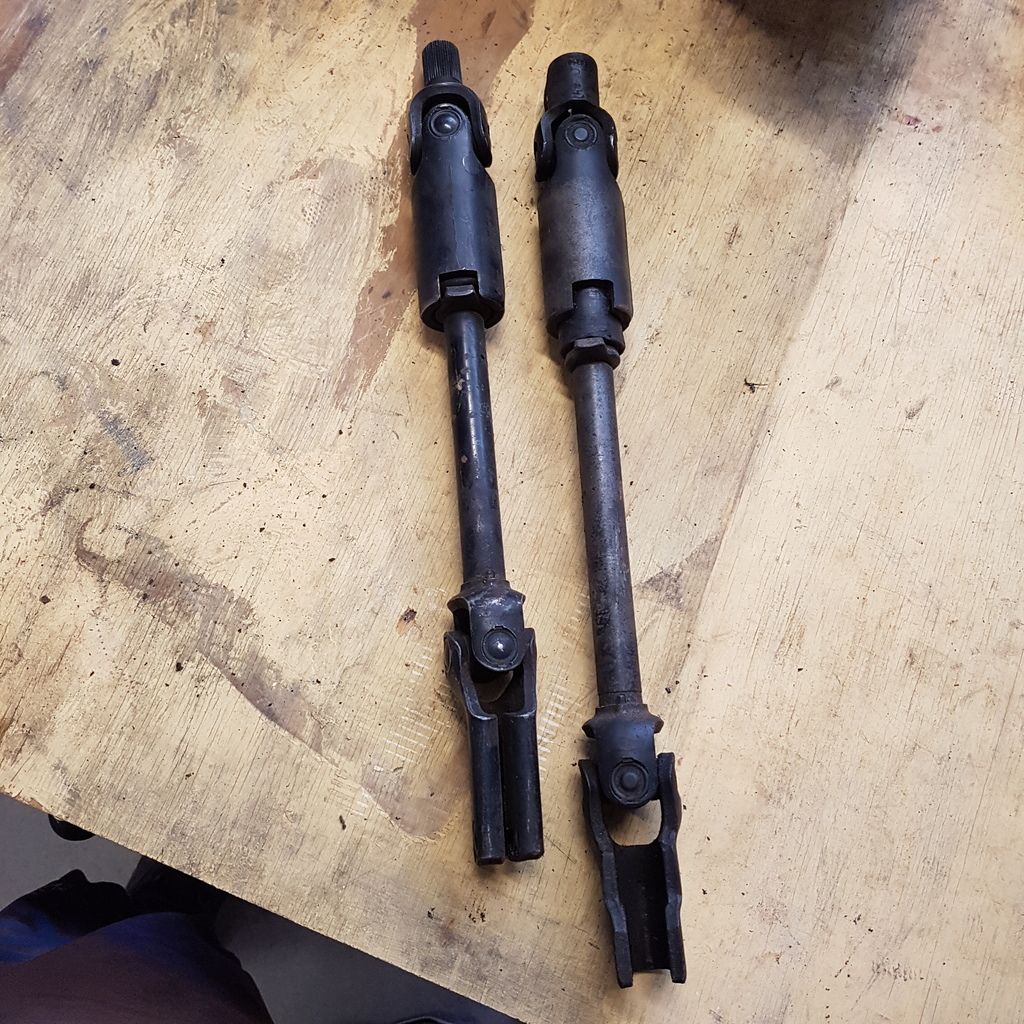
Todays jobs trying to organise parts in order of install. So i sorted intermediate shaft and swapped vy alloy pedals pads on to the vs pedals. grabbed some more killrust and some superpro kframe front caator bushes.
 December 27, 2016 at 9:00 pm #21268
You just changed the end yeah?
December 27, 2016 at 10:12 pm #21269yep. all you have to do is swap the top section firewall side uni-joint from the vn vp vr vs onto the vl manual intermediate shaft and no more power steering leaks. will also need to replace both uni’s with new at a later date as they are stiff. next removed all suspension and dropped the kframe out of the front end ready for trial fitment.
 December 28, 2016 at 7:41 am #21270
U can also just swap the bottom part where it mounts to rack.
December 28, 2016 at 2:01 pm #21271good to know. i thought it might be too long and referenced off 2 other builds to check so i hope it’s correct. otherwise I will swap it all again.
December 28, 2016 at 2:49 pm #21272Yeah that’s all I did. Vsmanta gave me that tip. I did it all in car because I cbf pulling the whole steering shaft apart.
December 28, 2016 at 6:27 pm #21275Yeah when I was doin the VL rack change every one told me easiest way was to cut the shaft and weld it
I fitted the rack and did some measurment and immediently seen if I just swapped the bottom piece it fitted perfectly
did that in like 1 hour as I was a little cautious on what I was doin and fitted perfectly
doin it again and Im Sure it’s same with cava now he has done it could do it in like 20 mins if engine is out
did is you just swap the top Uni over ? If so it looks like it’s goin be like 30mm short
December 28, 2016 at 8:17 pm #21276the good news is it’s only 1 bolt just inside the firewall if i need to pull it back out after the engine is in. was worried it was going to be too long. below is a pic that was used as reference
 December 28, 2016 at 8:28 pm #21277
Is the intermediate shaft all the way down on the spline in this pic ??
On the VL rack where the spline come up it has a flat spot and that’s where the bolt should line up with
could be wrong but looks like I can still see 15mm or so of spline under the intermediate shaft in this pic
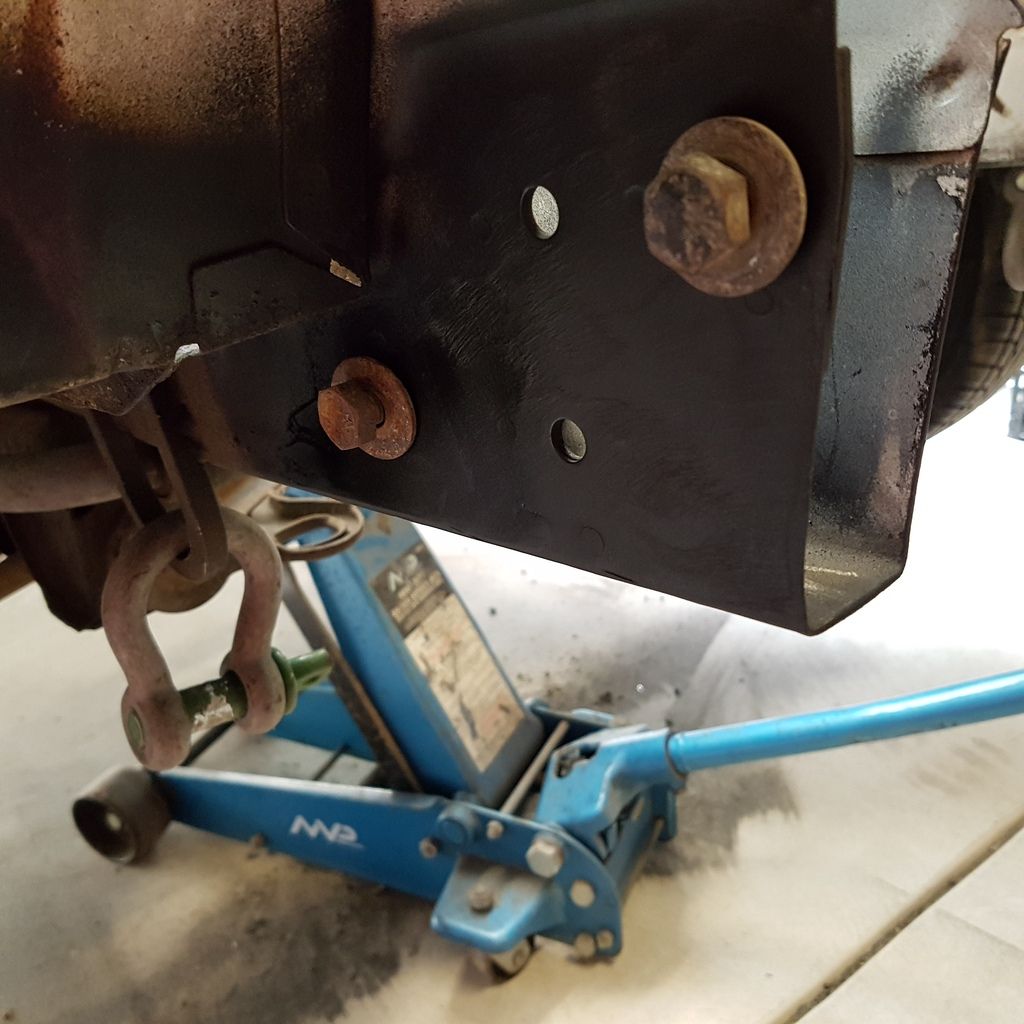
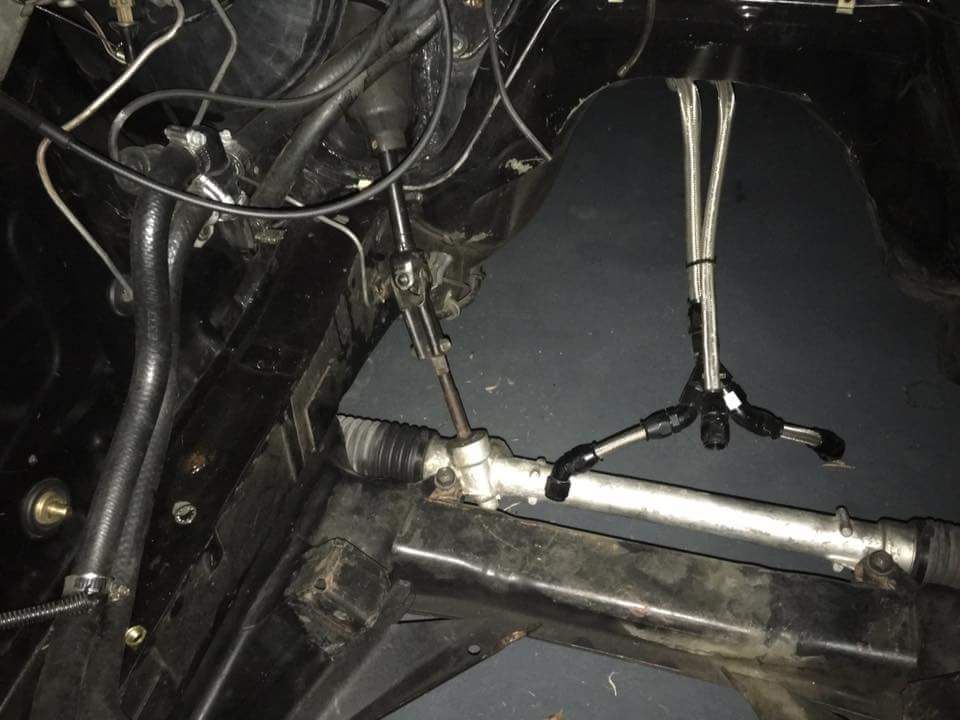
December 29, 2016 at 10:47 am #21278Is that your fuel lines over the trans tunnel?
-
AuthorPosts


You must be logged in to reply to this topic.
