
Home›Forums›Members’ Builds and Rides›VB – VC – VH – VK – VL›VK L98 T56 Build
This topic contains 83 replies, has 16 voices, and was last updated by ![]() Heron SSV 4 years, 10 months ago.
Heron SSV 4 years, 10 months ago.
-
AuthorPosts
-
May 14, 2016 at 2:42 pm #16844

VRSenator065Participant- Adelaide SA
- VR Senator LSx454 1960 Kombi (project) 1921 Nash Hot Rod (future project)
View build HERE
Posts: 5 777
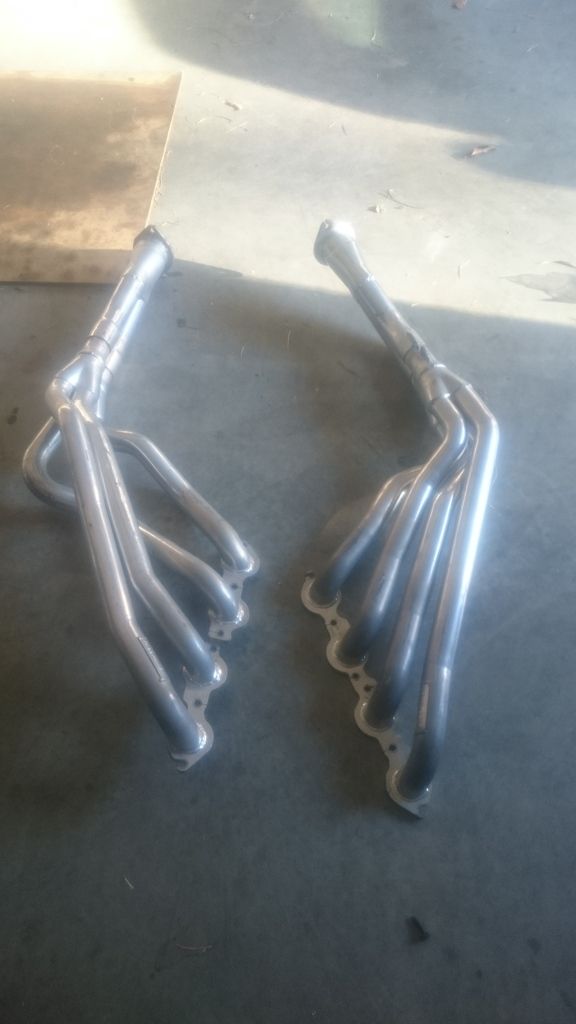
Well, we did try and warn you!!! (only kidding) I actually think they should be withdrawn from sale, I mean they just don’t work, full stop end of story.. I actually have my pacies for sale, I cut the collectors off and made up a new set to make them 3″. They are ceramic coated although they are used (about 1,000km). I was hoping to get maybe $500 for them but honestly I would be open to offers, no sense them sitting there going to waste. Mine made 508 rwhp with them so they are not exactly restrictive with the 3″ collectors. (I am in SA though)
Just went out and looked at my PWR/Spal set up, its no anywhere near the rad support. You sure you have the rad in there properly, it sits on some big ass rubber insulating washers from memory?
-
This reply was modified 7 years, 11 months ago by
 VRSenator065.
May 14, 2016 at 7:13 pm #16851
rayray07Participant- Newcastle
- 6.0L VK In the build
View build HERE
Posts: 41Haha it’s ok, jokes on me. I’m hearing you mate, I actually spent most of the day with the oxy torch and managed to free up a heap of room on the drivers side. I ended up separating the pipes and also managed to drop the motor down a little more. At the end of day, I got the pipes to fit with clearance, but there is just not enough and I can’t see an engineer signing off on it. Even if it did pass engineers, I personally don’t like the clearances and the shape of the pipes now after modifications, any slight movement in the mounts or drivetrain down the track would result in something fouling. Very annoyed I flushed my money down the drain with these headers and I don’t recommend them to anyone.
VRSenator, I am very interested in your headers and I will PM you about them. You have already done exactly what I was going to do with the 3″ collectors.
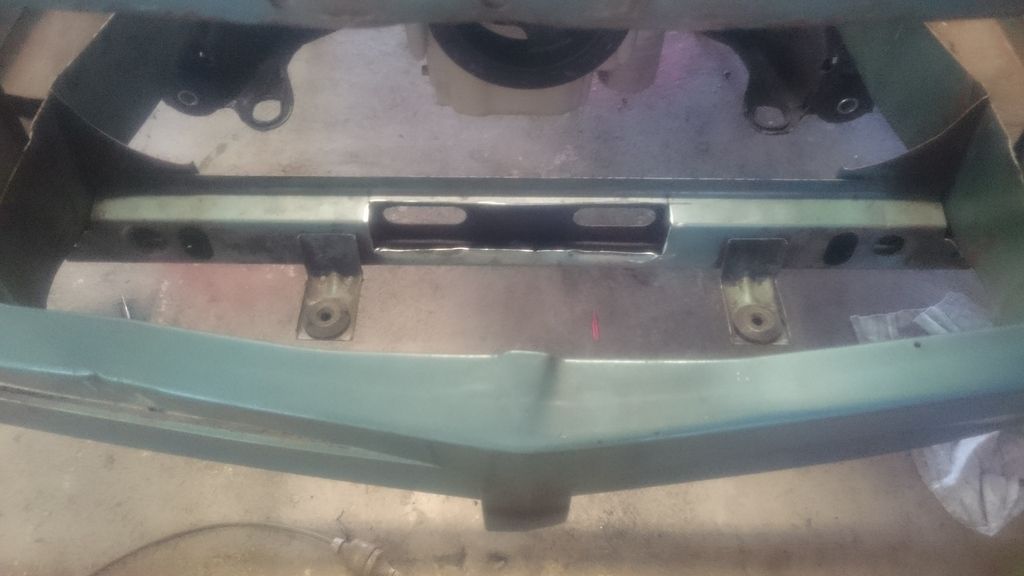
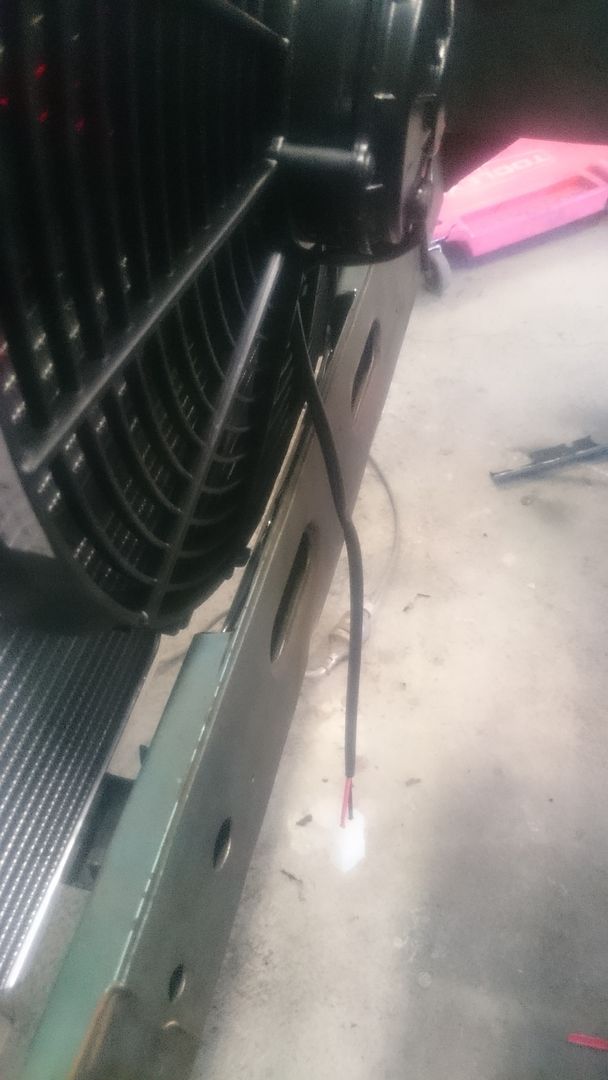
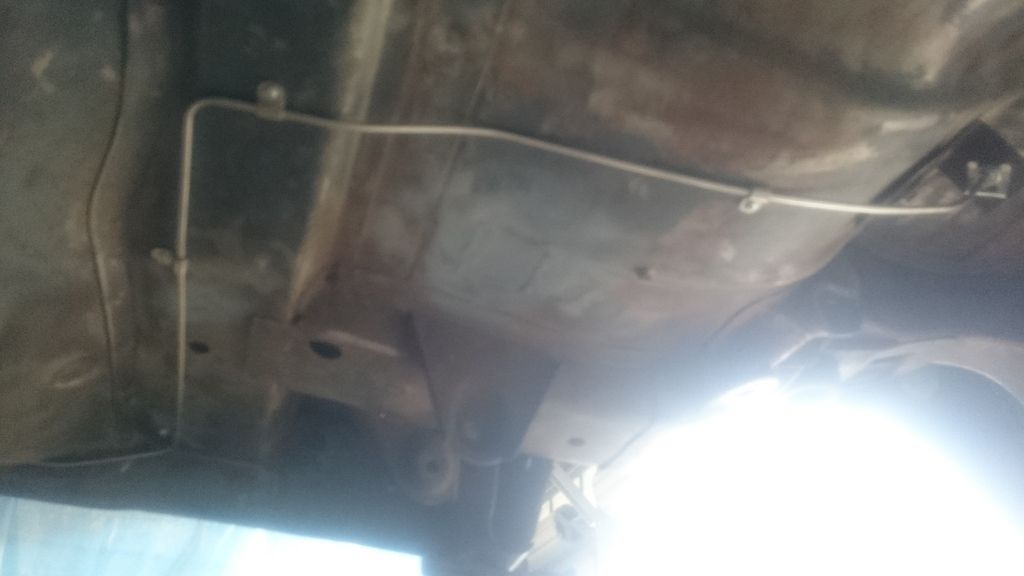
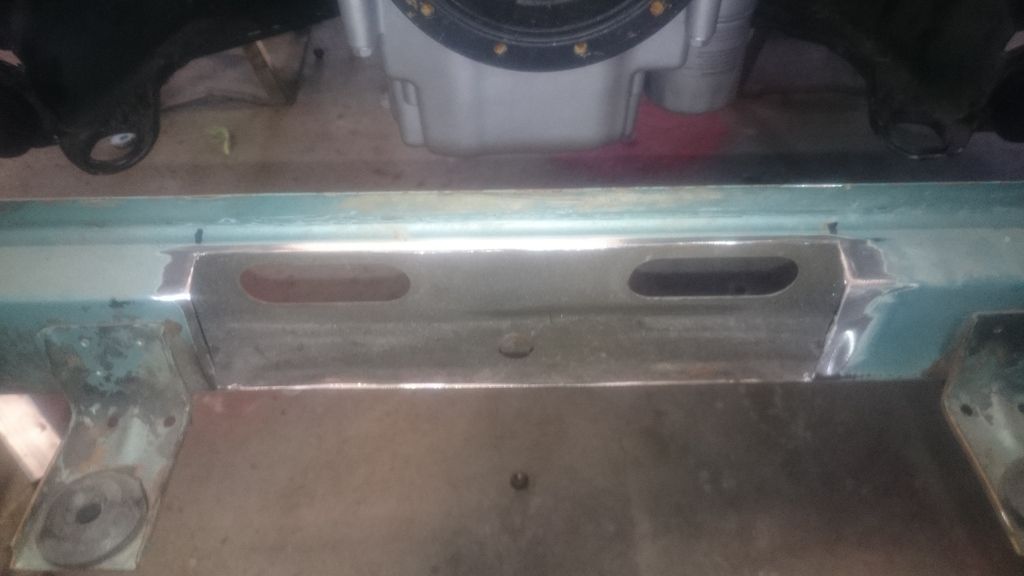
The Radiator sits in fine, it’s just the thermo that fouls at the bottom, I ended up just taking a section out of the rad support and now it all sits in fine. I might box it up, but it still has good structural integrity as is. Also opened up a bit more room around the bottom radiator pipe.
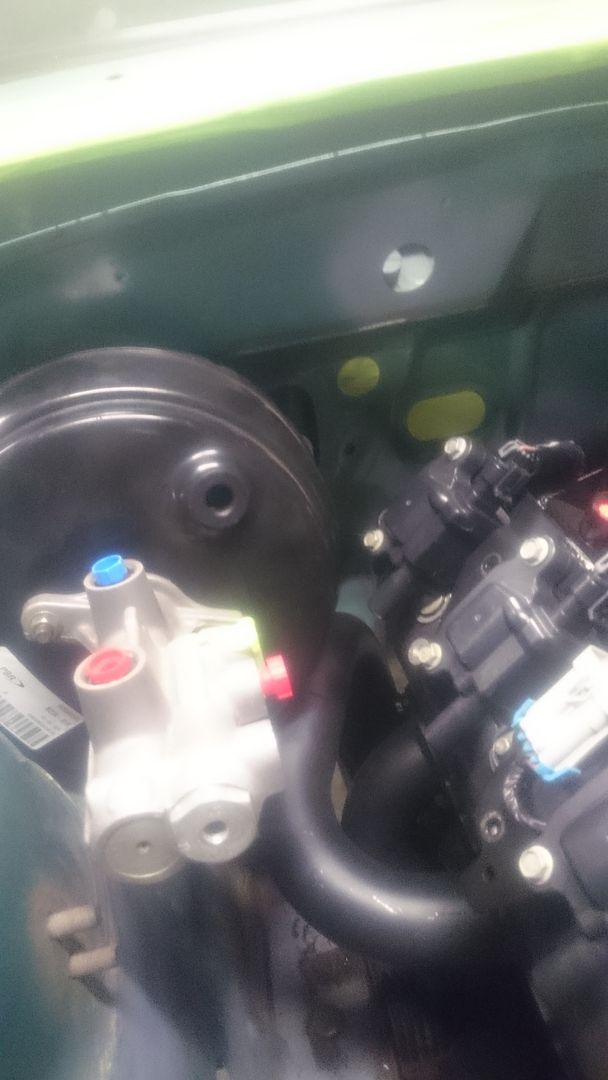
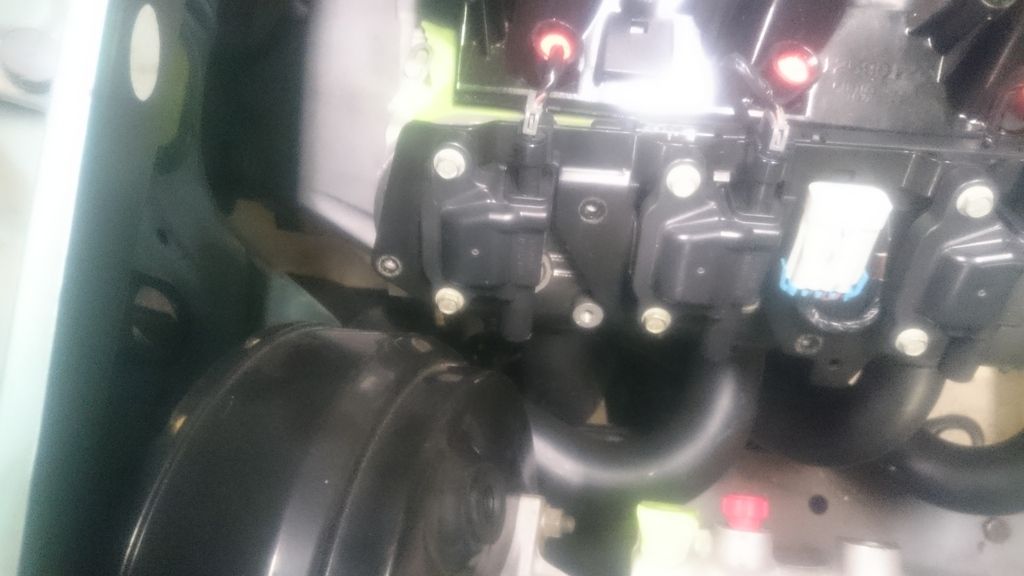
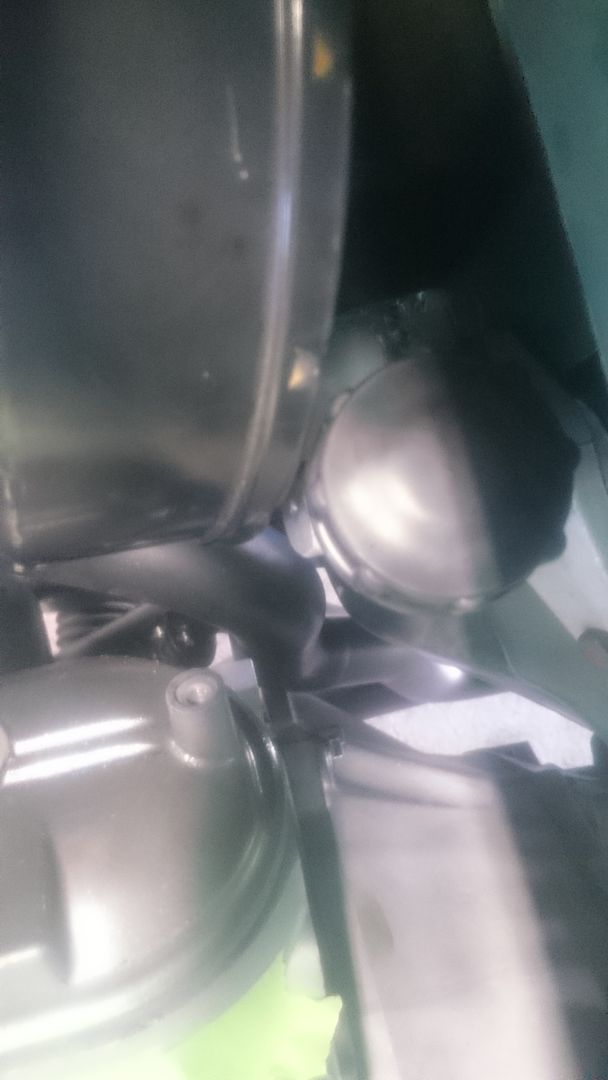
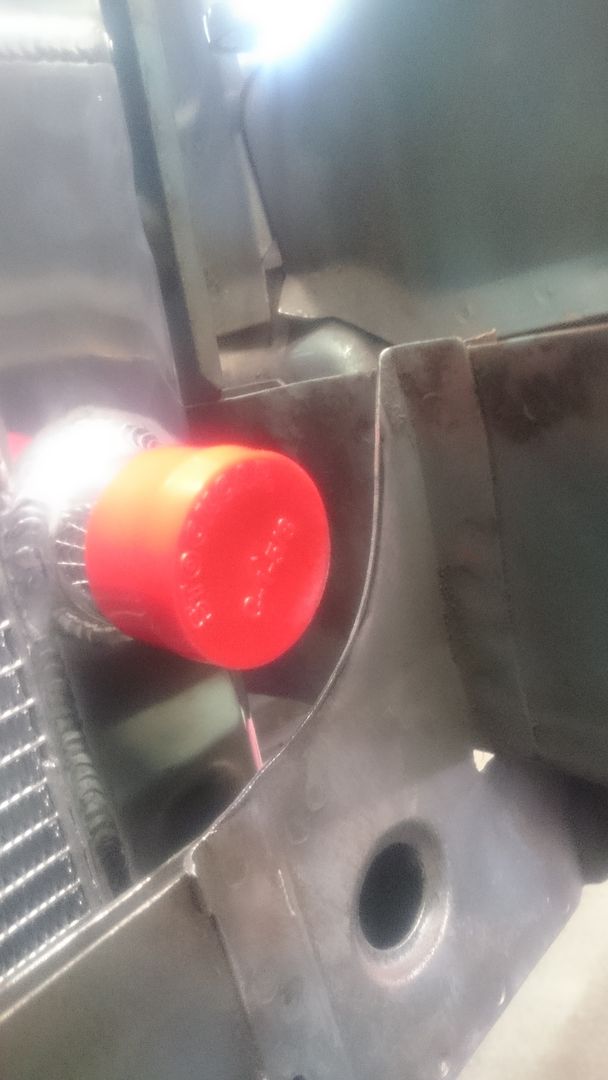
Onto what else I got done today, dummy fitted the brake booster and clutch master. Now, I ended up using VT booster and master, I fabricated the firewall bracket so it pushed it as far over to the drivers side as possible to clear the coils, which is does. Only problem I encountered was the booster was just touching the clutch master refill cap. I just needed to space it out about 5mm.
 May 15, 2016 at 5:37 am #16863
Lol
they are a joke
May 15, 2016 at 7:39 pm #16898
Judge1 FrazerParticipant- new zealand
- 1983 VB LSA MG9 6060 6 speed
View build HERE
Posts: 775Hi Ray project is looking good just had to pass on some info with regards to the rad support in the early commodores the rad sit on edge and in the vn onwards they sit flat that’s whey Gary (VRsenator) has no issues so you could get a vn -vs rad support and change them this what I did to my last vk
 May 15, 2016 at 9:35 pm #16908
rayray07Participant- Newcastle
- 6.0L VK In the build
View build HERE
Posts: 41Thanks Judge1, after looking at that I might look at doing that or just fabricating one up. It does look a lot neater than just cutting a section out like I have already done.
May 16, 2016 at 11:00 am #16917
VRSenator065Participant- Adelaide SA
- VR Senator LSx454 1960 Kombi (project) 1921 Nash Hot Rod (future project)
View build HERE
Posts: 5 777^^bloody good info there Judge, that’s why forums are the go
 June 3, 2016 at 7:47 pm #17511
rayray07Participant- Newcastle
- 6.0L VK In the build
View build HERE
Posts: 41Finally found some time to post an update.
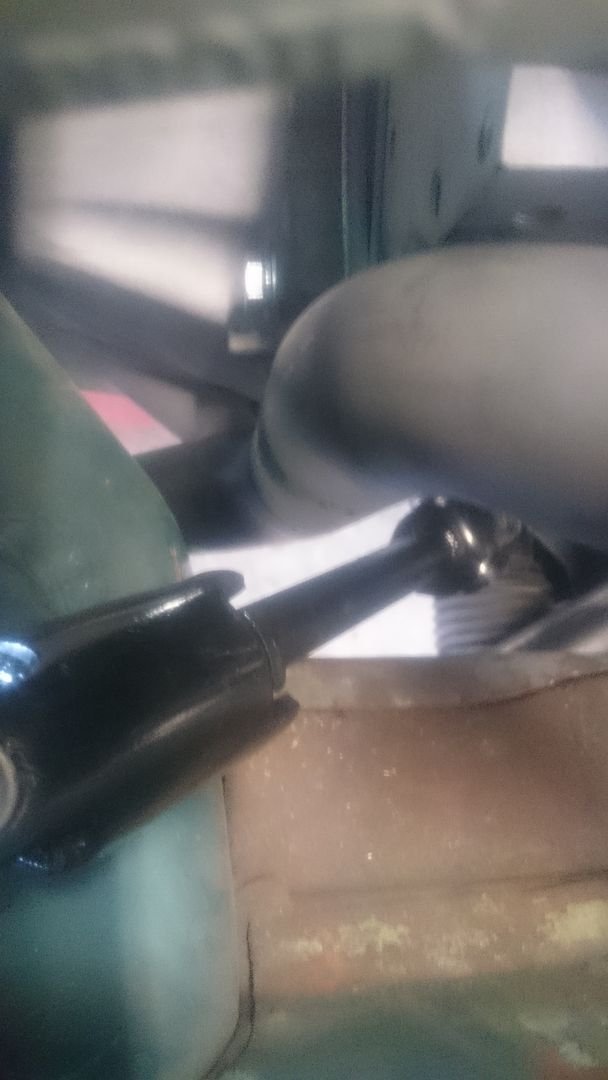
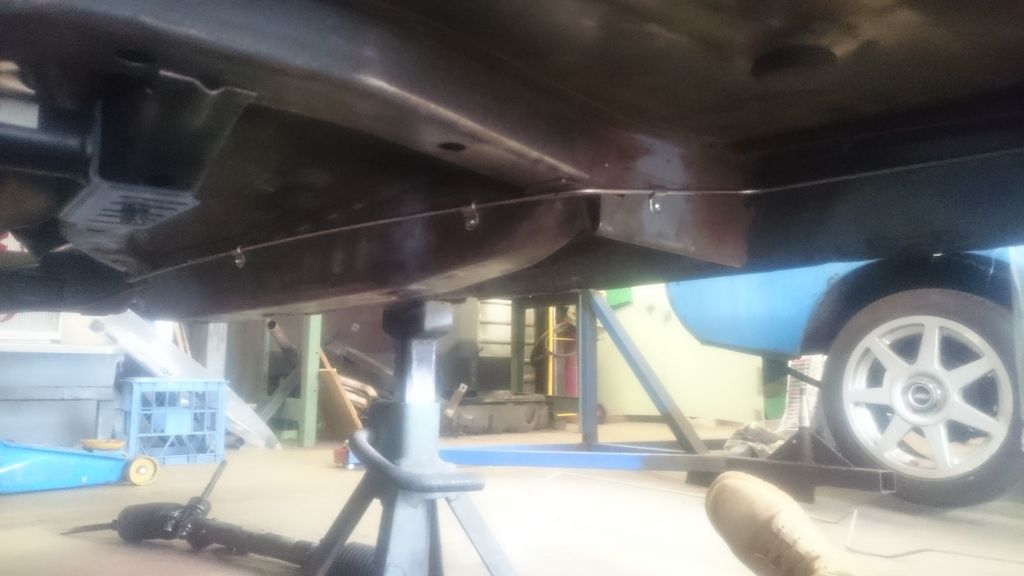
OK, so back to my header issues. Gary (VRSenator065) sorted me out with his old pacemakers he had on his 454, thanks mate. Bonus with these headers was that he had modified them to exit with a 3″ collector which suited me perfectly. Now, these headers did free a stack of room up around the steering shaft and both rails, but unfortunately my issues weren’t completely solved, the 2 outer pipes of the headers were fouling on the rails under the car. To get the pipes to clear, I had the gearbox crossmember space approx. 20mm lower, but this threw out my driveline angles quite a bit. Because I will be away for work for a couple weeks, I had decided to get Dan (from Nitro Danns here in Newcastle) to come have a look and take them away for modification, we decided to drop the outer pipes 15-20mm to give enough clearance from the rails. After speaking with the engineer and the guys from muscle garage, I think it just came down to the tolerances in the chassis when it was built in the 80’s. I just want this headers headache to go away.
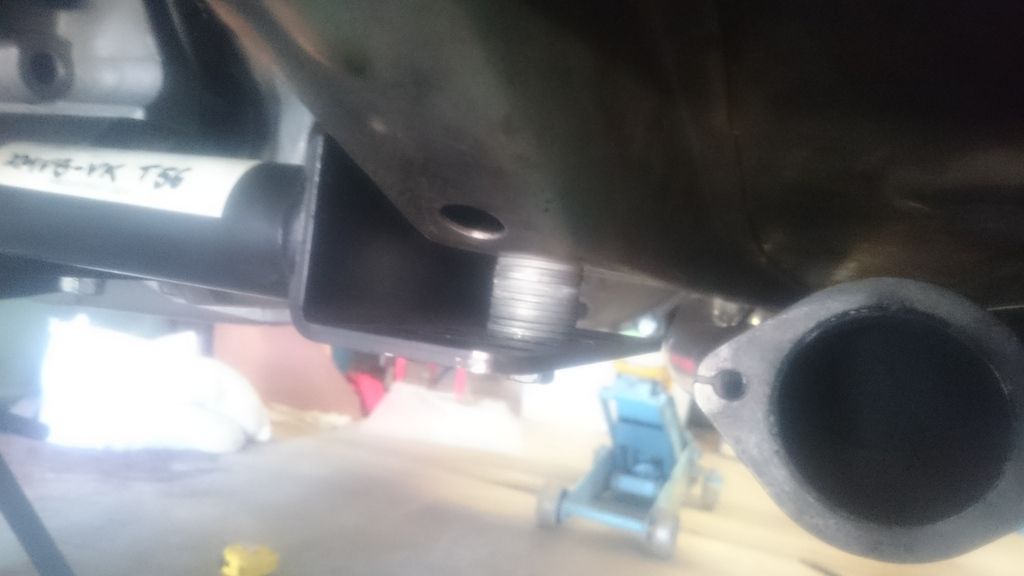
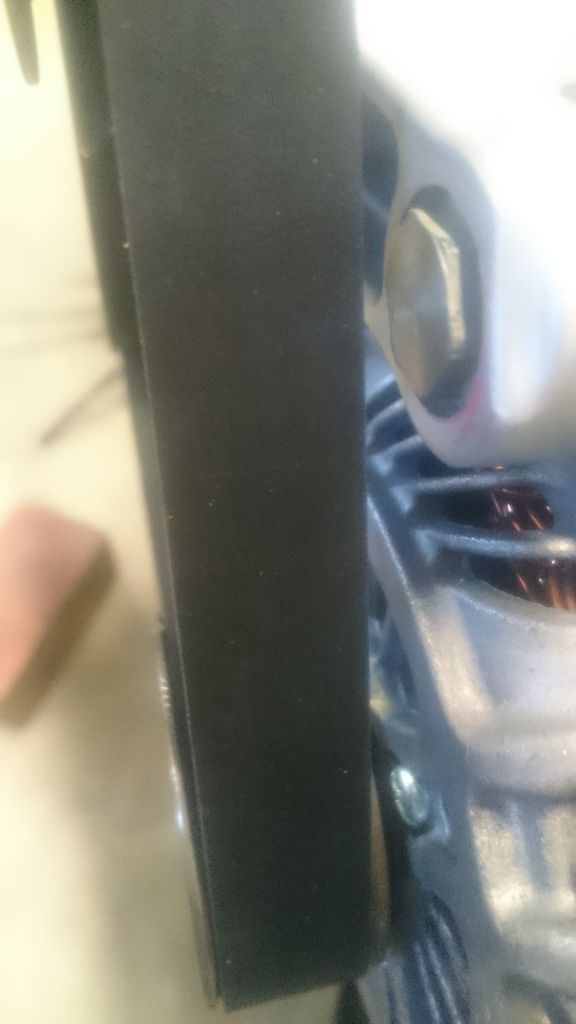
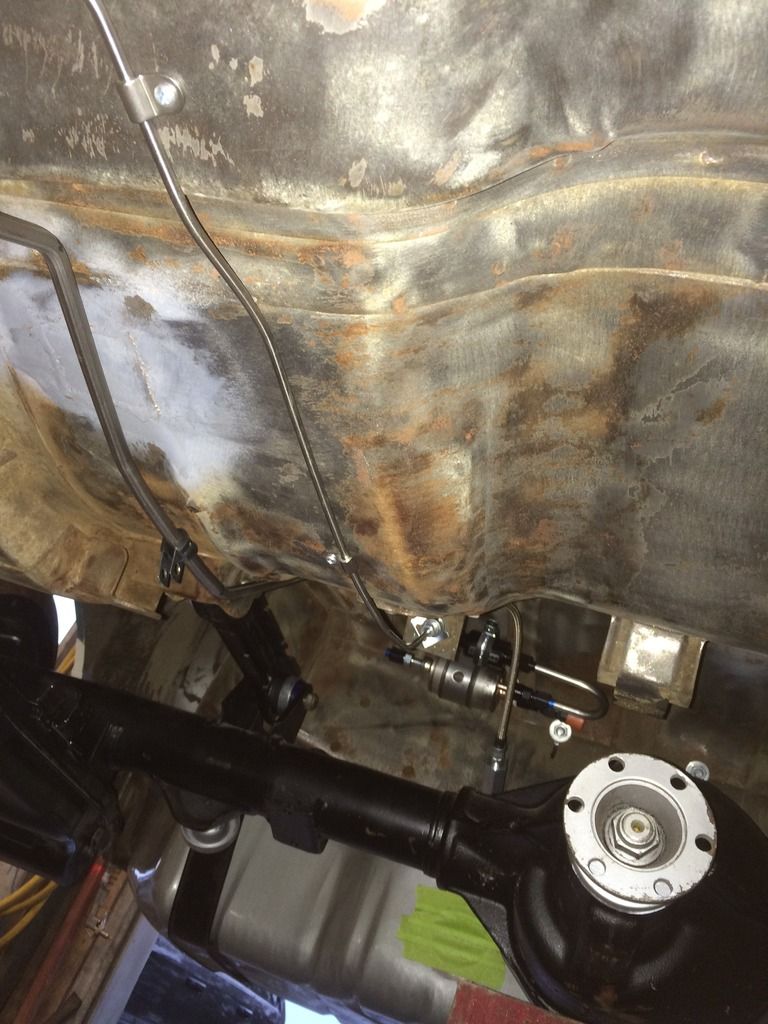
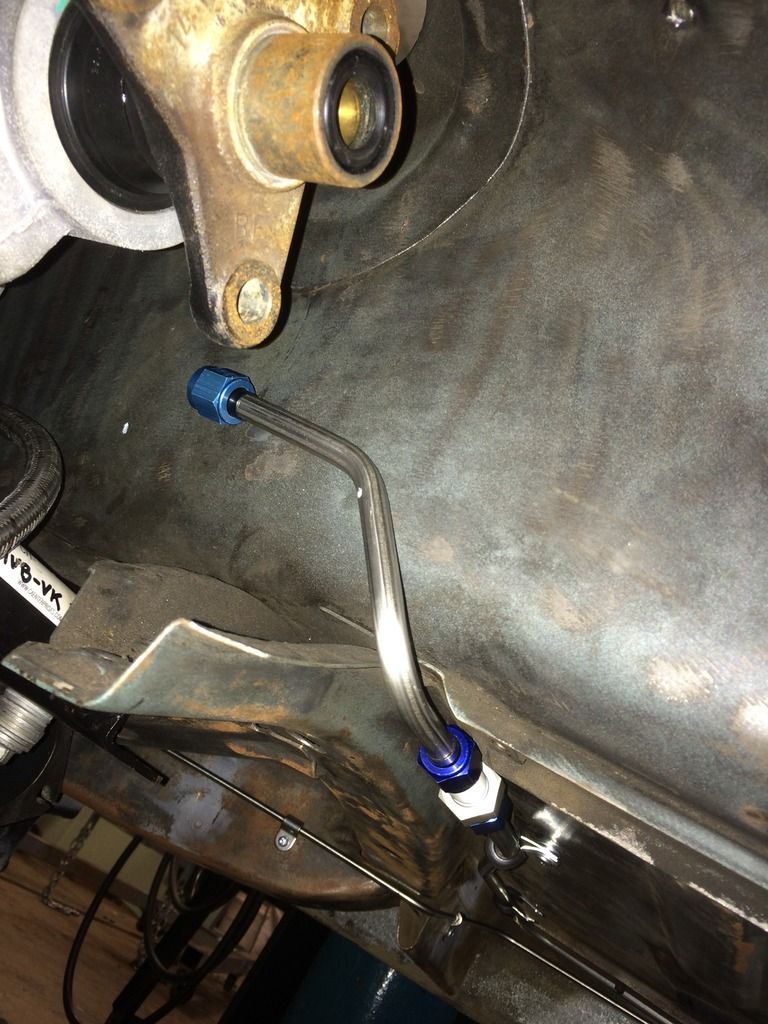
I got few other things done during the last couple weeks as well. I made up the rear brake hard line and the fuel hard line, I just need to wait to get the diff dummy fitted to check clearances for the rest of the fuel system. I modified the alternator bracket and bolt to clear the accessory belt, I ended up milling the bolt hole approx. 5mm and a few mm off the head of the bolt. I also had to lathe an old socket down to fit in the hole, I still need to space the pulley out a little more to align everything. Also has plenty of clearance from chassis rail when fitted up.<b></b><i></i><u></u>
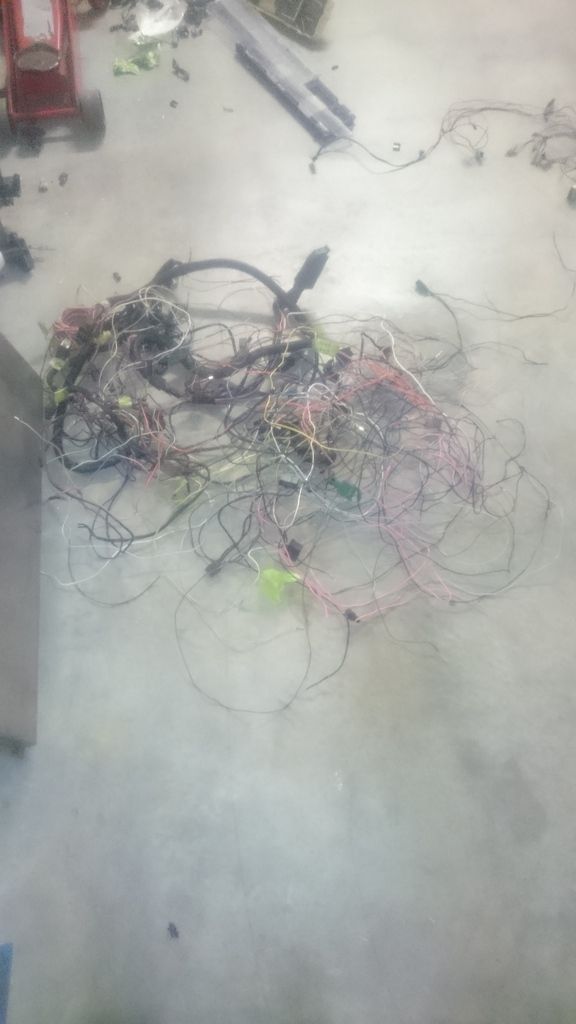
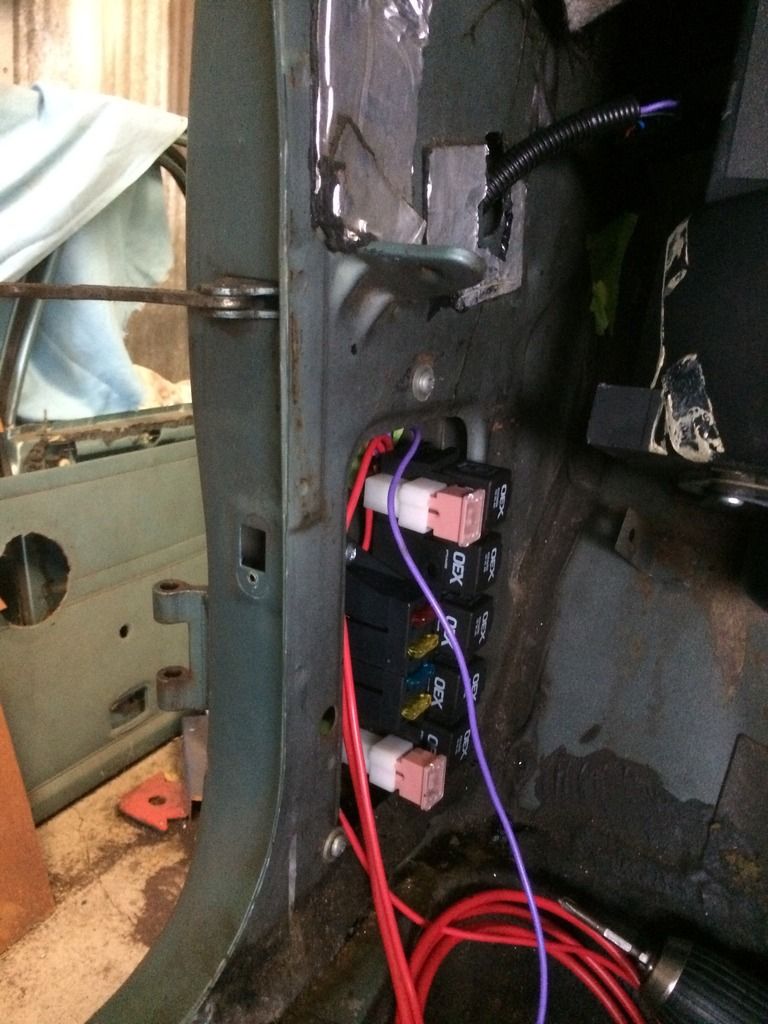
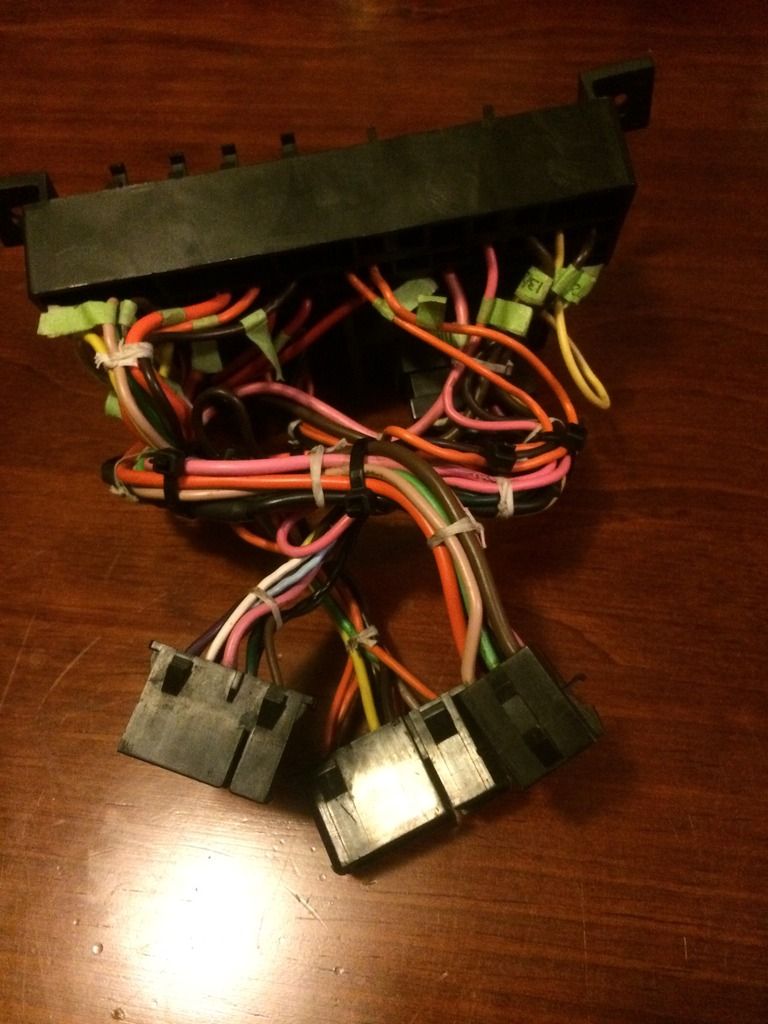
Got the body wiring harness sorted out as well, ripped out all the unnecessary circuits and wires. I am going to wire in a new fuse block that’s a lot more compact and look at mounting it in the glovebox or on the firewall. I am very surprised at the condition of the 30 yr old harness, only thing I didn’t like was all the tape. I have ripped all the tape off and have heat shrunk all the splice joints and will wrap it all in bi-seal once I have fitted it up neatly.
Here is what I pulled out.
 June 7, 2016 at 7:39 pm #17647
Judge1 FrazerParticipant- new zealand
- 1983 VB LSA MG9 6060 6 speed
View build HERE
Posts: 775Hey Ray progress Is coming alone, are you going to run a/c ,,,, I know what it’s like with wiring I pulled about the same from my last vk got to do the vb but got to be in the right mood
June 8, 2016 at 8:56 am #17656
rayray07Participant- Newcastle
- 6.0L VK In the build
View build HERE
Posts: 41Nah mate, ripped all the aircon out. I did think about keeping it, but then realised that I never use it anyway (even in my daily). Windows down aircon is fine with me. Haha yea im hearing you on that, im so happy I took the time to label all the plugs and connectors when I ripped it out. Once I got my around the circuitry it was pretty easy.
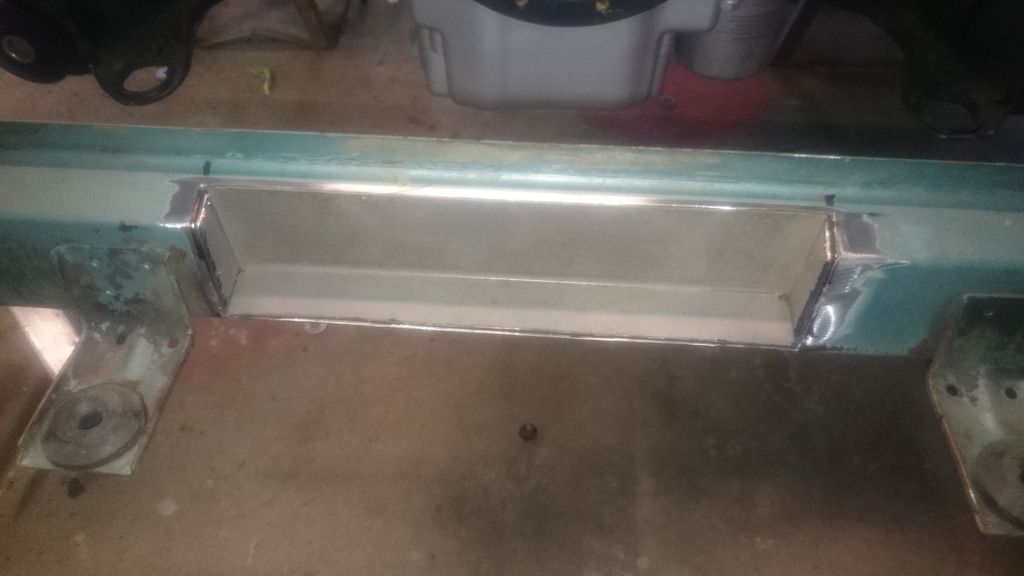
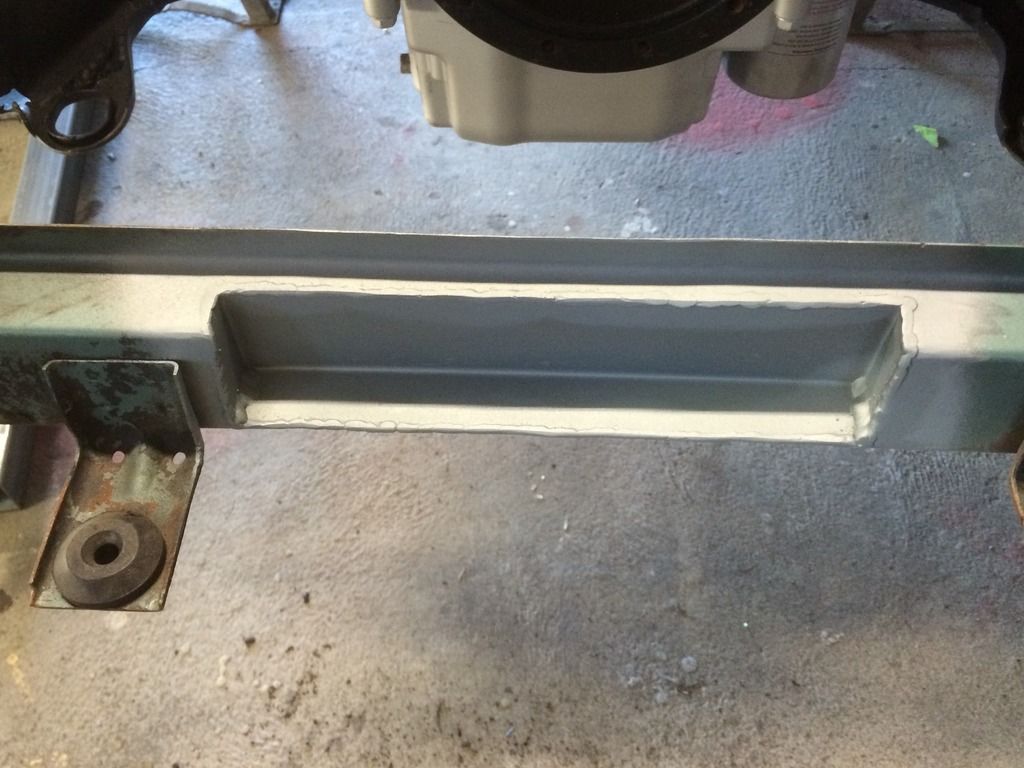
I also ended up making a box section for the radiator support, the engineer was happy with that.
 June 8, 2016 at 12:12 pm #17657
VRSenator065Participant- Adelaide SA
- VR Senator LSx454 1960 Kombi (project) 1921 Nash Hot Rod (future project)
View build HERE
Posts: 5 777Mate that’s awesome progress. What a bloody bummer re the pipes, hopefully you get them sorted OK. Rest of the work looks ace. What ECU are you going to run and where are you going to put it? I have mine in my glove box, just thinking you might want to consider that before mounting your fuses? I have found haing the ECU in an easy to reach spot is good, as its easy to disconnect which I usually do when welding anything to the car. Prob overkill but I don’t want to risk frying it. I also have my OBD port plug screwed to the side of the glove box too, so its easy to connect when programming.
June 8, 2016 at 6:21 pm #17662
rayray07Participant- Newcastle
- 6.0L VK In the build
View build HERE
Posts: 41Yeah pipes should be fine once they’re modified. I’m running an E38 ECU and going to make up a bracket for it and weld it behind the firewall somewhere, should be plenty of room for access since the A/C unit is now gone. Fuse box will be in the glovebox or on the firewall next to the ECU if there’s enough room and I’ll find somewhere for the OBD2 port, maybe just up under the column somewhere.
July 21, 2016 at 6:21 pm #18636
rayray07Participant- Newcastle
- 6.0L VK In the build
View build HERE
Posts: 41Been a little while since last update, I’ve been a little slack.
Managed to knock over a lot of the little things I have been avoiding as well. Headers came back from modification and now fit nicely, I may need to modify the 3″ collector though as it is now at a different angle. I thought I would throw the CRS 1 7/8″ back in and see how they sit with the motor in its final position and after a little more tweaking, they actually sit in nicely. I will just need to get some slip-on collectors and build the last section of the headers around the chassis rail, This I will do after it’s on the road as I don’t think some of the clearances will pass engineering.
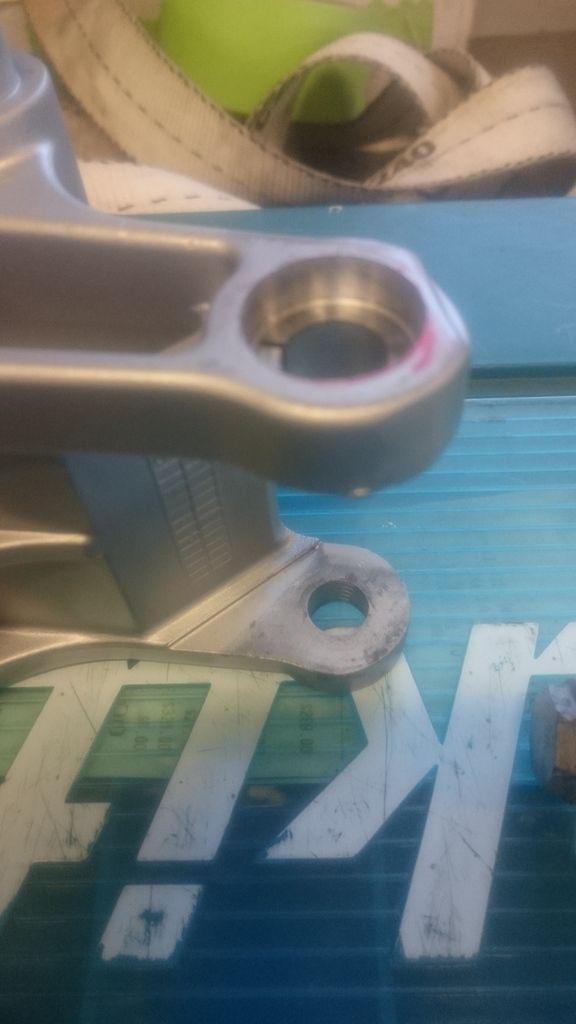
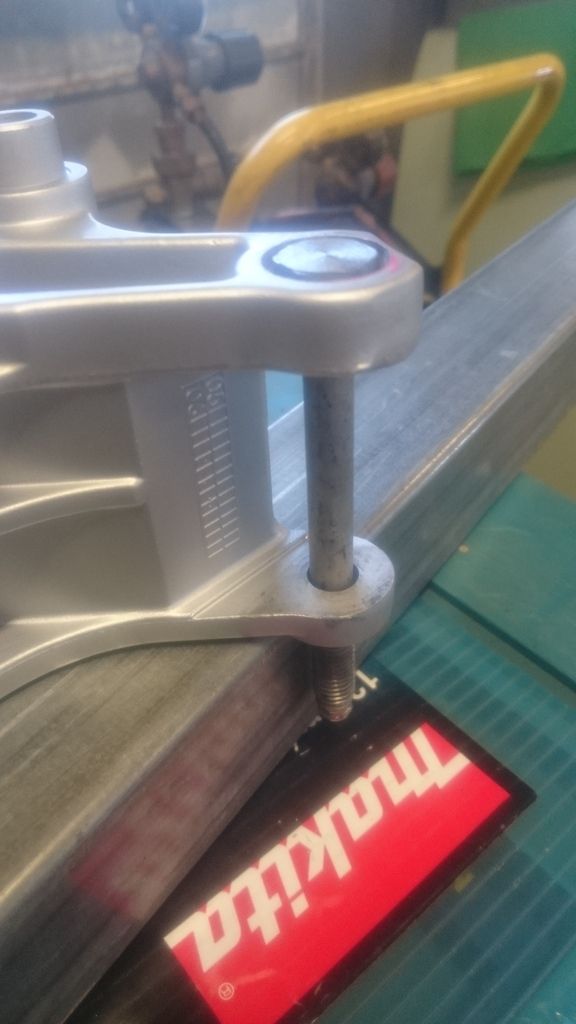
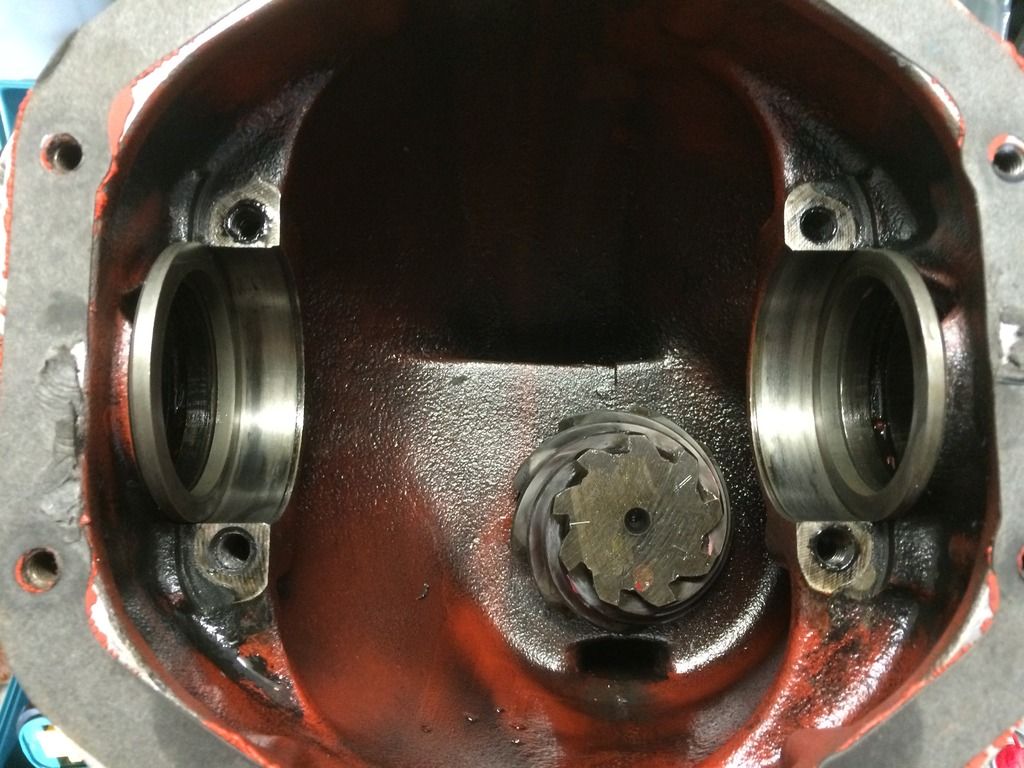
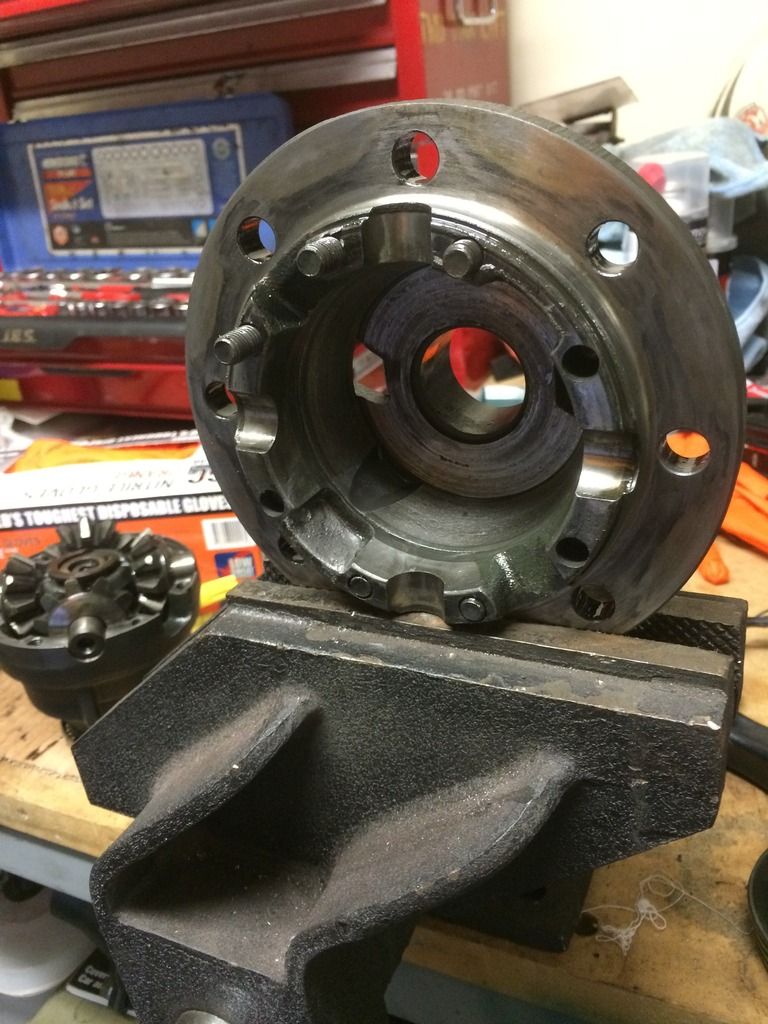
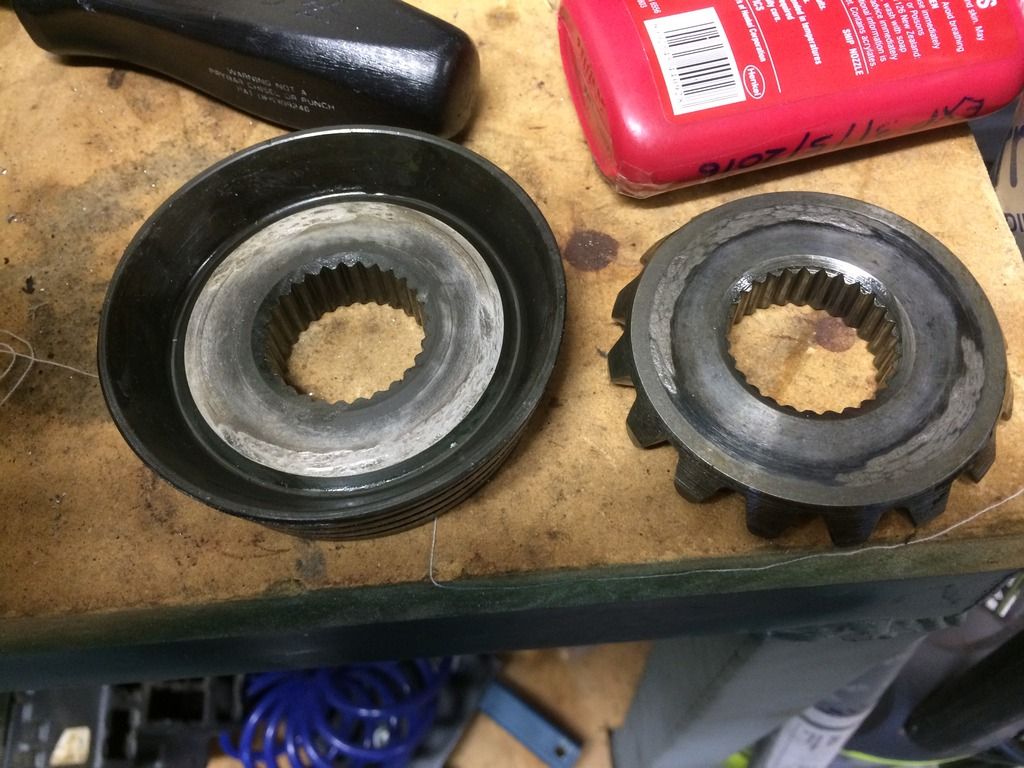
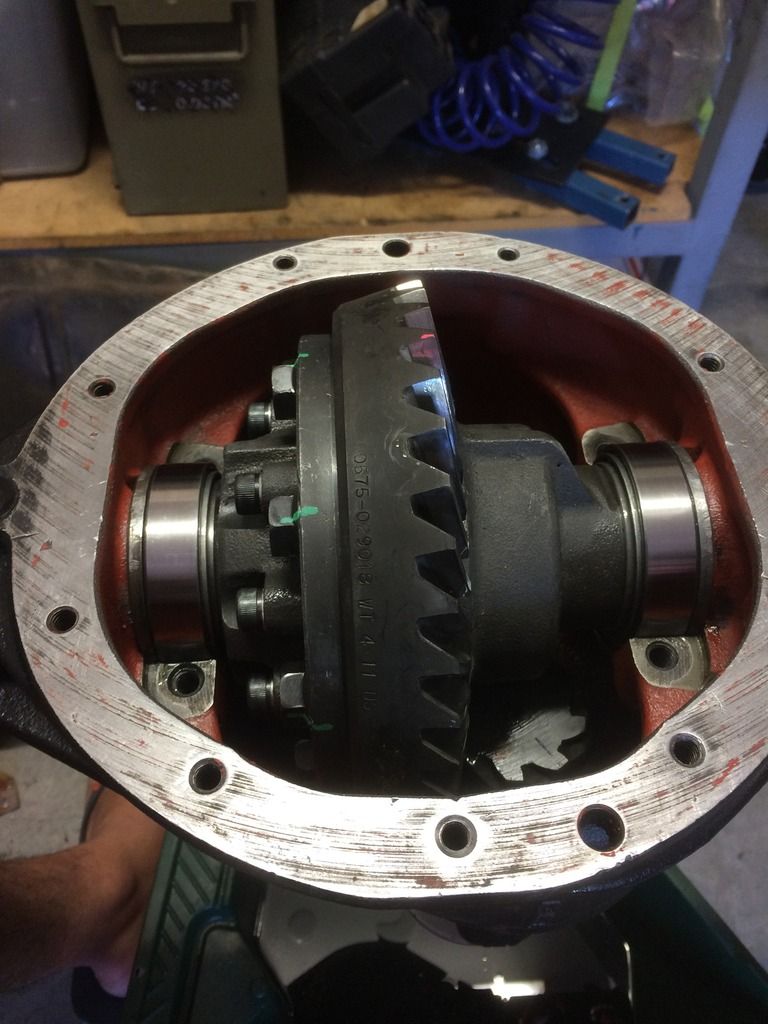
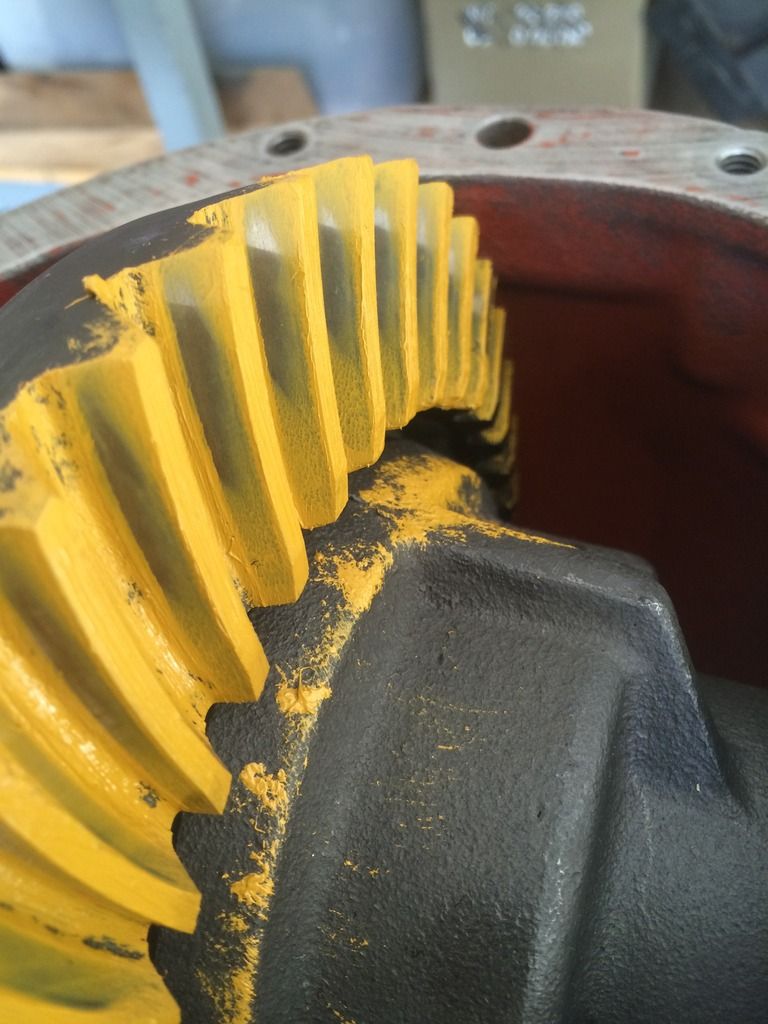
I also decided to rebuild the diff, I was just going to run the diff with flogged centre until I had a little more money to do it properly, but with a decent tax return this year I decided to get Con from Diff Technics to sort me out with 31 Spline LSD and axles with all new bearings. Highly recommend Diff Technics, I spoke with a lot of Diff places and for price and customer service Diff Technics was far better, After sales service was aweome as well, Con helped me out a lot as I built the diff myself. Now I shouldn’t need to worry about breaking any axles. You can see in the pictures just how much the LH cone was flogged out.
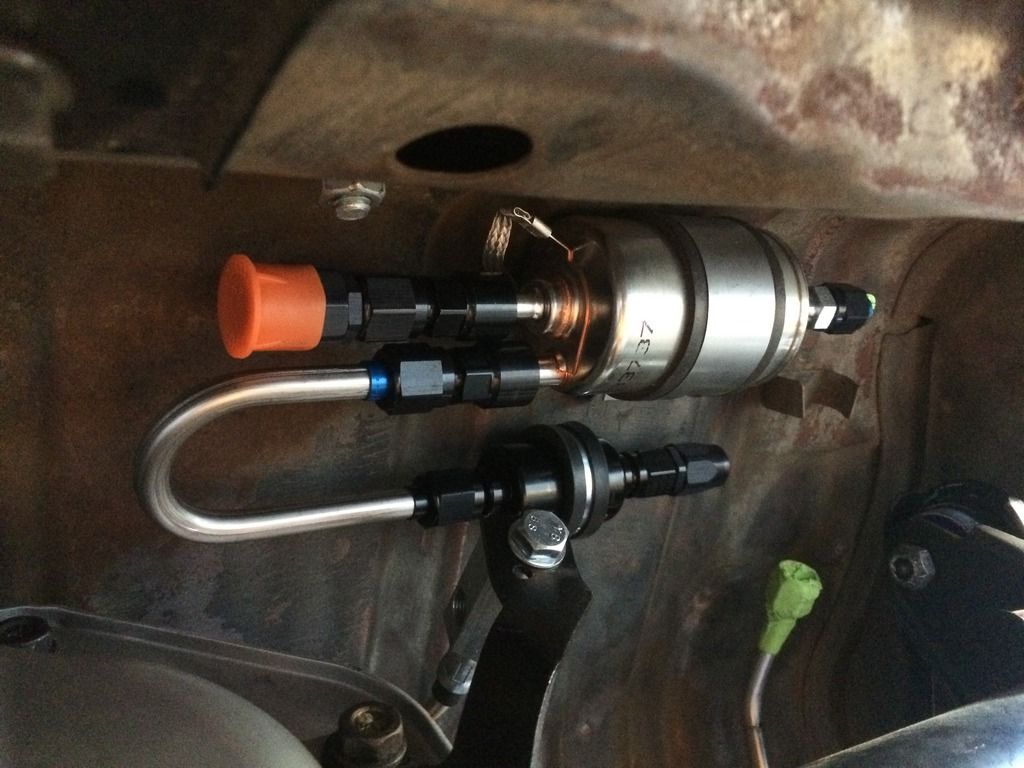
I had the diff dummy fitted to check clearances for the fuel system, I got the fuel system all fitted up and I am just waiting on some 90 degree AN fittings to run the fuel hoses. Only issue I ran into was that there was no room to fit up the charcoal canister, but it should fit nicely under the LH front guard.
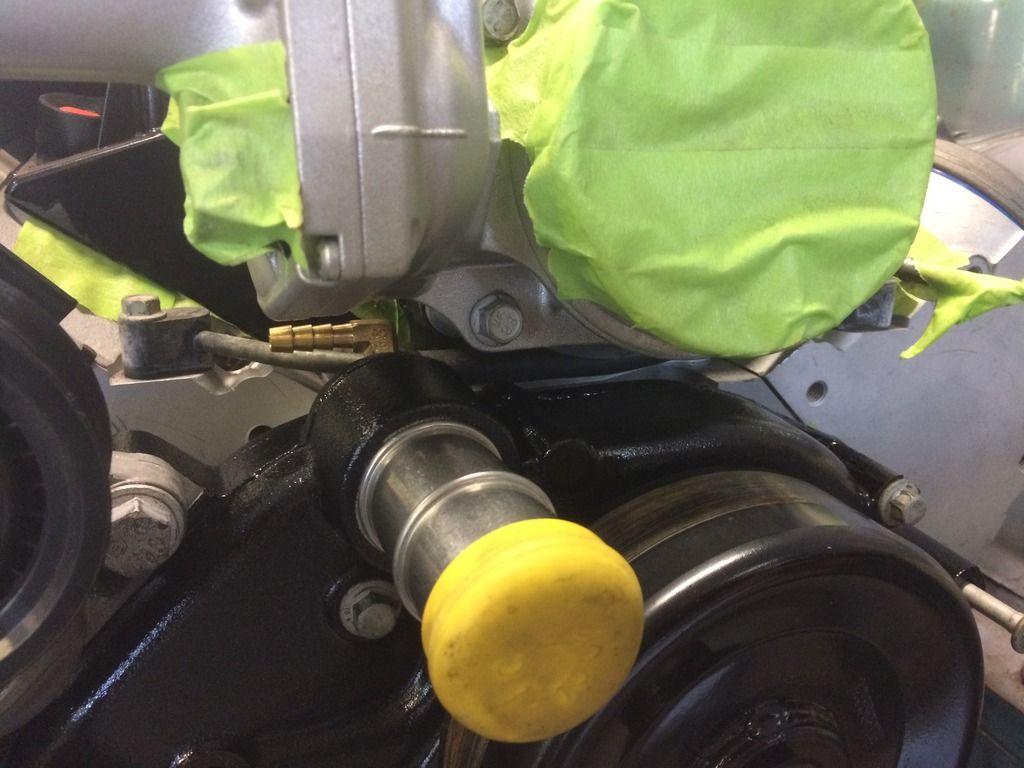
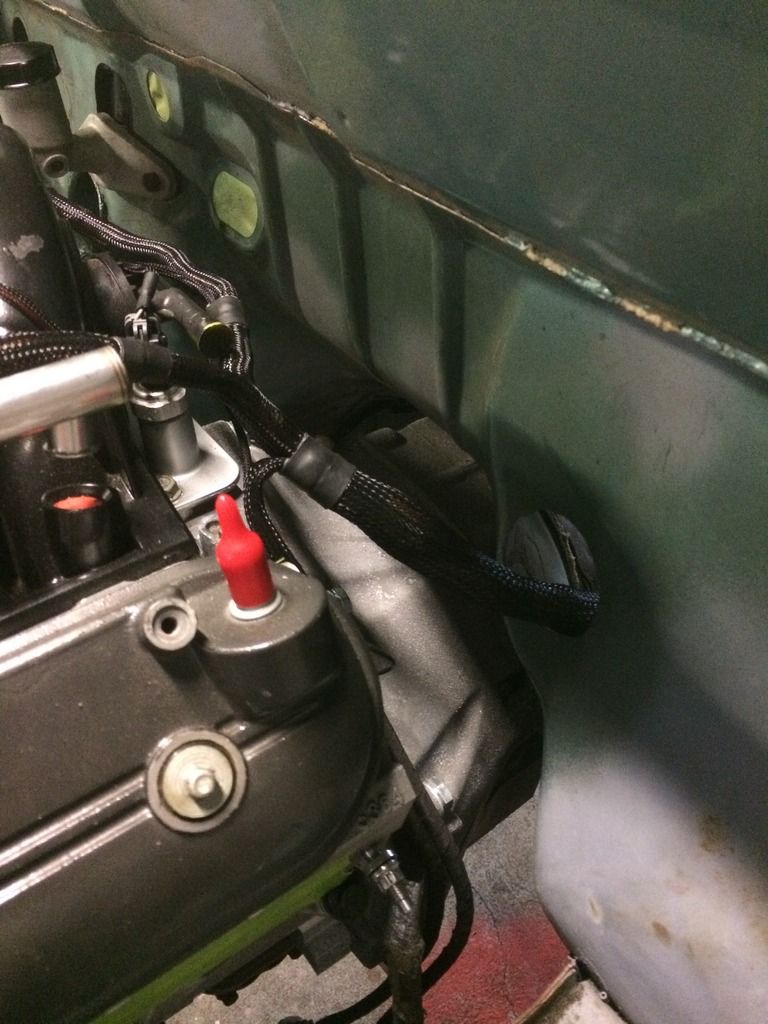
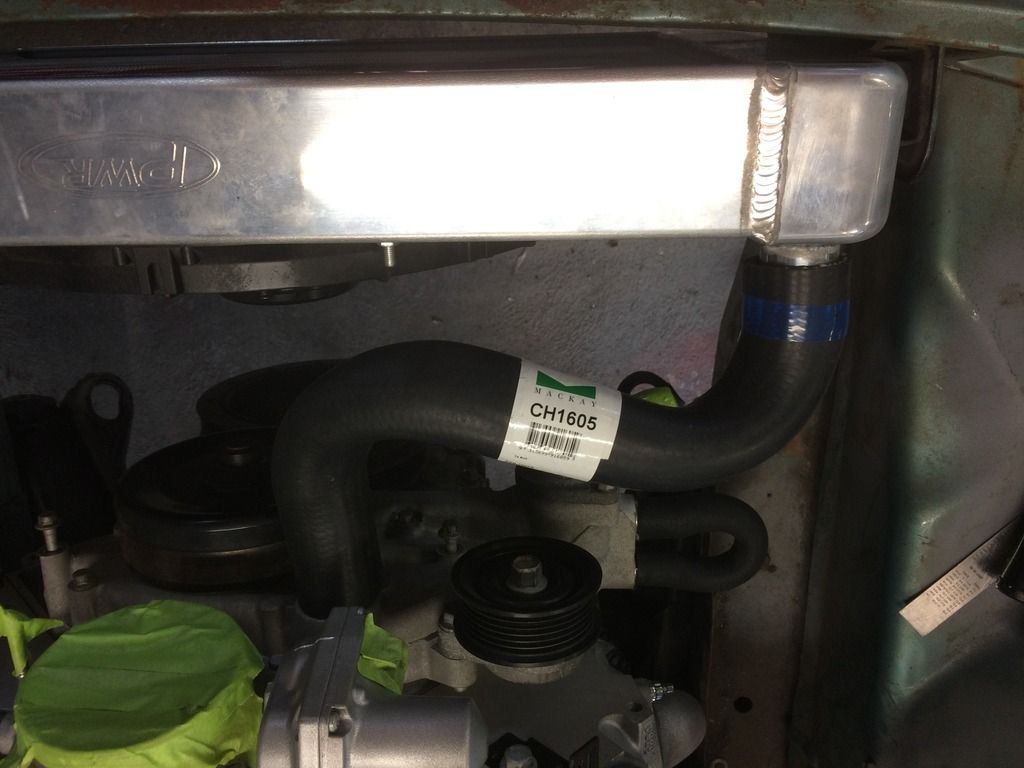
On the cooling side of things, I found a radiator hose that will be suffice for the upper hose (Mackay PN. CH1605). I haven’t got one for the bottom hose yet, but will suss one out. Finished boxing the radiator support to clear the SPAL Thermo. For the steam pipe I tapped a hole into the top of the water pump and fitted a 90 degree brass NPT fitting and modified the steam pipe outlet to route the hose a lot neater.
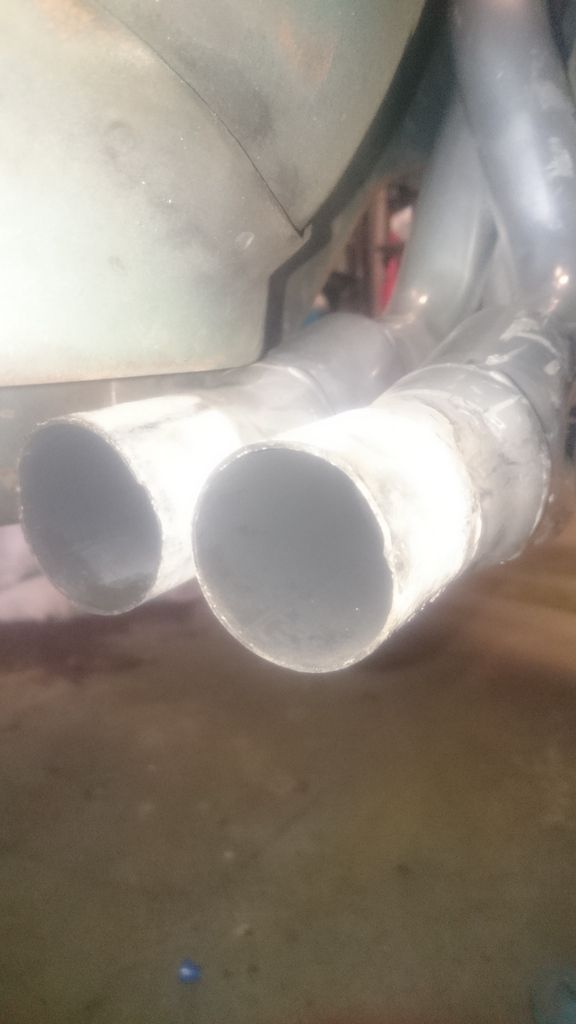
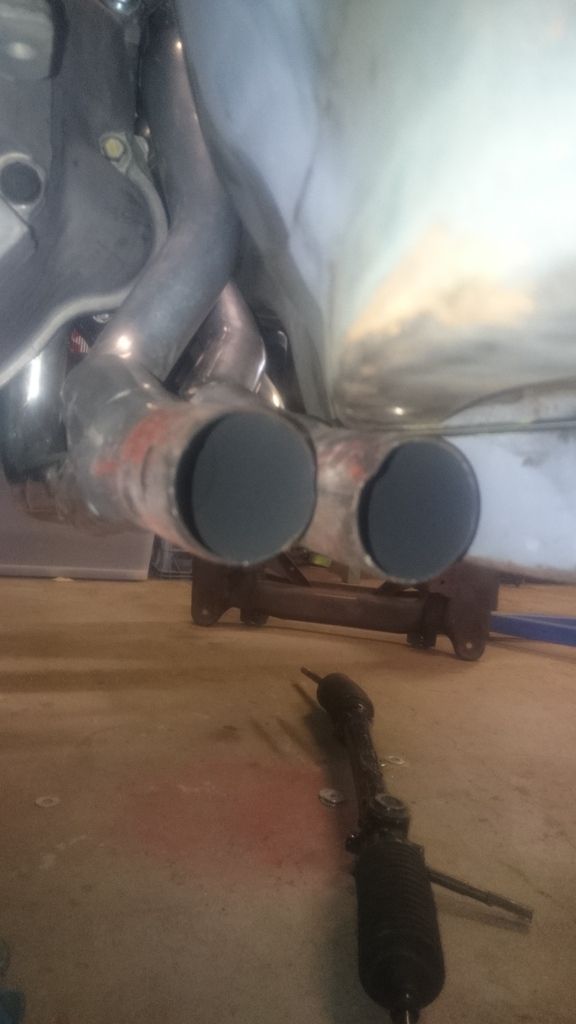
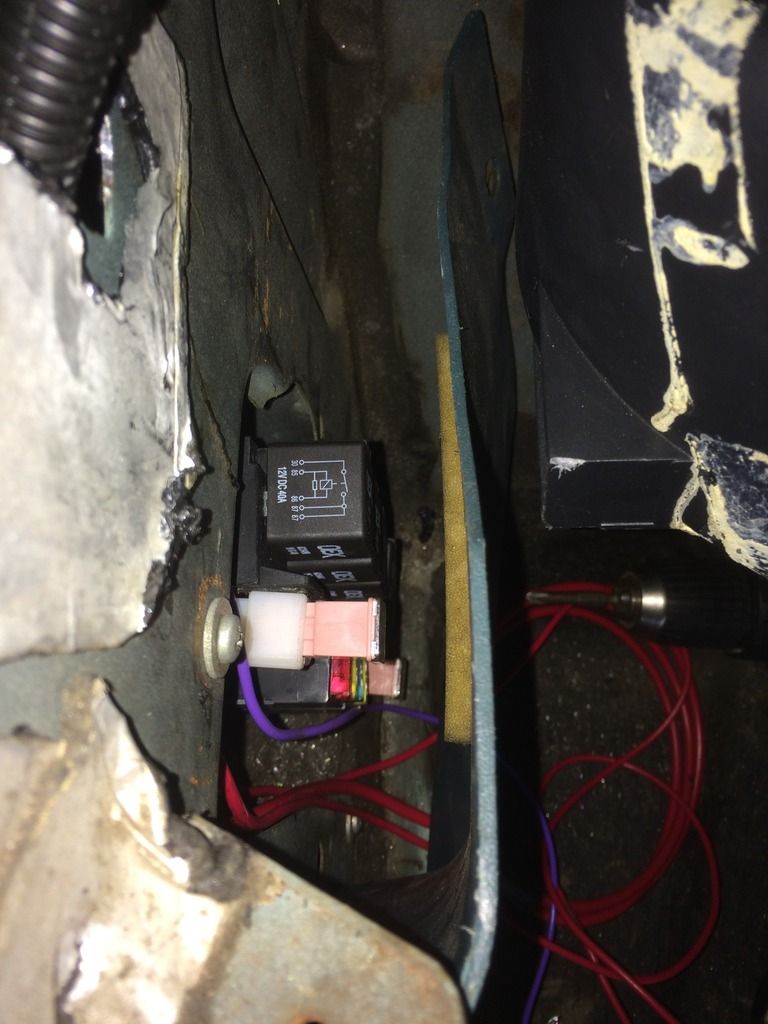
Made a bracket for my Moroso oil catch can as well. I may re make it as it has a little flex in it that I’m not really liking. Cut hole in firewall for the engine loom and found a nice spot to mount the ECU up under the dash next to the fan box. The engine fuse/relay panel fits perfectly behind the LH kick panel and now playing around with the chassis fuse/relay box, I ended up finding a good S/H fuse panel and repined into that and cleaned up the wiring, but now looking at my original idea of getting an aftermarket fuse panel so I can flush mount it as there are limited places I can fit it. I have just got all the bits in for my exhaust, going to run twin 3″ out of 3″ cats and merge straight into single 3.5″ into Magnaflow 3.5″ mufflers in standard locations. All is 304 Stainless.
I am now at the stage of pulling the motor and box out, finish cleaning engine bay and painting everything. All I need to do now is pull my finger out and get stuck in. Sort of sucks as I am about to go away with work again for about a month.
 July 21, 2016 at 6:30 pm #18638
VRSenator065Participant- Adelaide SA
- VR Senator LSx454 1960 Kombi (project) 1921 Nash Hot Rod (future project)
View build HERE
Posts: 5 777Any progress is good progress mate. Its all the little 1 percenters thag add up time wise. Looking great.
July 27, 2016 at 6:06 pm #18734Coming together mate, looks great.
sucks that you needed to cut the radiator support, I had the same problem with my pwr radiator, when I ordered mine it came with schematics, and I found it wasn’t within the specs. ( which made the rad sit lower, the fan contacted in the same spot as yours) sent it back, and now sits great.
As for the exhaust in hindsight a single system is the way to go. it gets very busy with lines mufflers etc.
look forward to more progress.
August 7, 2016 at 7:29 pm #18914I see you have your fuel pump mounted up fairly high. Are you running a surge tank or a fuel cell in the boot? I have VK with L98. Have fuel pump (bosch 044) mounted lower and drop section welded into tank for fuel pick up, but still get it sucking air sometimes. Not sure which way to go. Dont want to run a fuel cell want to retain factory tank.
August 8, 2016 at 3:42 pm #18921
rayray07Participant- Newcastle
- 6.0L VK In the build
View build HERE
Posts: 41Thanks Vhman, I didn’t even think of checking it against the drawings that came with the radiator. Too late now though, rad support already modified. I was originally going to run twin system, but it was just going to be too tight and was going to cost me more for the pipe.
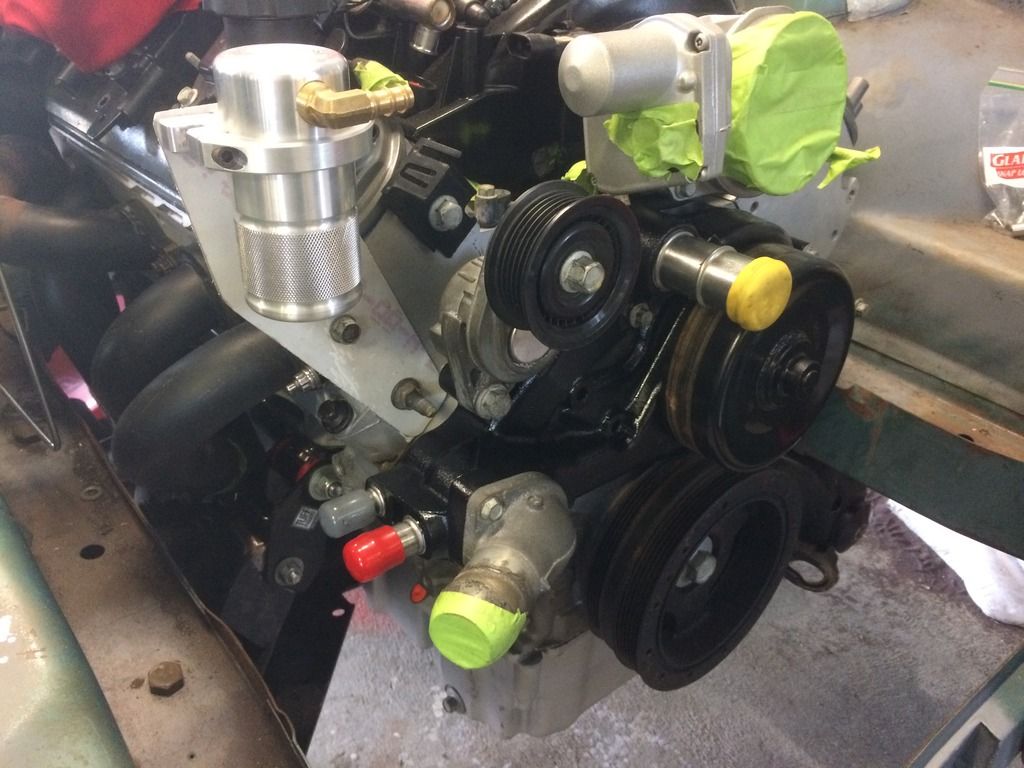
Dave, that’s just my fuel reg and filter mounted up there. I am just running a walbro GSS342 in tank pump. Heard of a couple guys running this setups with no issues, so I’ll see how it goes. I am the same with the tank, want to keep standard tank. If I run into dramas, I will probably run a surge tank in the boot. You don’t have the pictures of your 3.5″ system at all Dave? Would love to see how you ran it.
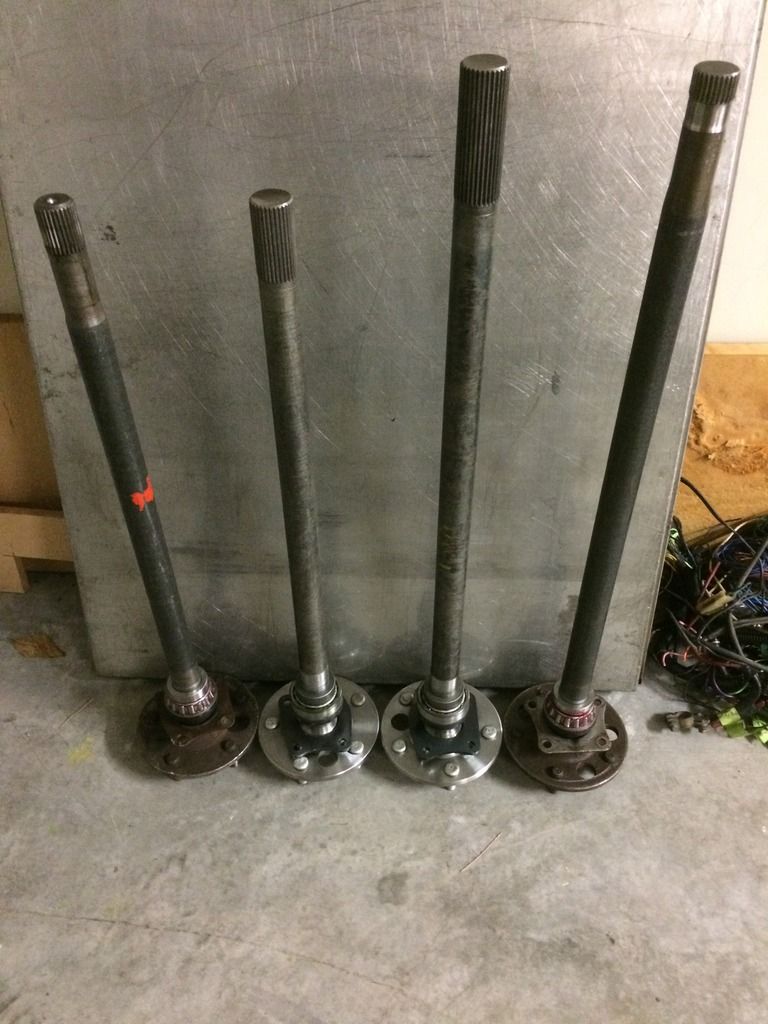
August 8, 2016 at 8:00 pm #18925Is that 28 spline long axle narrowed down/resplined vn axle?
Curious how they hold up ok as got set done for vl diff.
August 10, 2016 at 11:25 am #18955
rayray07Participant- Newcastle
- 6.0L VK In the build
View build HERE
Posts: 41gtrboyy,
yeah it’s just a chopped down VN axle and looks like it had been turned down. I bought the diff like that, I can’t really say how they hold up, but from what I’ve heard/read cut down and resplined axles are never going to be as strong as original. In the end I just went with the safest option and went 31 spline.
August 18, 2016 at 11:59 am #19104August 18, 2016 at 3:52 pm #19113
VRSenator065Participant- Adelaide SA
- VR Senator LSx454 1960 Kombi (project) 1921 Nash Hot Rod (future project)
View build HERE
Posts: 5 777Hey Dave, there’s a link to a write up in the FAQ section top right on loading pics
-
AuthorPosts


You must be logged in to reply to this topic.
