
This topic contains 134 replies, has 17 voices, and was last updated by ![]() jlss 6 years, 4 months ago.
jlss 6 years, 4 months ago.
-
AuthorPosts
-
September 20, 2016 at 7:56 pm #19781
I just got that pic myself on my phone immortality (saved il look into it over the next few days.
vs 355 is you heavy gauge wire going to the relay ?? Then the positive on the fans? I might go get some heavier gauge wire and upgrade all the wiring?? See what that does maybe the lighter gauge is too small to carry the heavier load so they are just turning on to low.
September 21, 2016 at 7:24 am #19786Two wires to + battery post from each relay,then from each relay the wires connect to the two + terminals on the fan connector,so each wire feeds one fan motor individually.Mine are switched on by the Autronic at 183 F and off at 180 F.They should turn on at their fastest speed wired this way.As the diagram shows it requires another switch/relay to get the low speed function.Good luck.
By the way i’m no auto electrician,so others might disagree with the above,just like to learn more as i get older lol.
September 21, 2016 at 7:53 am #19790Yeah i am no auto electrician. Just trying to do what i can myself. Il give that a go when i have some time. Cheers man.
September 21, 2016 at 8:10 am #19791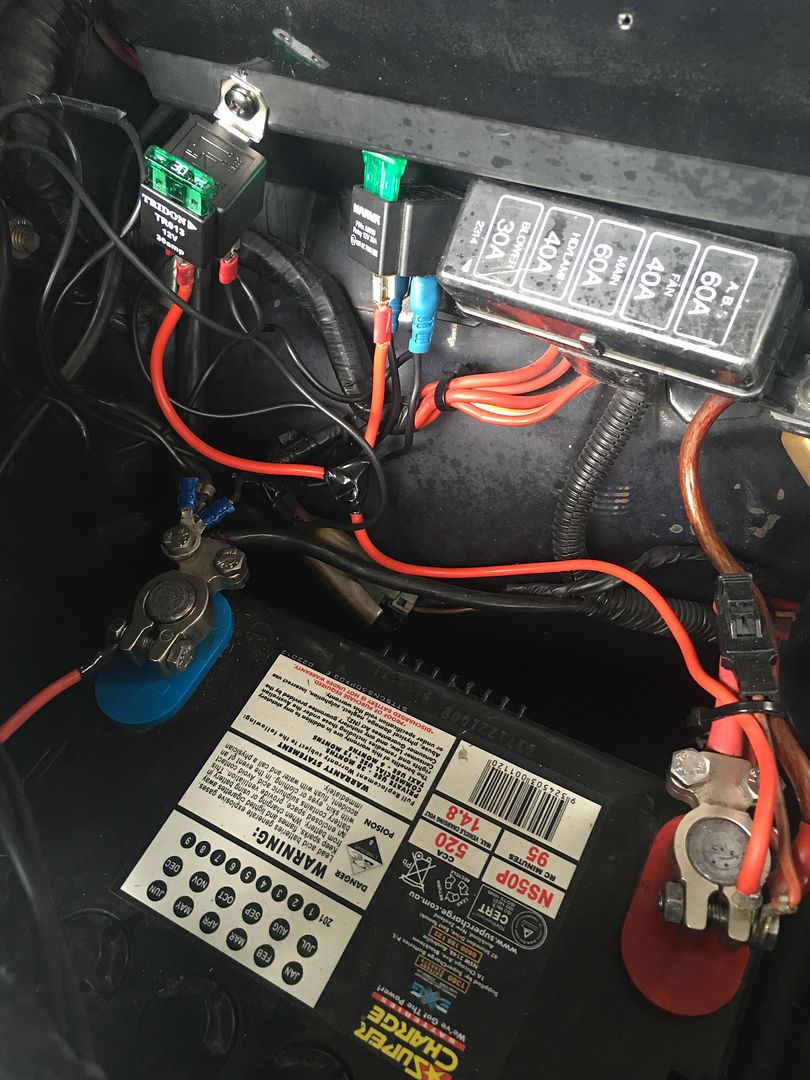
you can see that i joined my positive so il give the single wire a go. Should i do the same with the earth??
September 21, 2016 at 8:53 am #19792I have twin earth wires,you might as well make it as good as you can while your at it.
Just a suggestion.Crimp the wire so it’s slightly extends through,put some solder on the wire so it’s now held at two points on the connector.Now slide over some shrink wrap so it covers the crimp join and down the wire say an inch,then heat to shrink.Will be a stronger connection long term and keeps out moisture.I don’t trust just crimping alone especially when there is movement.
Don’t make the mistake of crimping connectors before sliding on shrink wrap and keep it away from the area you solder,the wire gets hot and starts the shrinking.I’ve done both stuff ups.
September 21, 2016 at 12:23 pm #19798
VRSenator065Participant- Adelaide SA
- VR Senator LSx454 1960 Kombi (project) 1921 Nash Hot Rod (future project)
View build HERE
Posts: 5 777
^looks to me like you two are onto it, looking good
 September 21, 2016 at 4:39 pm #19830
had them wired back the front.
but shes all good and keeping cool.
 September 22, 2016 at 4:51 pm #19852
VRSenator065Participant- Adelaide SA
- VR Senator LSx454 1960 Kombi (project) 1921 Nash Hot Rod (future project)
View build HERE
Posts: 5 777Top stuff, thought you were onto it. Cruise time
September 23, 2016 at 5:44 am #19858But anyway i redid my 12 volt positive wire in 50 amp 12 volt and put a inline 50 amp fuse there and changed my relays to 12v 40 amps thinking of putting a circuit breaker in just for security. Also i didnt put heat wrap over the joins just soldered them together and wrapped them with electrical tape. I had a good tug at them as i was soldering them and nothings moving. Maybe heat could be an issue though???
September 23, 2016 at 8:03 am #19859Sounds like you have it sorted.Engine bay heat won’t affect the connection.
If you doing more sparky work on the car in the future grab some shrink wrap,it’s cheap and is great for say joining wire when spliced and soldered,never come apart.
September 23, 2016 at 11:03 am #19861
VRSenator065Participant- Adelaide SA
- VR Senator LSx454 1960 Kombi (project) 1921 Nash Hot Rod (future project)
View build HERE
Posts: 5 777+1 for heat shrink, I use it all the time. Soldering is the way to go, provided its soldered right it will never let go. A lot of wiring failures are actually caused my mechanical fatigue from vibration. If the wires aren’t secured by a P clip, or tape, or in plastic cable sheath its subject to vibration and over time it fatigues and break, often at the interface between the solder and the wire. Positioning and clamping the cables is well worth spending some time on.
September 23, 2016 at 11:33 am #19863Cheers guys. Thanks for the support.
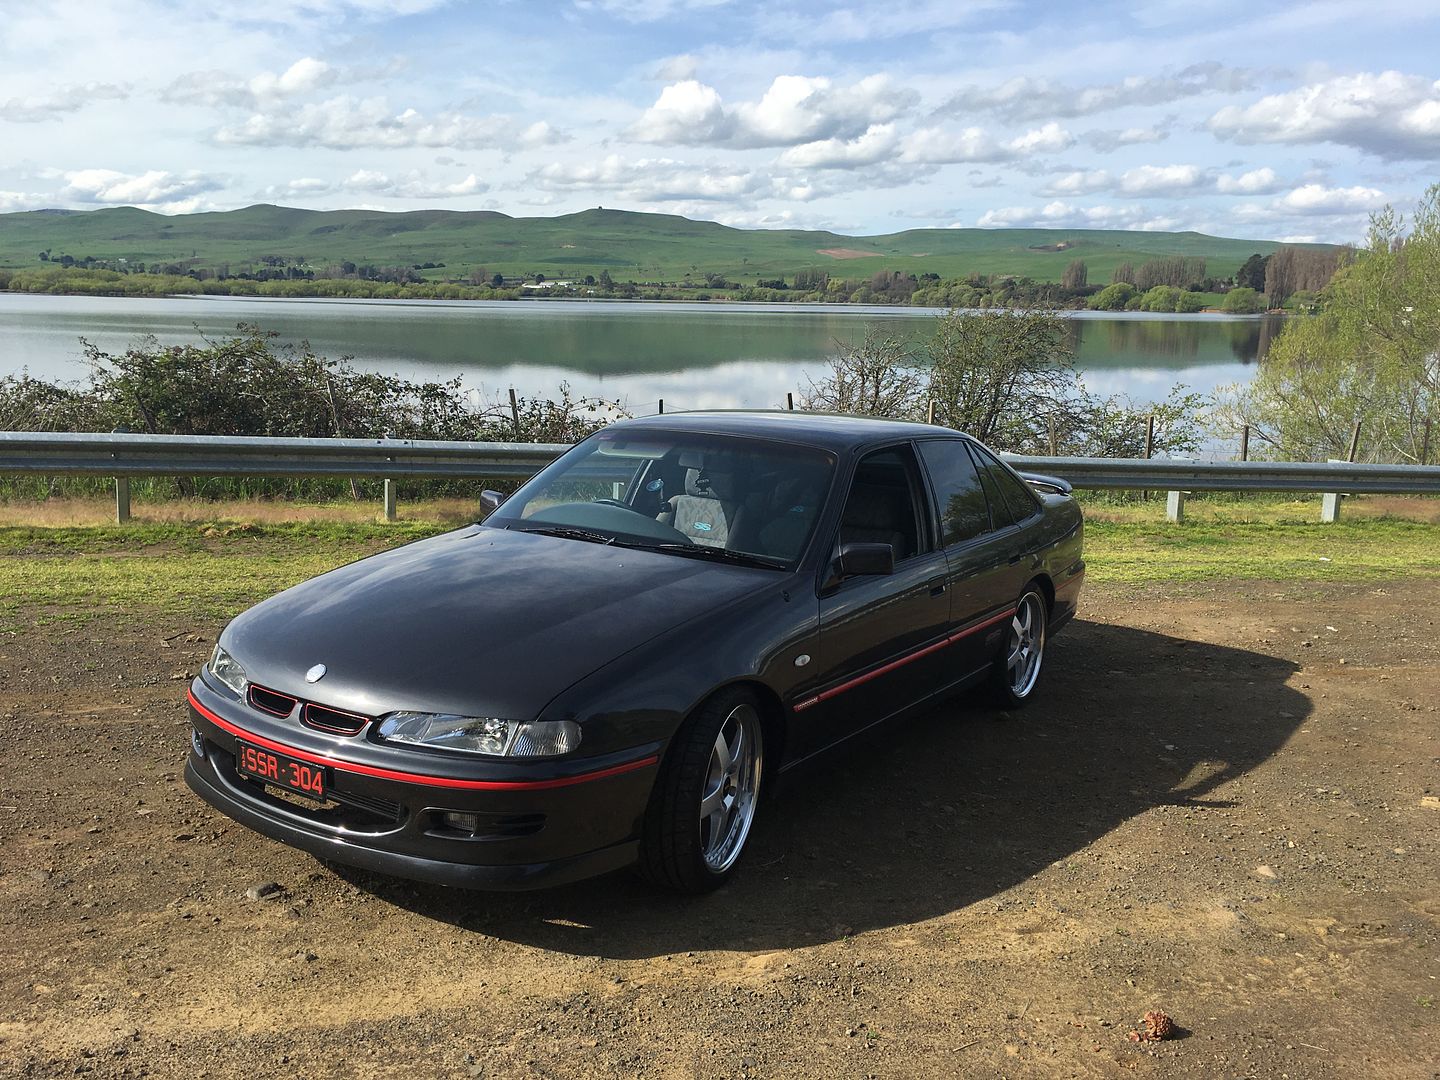
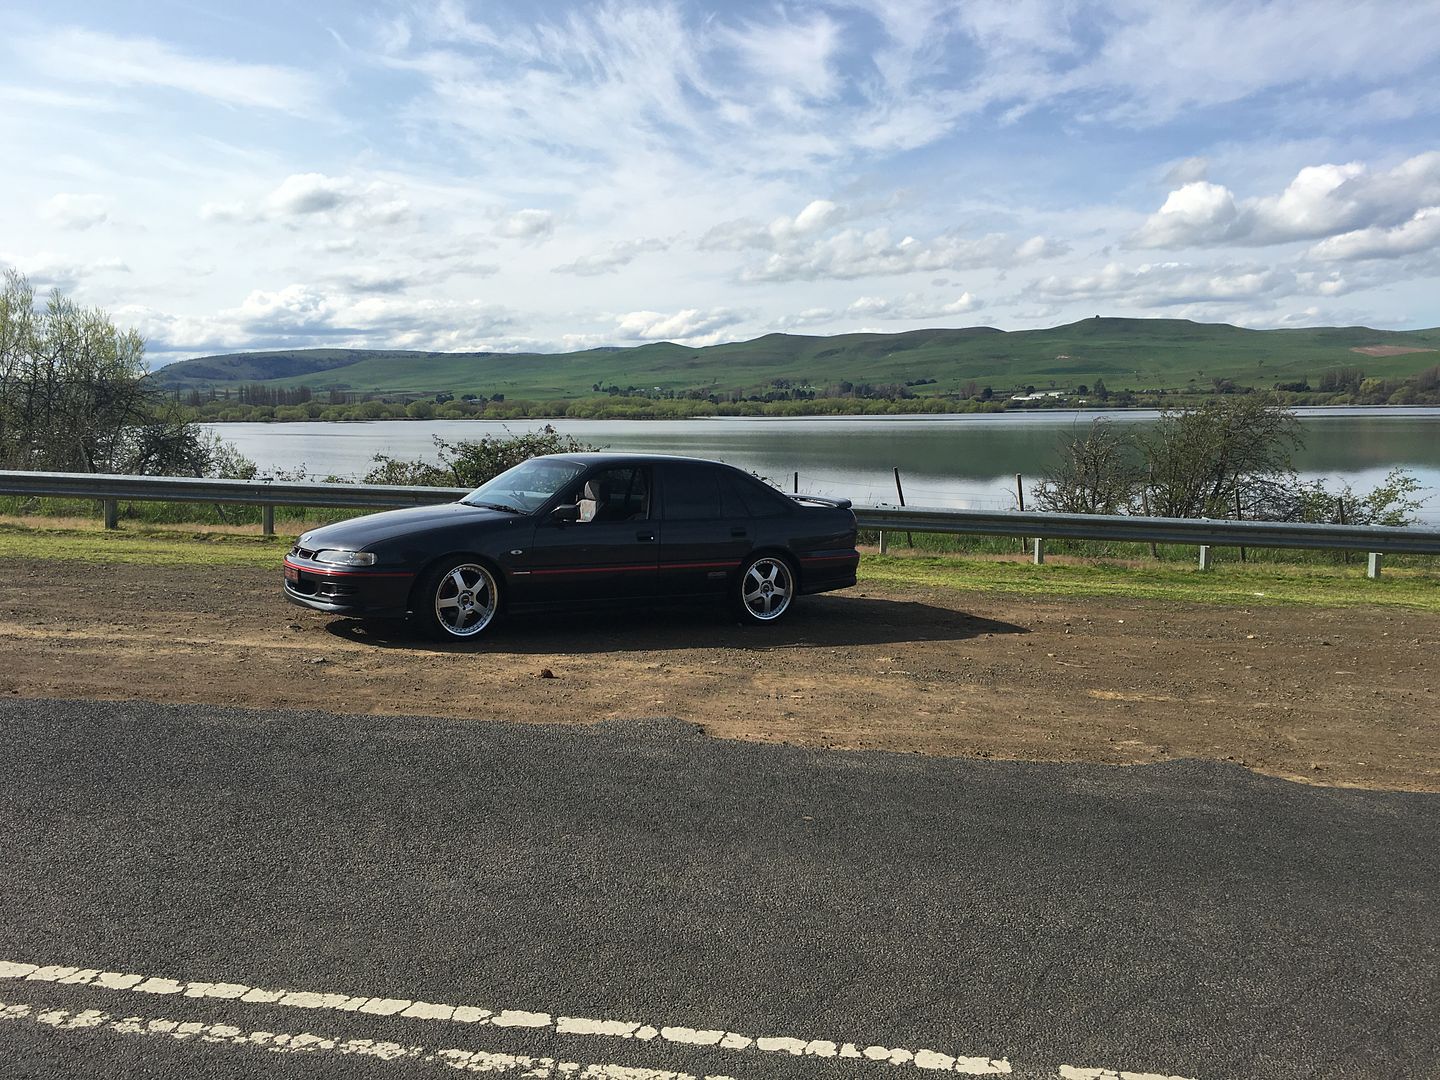
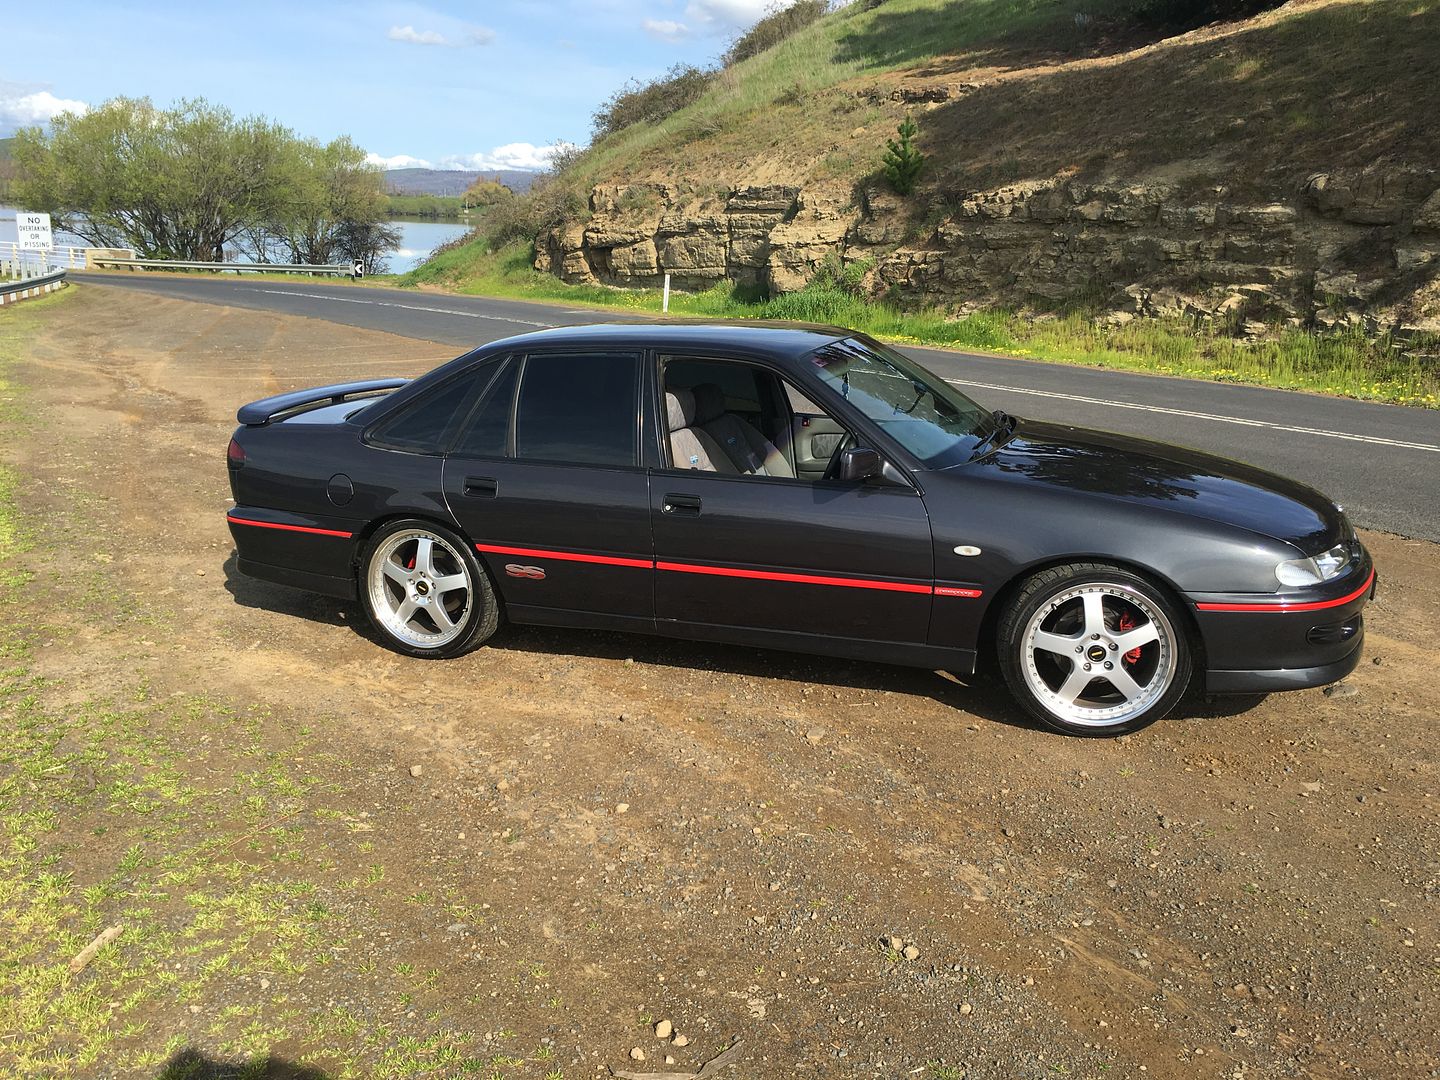
September 24, 2016 at 5:42 pm #19876Well a lil update been unwell the last few days so taking it slow. But managed to go for a ride today beautiful weather. Had a nice drive. The missus had a tupperware party so i was getting in the way so she said i had to get out of the house. Lol.
 .
.Gave her a polish too.
So i havent got many small plans with her at the moment. Have some small rattles, rear drivers elec window dont work. Still havent mounted my haltech behind the passenger side kick panel.
next il be looking at the exhaust.
October 10, 2016 at 5:07 pm #20089Small update guys literally blew up my muffler on the weekend. Having a bit of fun in the old girl. She is split in half noisy as all buggery. Ha ha.
Picked up a 20 brand new hooker aeroflow muff off a mate though havnt looked at size and fitment but hoping it fits so i can get back to driving.October 10, 2016 at 5:48 pm #20090
HDN05LParticipant- Canberra ACT
- VS Olympic Edt 383 stroker Ute
View build HERE
Posts: 289<p style=”text-align: left;”>You must have been leaning on it to blow it up. The car is definitely looking good in time for some summer cruising
</p>October 10, 2016 at 8:10 pm #20093Cheers hdno5l. Yeah i was giving her a bit of a squirt ha ha.
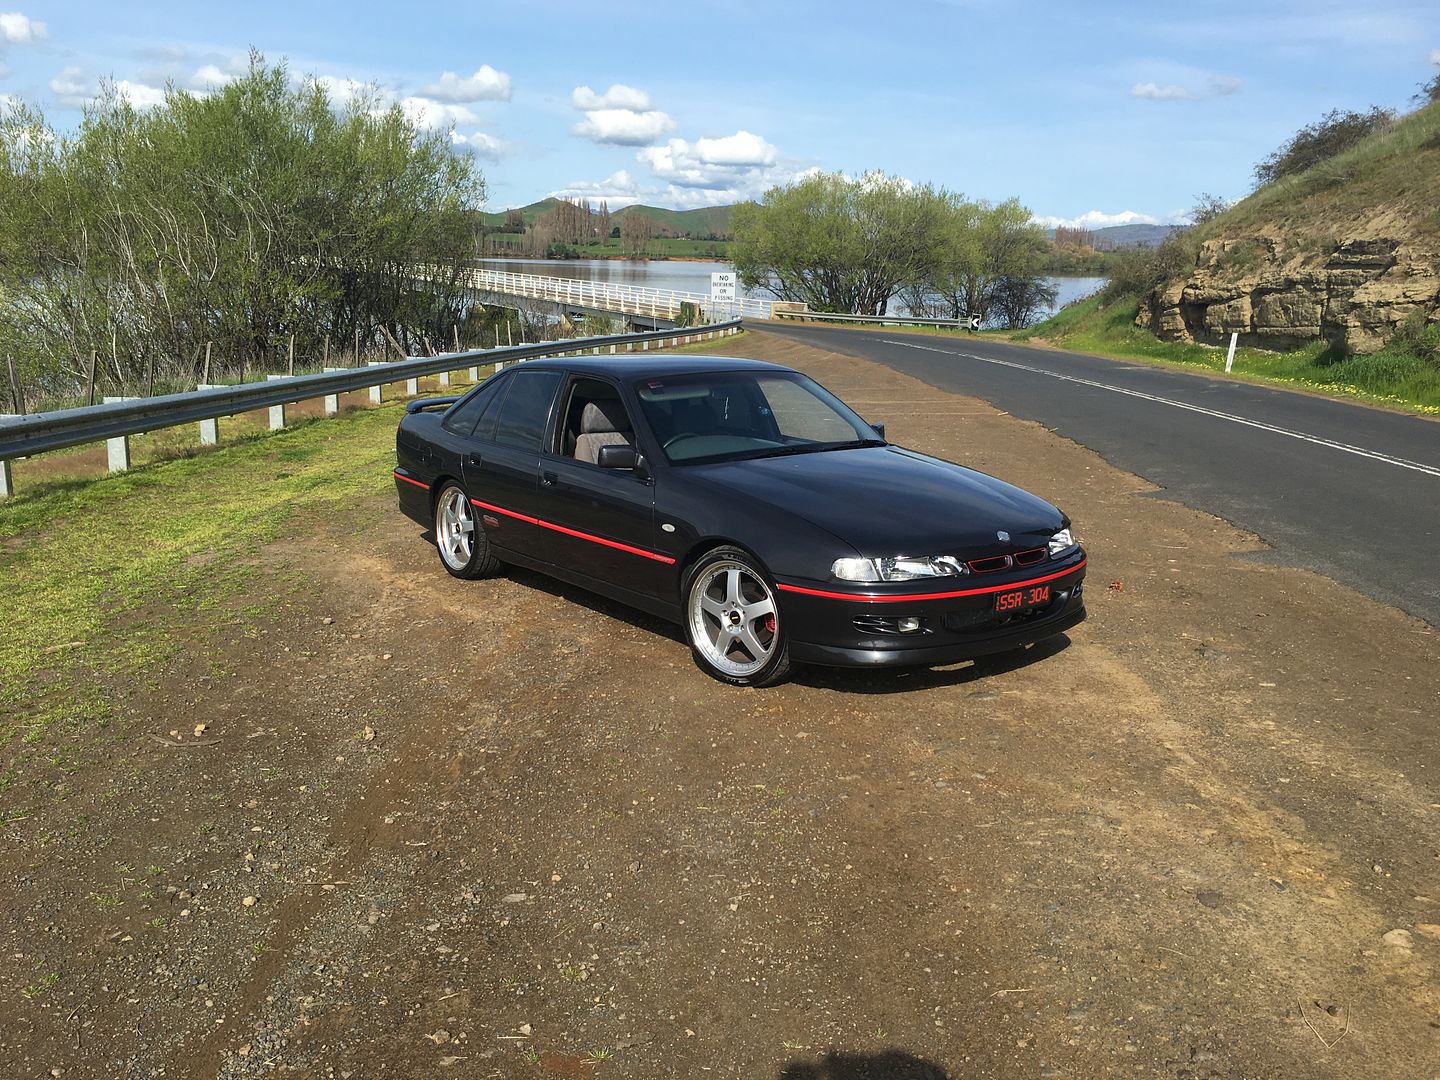
October 11, 2016 at 9:18 am #20097
VRSenator065Participant- Adelaide SA
- VR Senator LSx454 1960 Kombi (project) 1921 Nash Hot Rod (future project)
View build HERE
Posts: 5 777really nice pics mate, car looks great.
October 11, 2016 at 10:44 am #20099Hey guys question about the black rubber window surrounds what are guys doing to fix them. One side on my car is rough and pitted from sun damage??
Are people filling them then undercoat and top coat?? Or special paint or yeah?? Any help would be awesome.
October 11, 2016 at 11:44 am #20100
VS 5.0Participant- Perth WA
- VE SSV Z Series M6
View build HERE
Posts: 118Check in on VS Manta 218. He had his done….IIRC filled and painted.
-
This reply was modified 7 years, 6 months ago by
 VS 5.0.
October 11, 2016 at 4:18 pm #20102
VRSenator065Participant- Adelaide SA
- VR Senator LSx454 1960 Kombi (project) 1921 Nash Hot Rod (future project)
View build HERE
Posts: 5 777IIRC, not sure about now, but you used to be able to still get one side (I bought one, not fitted yet) but the other not so. Mine are painted.
-
AuthorPosts


You must be logged in to reply to this topic.
