
Home›Forums›Members’ Builds and Rides›VB – VC – VH – VK – VL›Pro Touring VL Calais
This topic contains 220 replies, has 25 voices, and was last updated by ![]() capssy 7 years, 3 months ago.
capssy 7 years, 3 months ago.
-
AuthorPosts
-
March 2, 2015 at 9:39 pm #1433
more updates got the hi build primer on
 March 2, 2015 at 9:39 pm #1435
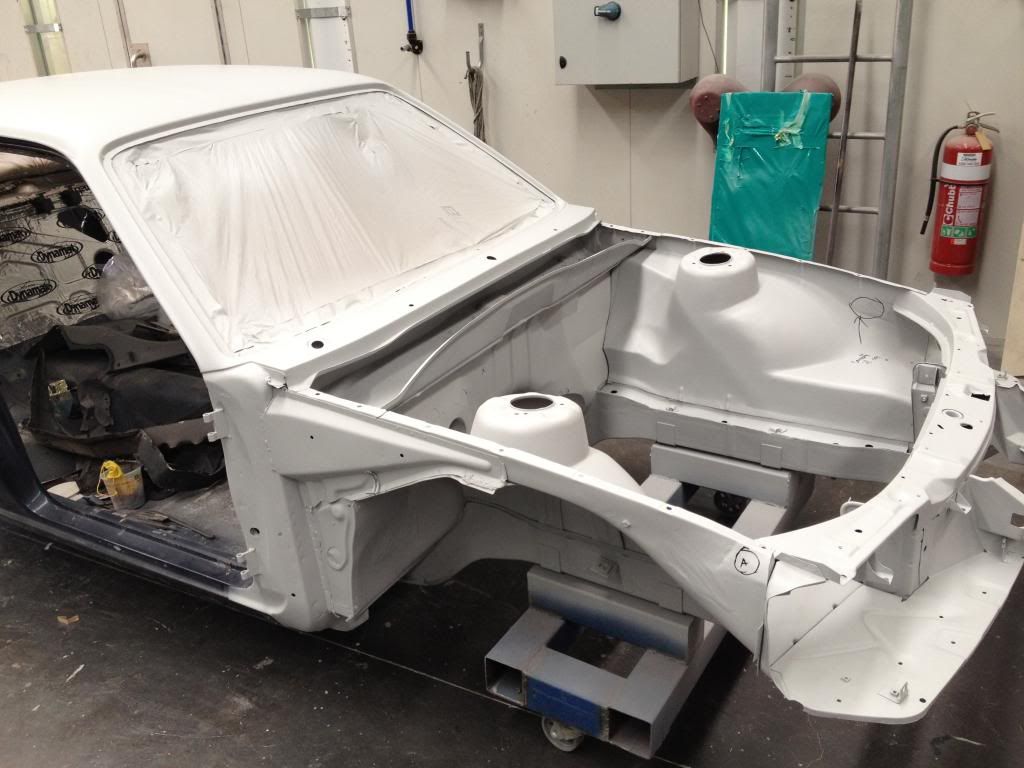 March 2, 2015 at 9:39 pm #1437
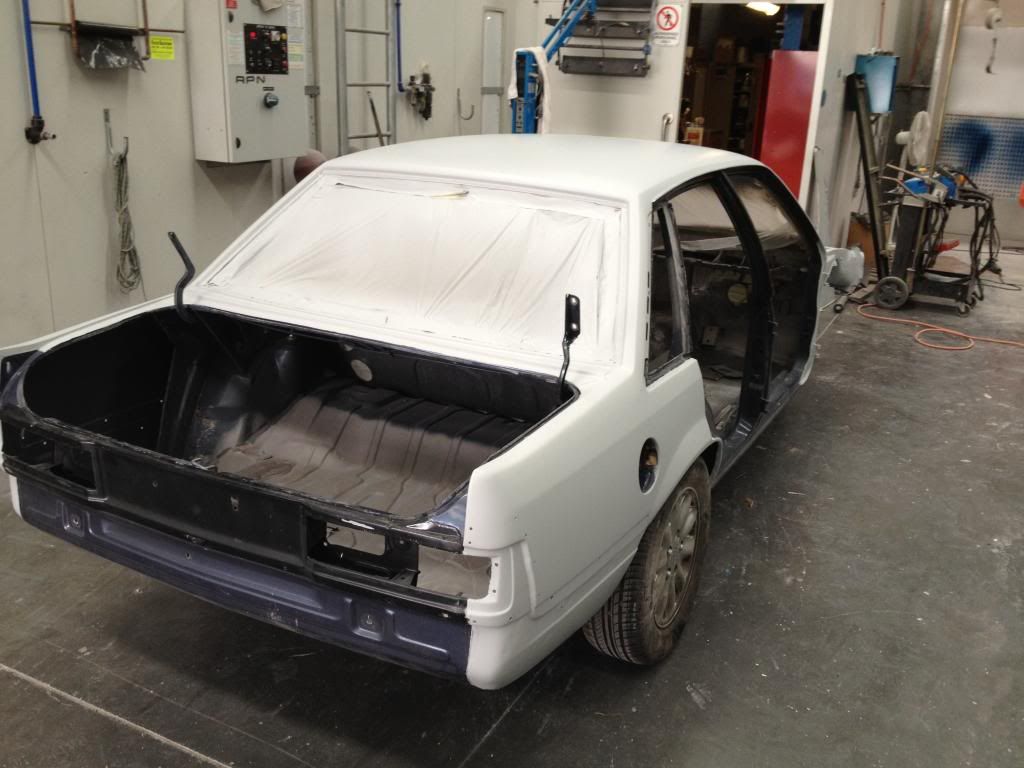
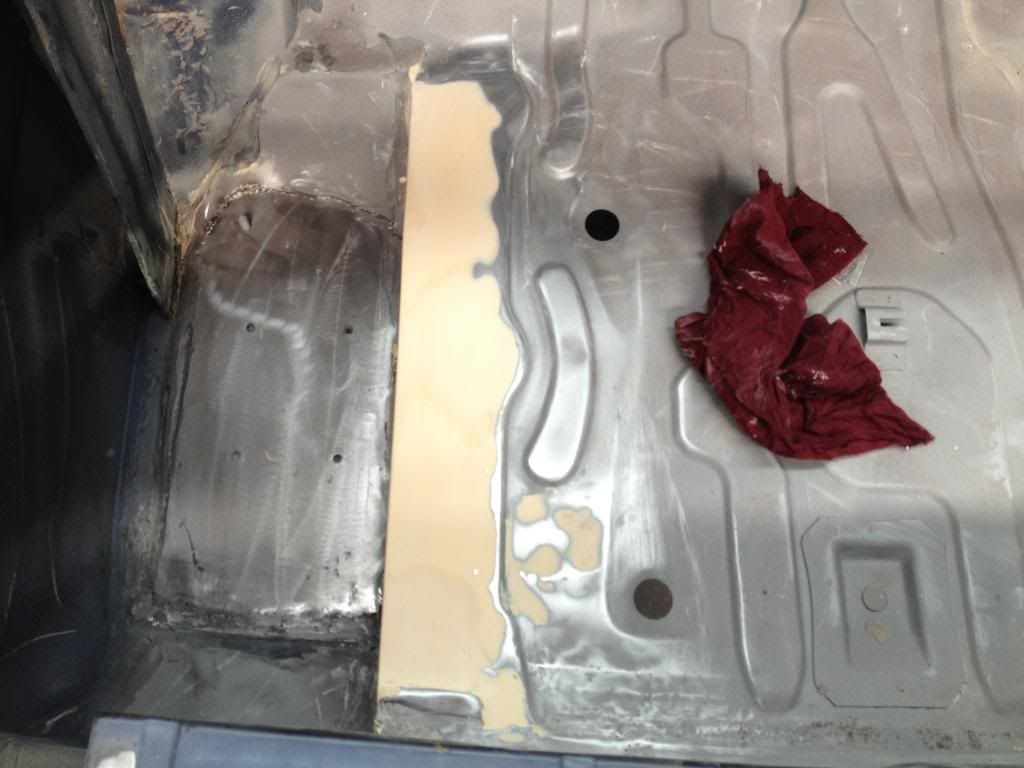
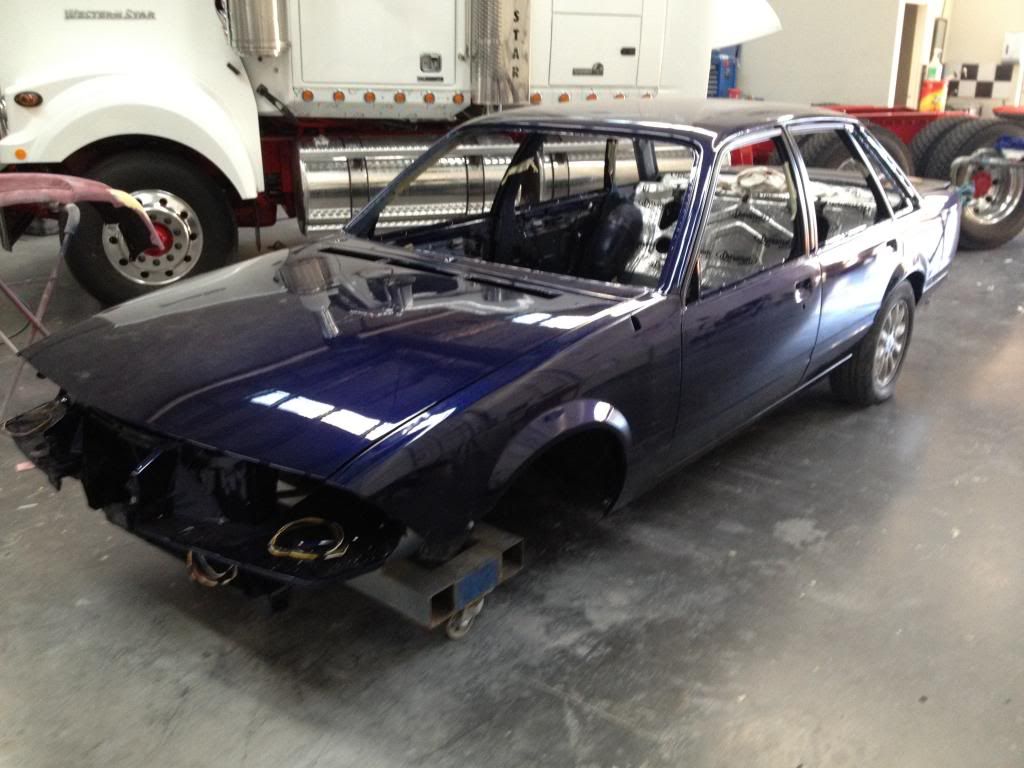
few more updates fixed up a few more small defects and picked a colour also sprayed up the boot
finished up the boot and deleted the spare wheel well
 March 2, 2015 at 9:40 pm #1441
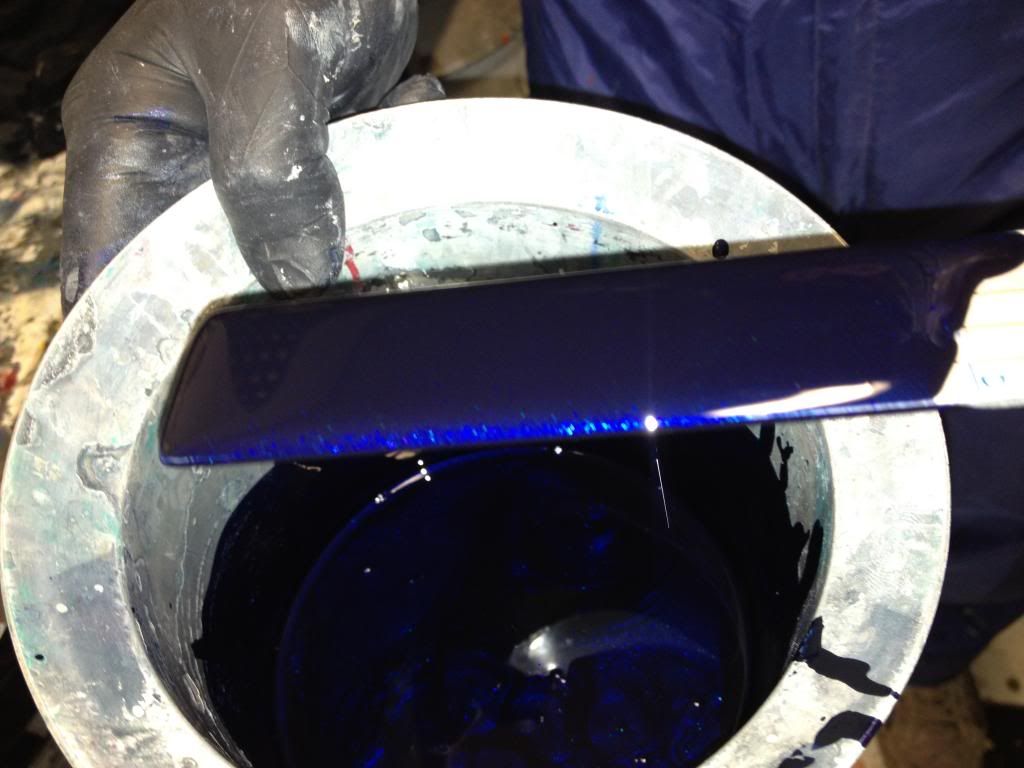
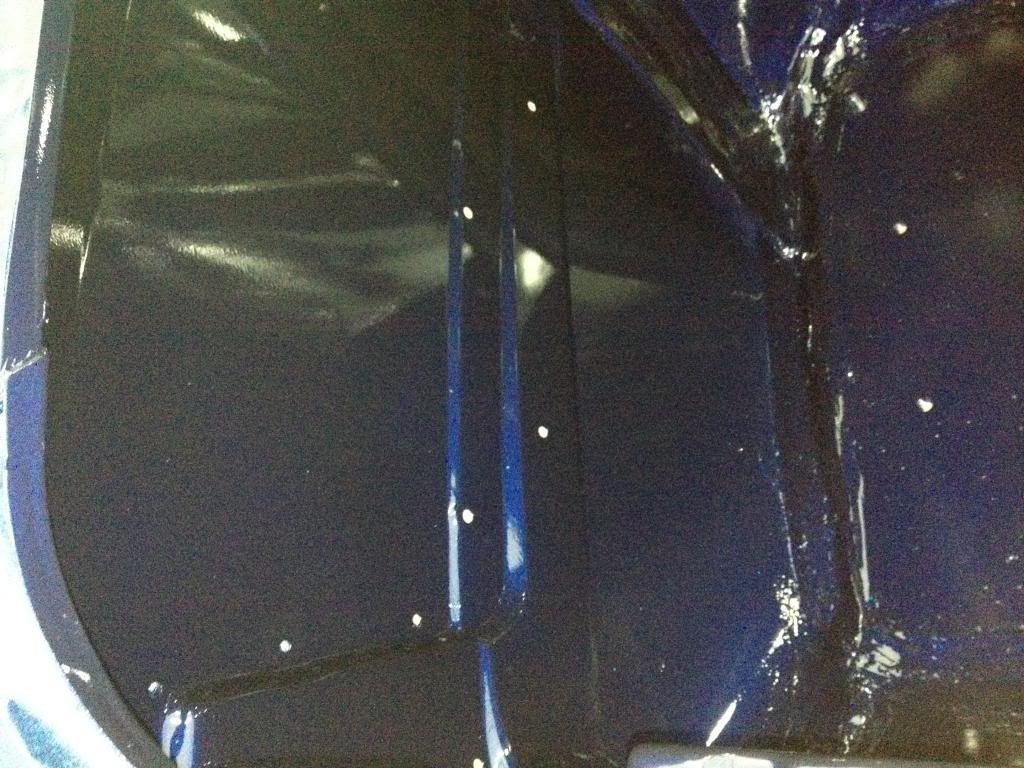
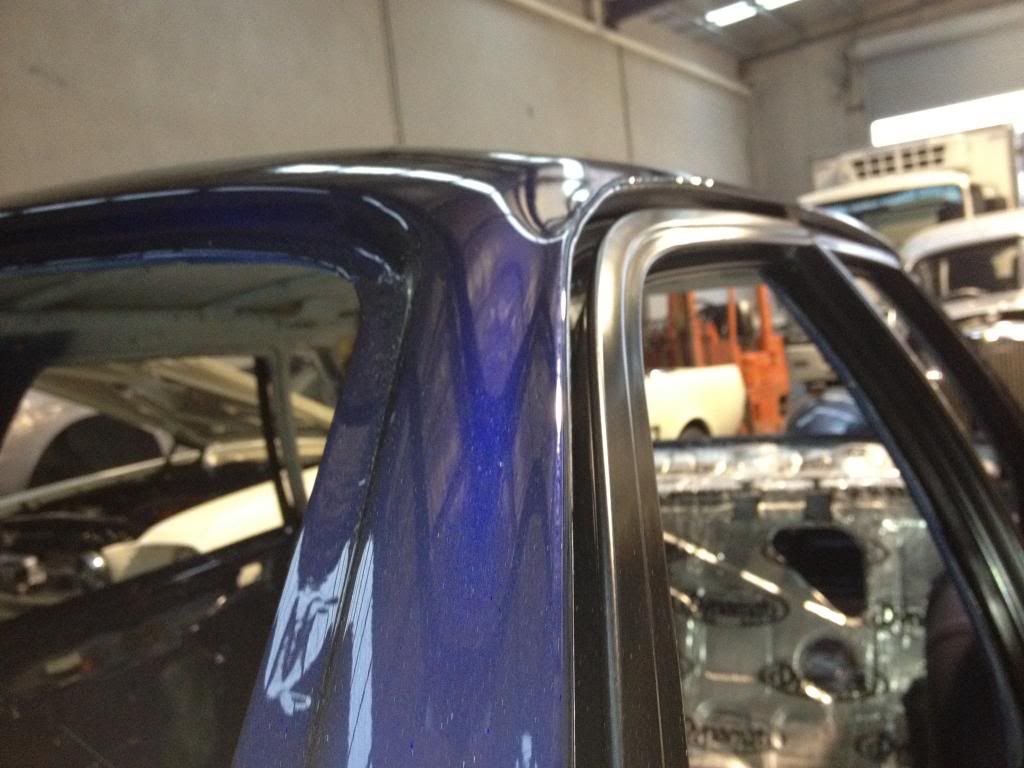
colour sorry about the poor pictures iphone
 March 2, 2015 at 9:40 pm #1442
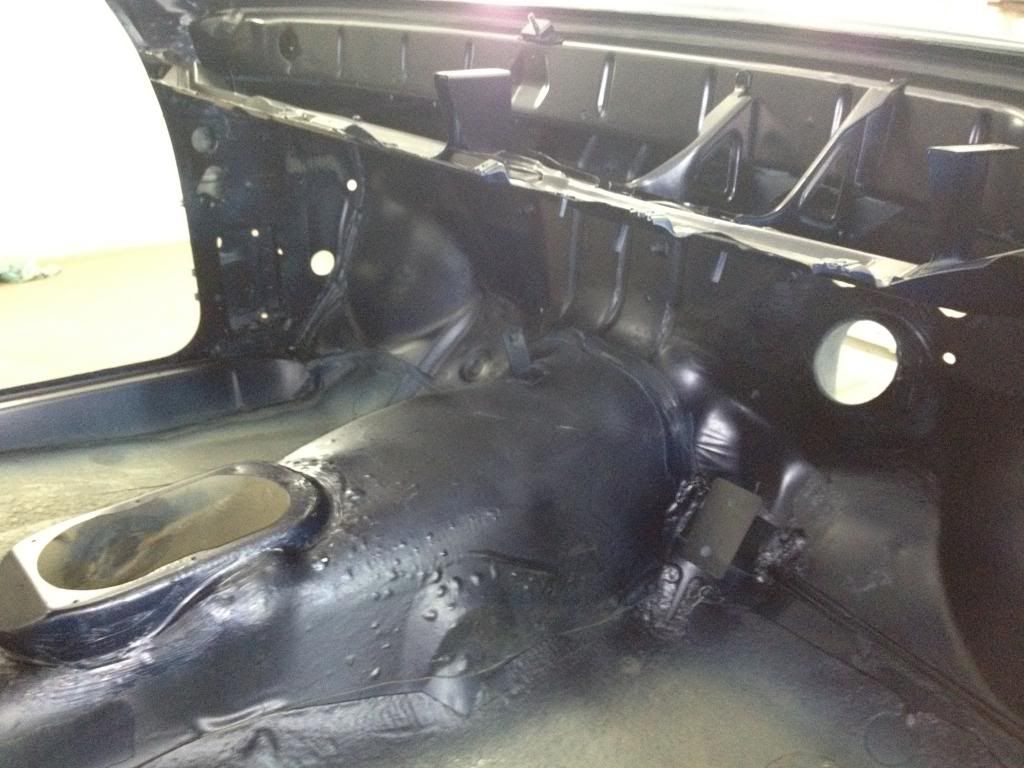
im back at work this week so may be a delay to the next update
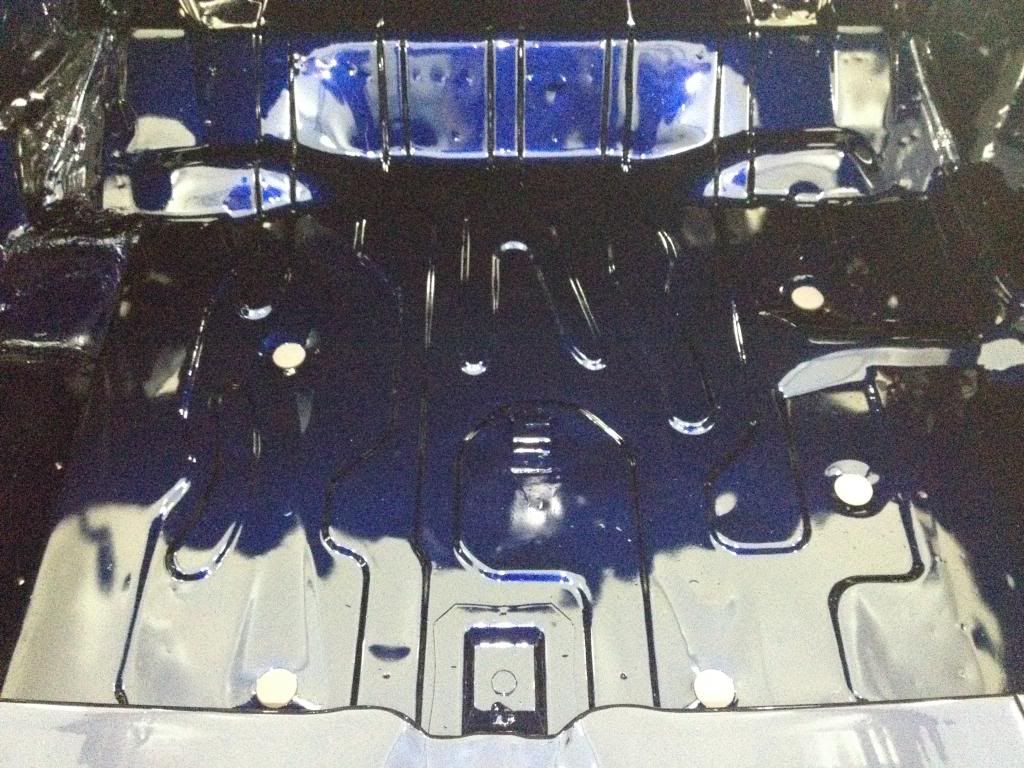
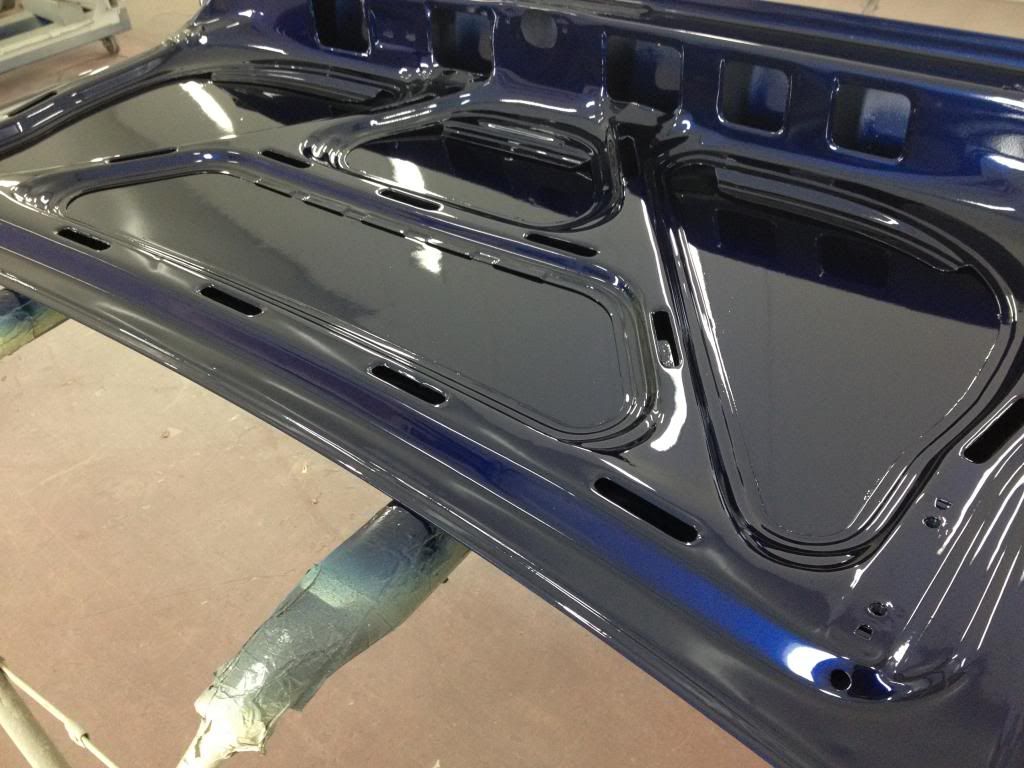
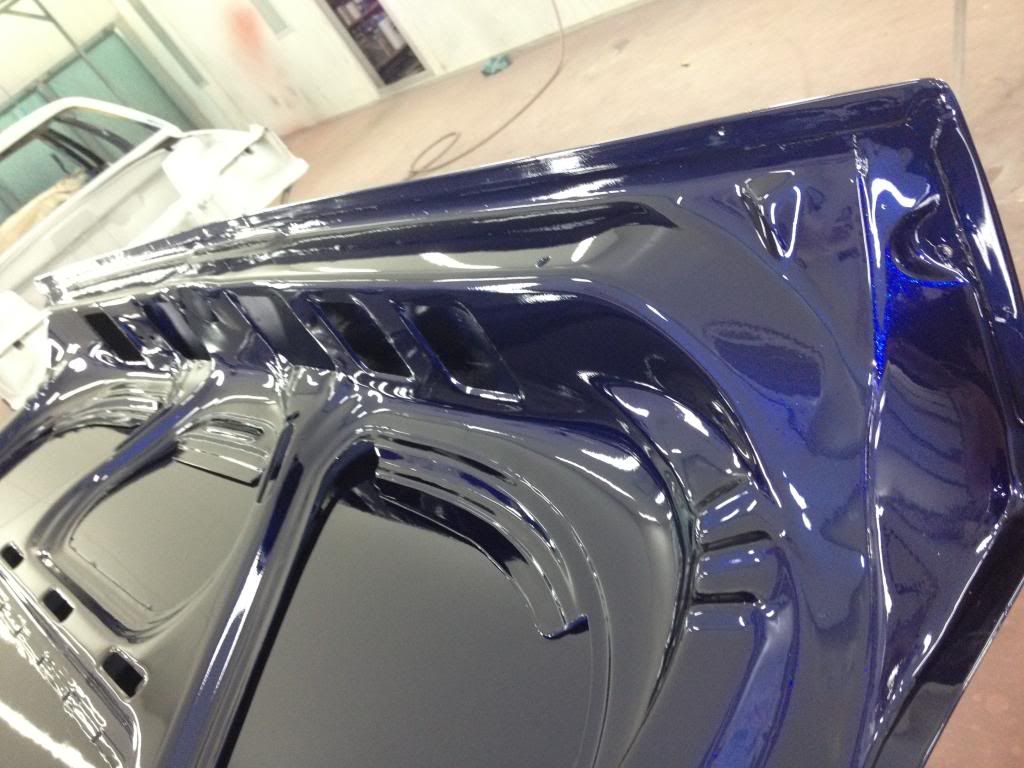
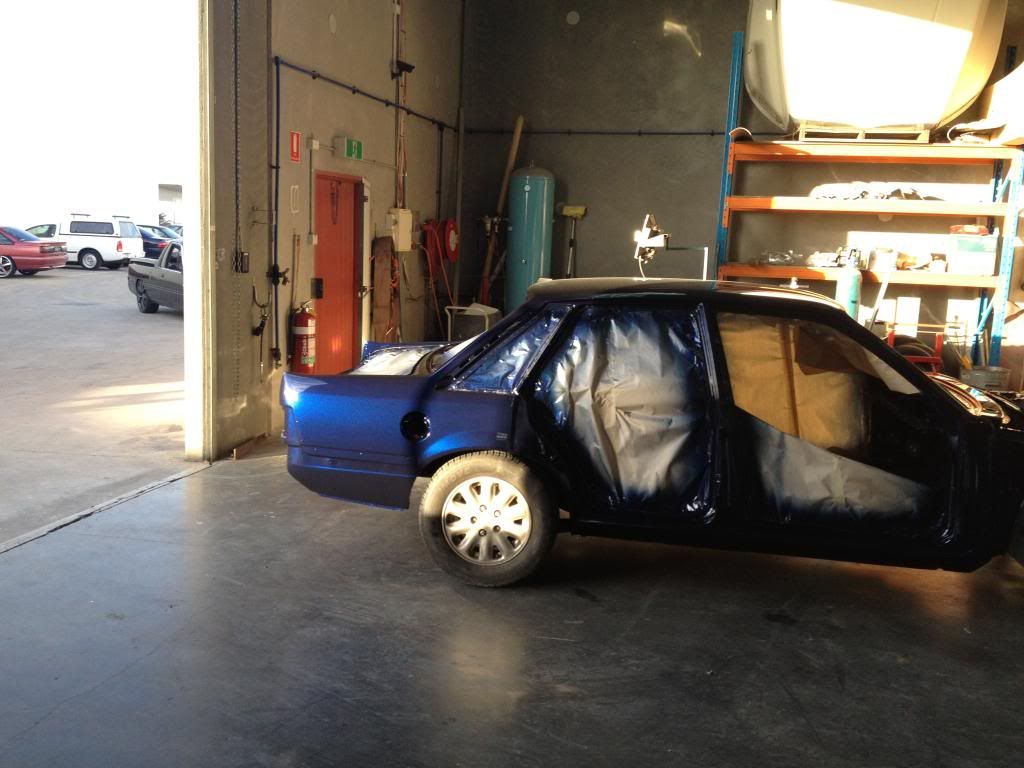
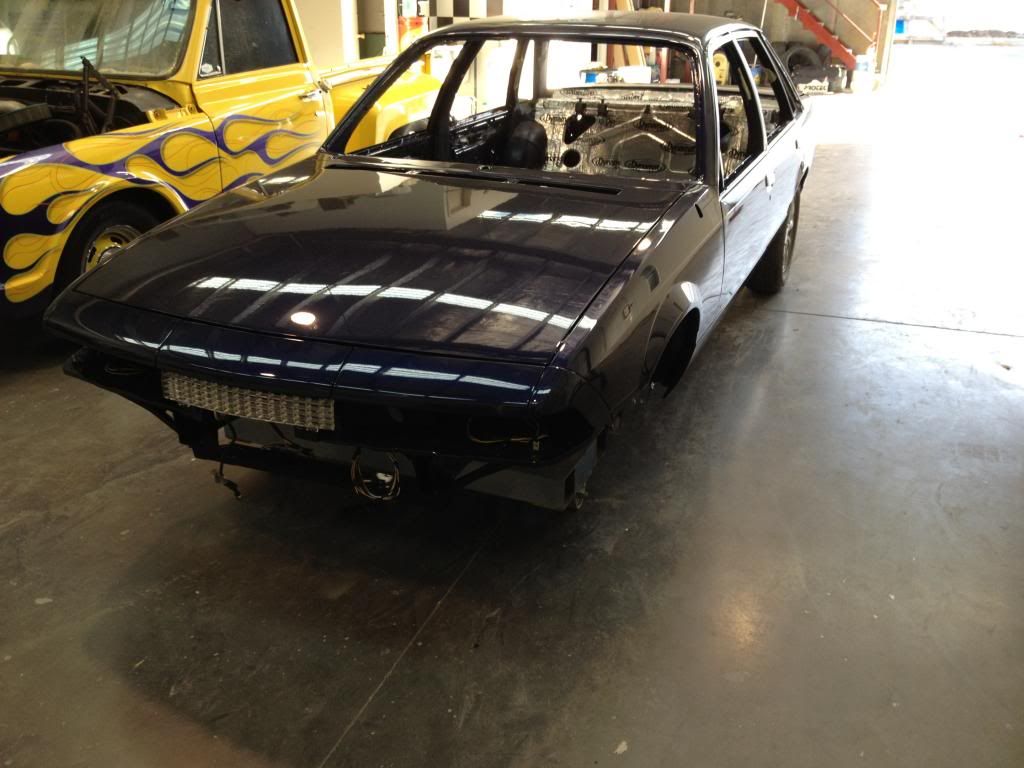
March 2, 2015 at 9:41 pm #1444got an email from my mate spraying the car back of the bonnet and boot are done this is straight off the gun
 March 2, 2015 at 9:41 pm #1445
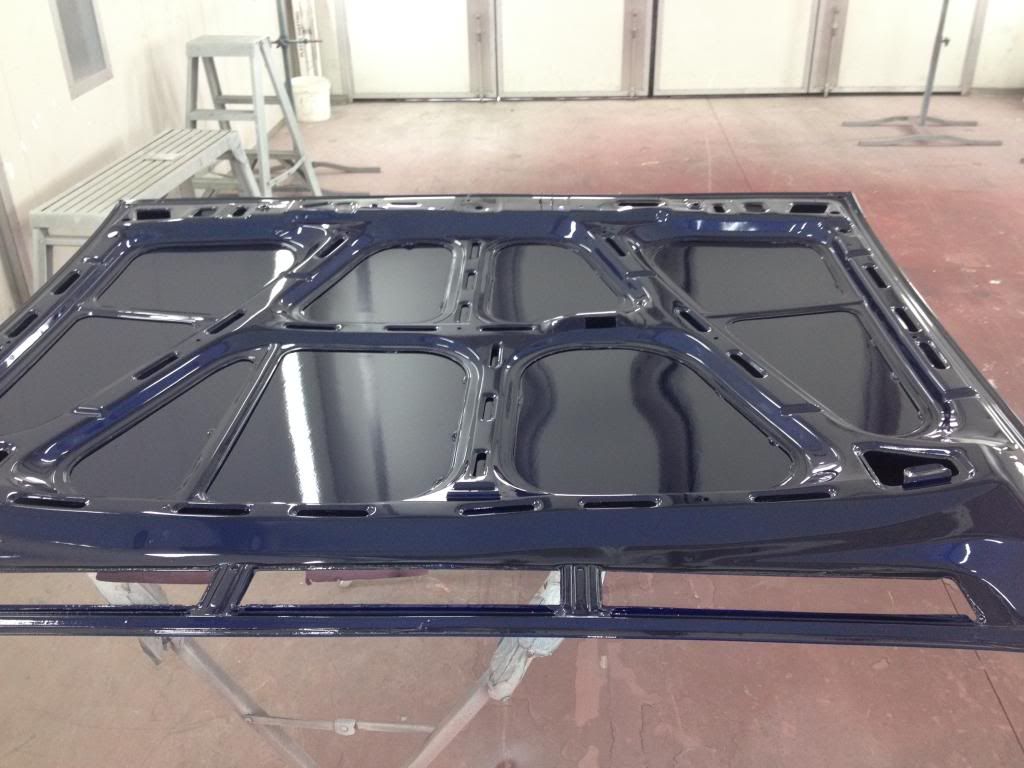
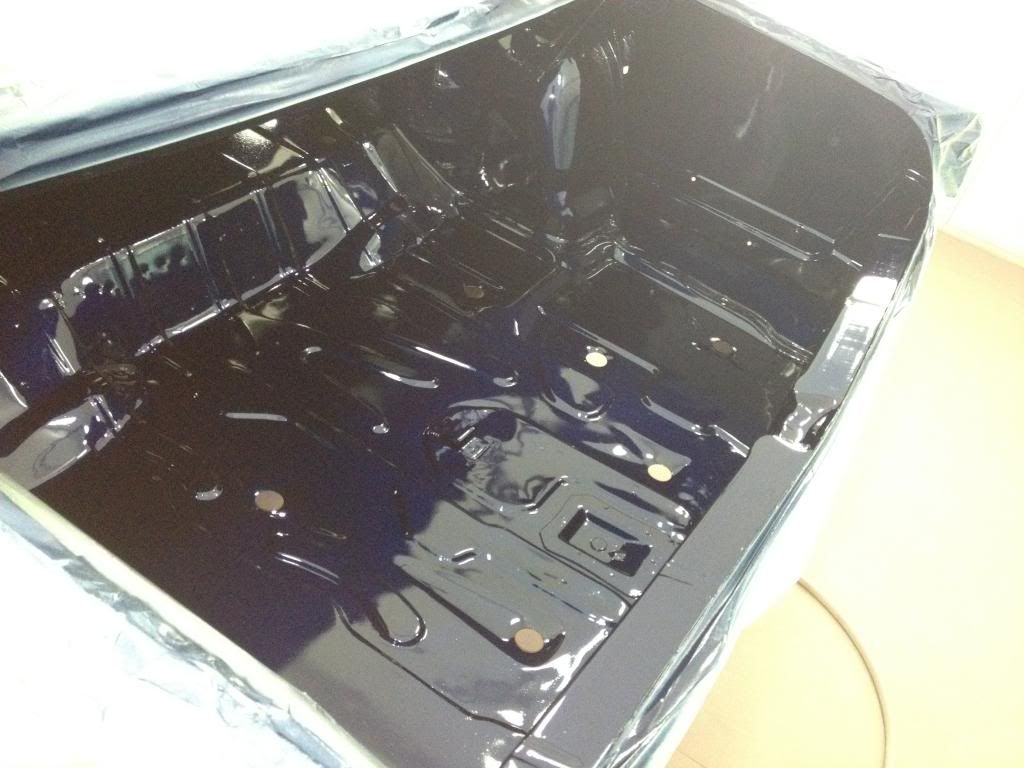
 March 2, 2015 at 9:42 pm #1446
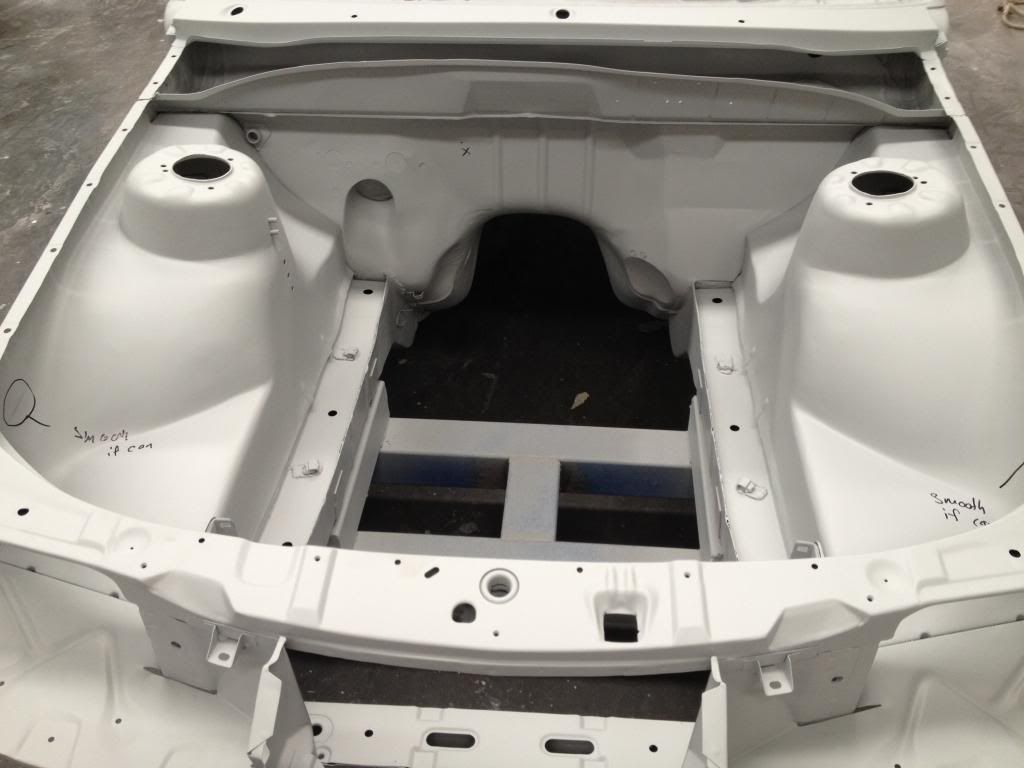
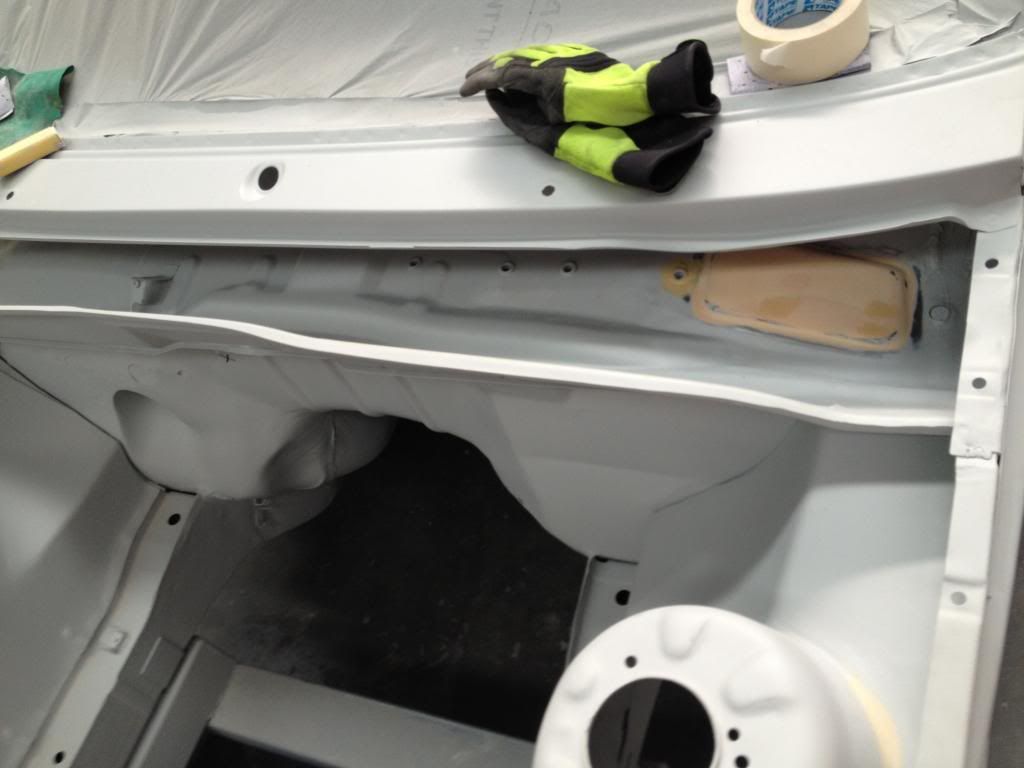
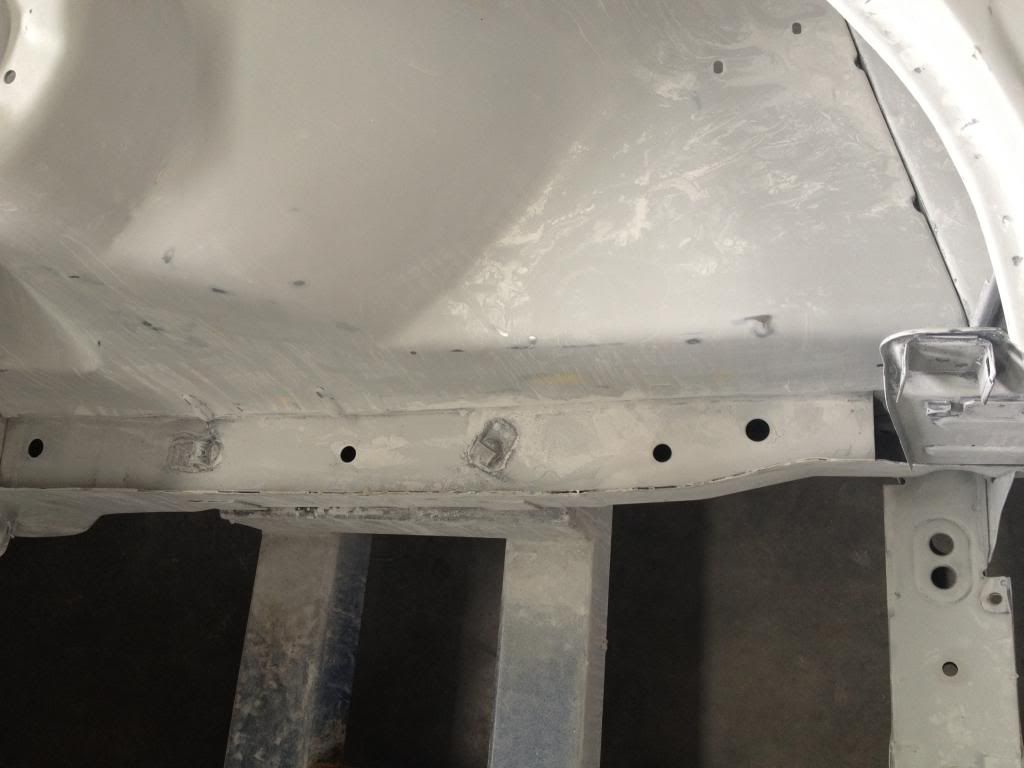
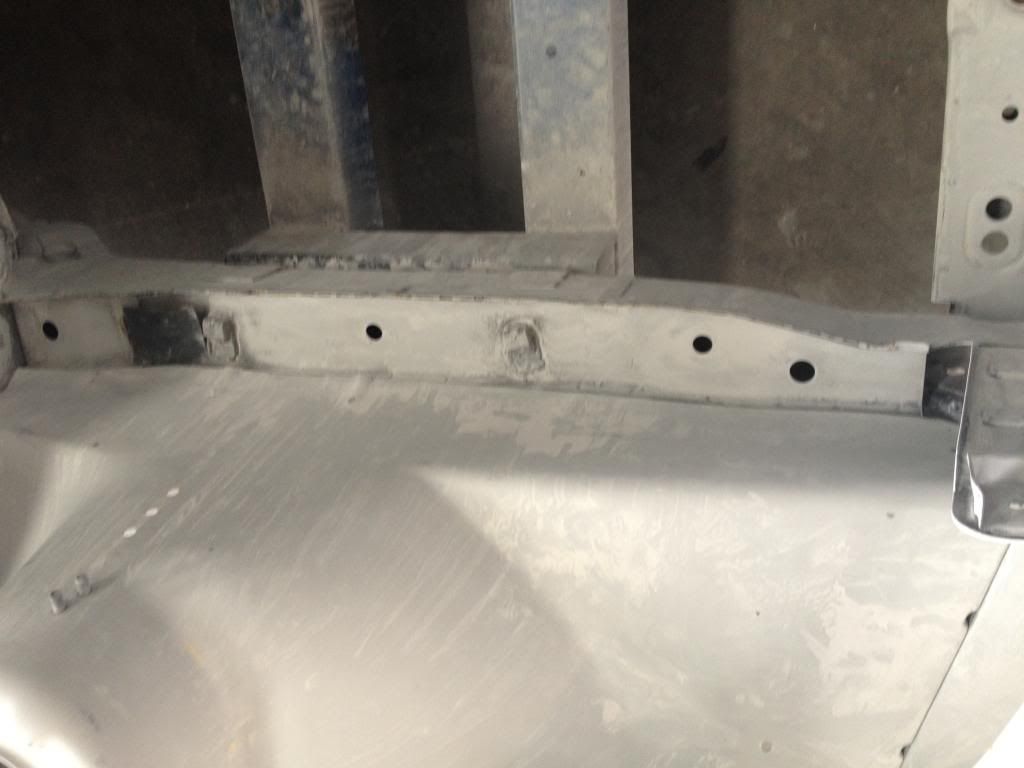
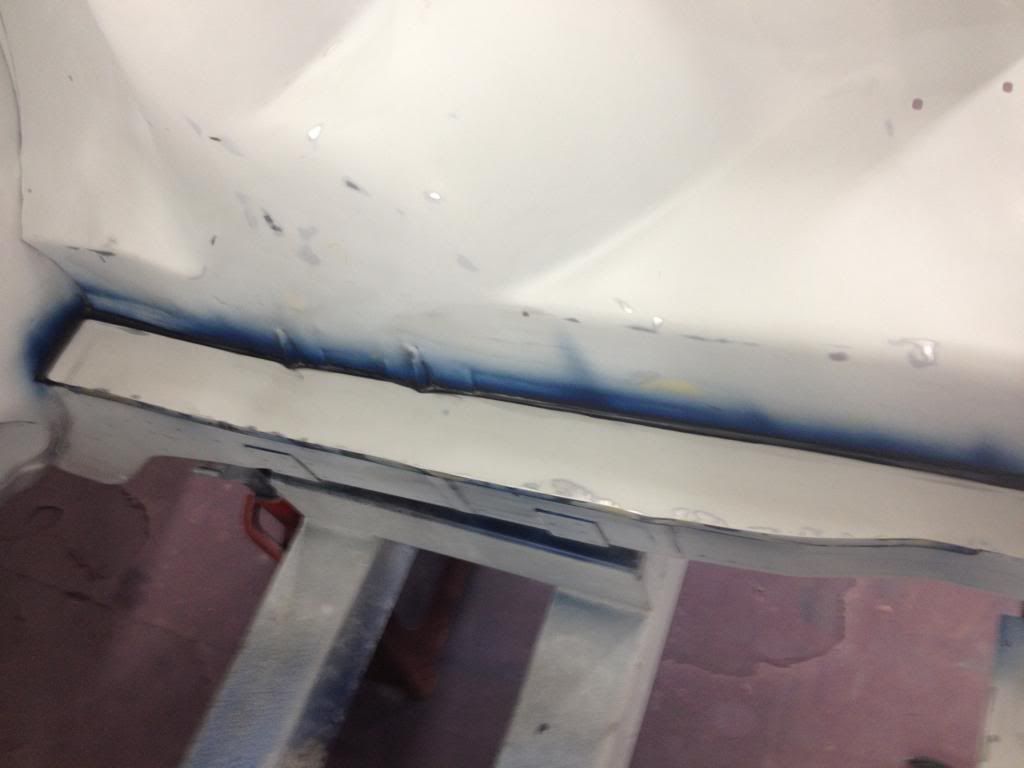
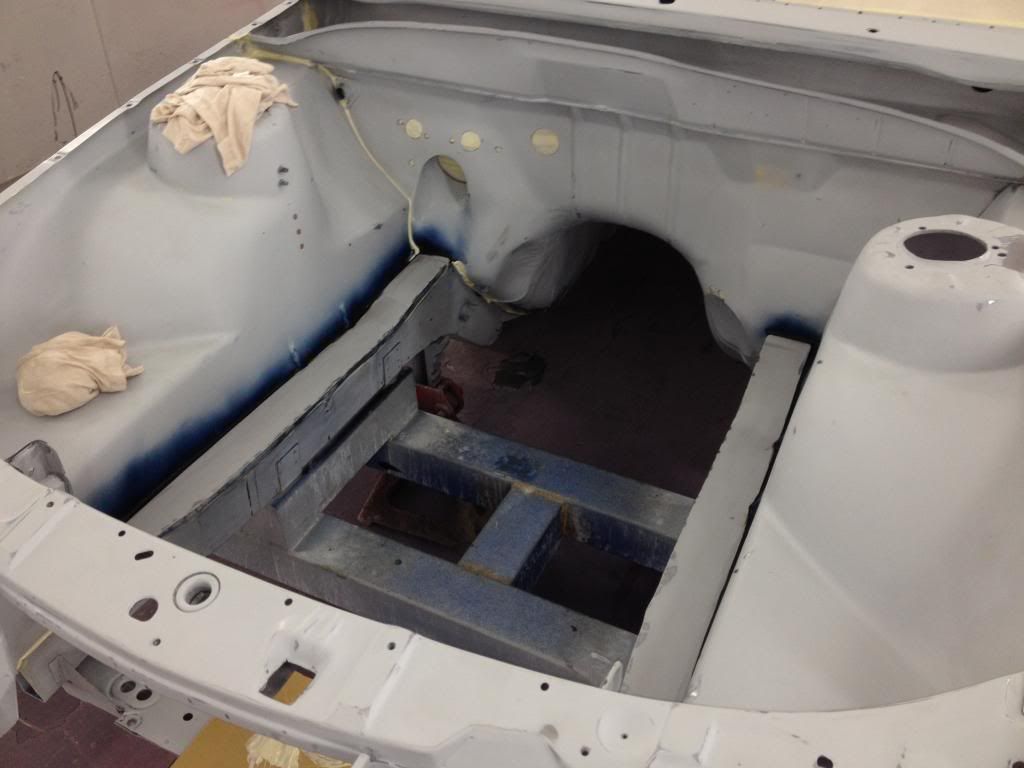
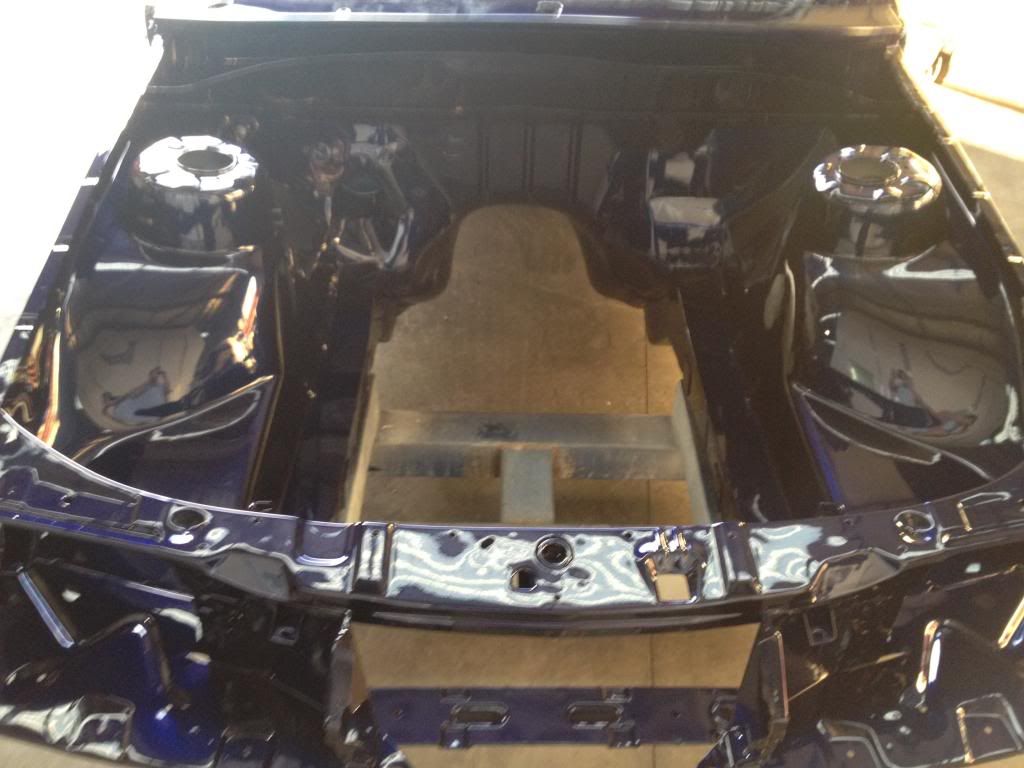
happy Friday all car came out the booth today but first a bit of the prep i wanted to tidy up the chassis rails but still keep it legal the engineer im working with said welding them in will affect crumple zones so we come up with a different plan we made 2 caps for the rails from aircraft stainless prepped the bay laid some base coat and used a body adhesive to hold them in engineer approved it and its heat resistant adhesive so no problems with the extractor heat but they will be ceramic costed as well to reduce engine bay temps also seem sealed the joints for neatness and to give a small amount of flex sorry im missing a few in between shots
 March 2, 2015 at 9:42 pm #1447
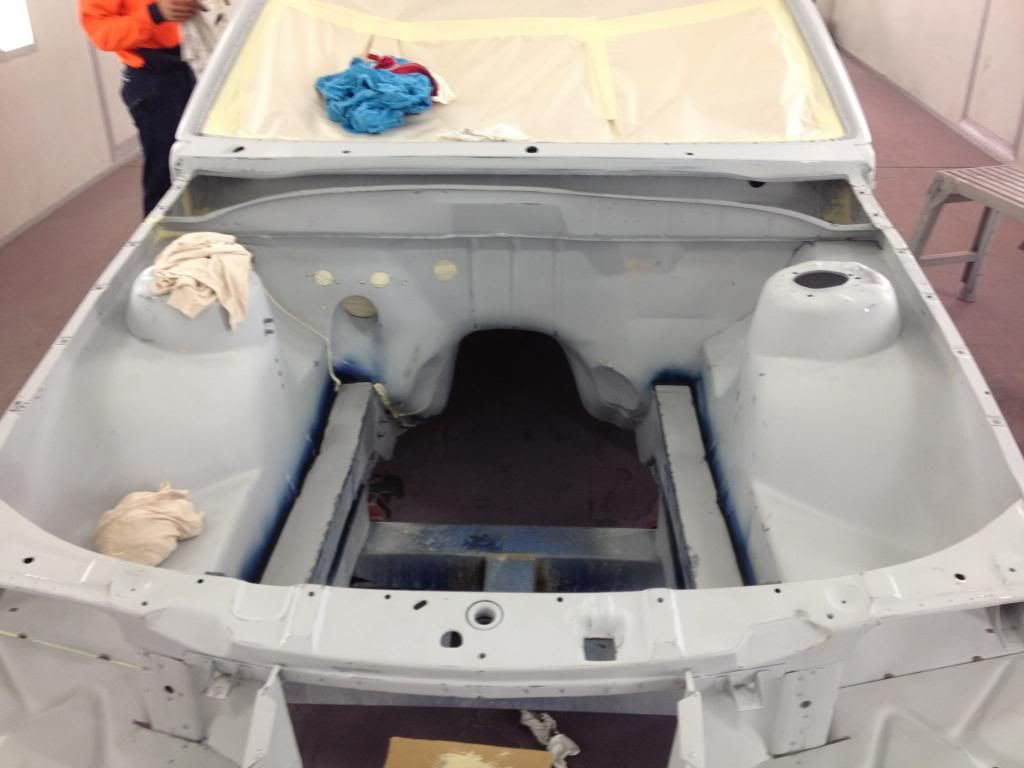
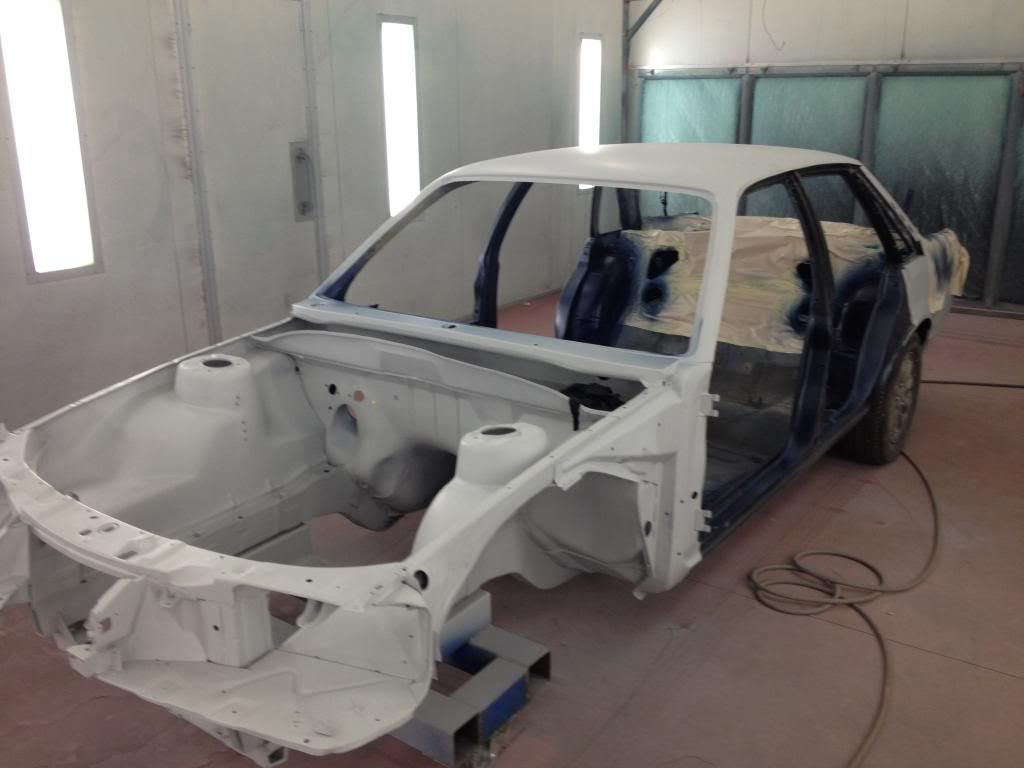
 March 2, 2015 at 9:42 pm #1448
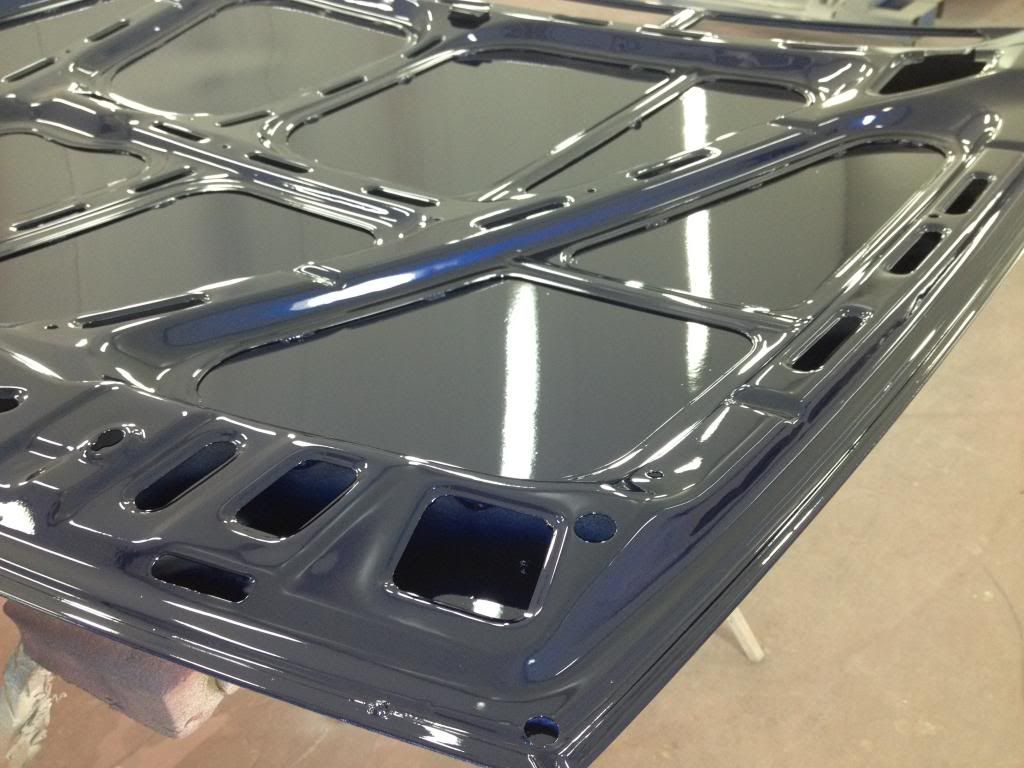
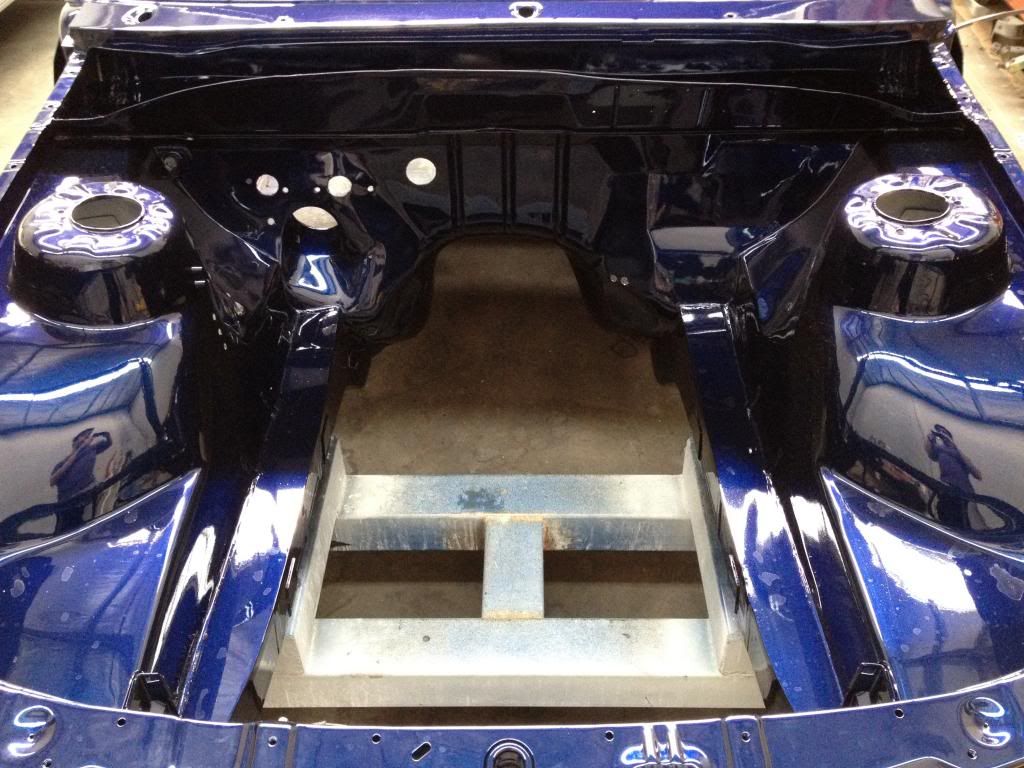
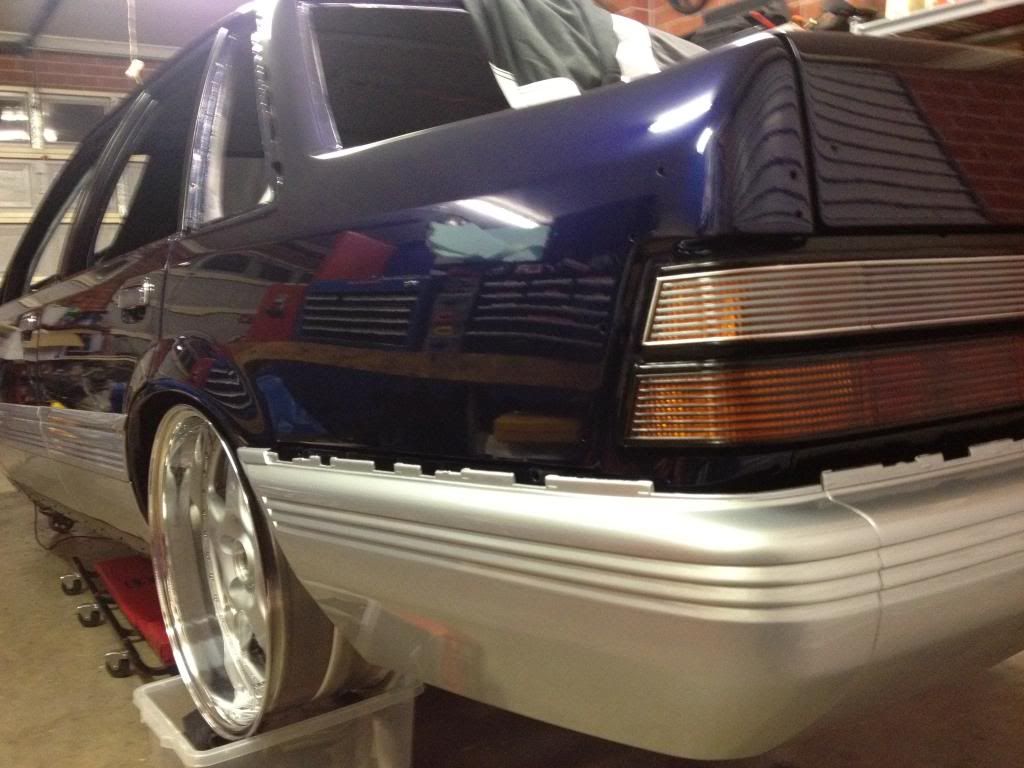
and this is fresh out the booth off the gun
 March 2, 2015 at 9:43 pm #1449
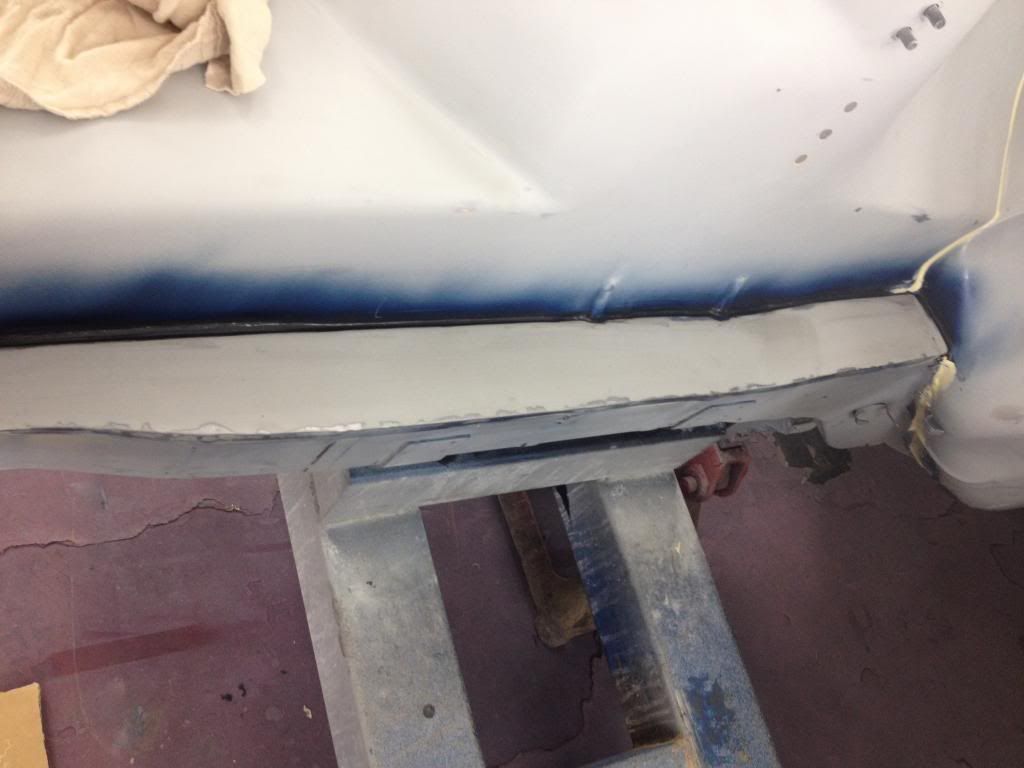
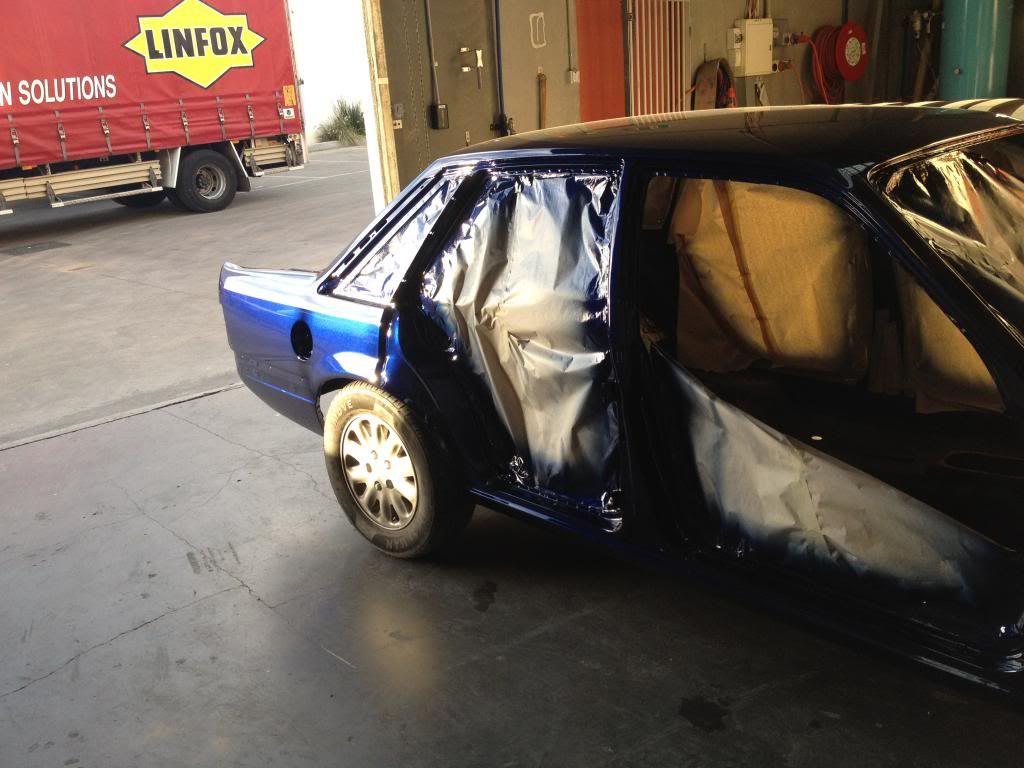
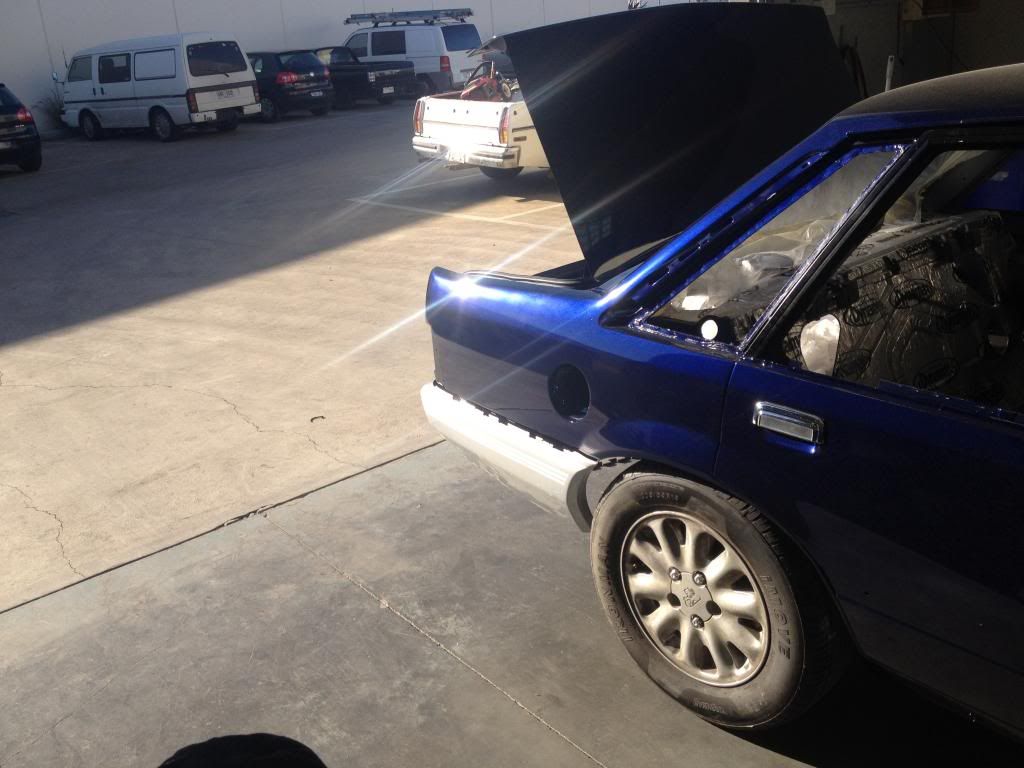
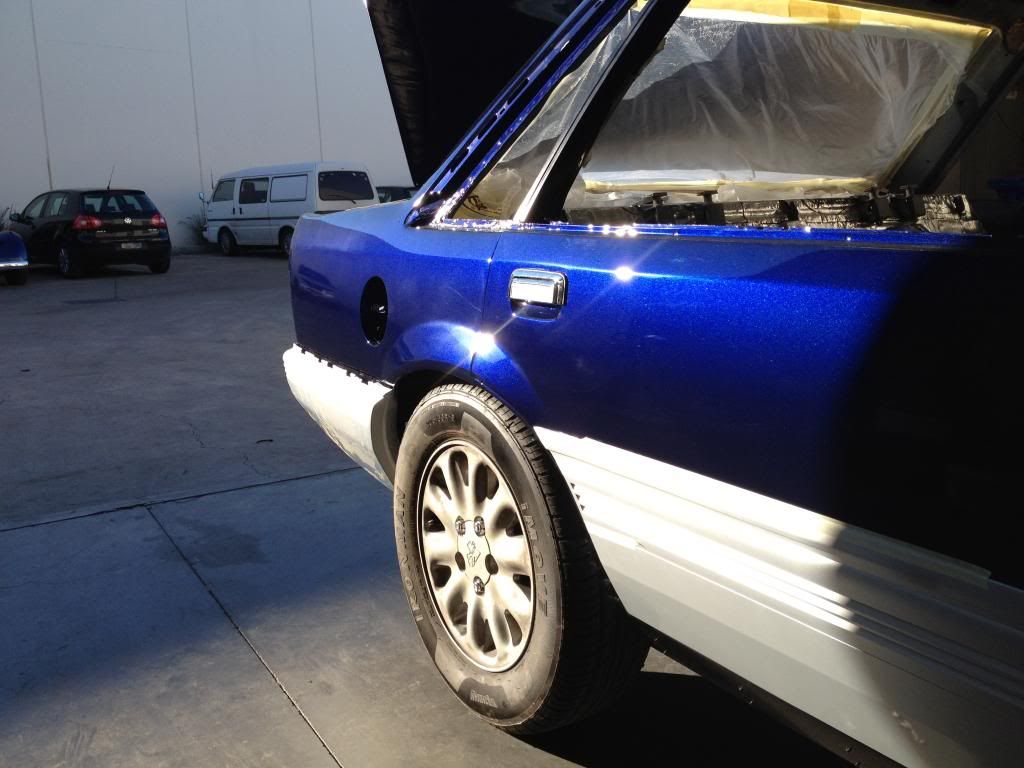
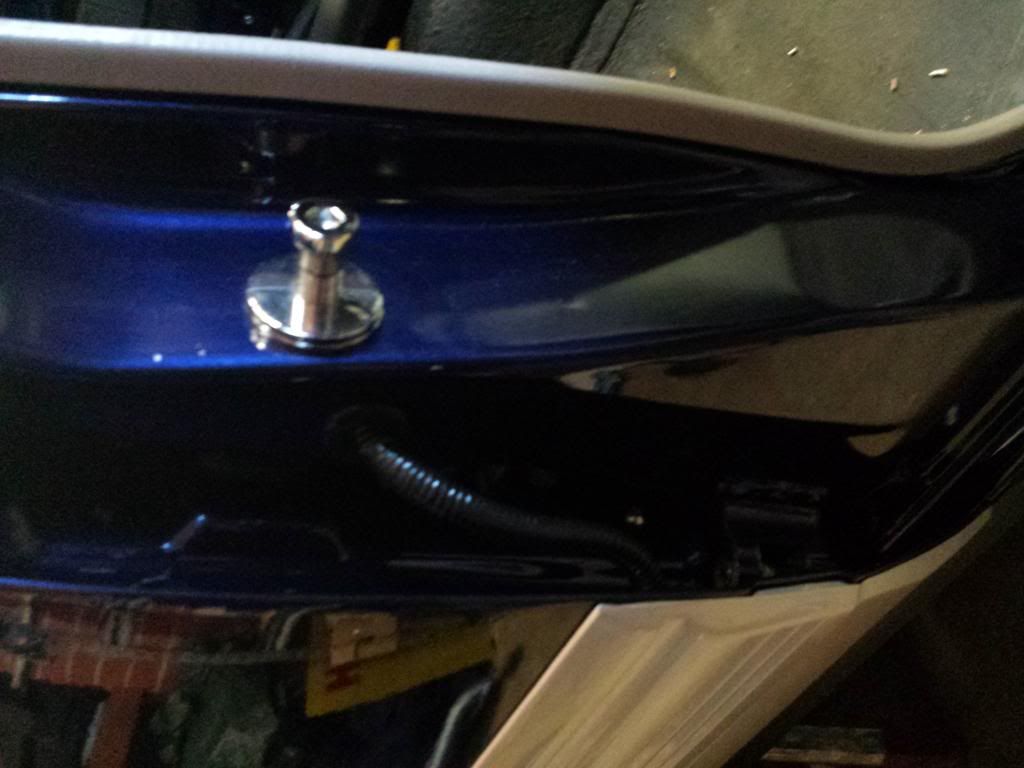
update got the doors back on installed the wiring behind the guards and hit the underbody with a coat of deadner

 March 2, 2015 at 9:43 pm #1452
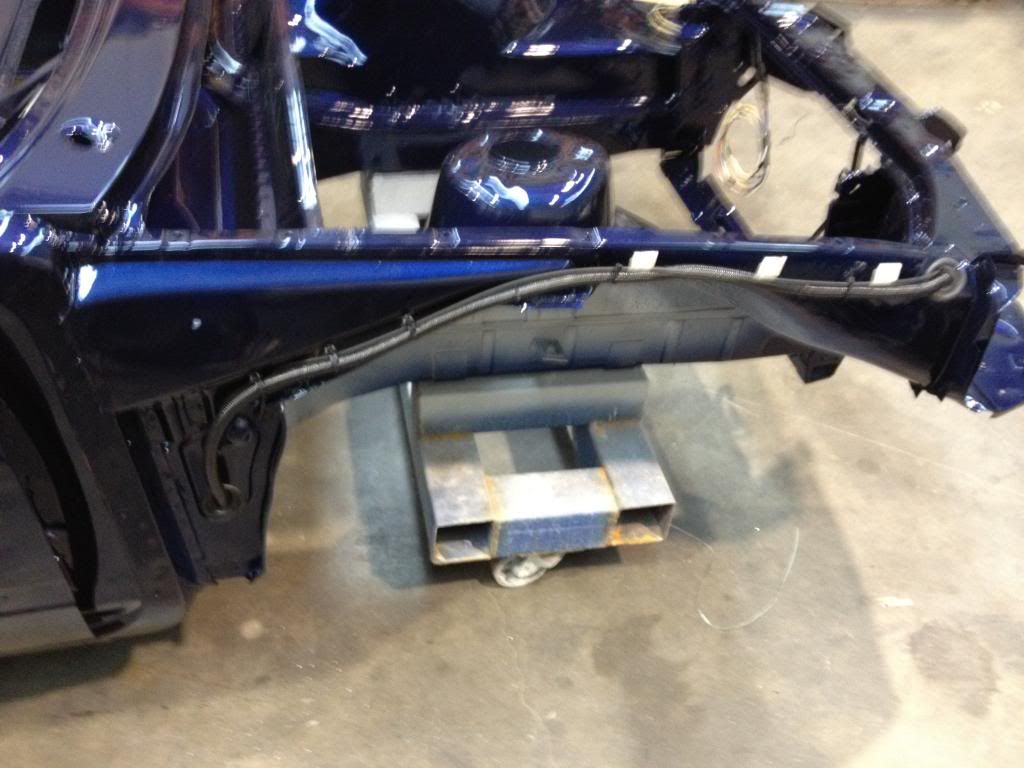
 March 2, 2015 at 9:44 pm #1453
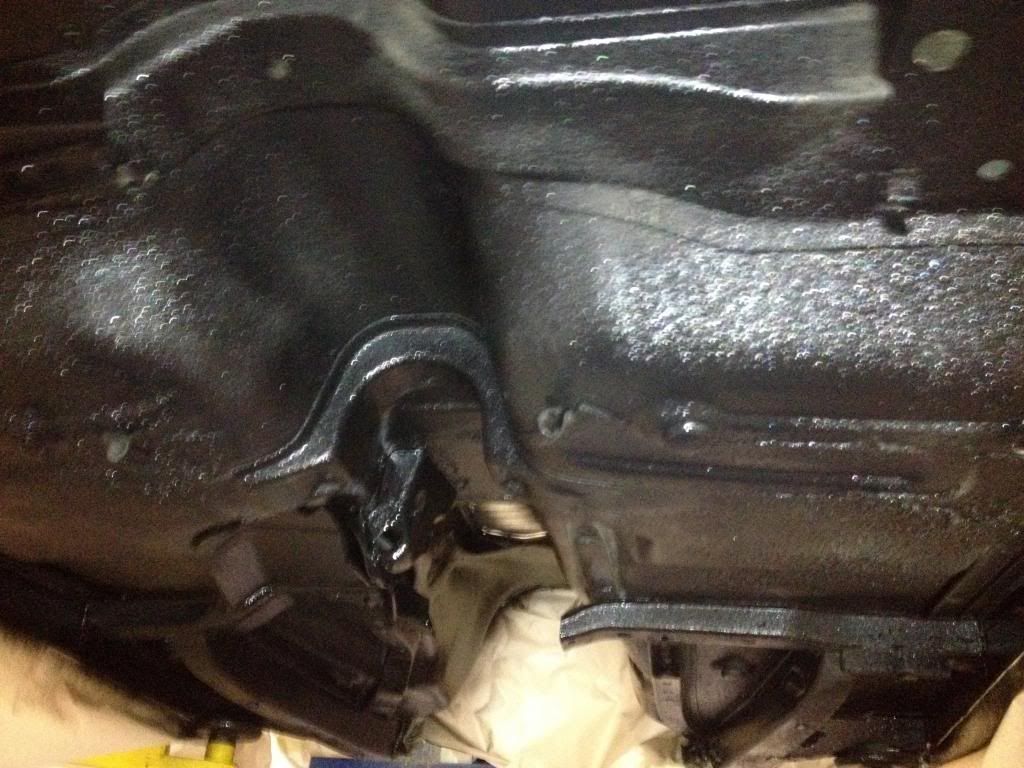 March 2, 2015 at 9:45 pm #1455
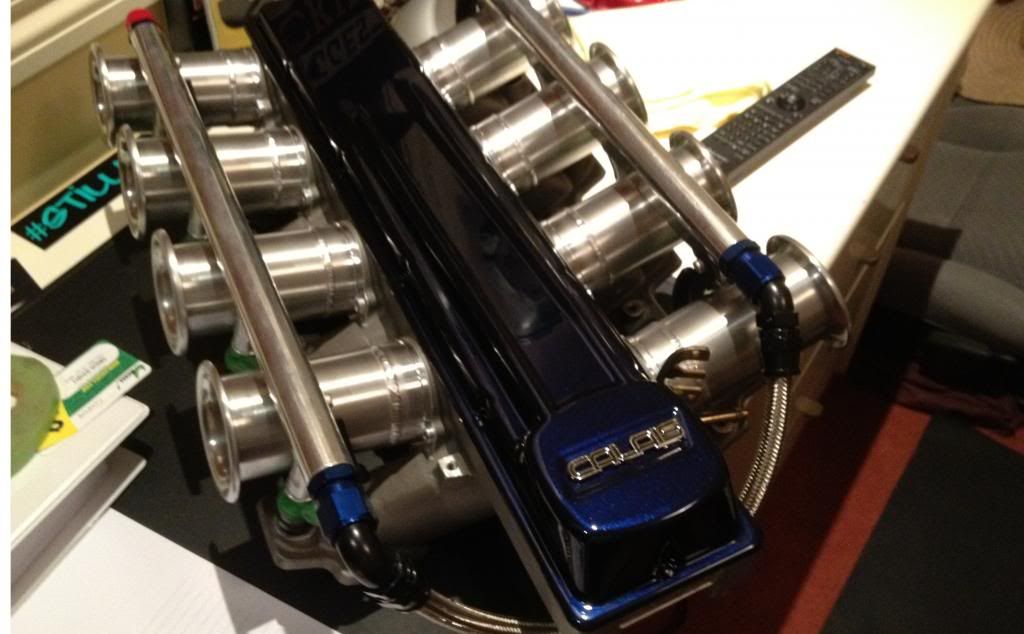
manifold spoiler
 March 2, 2015 at 9:45 pm #1457
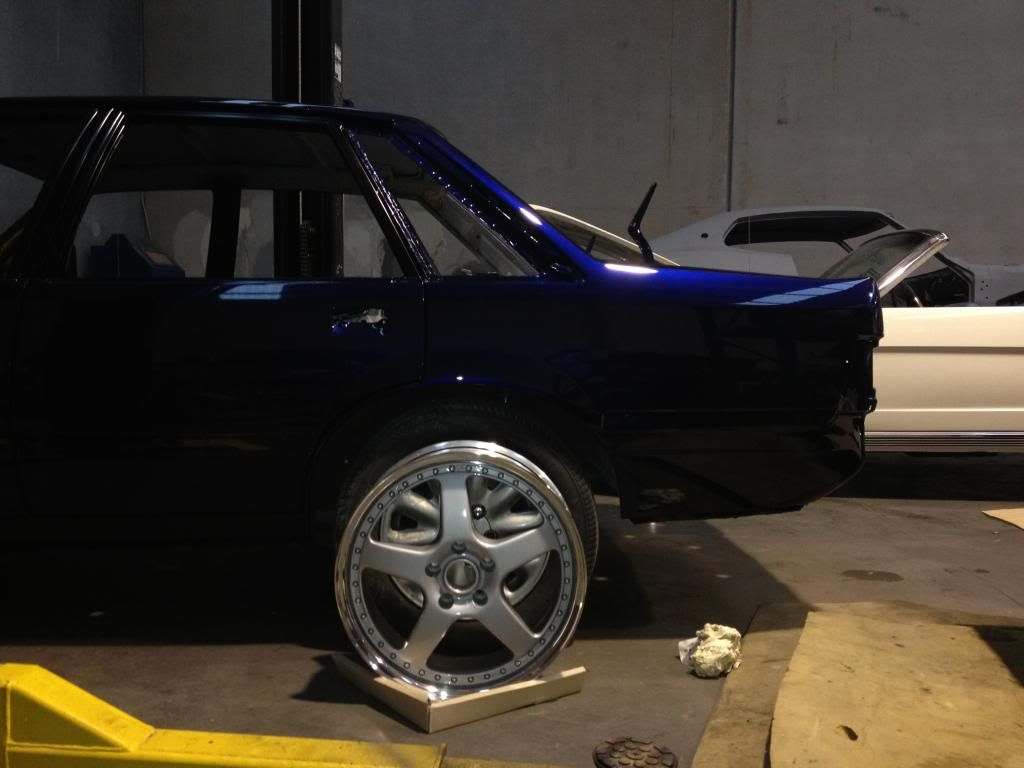
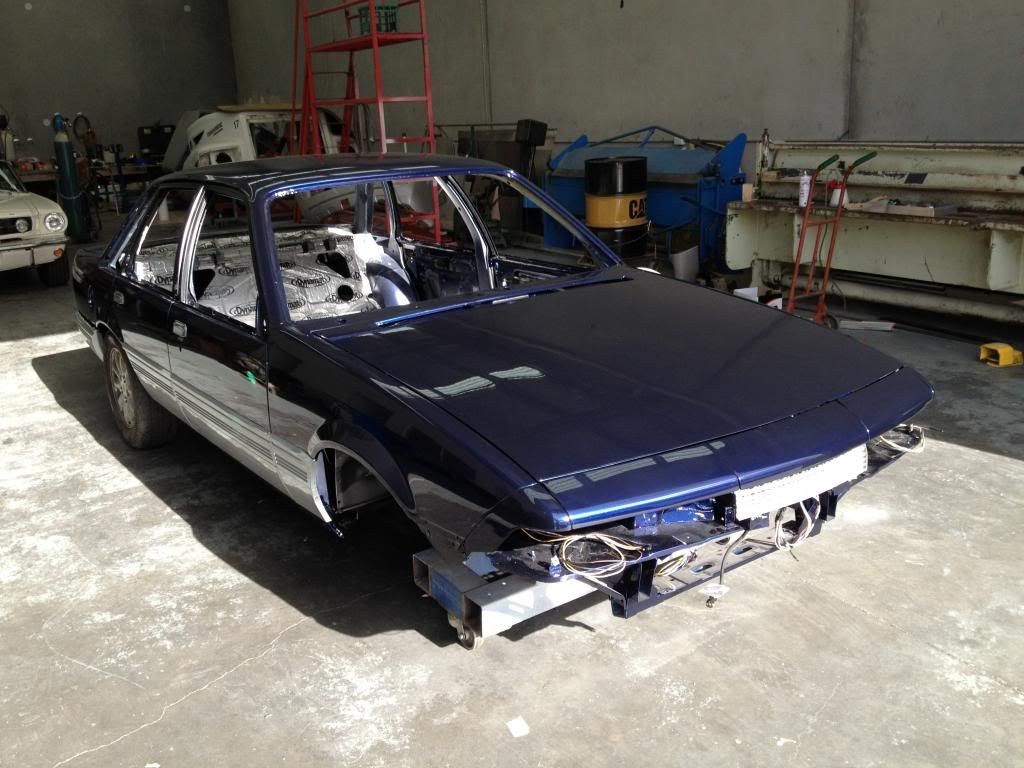
updates got the guards bonnet boot and a bit of the front back together
 March 2, 2015 at 9:46 pm #1459
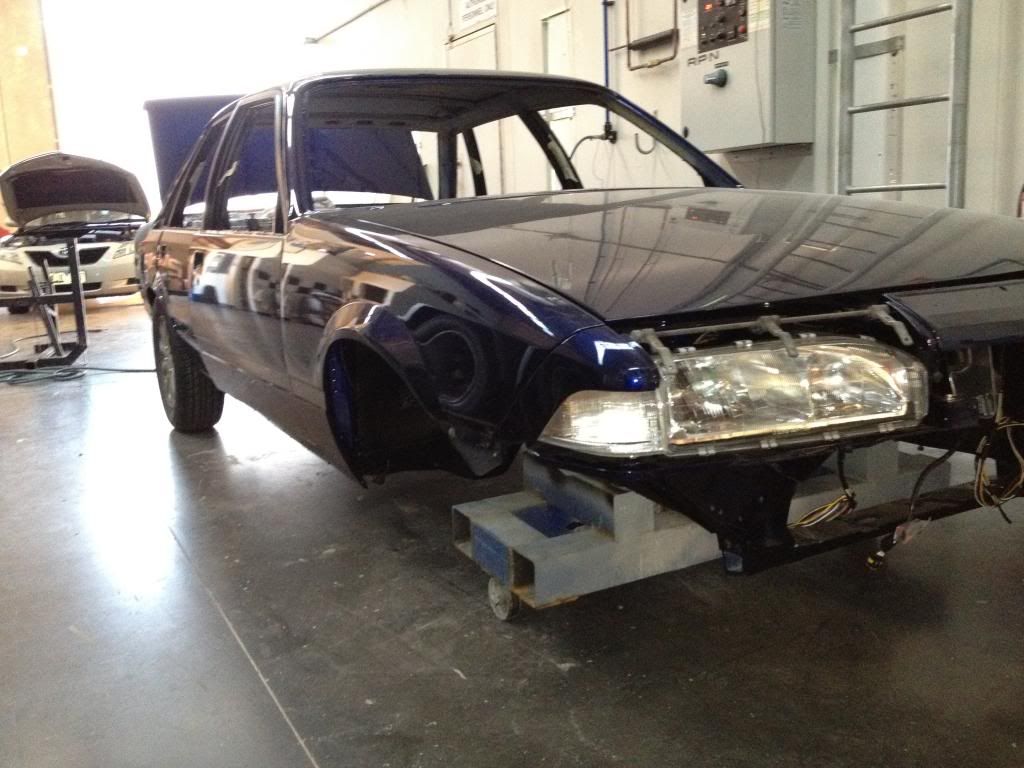
 March 2, 2015 at 9:46 pm #1460
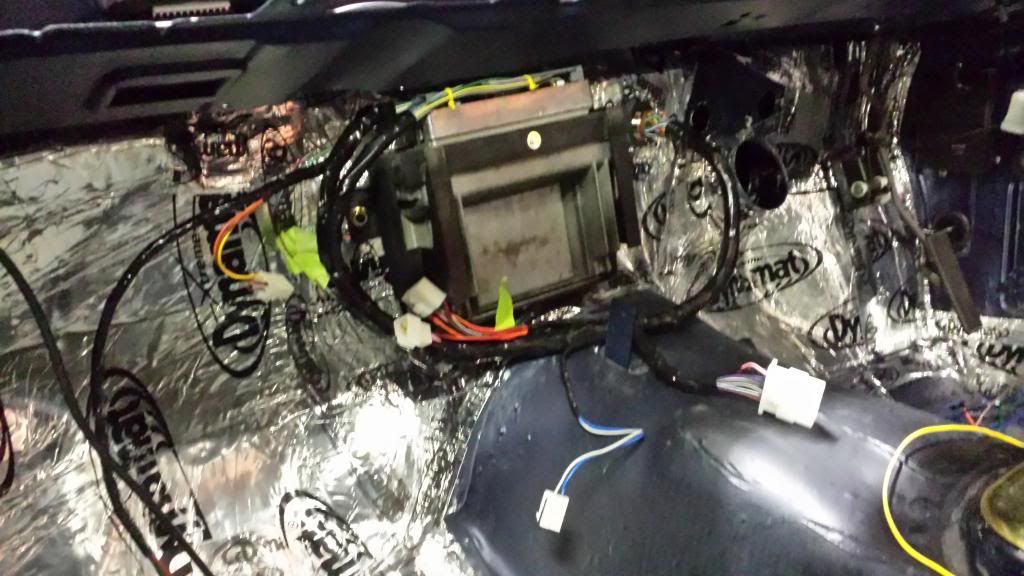
also made some progress on scratch building my wiring loom started with the body side of the engine loom
 March 2, 2015 at 9:47 pm #1462
progress almost ready to come home
 March 2, 2015 at 9:47 pm #1463
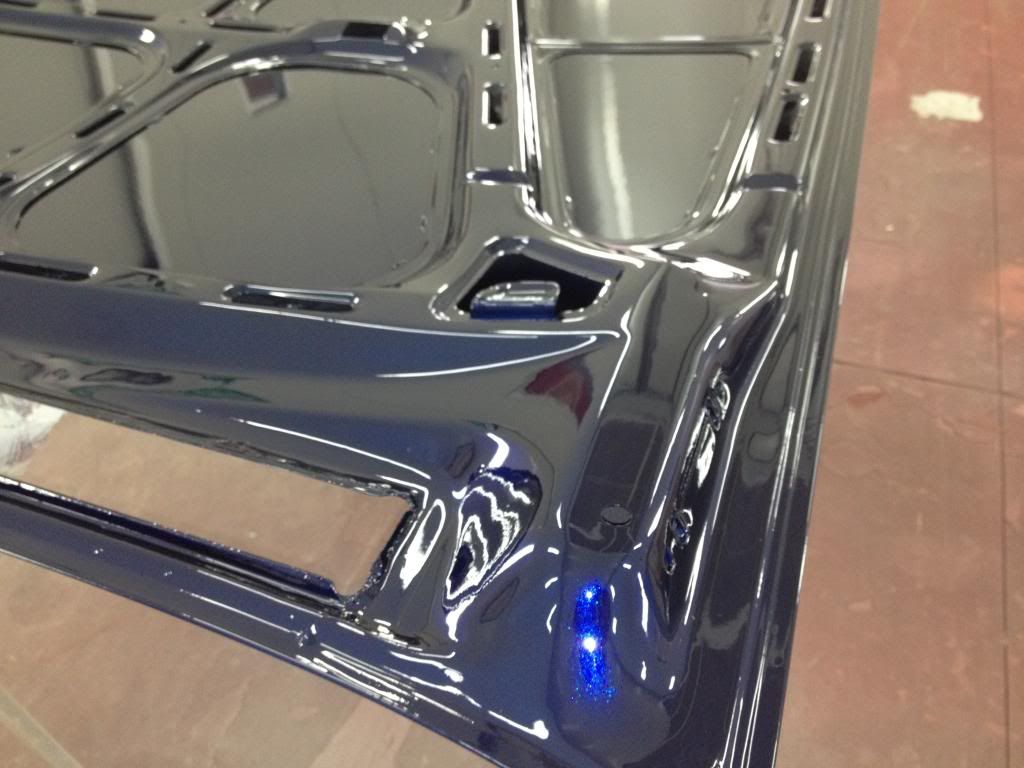
ill just leave this here
 March 2, 2015 at 9:48 pm #1464
some updates still welding up my sump (almost done ive been lazy)oncw done i can get the engine in but got some other stuff done in the mean time mounted my ecu up and installed my body side of my scratch built engine loom reinstalled my power mirror /window loom after rebuilding it and also built up my rear taillight loom from scratch and i reassembled my pedal box now i got the pedals back from being coated
-
AuthorPosts
You must be logged in to reply to this topic.
