
Home›Forums›Members’ Builds and Rides›VB – VC – VH – VK – VL›Pro Touring VL Calais
This topic contains 220 replies, has 25 voices, and was last updated by ![]() capssy 7 years, 3 months ago.
capssy 7 years, 3 months ago.
-
AuthorPosts
-
March 2, 2015 at 9:27 pm #1400
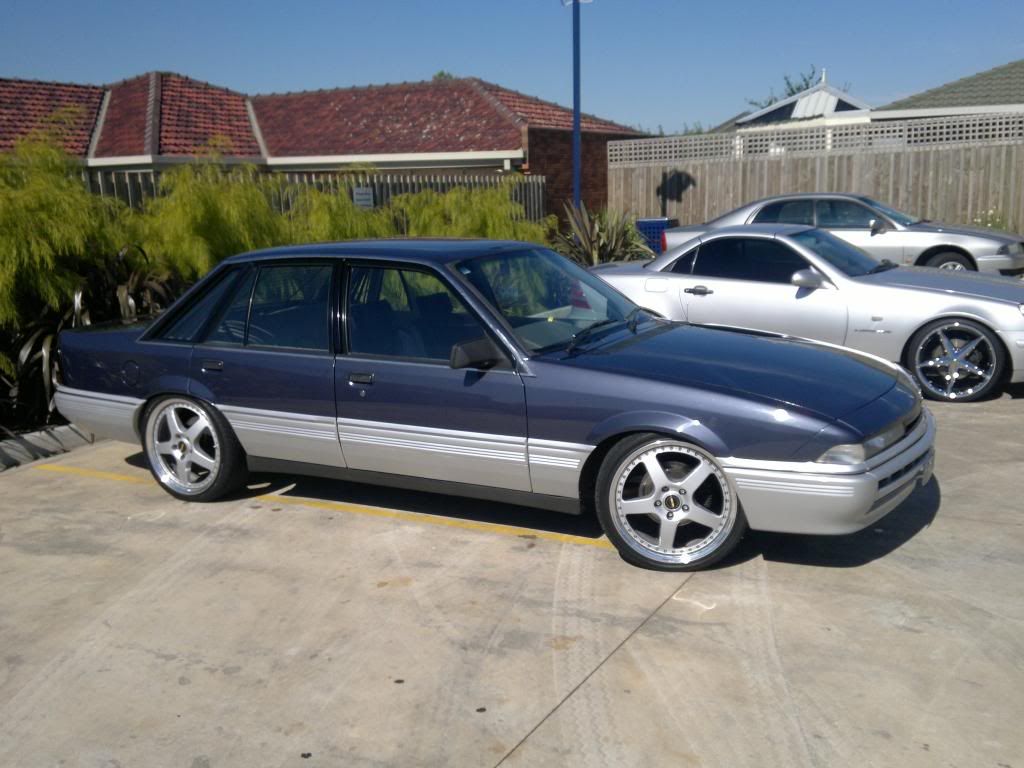
well after allot of mate’s telling me to put a thread up here i finally got around to it. Ive always liked the whole pro touring/ lateral g concept of modern day tech handling into earlier generation cars my build will try and keep in with the protourng concept as much as possible but due to adr restraints and the fact i want full engineering and rego ill have to stop somewhere so ill be trying to keep as much of the vl shell unmodified as i can. now ill be running a forged ls1 im undecided on intake setup yet so n/a for the minute will be 6 speed manual 9 inch (i know the 9 inch is heavy but the centres are easier to change). ill be running coilovers aswell still working out which ones or to go custom. i also wont be running A/C heater or power steering aswell. so heres the car it was my first car and im to attached to let her go lol its a factory imperial blue over silver 5l calais i know i may cop some stick from the originality crew but meh also im going to be doing all the work other than paint in my shed ill try and ill write up as much as i can
Before
 started
stripping out comes the old drive-line
gone :D
-
This topic was modified 9 years, 1 month ago by
 Admin.
March 2, 2015 at 9:28 pm #1401interior stripping

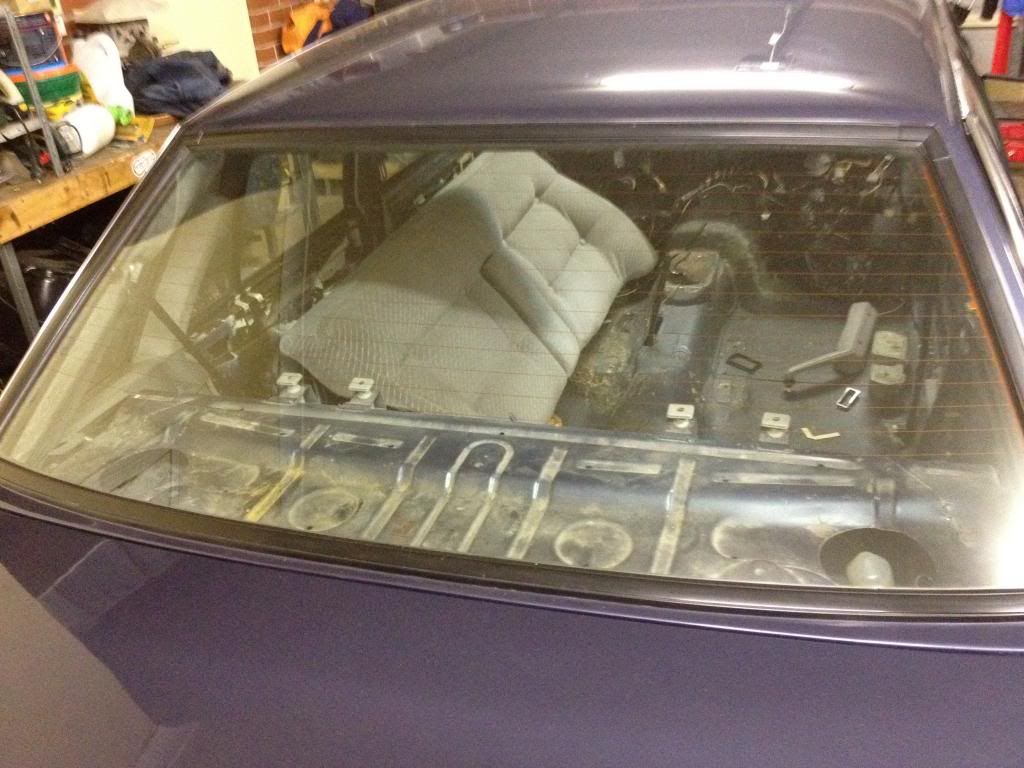
found my car had been in an accident in a past life they did some excellent repairs on the quarter panel and door but neglected the spare wheel well they decided to fill with filler :/
 March 2, 2015 at 9:28 pm #1402
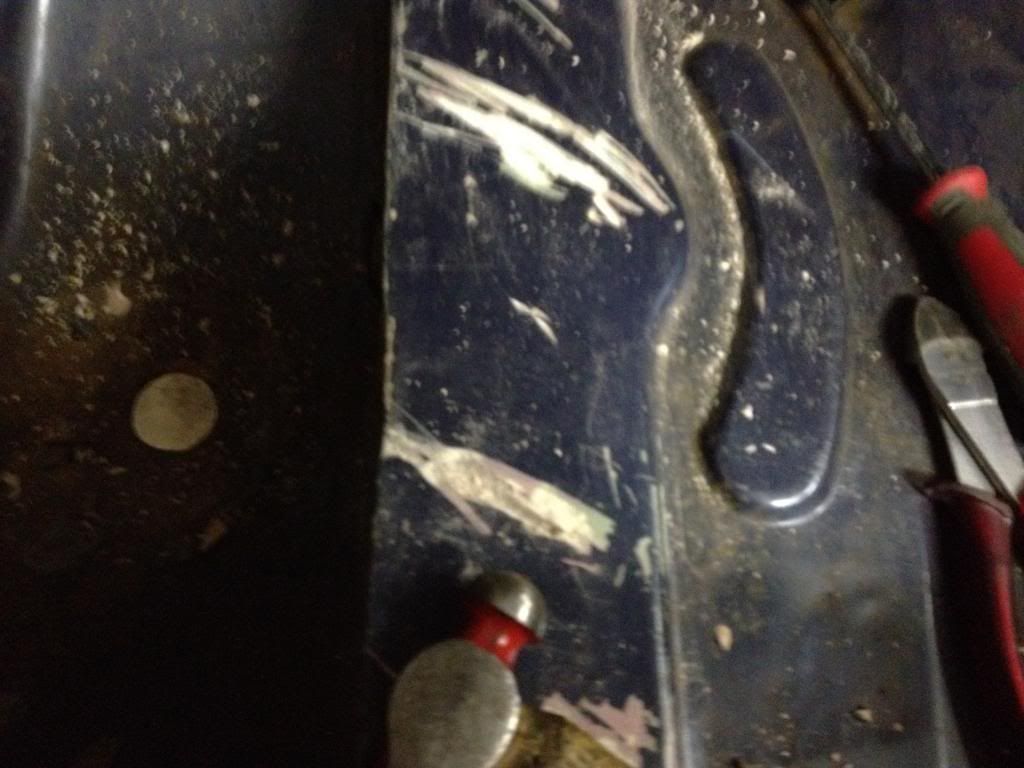
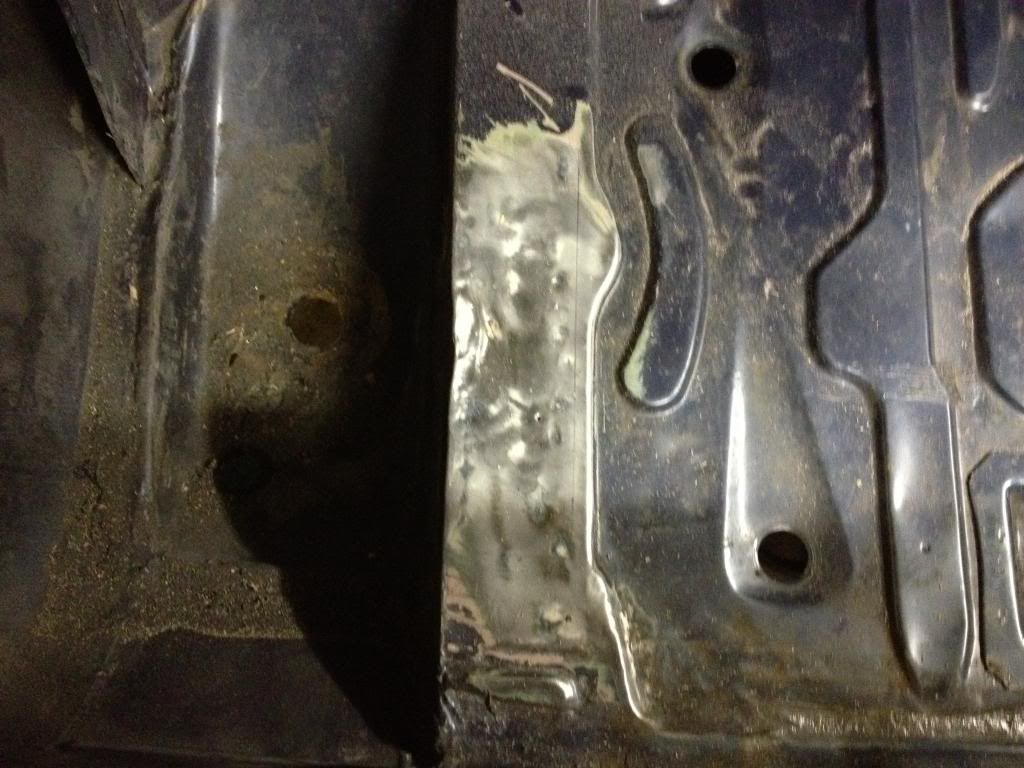
wet down to u pull it and got a new piece
 tacked it in i dont have a photo of the finished repair
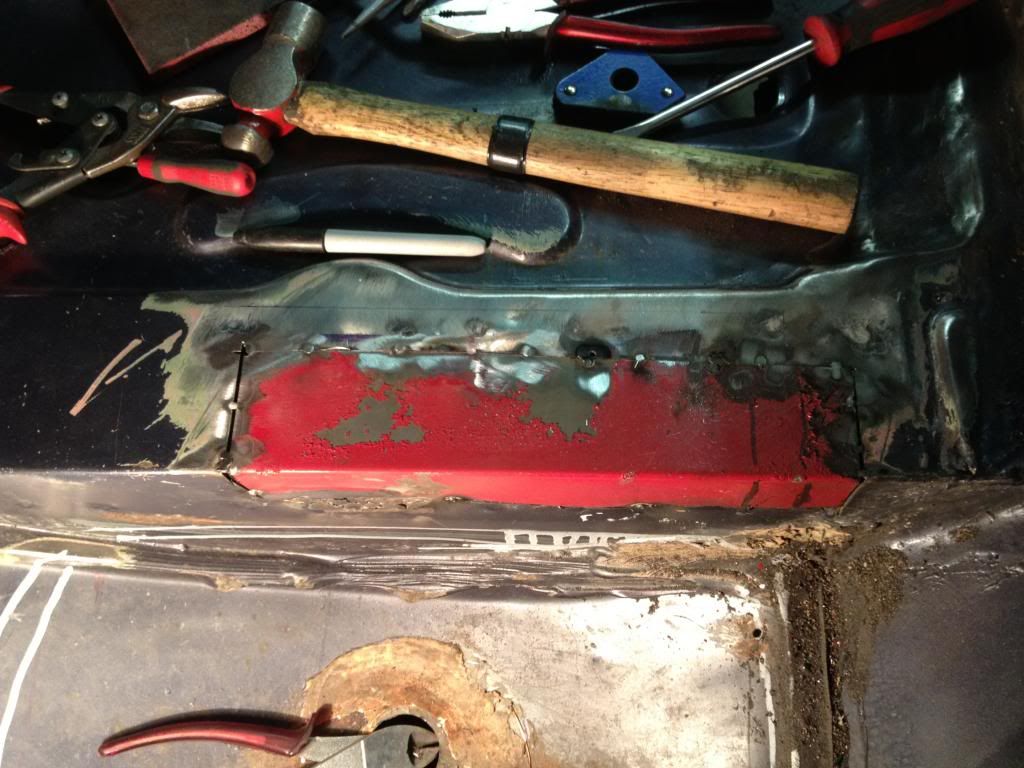
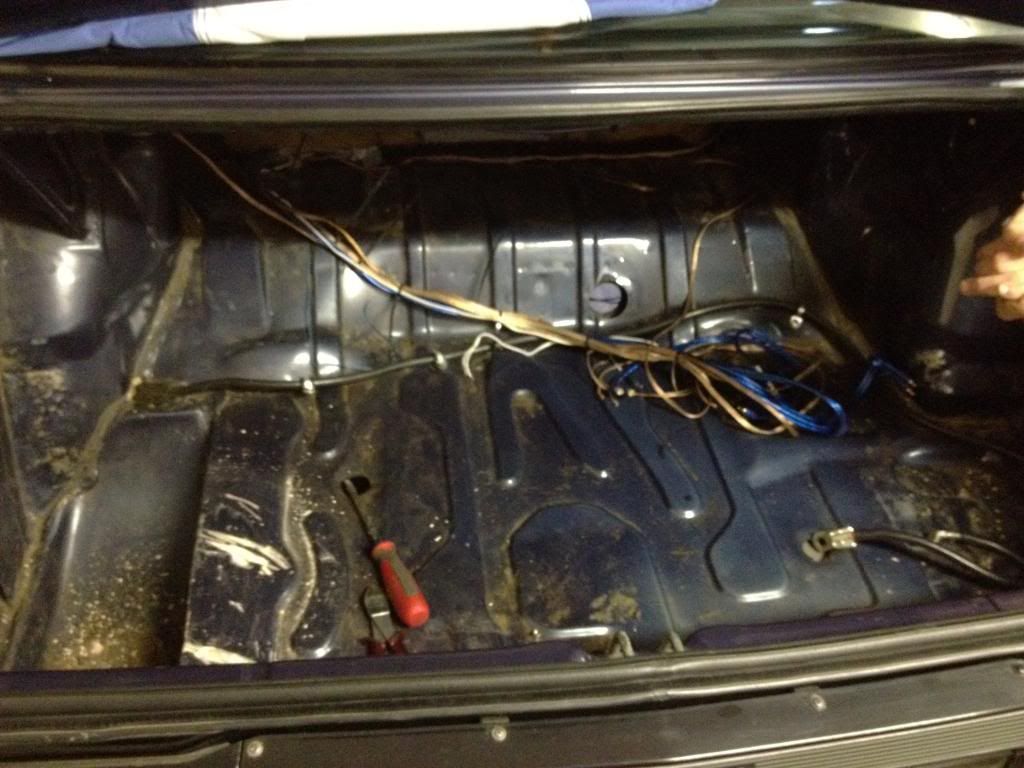
noticed the previous owner cut out some of the boot interior separator for a sound system
again a trip to you pull it

fixed
and dyna mat
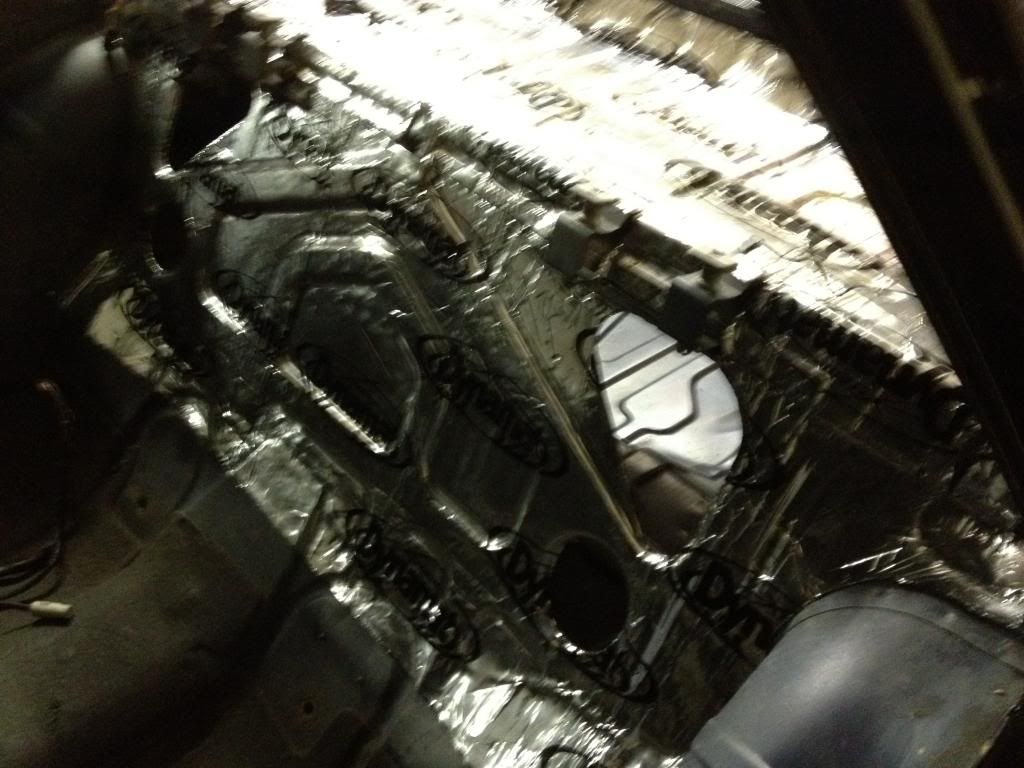 March 2, 2015 at 9:30 pm #1405
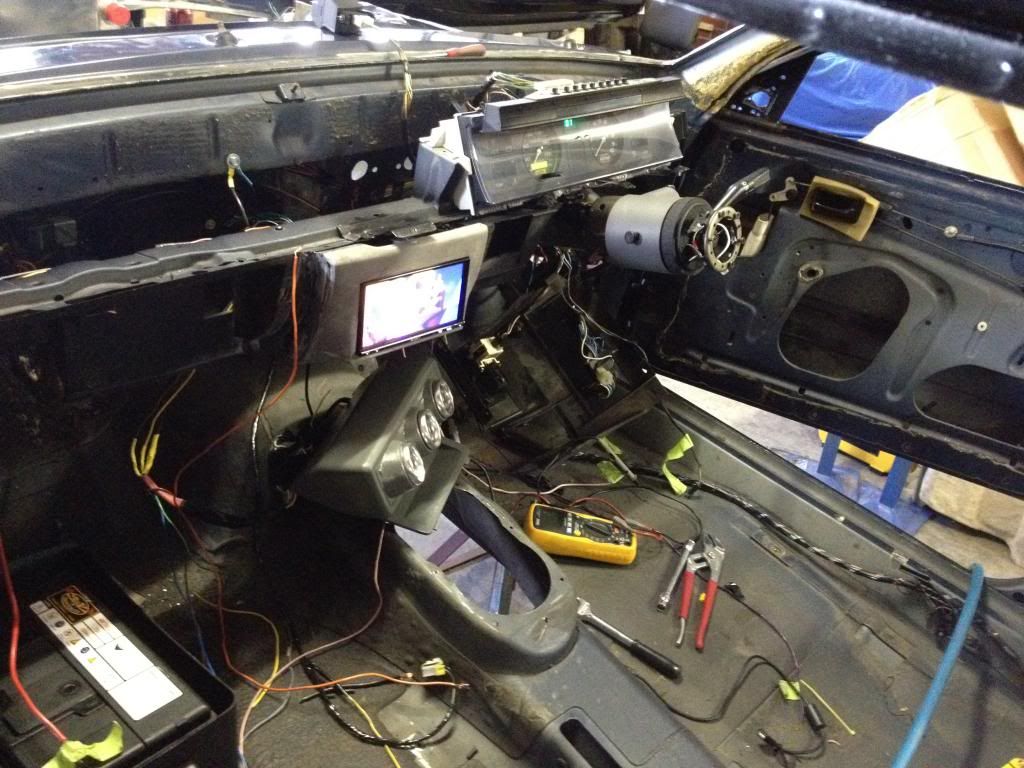
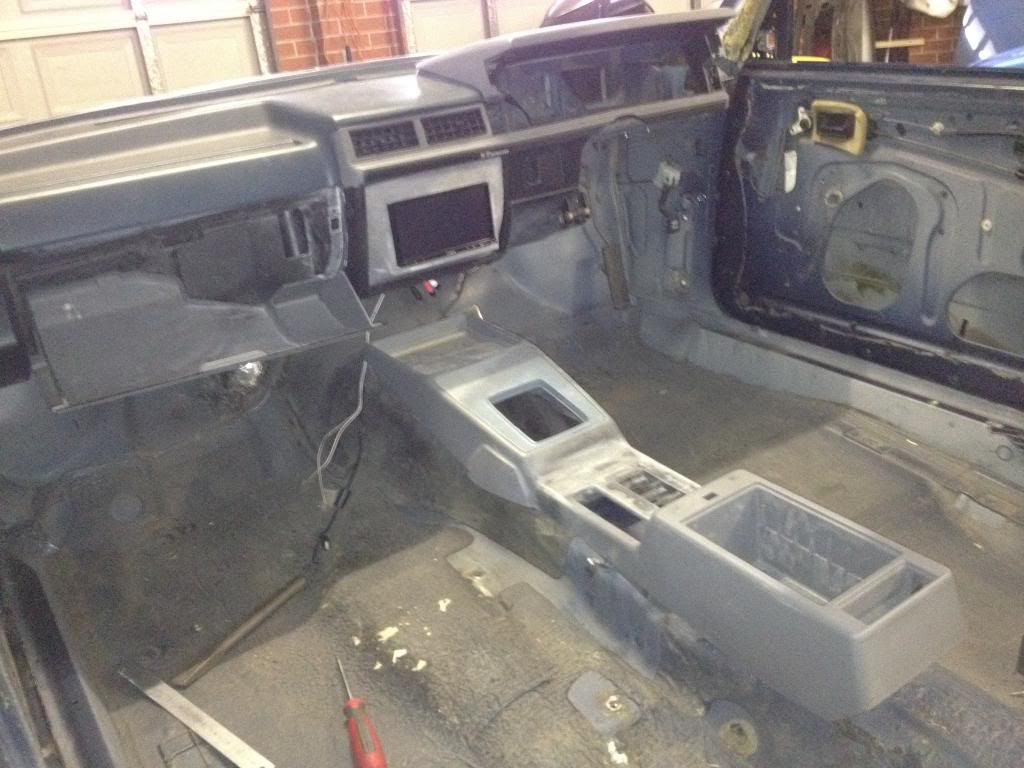
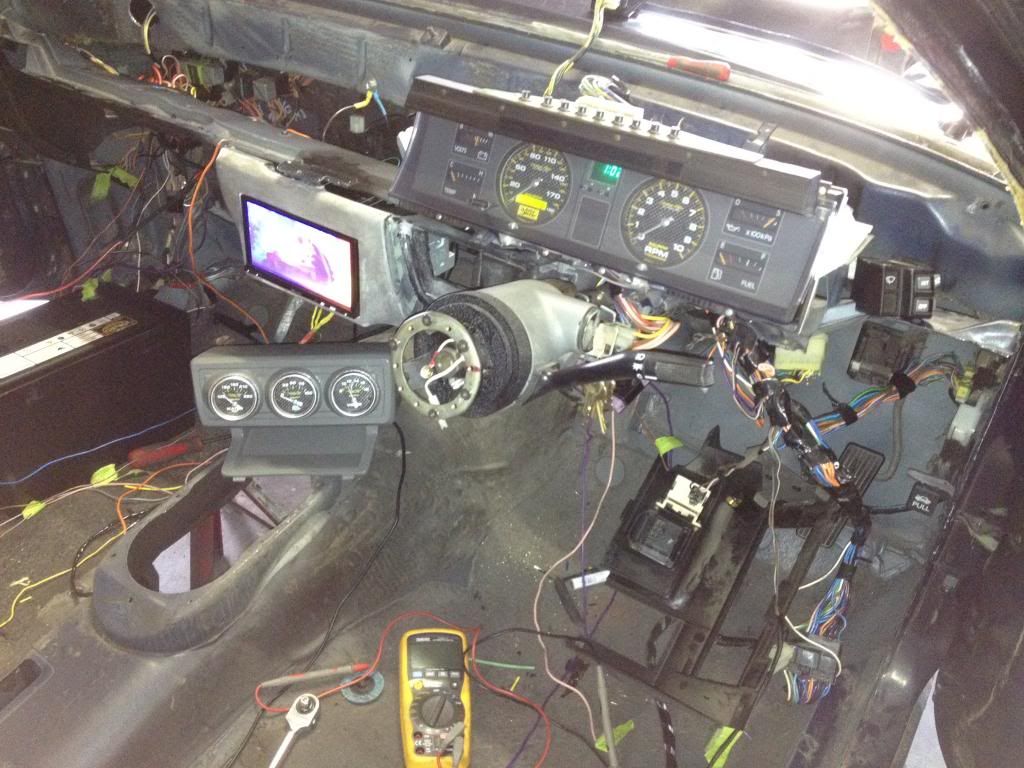
started playing with my custom dash and mock up wiring loom (more on this later)
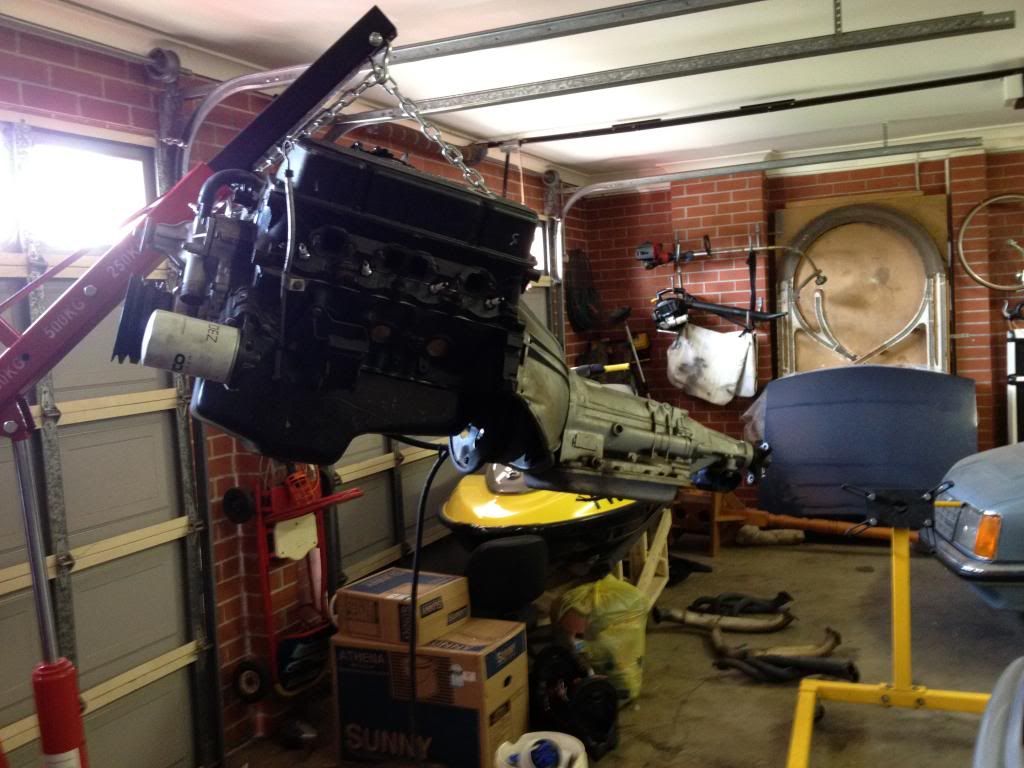
test fitted gear box and extractors everything fits quite well just need to modify sump for more k frame clearance
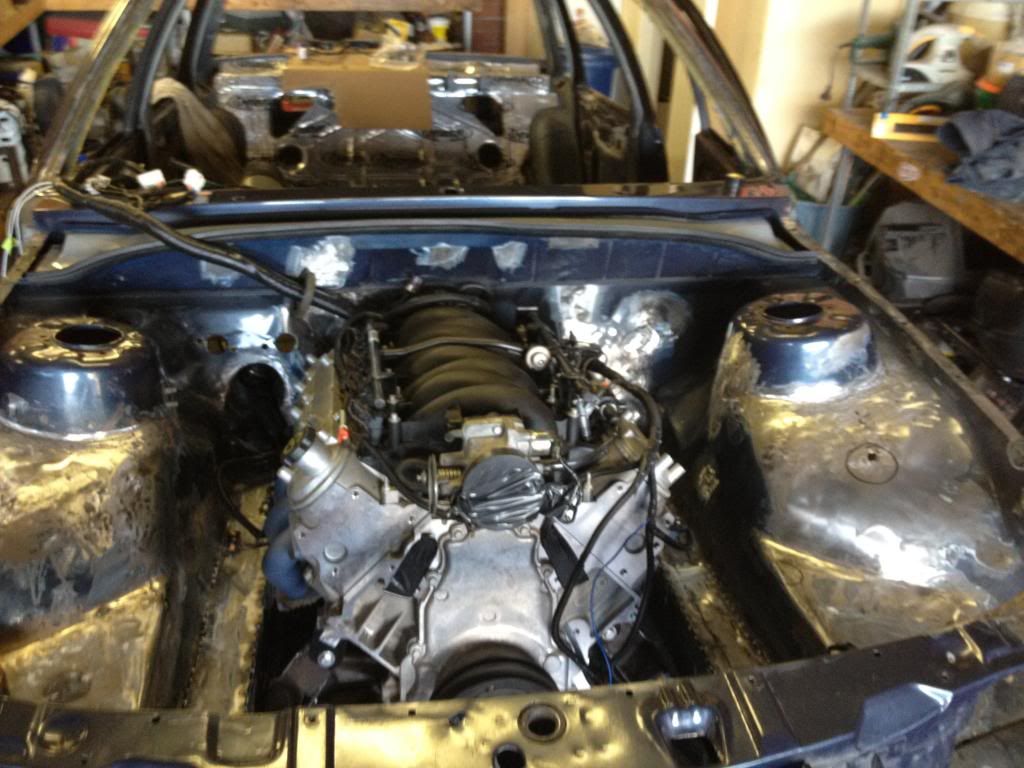
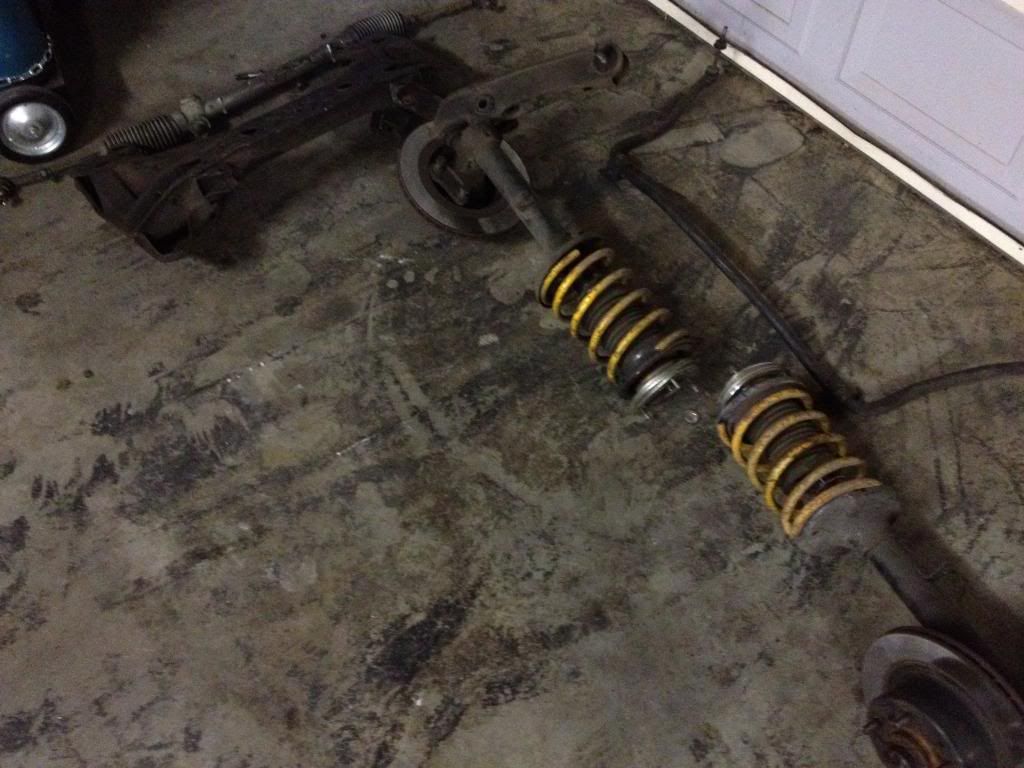
pulled everything back out removed k frame and suspension for over haul
 March 2, 2015 at 9:31 pm #1408
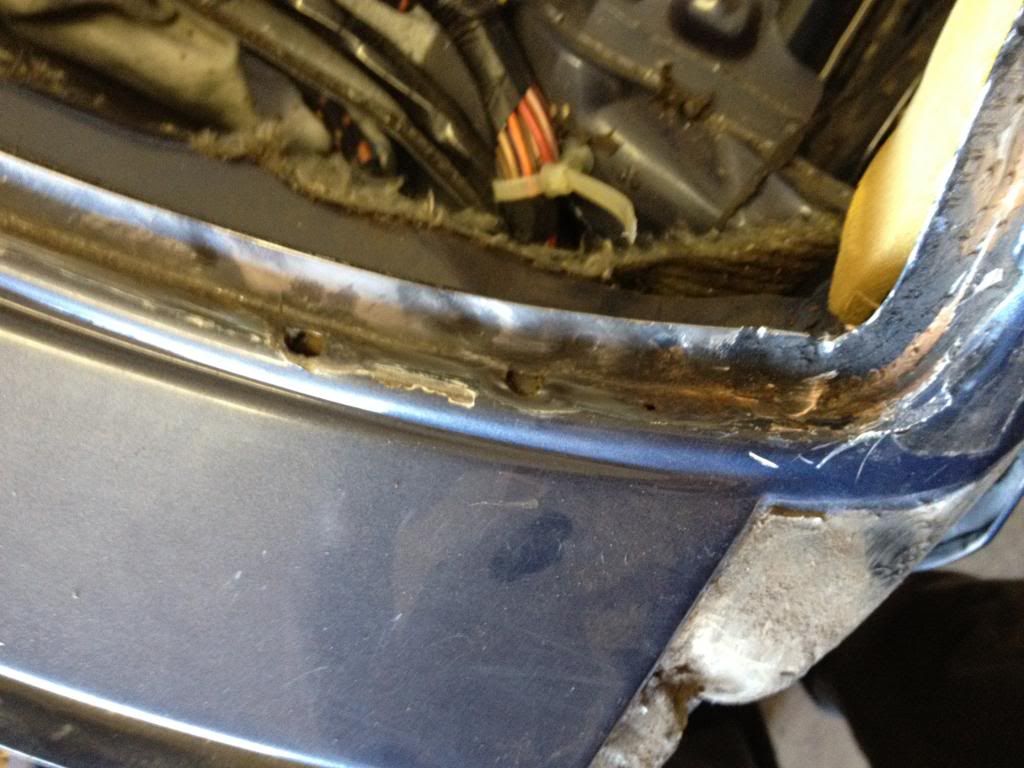
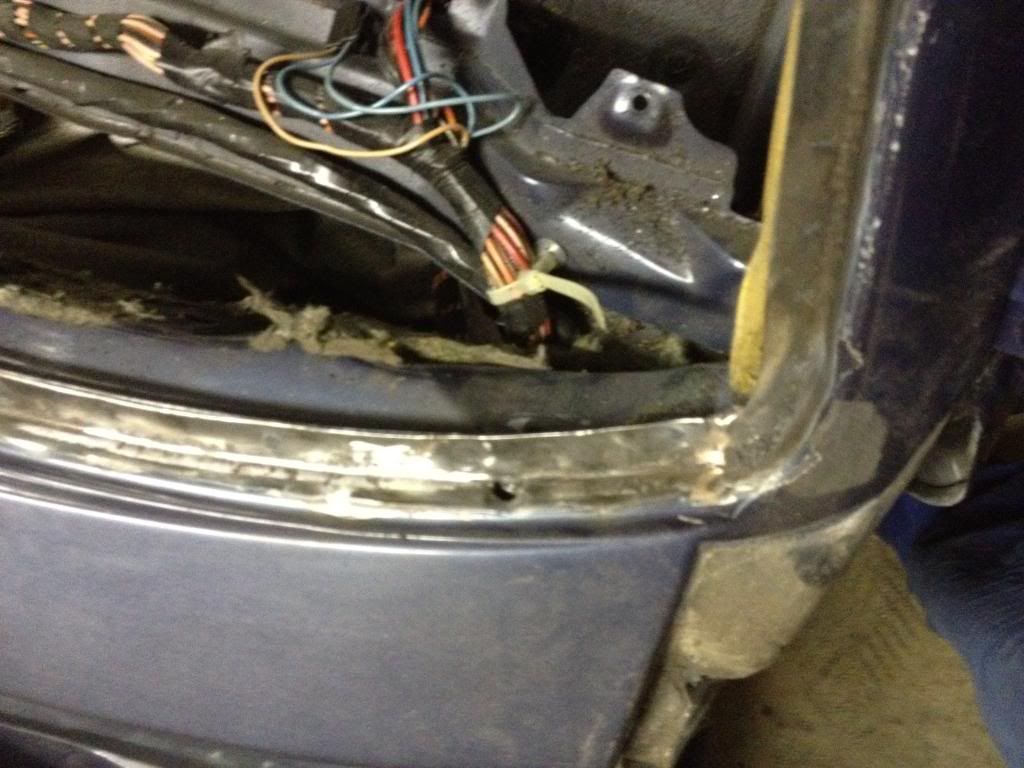
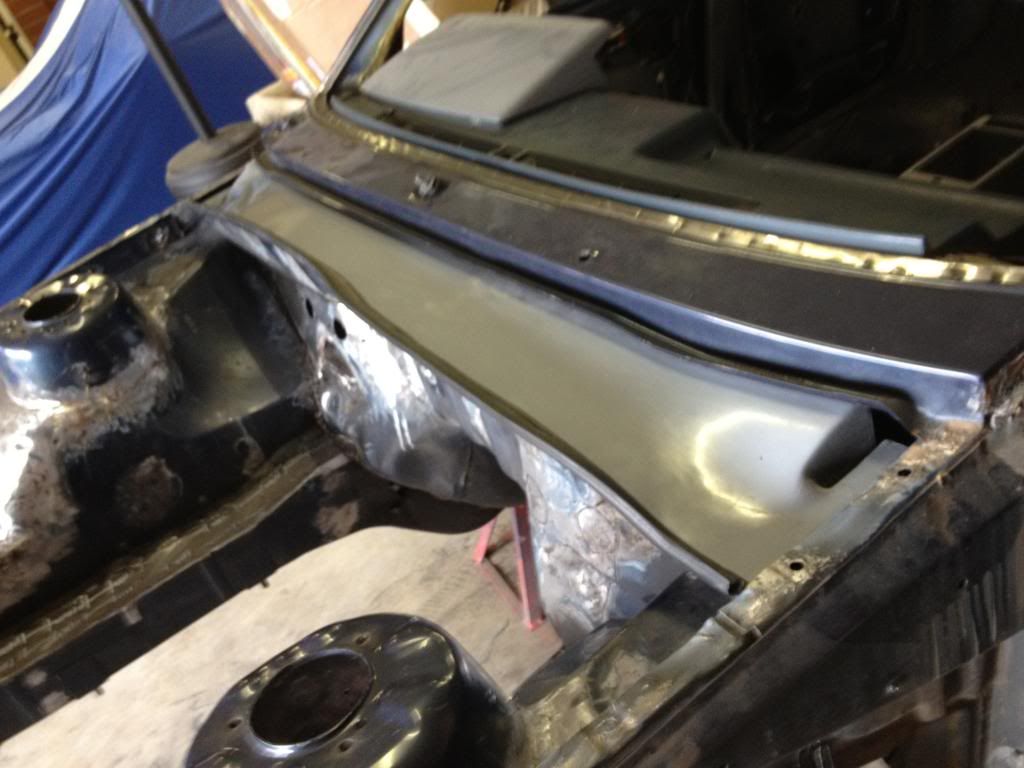
found some small rust under my windscreen (hole on the right is meant to be there as a drain hole the hole on the left isn’t its a rust hole) rust wasnt to bad for a vl
 March 2, 2015 at 9:31 pm #1410
updates
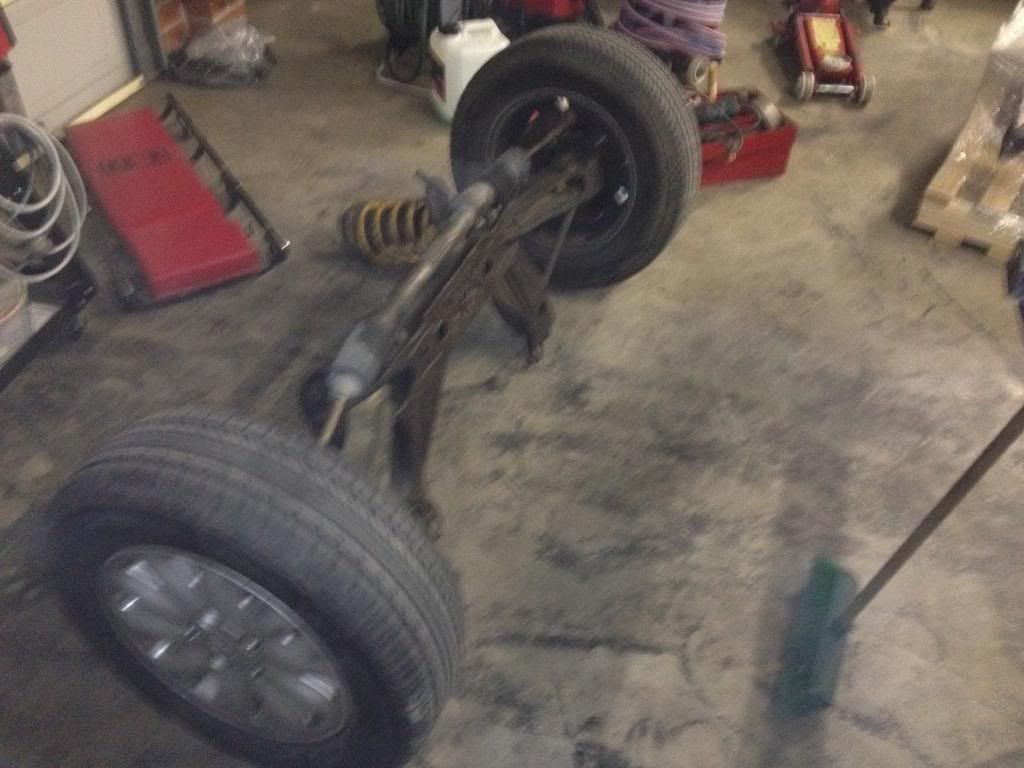
built a trolley to keep the car mobile for the minute also striped the front end and did some work on my nine inch setup today im not running tubs or a hugely modified rear end due to engineering but ive shortened it 1.5 inches (each side) and cleaned up my factory tubs which means i can fit a 19X9″ rim and possibly a 275 tyre i spent most of the day today cleaning up my diff housing i also boxed up my lower control arms to hopefully make it a bit more rigid up back
 March 2, 2015 at 9:32 pm #1413
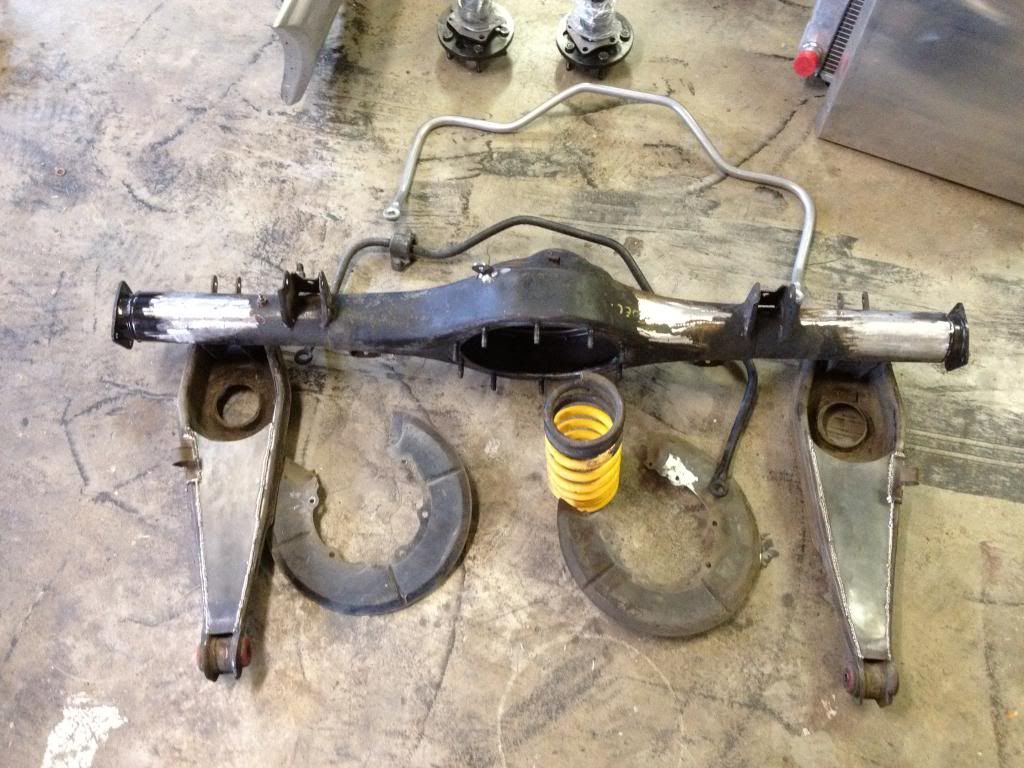
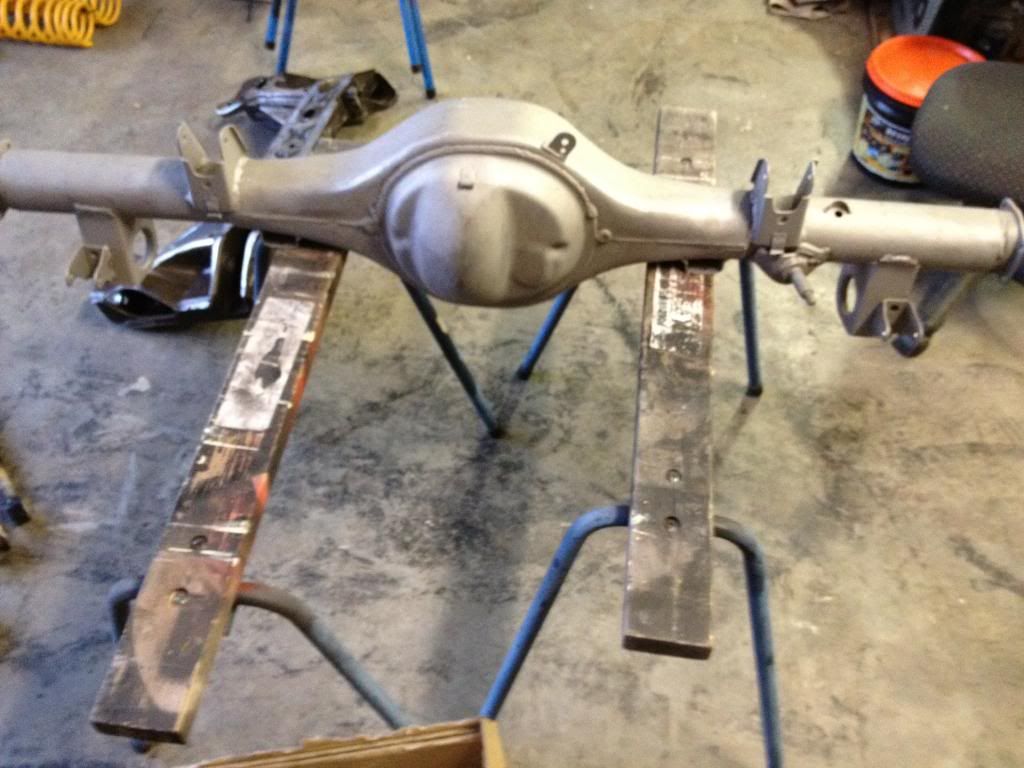
my diff housing is originally out of a f100 unsure of the year housing is cleaning up ok but ill get it media blasted through the week
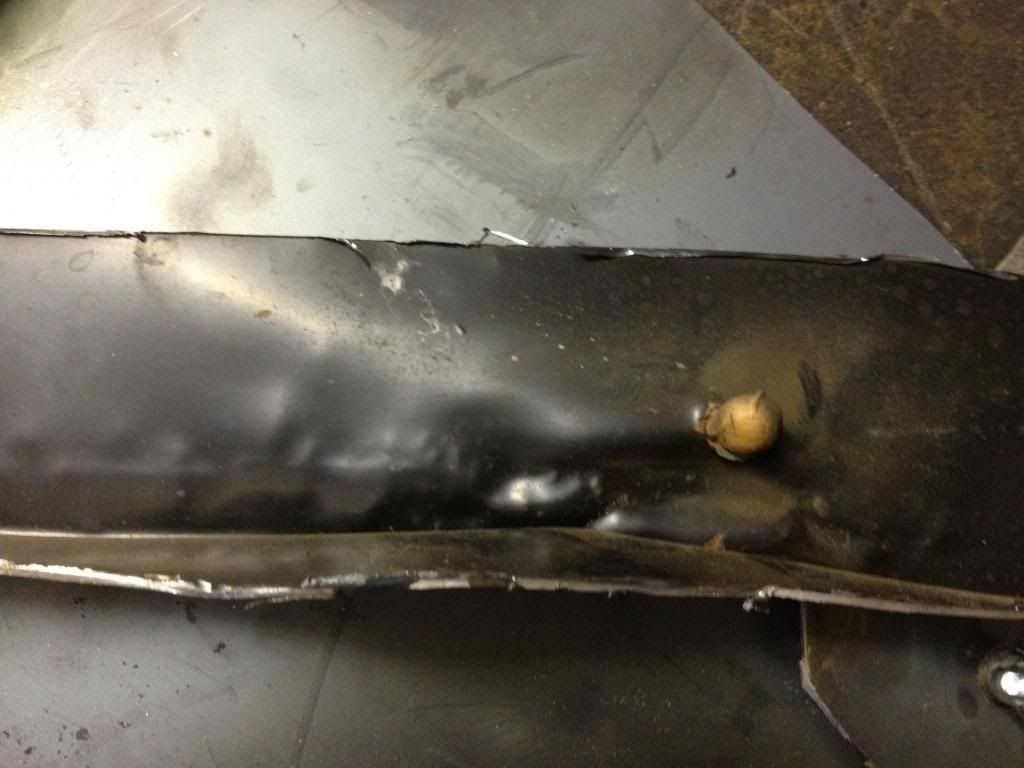
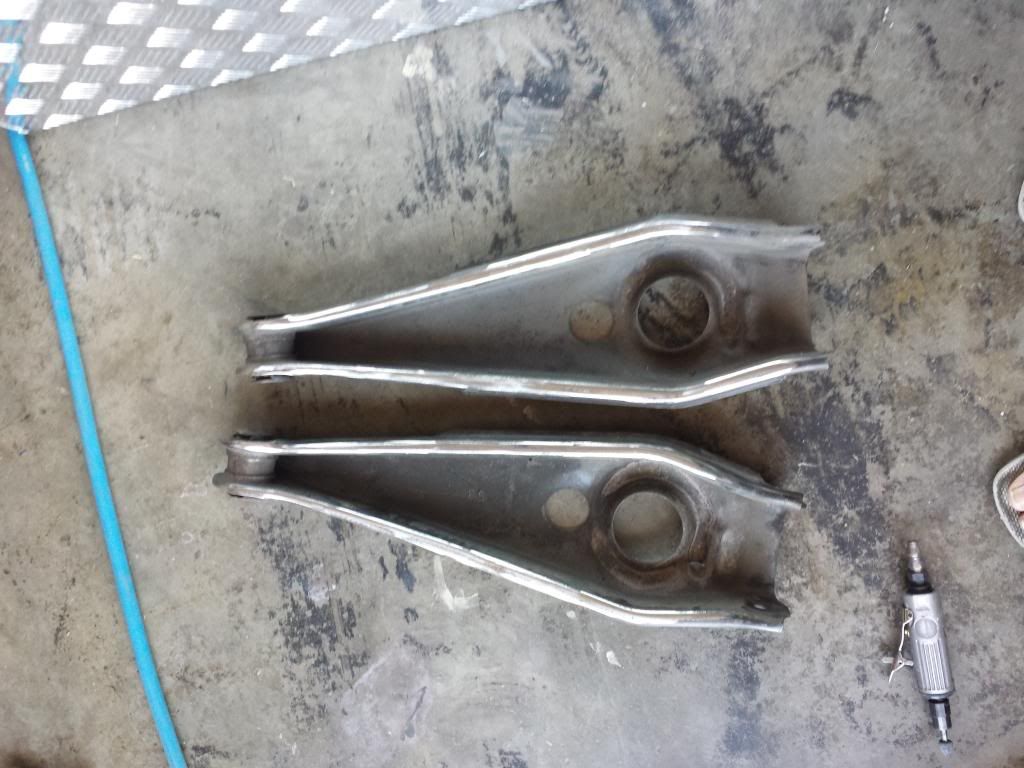
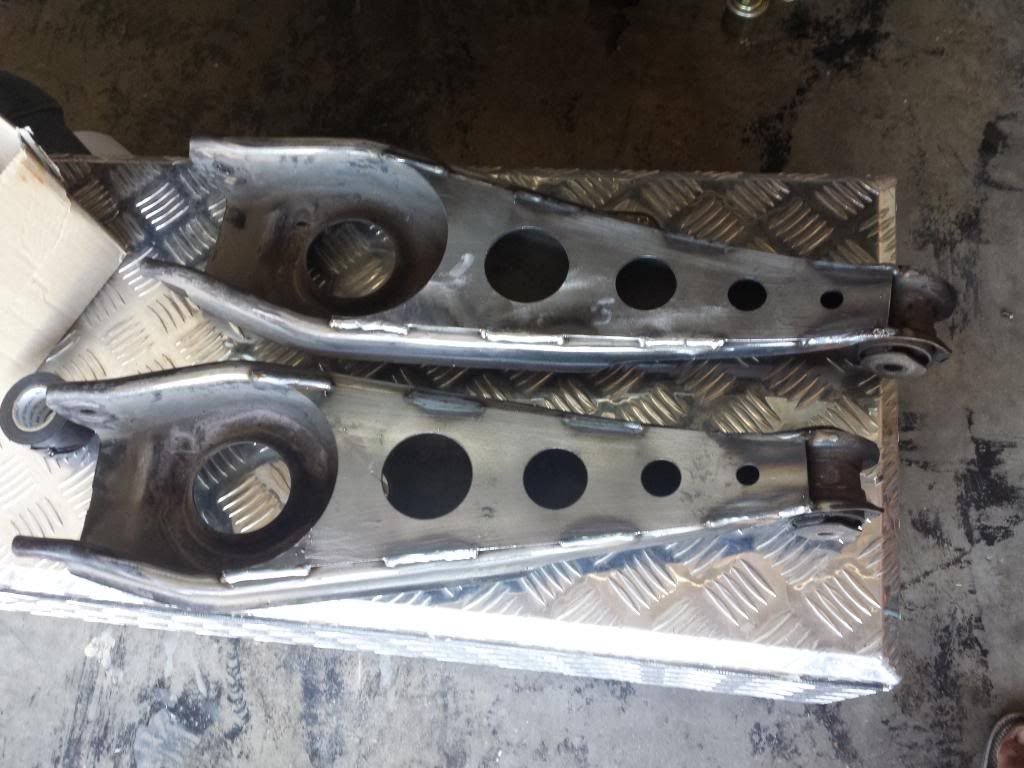
March 2, 2015 at 9:33 pm #1415wasnt happy with my trailing arms so i started from scratch had to use another set of arms i had laying around there off a vk so they had a hand brake cable brack on them which i had to get off

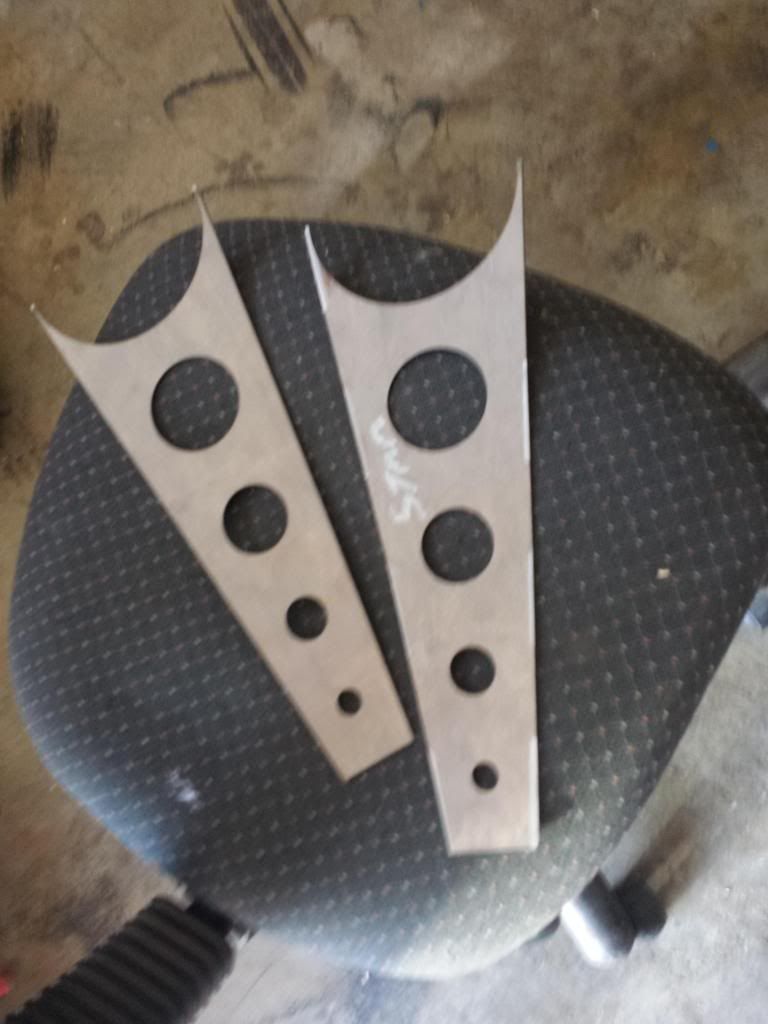
got some plates laser cut this time was so much easier than hand cutting also looks heaps neater
welded in
 March 2, 2015 at 9:33 pm #1416
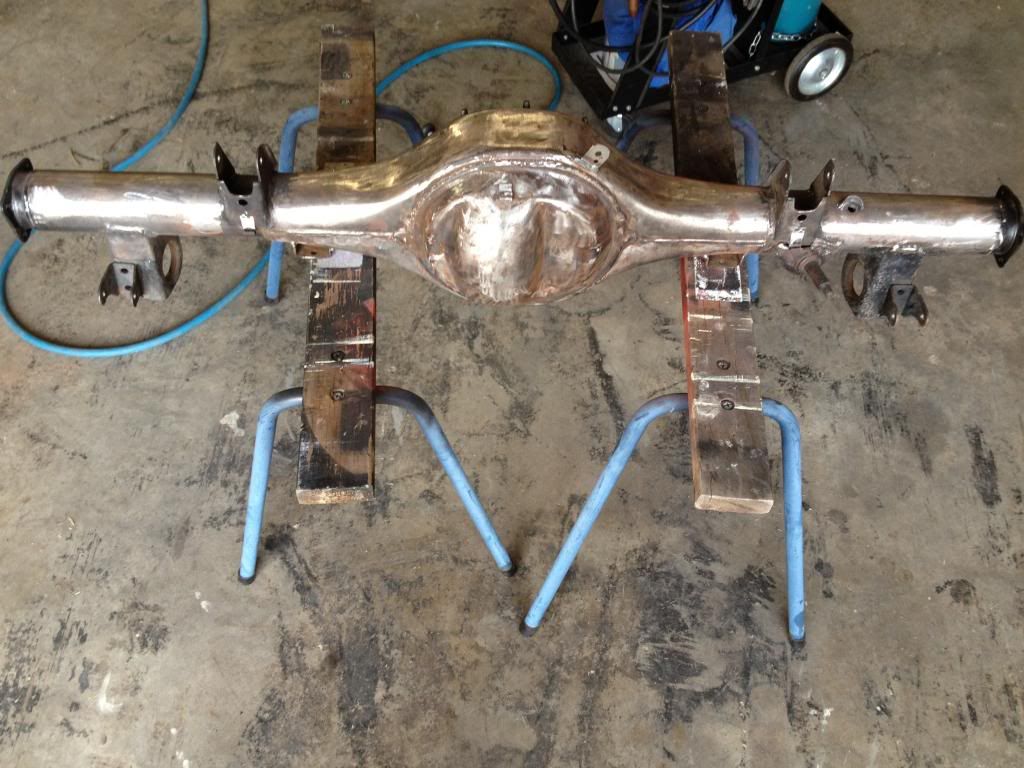
and got my diff back from media blasting aswell came up pretty good
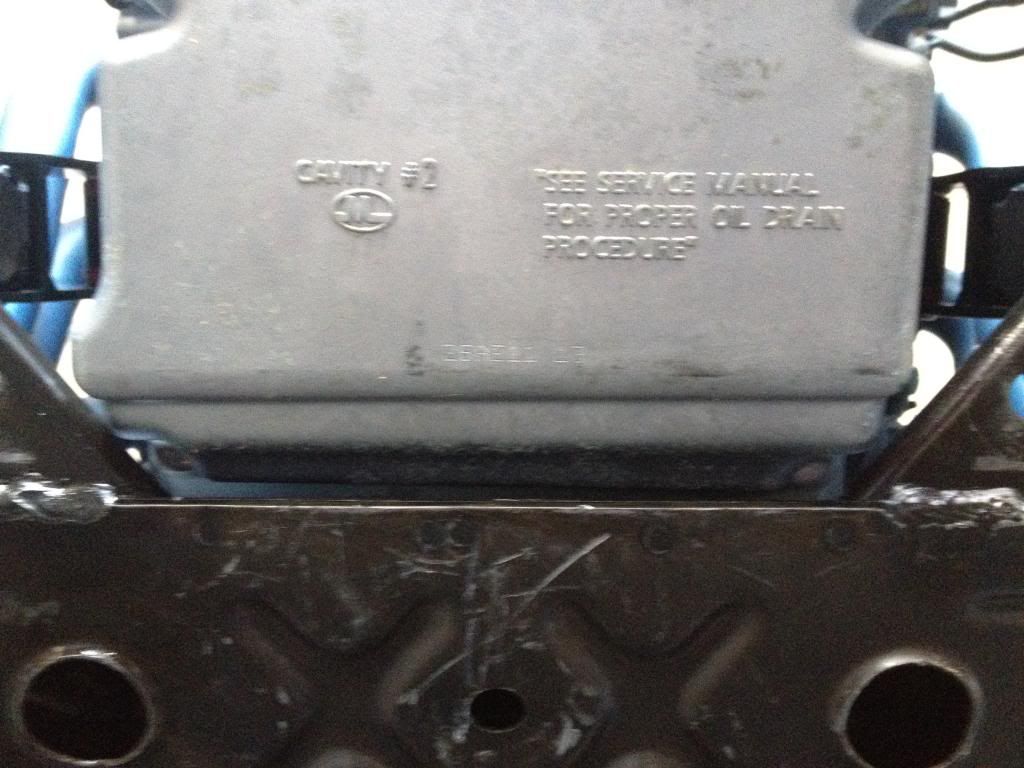
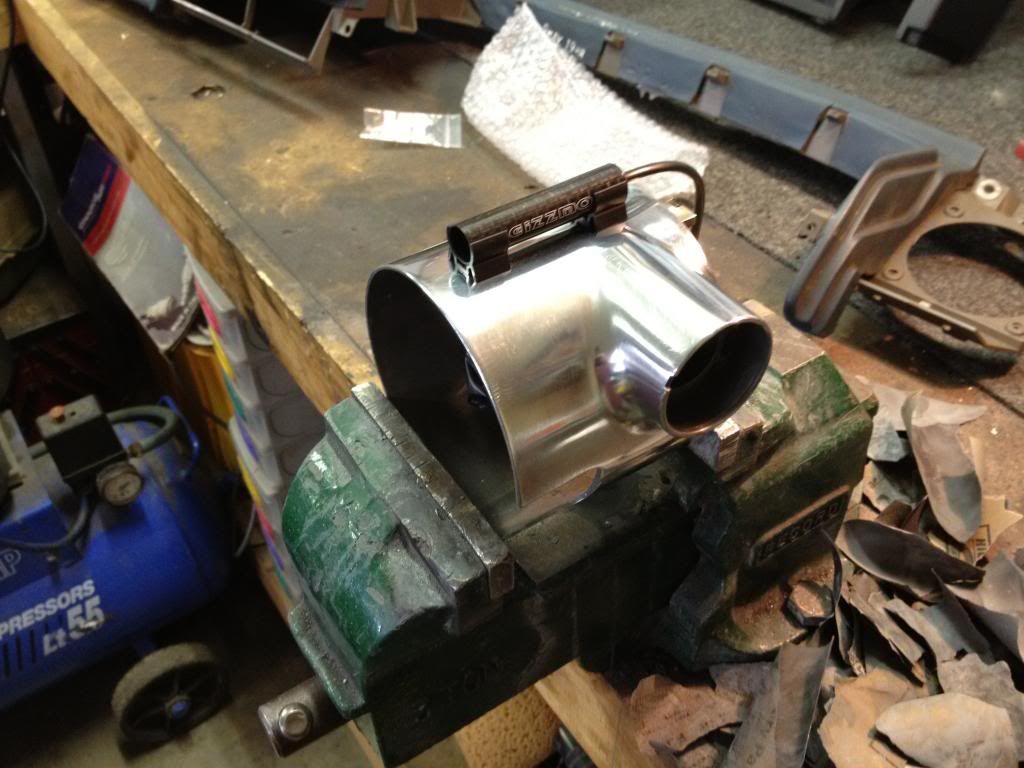
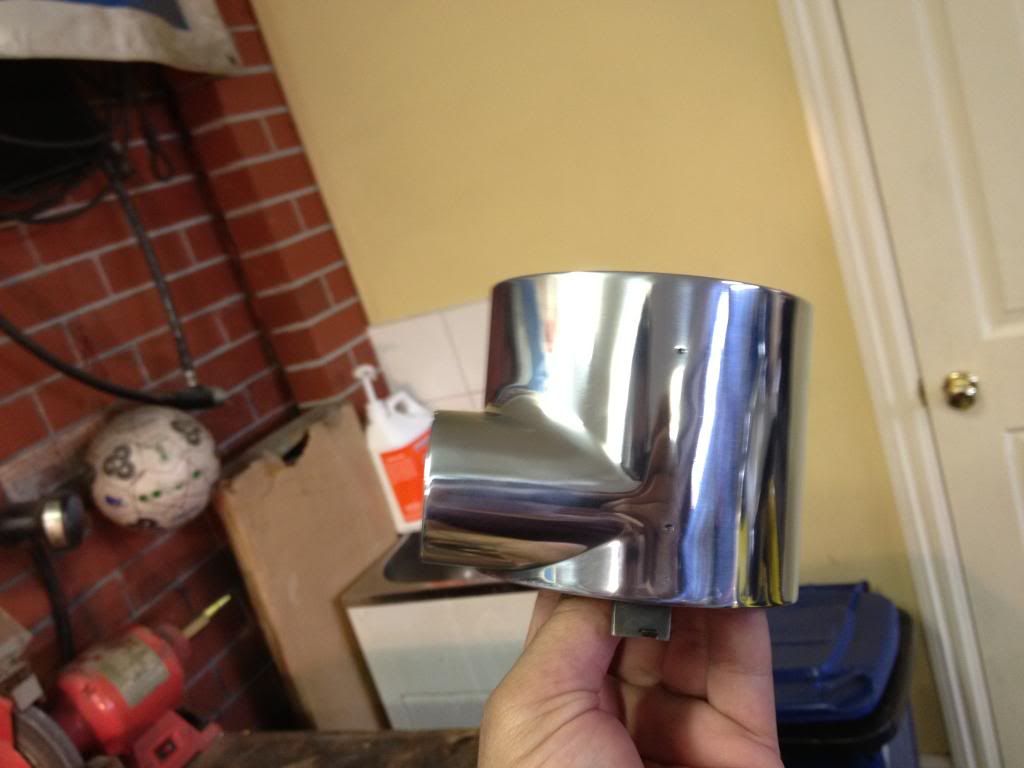
fogot to add this to the thread start i was playing around with a shift light idea i disassembled my steering coloum to solid mount my shift light if you haven’t seen these gizzmo shift lights before there such a sweet piece of gear carbon fiber super light and don’t take up much space perfect for where i want to put it. i also polished my steering coloum the visible portion anyway came up pretty nice :D.
 March 2, 2015 at 9:34 pm #1417
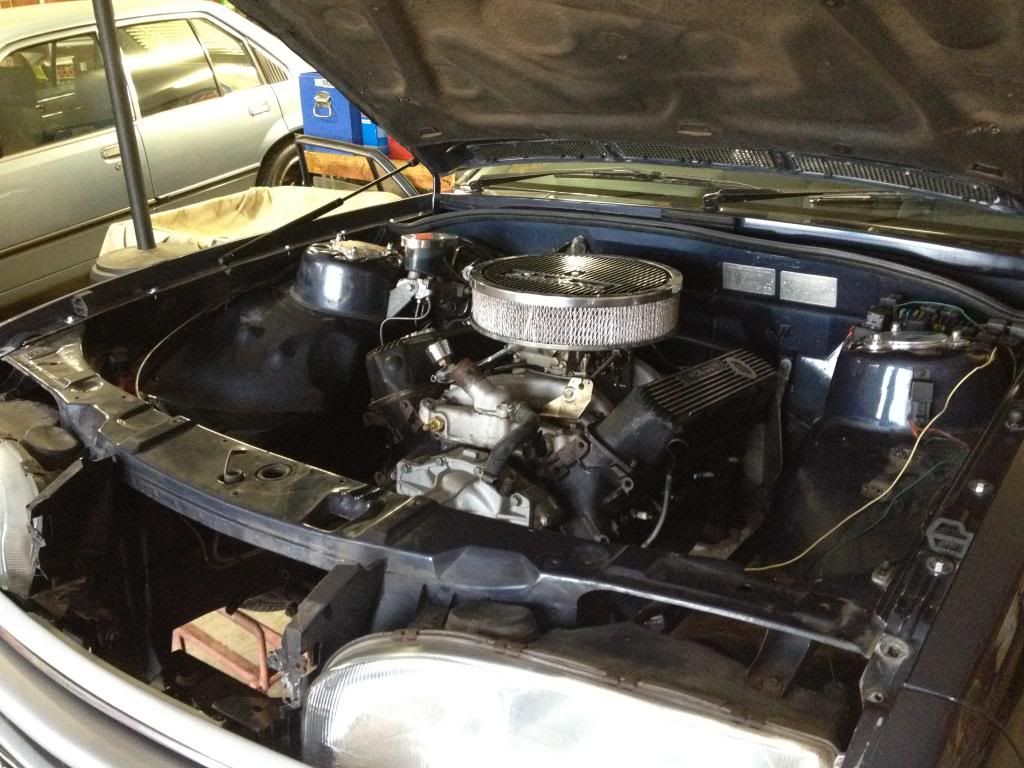
so i decided to move my coils off the engine and into the plenum to cover up the coils i got a plenum cover off lowe fabrications a while ago finall test fitted it
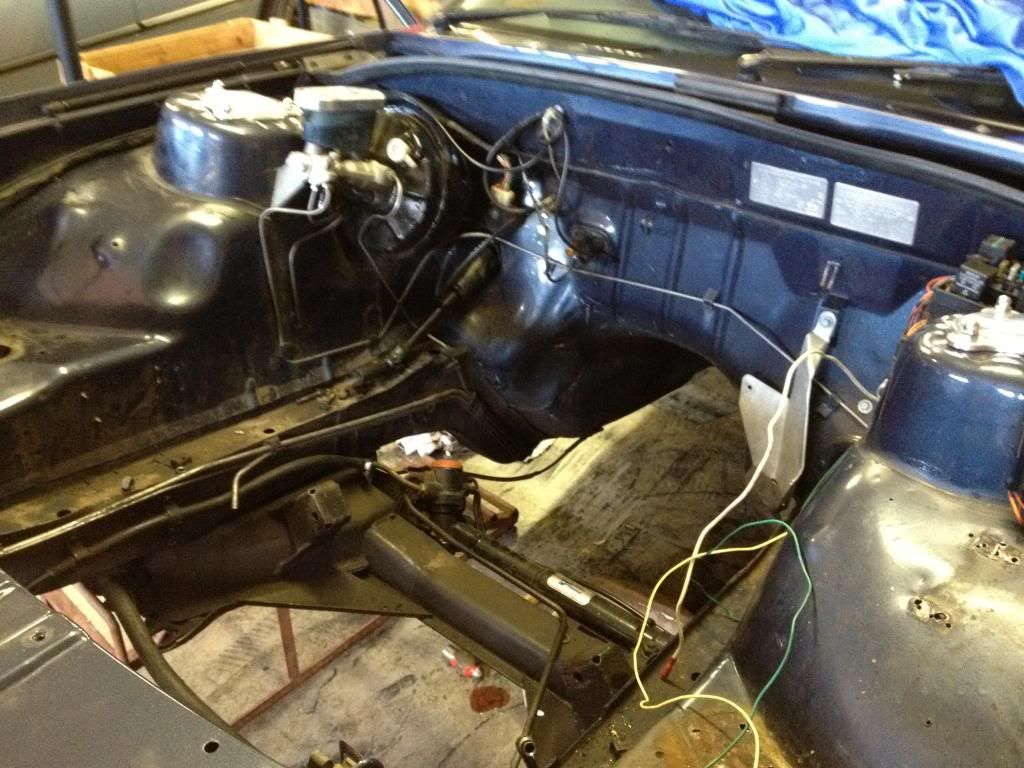
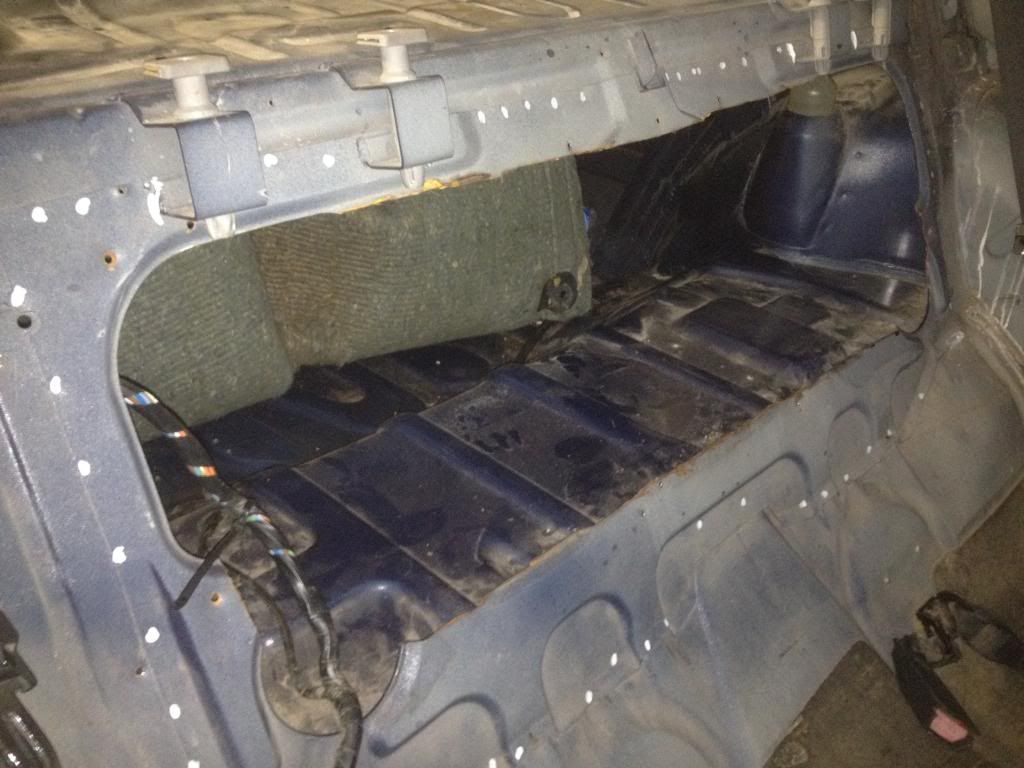
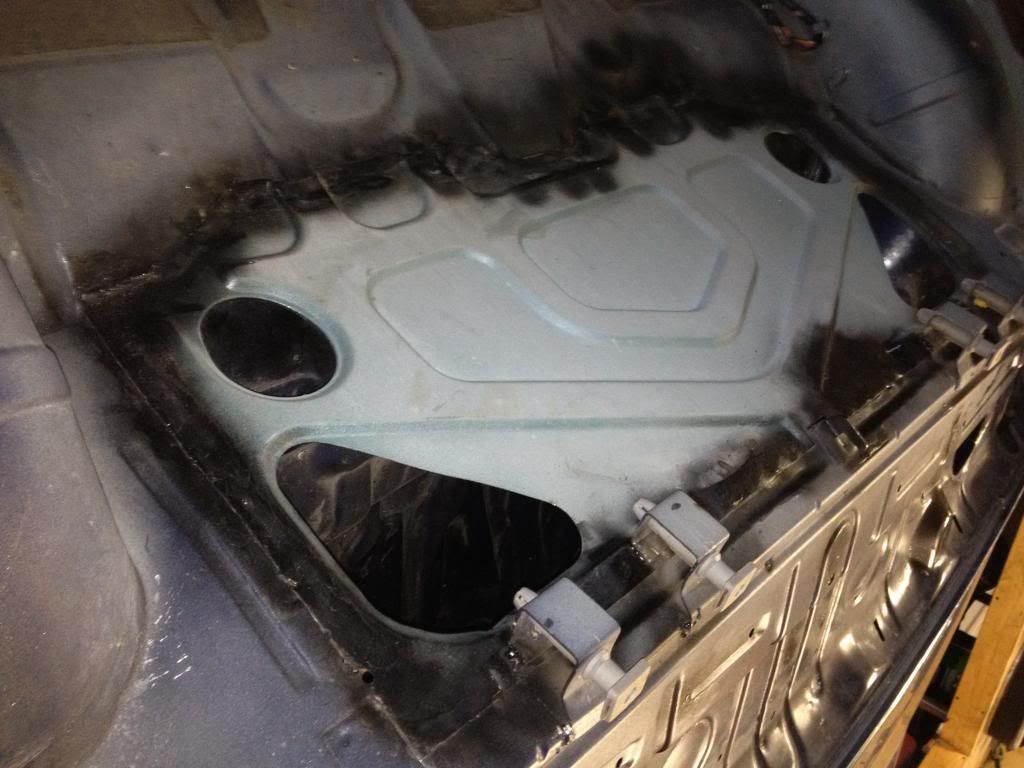
also striped the shell bare and sent it to the blasters to get engine bay and the outside of the windscreens cleaned up
 March 2, 2015 at 9:34 pm #1418
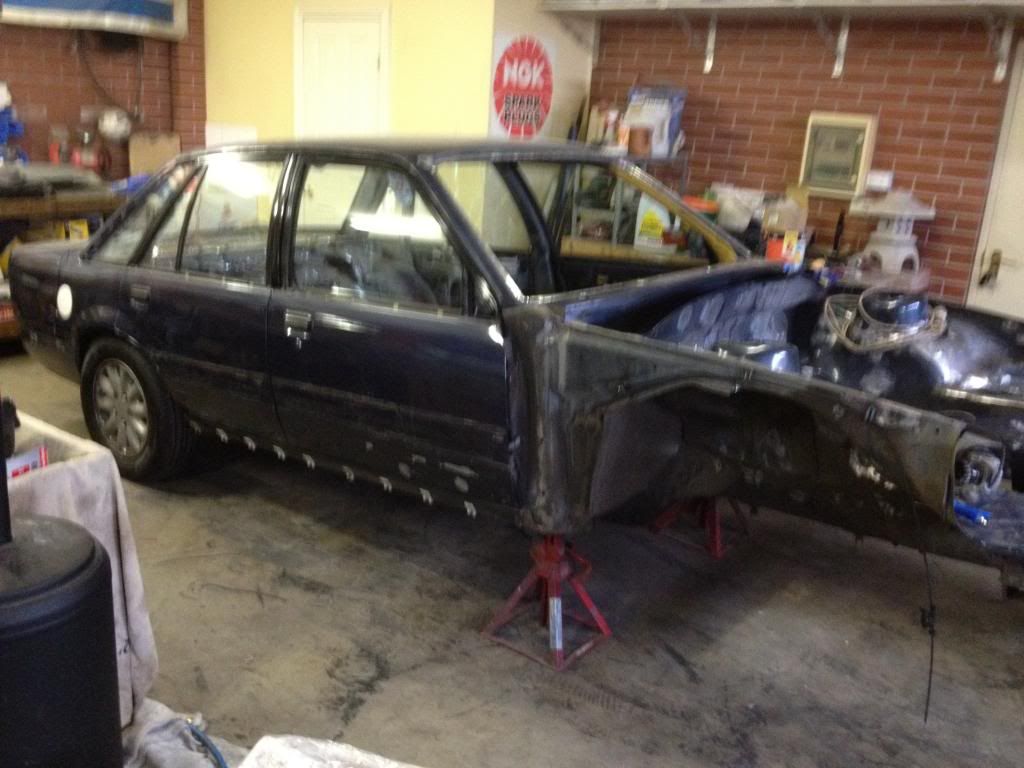
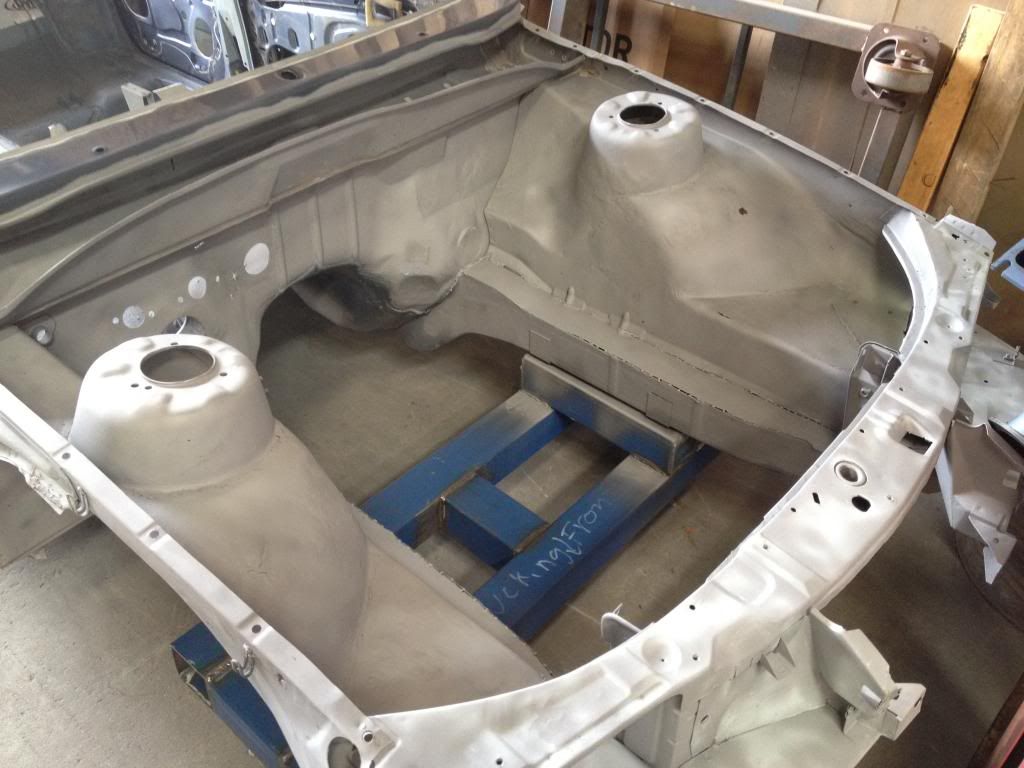
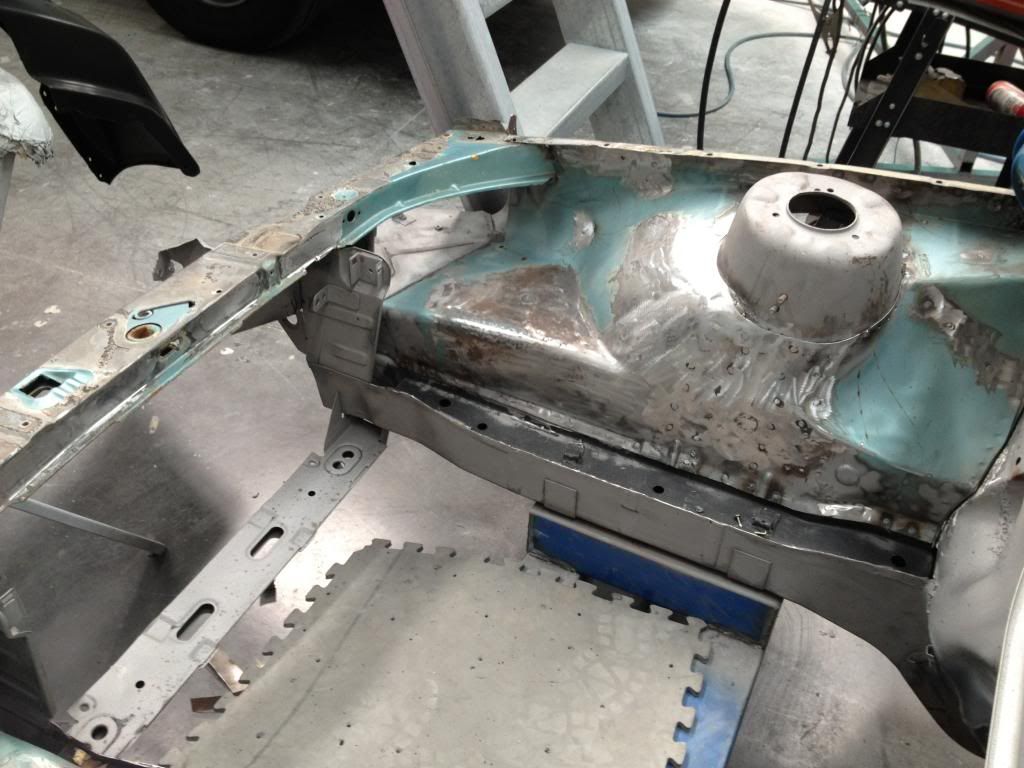
update got the shell to a mates shop to get some of the pannel work done had a rather large talk about the bay decided that the sheet metal was rough due to previous repairs so then this happened
bought another low km shell for new strut skirts so they will now be replaced
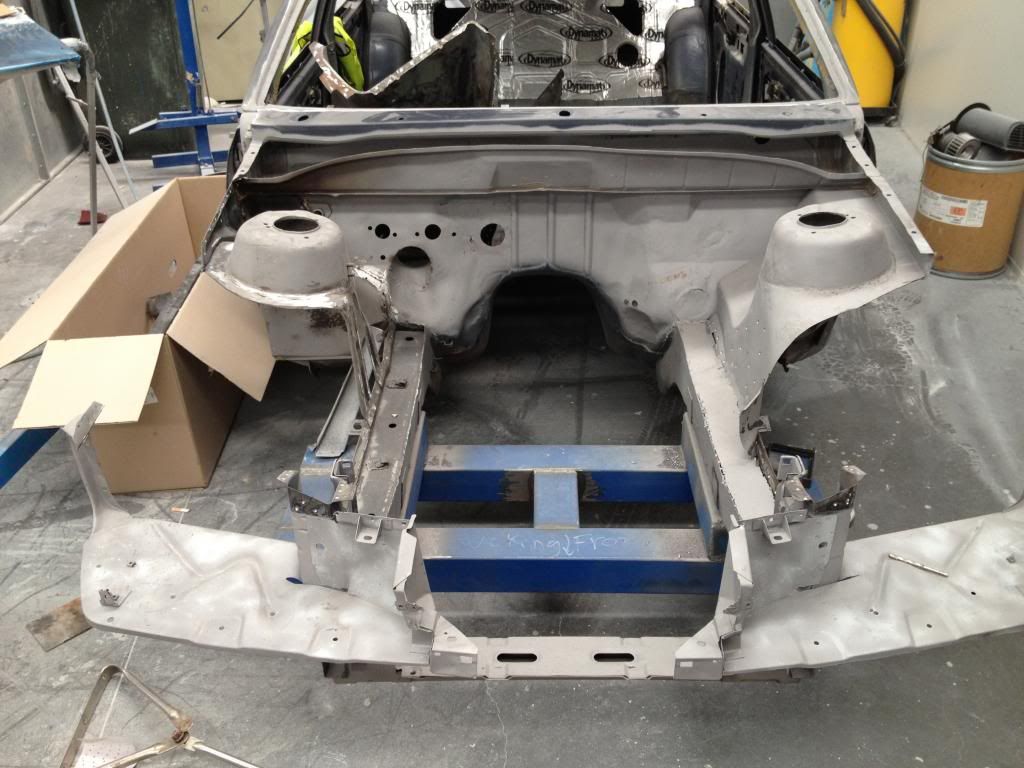
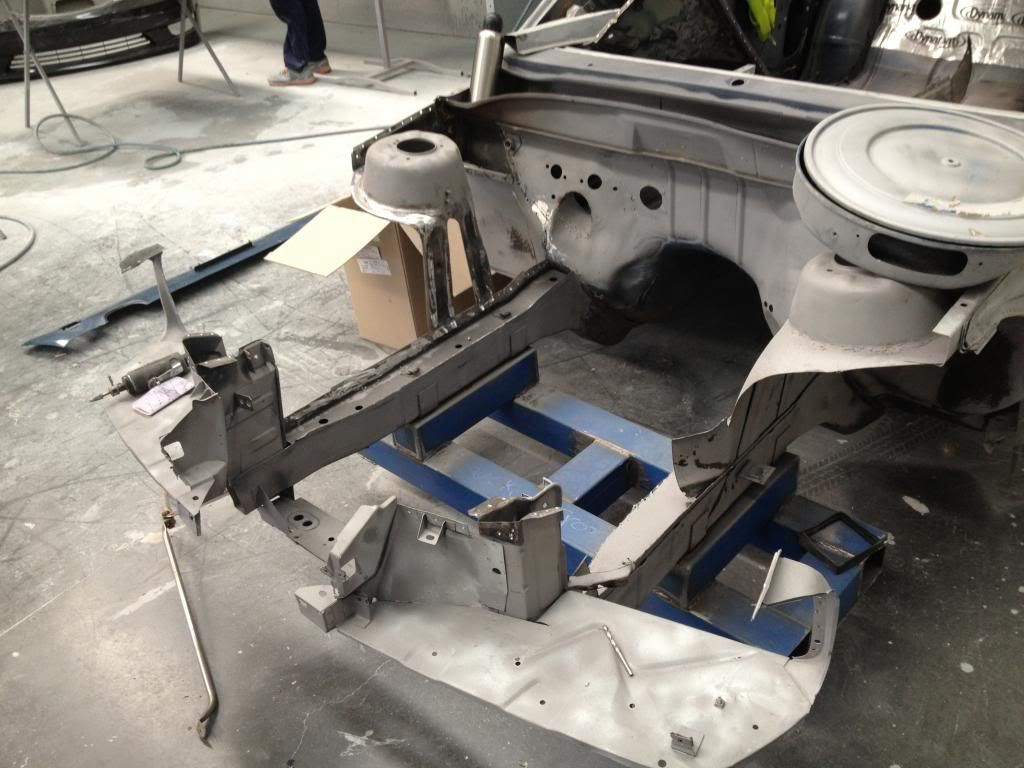
March 2, 2015 at 9:35 pm #1419updates finished getting the front spot welded back in today and its coming up great was going to get it blasted again but decided to work with this as a base while the strut skirts were removed we smoothed out any unwanted defects took a few hours to get it to here
 March 2, 2015 at 9:35 pm #1421
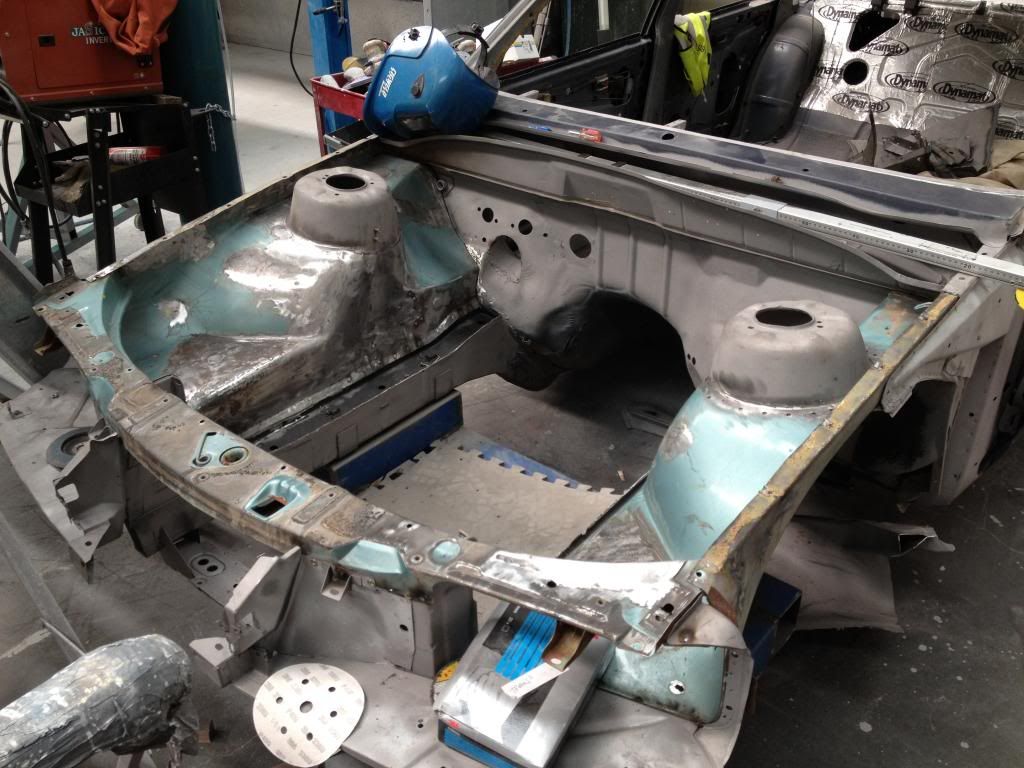 March 2, 2015 at 9:36 pm #1422
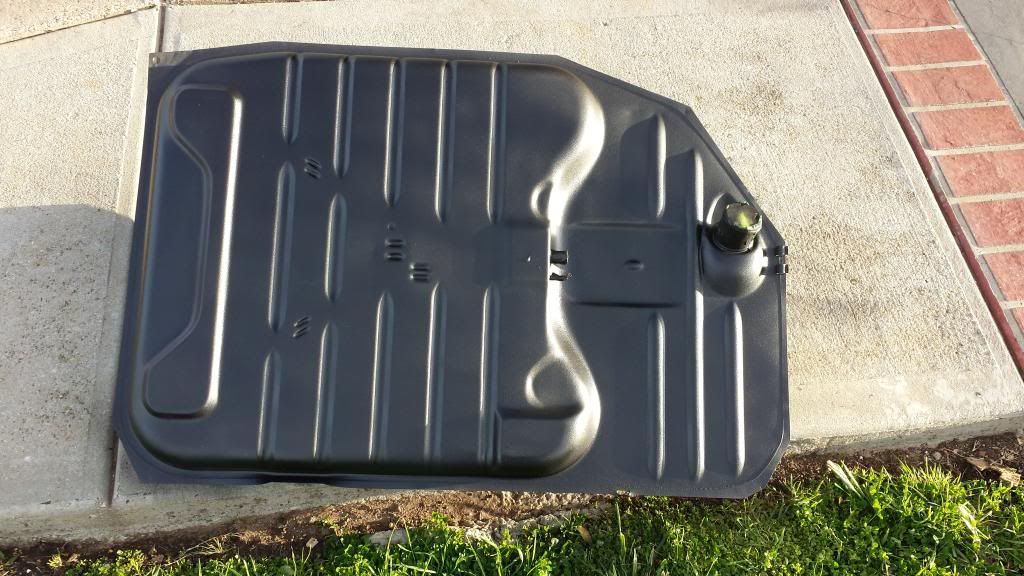
spent a the last couple of days cleaning up the tank heres the results i bare metalled it

i also sound deadened the top of the tank where it contacts the body
 March 2, 2015 at 9:36 pm #1426
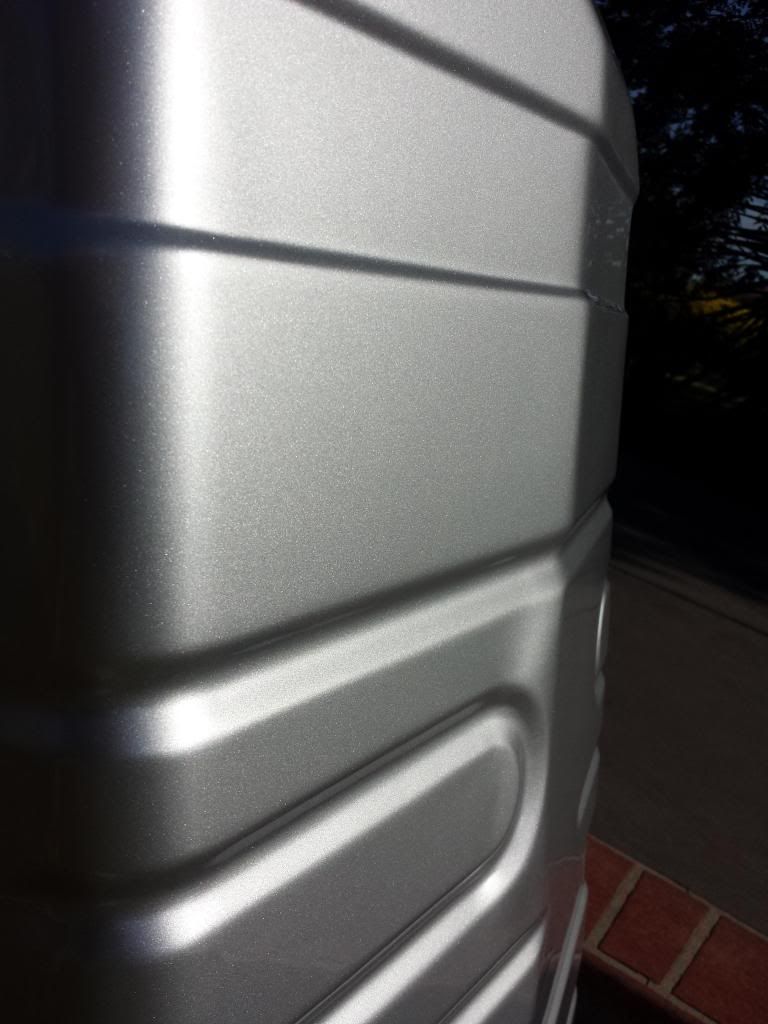
the tank high filled and all painted up came up pretty sweet colour coded it to the wheel centres
 March 2, 2015 at 9:37 pm #1427
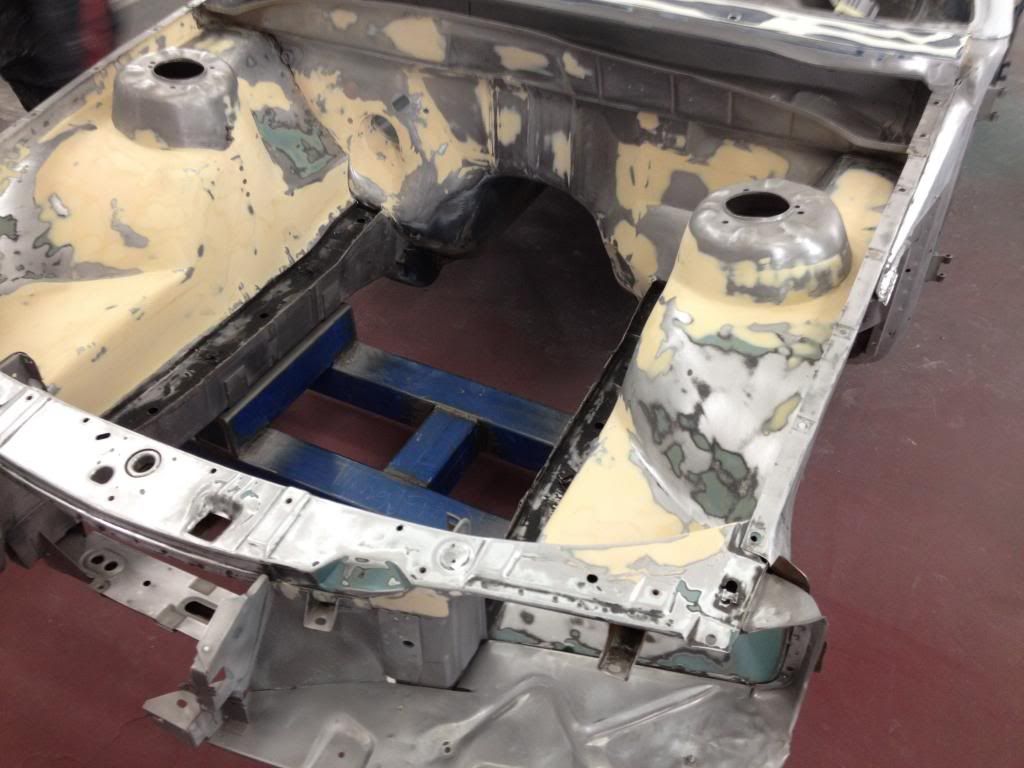
small progress on the engine bay got everything to a point its ready for high fil all the bigger high lows filled looks like there is a bit of filler but its only 1mm at the thickest
 March 2, 2015 at 9:37 pm #1428
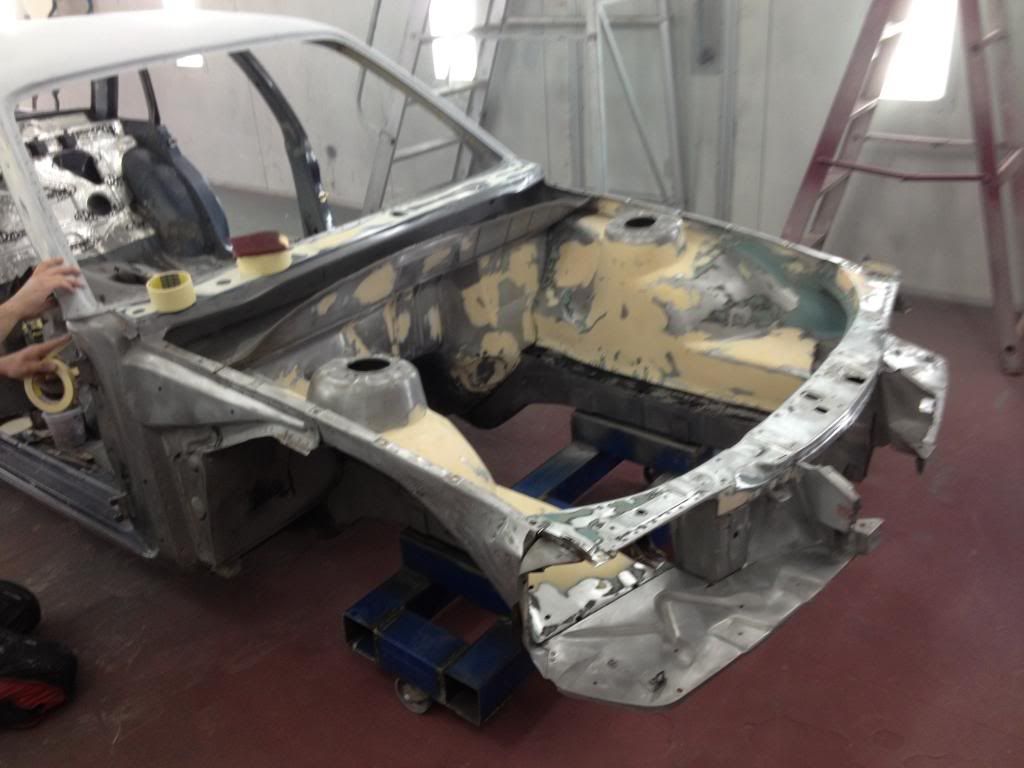 March 2, 2015 at 9:37 pm #1429
VRSenator065Participant- Adelaide SA
- VR Senator LSx454 1960 Kombi (project) 1921 Nash Hot Rod (future project)
View build HERE
Posts: 5 777
Mate, seriously awesome, love a tuff VL. Nice.
March 2, 2015 at 9:38 pm #1430 March 2, 2015 at 9:38 pm #1431
-
This topic was modified 9 years, 1 month ago by
-
AuthorPosts


You must be logged in to reply to this topic.
