
Home›Forums›Technical – General›General How Tos›Pro Ratchet Install with Drop Box and Reverse Lever Chg
This topic contains 9 replies, has 3 voices, and was last updated by ![]() VRSenator065 5 years, 6 months ago.
VRSenator065 5 years, 6 months ago.
-
AuthorPosts
-
September 25, 2018 at 11:36 am #27193

VRSenator065Participant- Adelaide SA
- VR Senator LSx454 1960 Kombi (project) 1921 Nash Hot Rod (future project)
View build HERE
Posts: 5 777
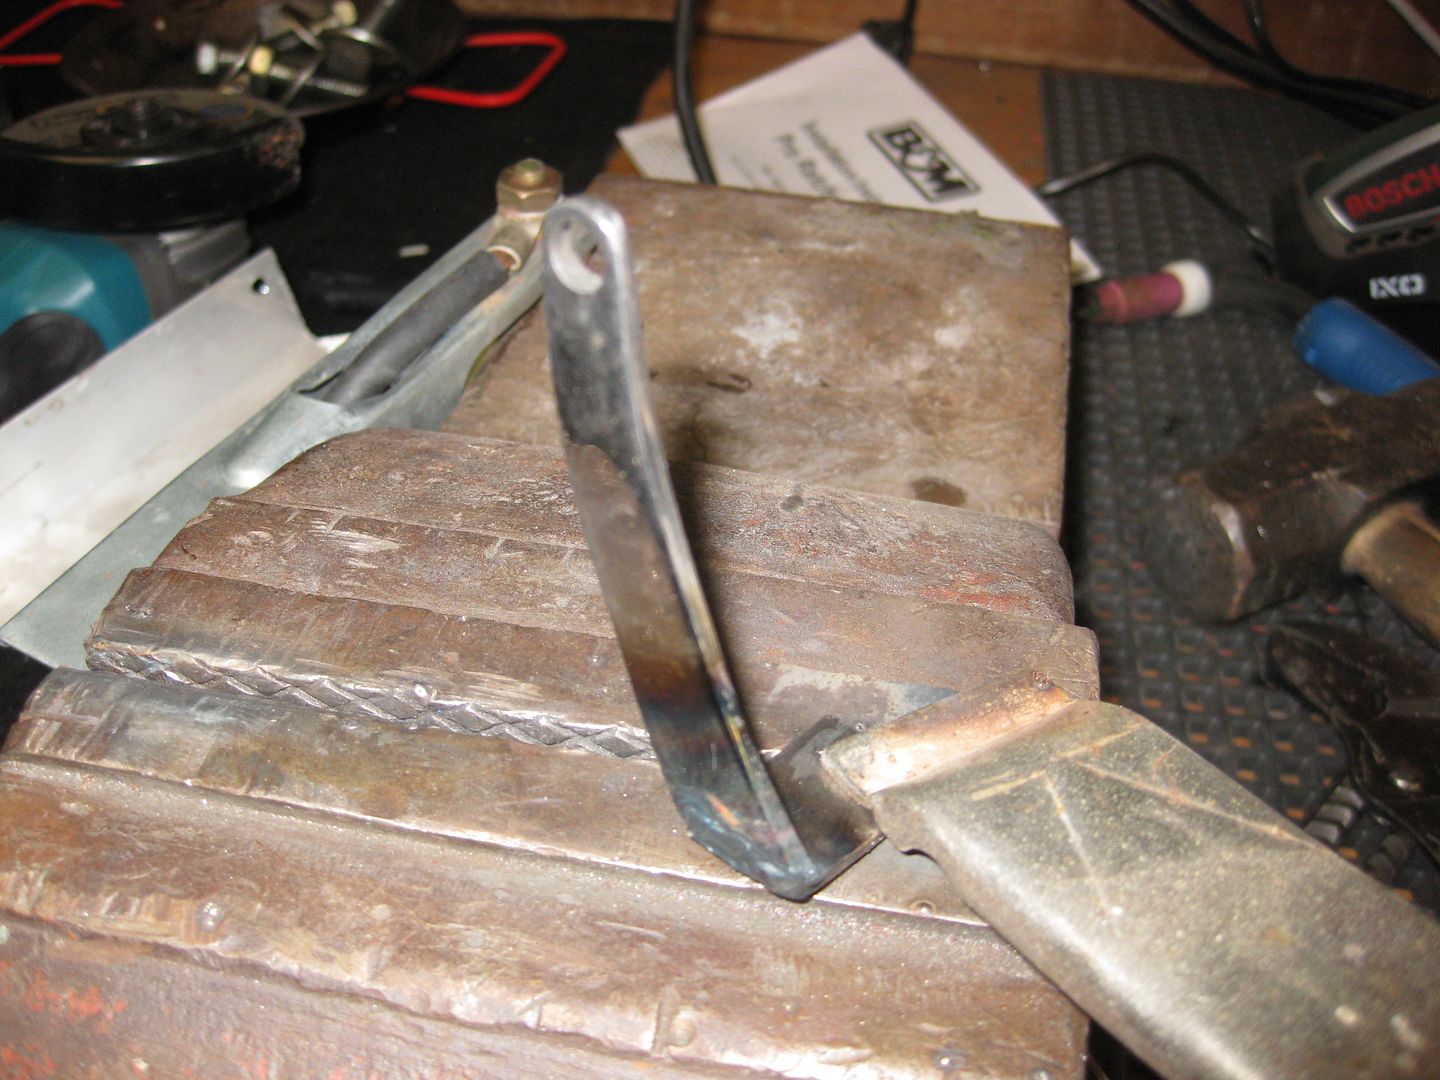
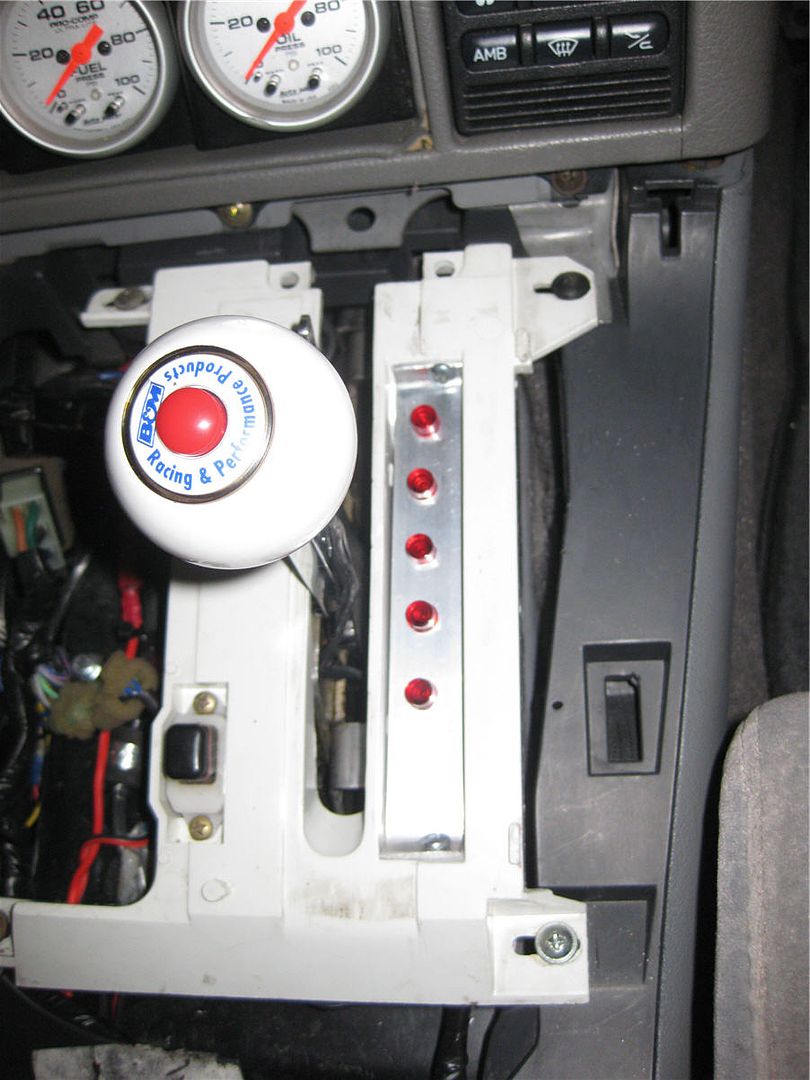
Also got the console pretty well sorted. Had this idea to remove the reverse lock out lever then reposition it across so it in line with the main gear lever. That way you don’t have to touch the console itself. Took quite a bit of fiddling, and using the tig in the cabin had be nervous. I disconnected the battery and actually removed the ECU just to be safe. Very happy with it though, I think it looks nice and clean.
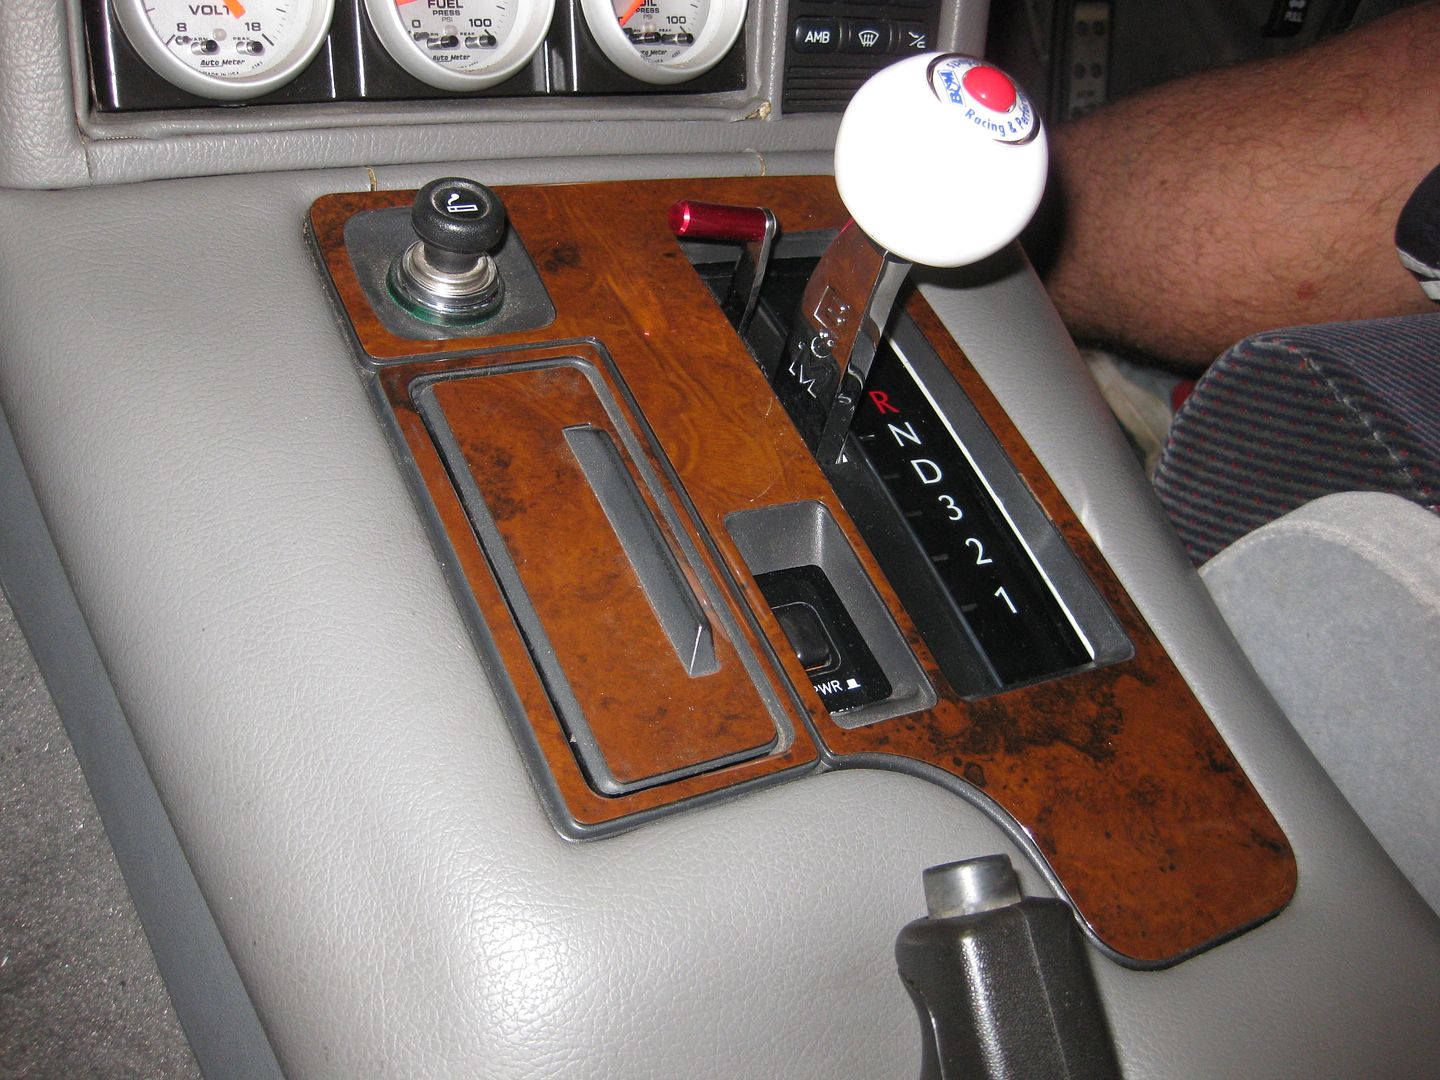
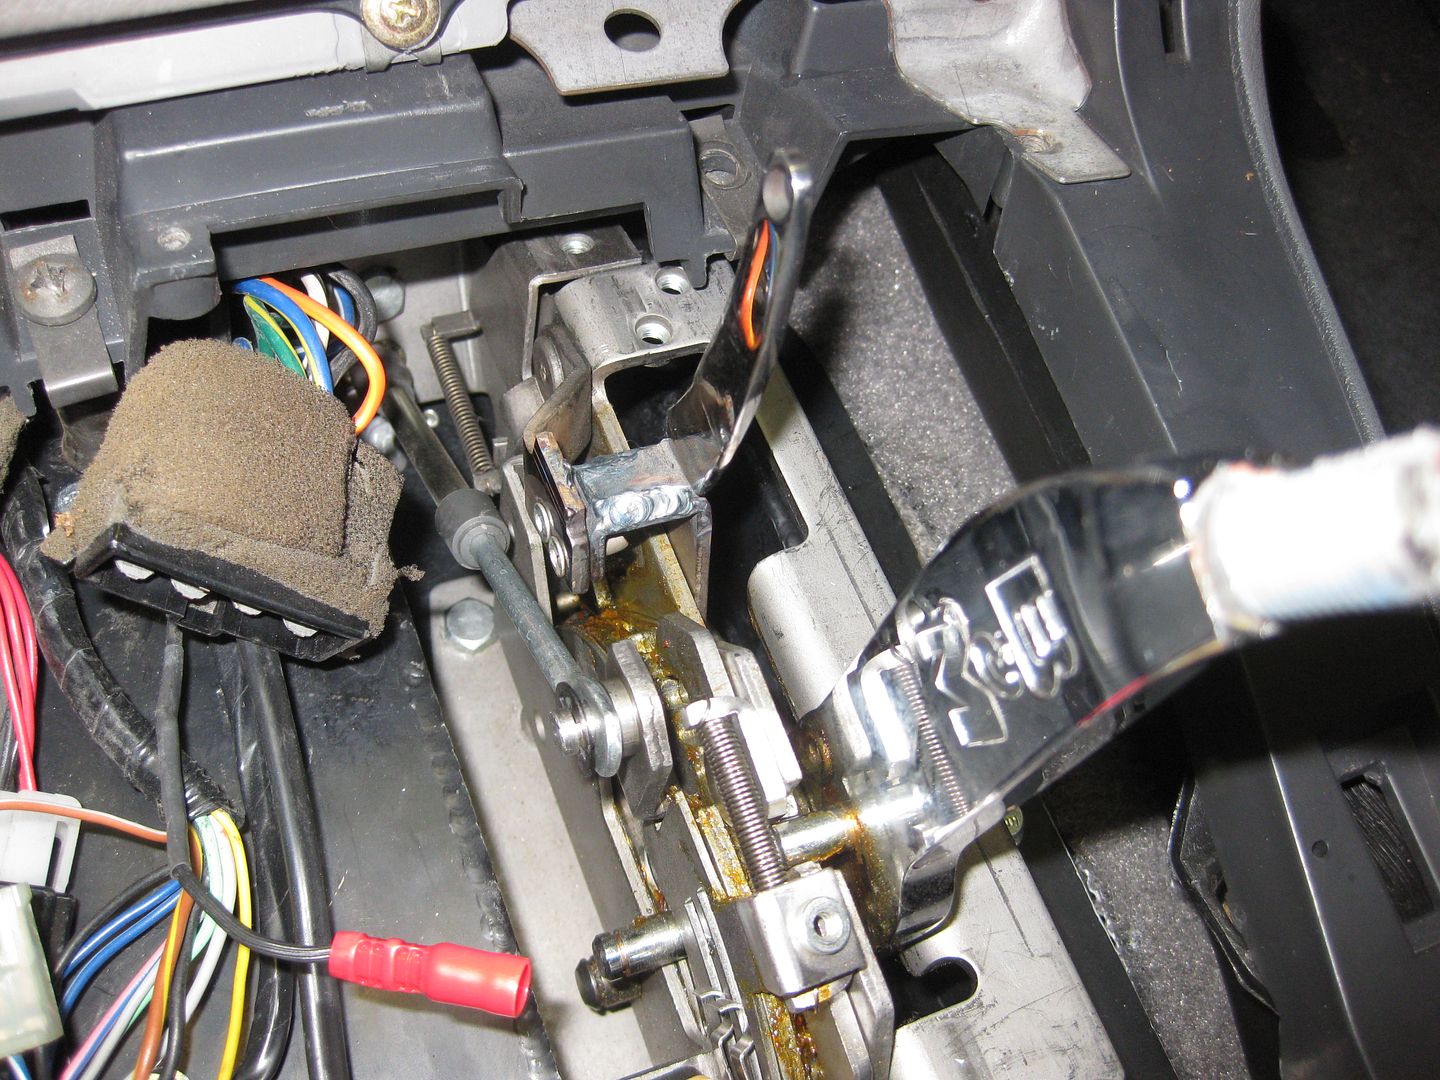
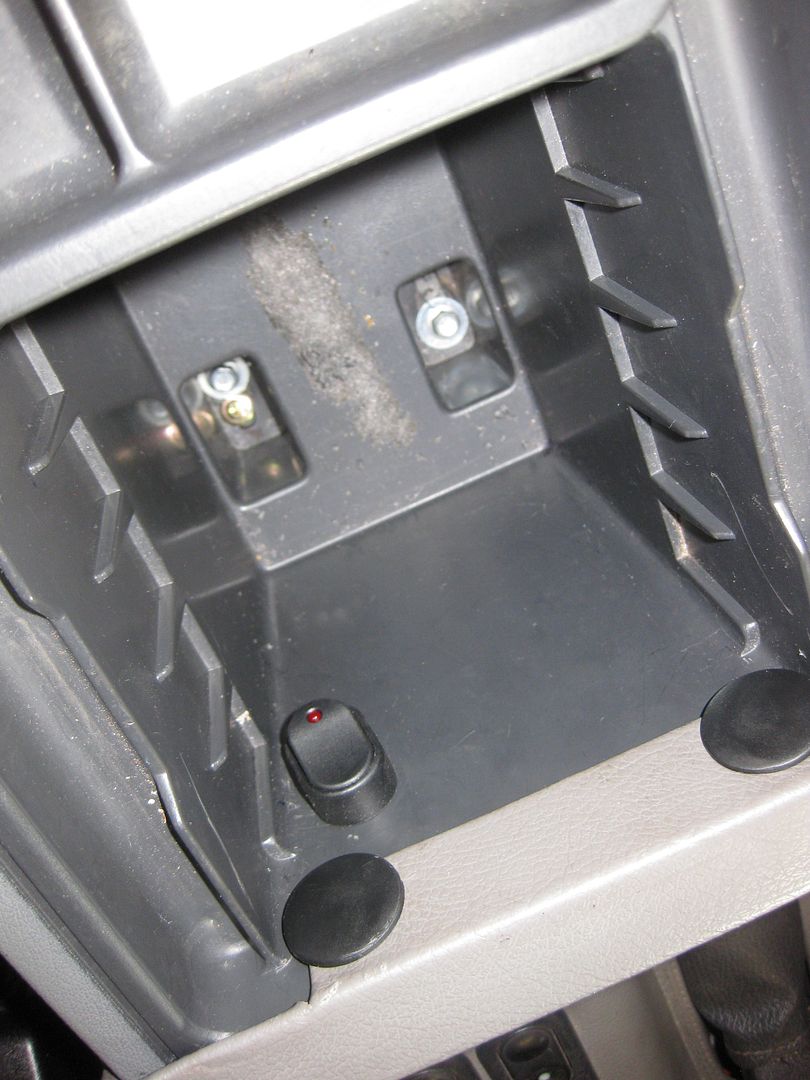
Then lastly ran a master switch in series with the trans brake switch. I put it inside the centre console, so it its off, it doesn’t matter if I hit the trans brake switch on the shifter it won’t fire. Just wanted it to be on the safe side.
-
This topic was modified 5 years, 7 months ago by
 VRSenator065.
September 25, 2018 at 11:41 am #27196
VRSenator065Participant- Adelaide SA
- VR Senator LSx454 1960 Kombi (project) 1921 Nash Hot Rod (future project)
View build HERE
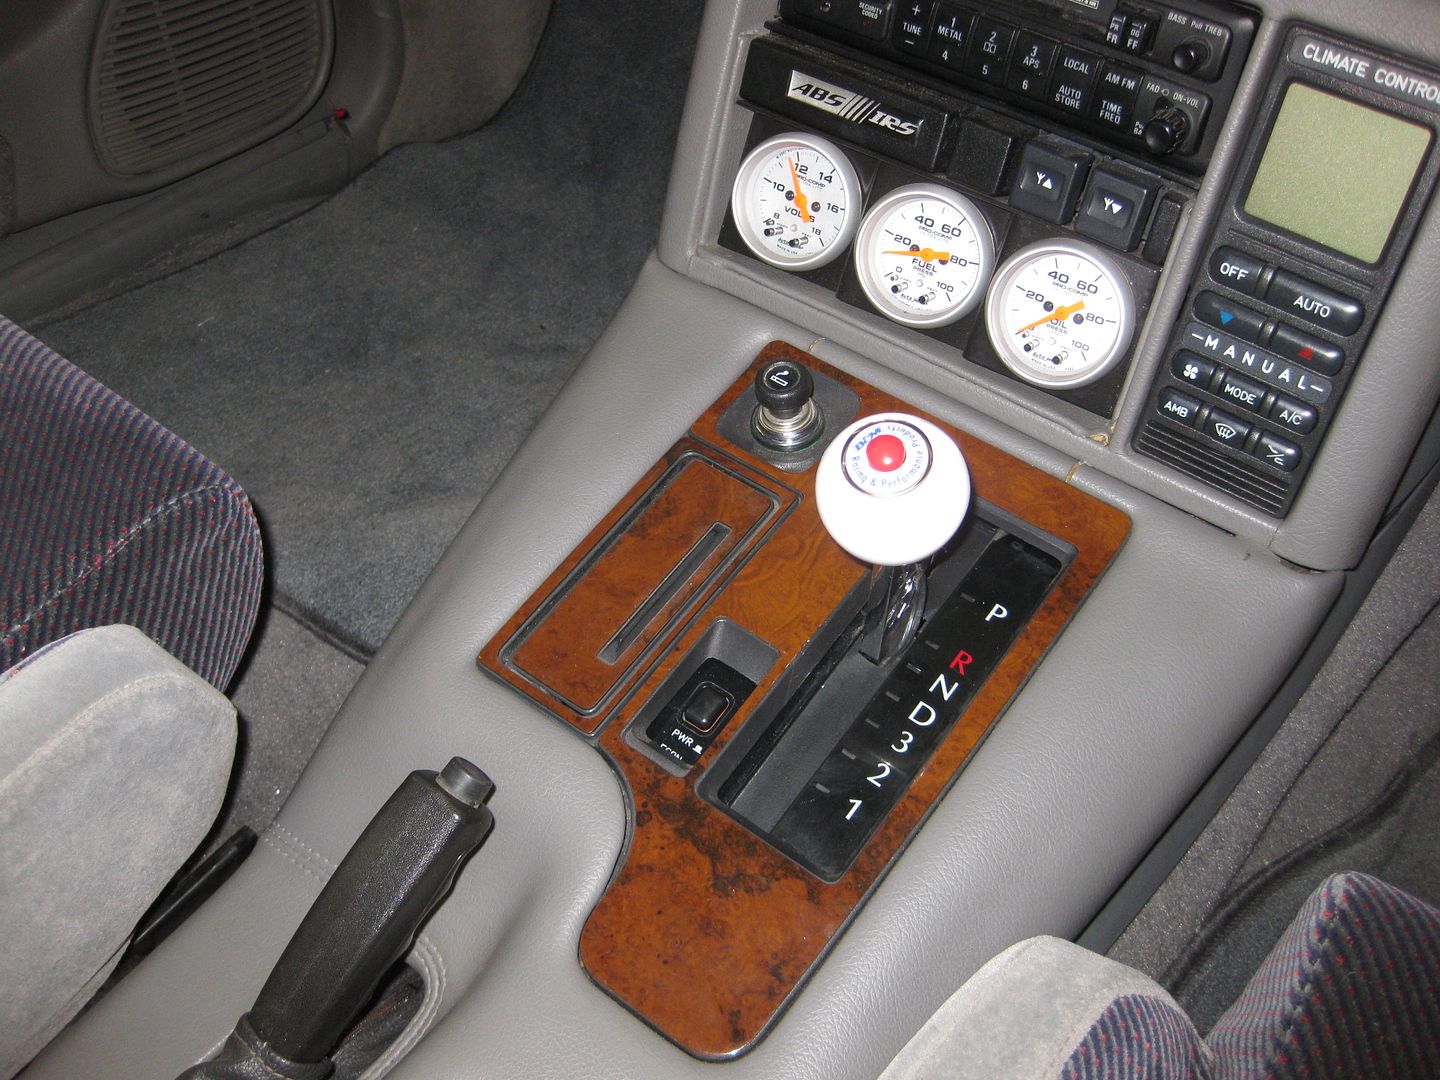
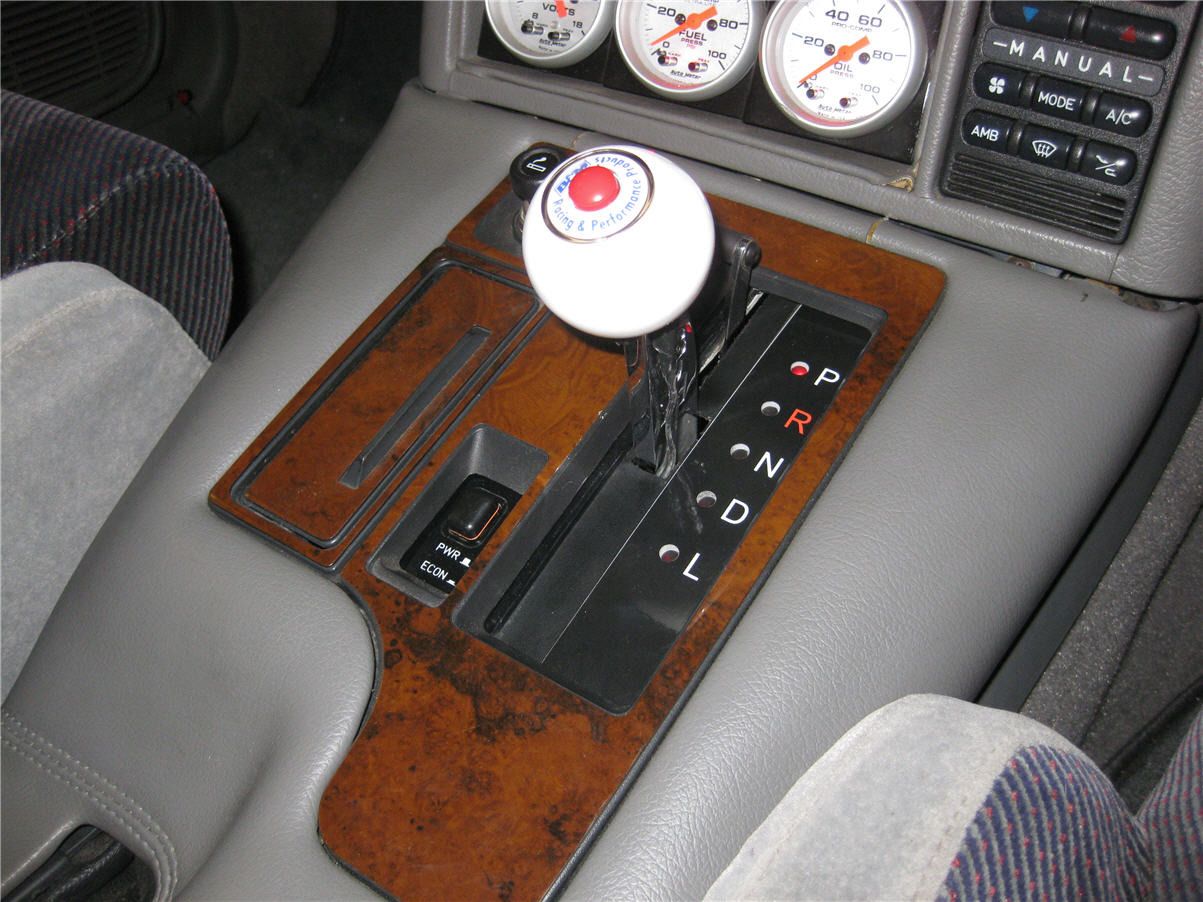
Posts: 5 777And this is how it sits now after I made an adapter and used a manual shift know to make it look a little more factory.


 September 25, 2018 at 11:44 am #27197
VRSenator065Participant- Adelaide SA
- VR Senator LSx454 1960 Kombi (project) 1921 Nash Hot Rod (future project)
View build HERE
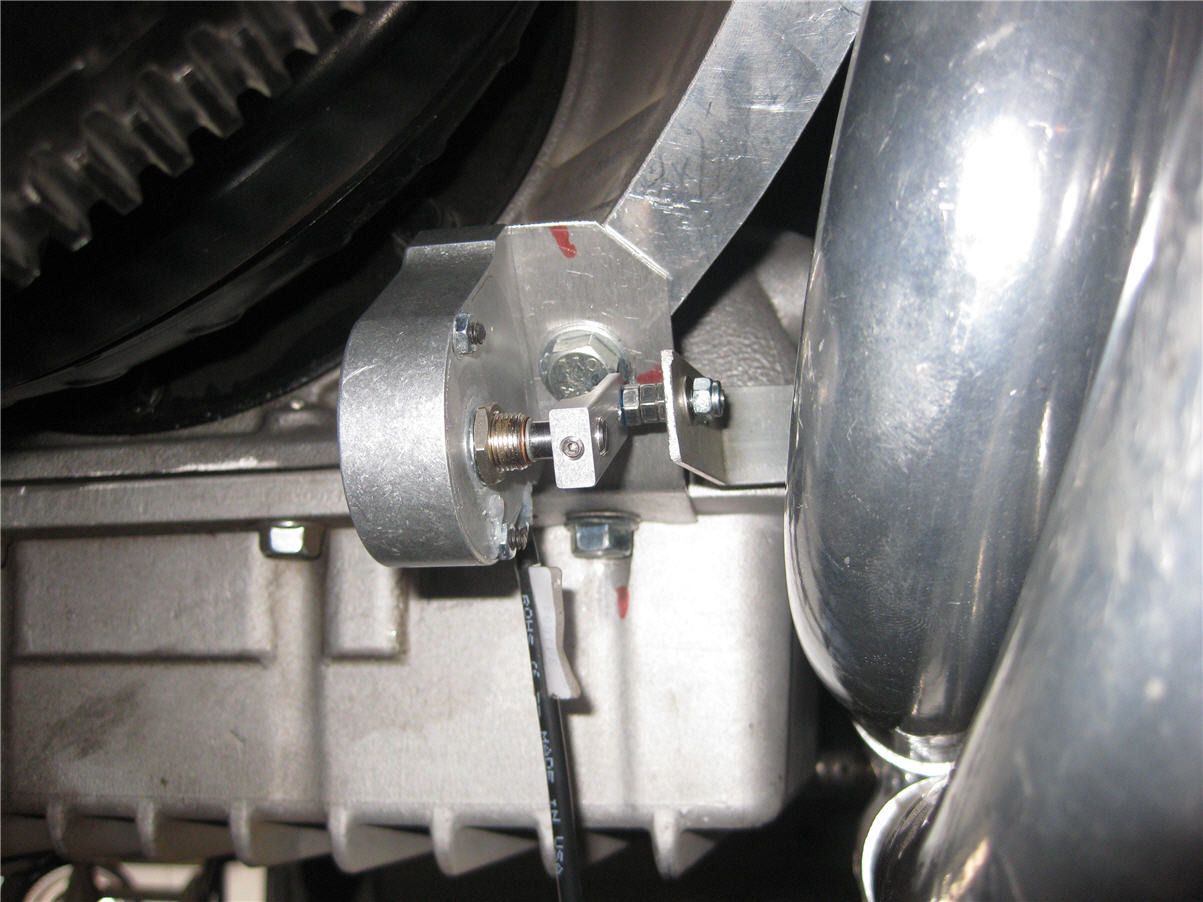
Posts: 5 777So while I am waiting for it to turn up, and its up on the hoist I thought I would start tinkering with how I am going to fit the Dakota Digital gear selector readout unit. Its part of “Project legal” that the gear the cars in has to be seen day and night. No way want to get pinged by the cops for something so basic. So the kit comes with a potentiometer that you hook up to the gear selection lever on the side of the gearbox. Needless to say on mine that’s no easy task room wise. I wanted to keep everything away from the heat of the exhaust as much as possible too.
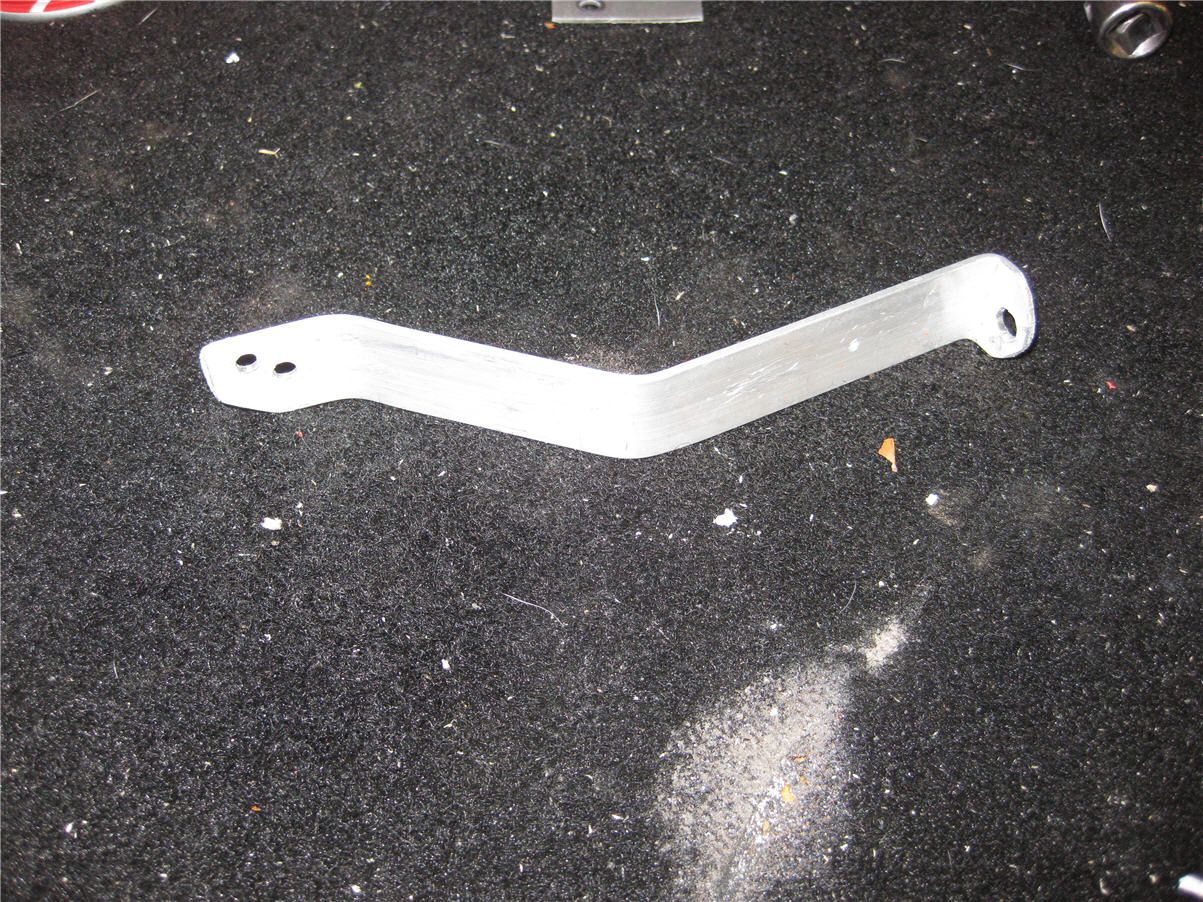
So I came up with what I think is a nice little solution mounting it forward of the gearbox on the bell housing. I then made up an linkage out of some scrap ally strip I had. Suesy kindly volunteered to climb up into the car and run threw the gears for me. I will turn her into a petrol head yet!!! So the linkage works a treat. I packed it out with nuts, maybe should have turned up a little spacer but meh, I might do that later.
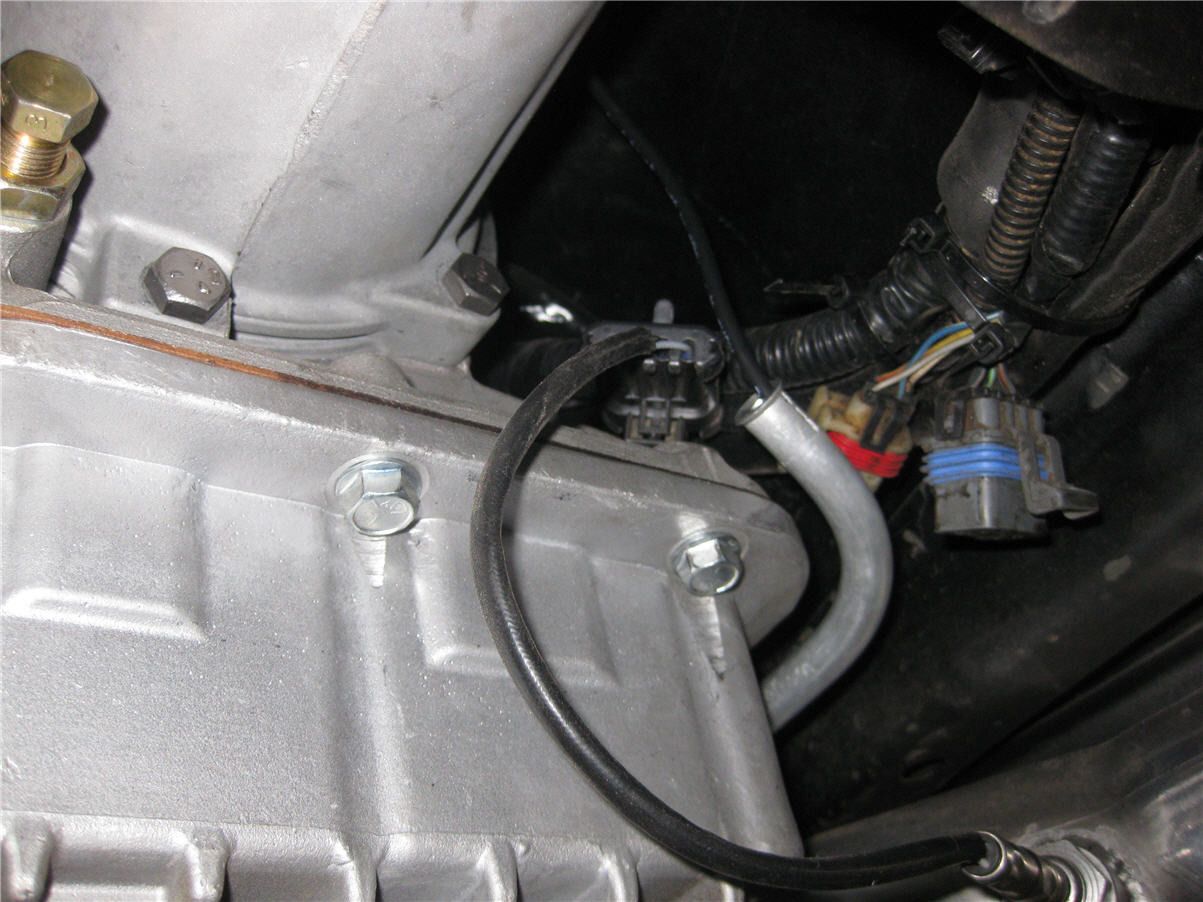
I then had to run the cable around and up through the tunnel into the car. I had some 1/2″ ally fuel tube left over so I made up a nice tube to give the cable some mechanical protection. Pretty happy with how its turned out. It comes up through the same grommet we did for the trans brake.
So now at some stage, maybe next week end I will play around mounting the controller etc in the car, and work out a nice way to mount the LED’s.
At some stage I will try and score a glide bell housing cover, when I do I will trim and tig up a nice little cover for the mechanism, although its actually tucked up nice and out of harms way.
Also adjusted the ride height up at the front 25mm as it was just too low, thanks to the guys for the tips on how to do that properly by cracking the lock nut at the base of the struts and turning them. Fell a bit amateur not realising that how its done, so of course set the spring pre-load at the same time.
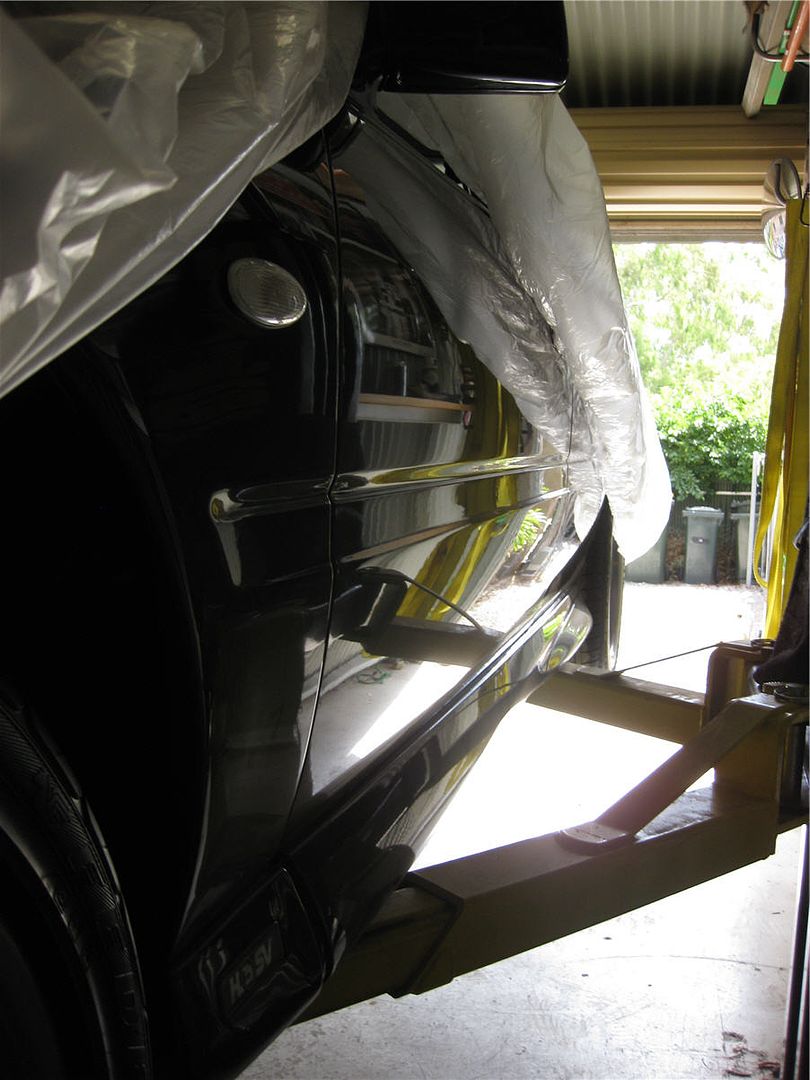
Nice to be working on it again, just so lovely working on it, also took a pic down the side getting its shine on

So with a bit of luck, just fix up this fuel pump niggle, and away we go again


 September 25, 2018 at 11:45 am #27198
VRSenator065Participant- Adelaide SA
- VR Senator LSx454 1960 Kombi (project) 1921 Nash Hot Rod (future project)
View build HERE
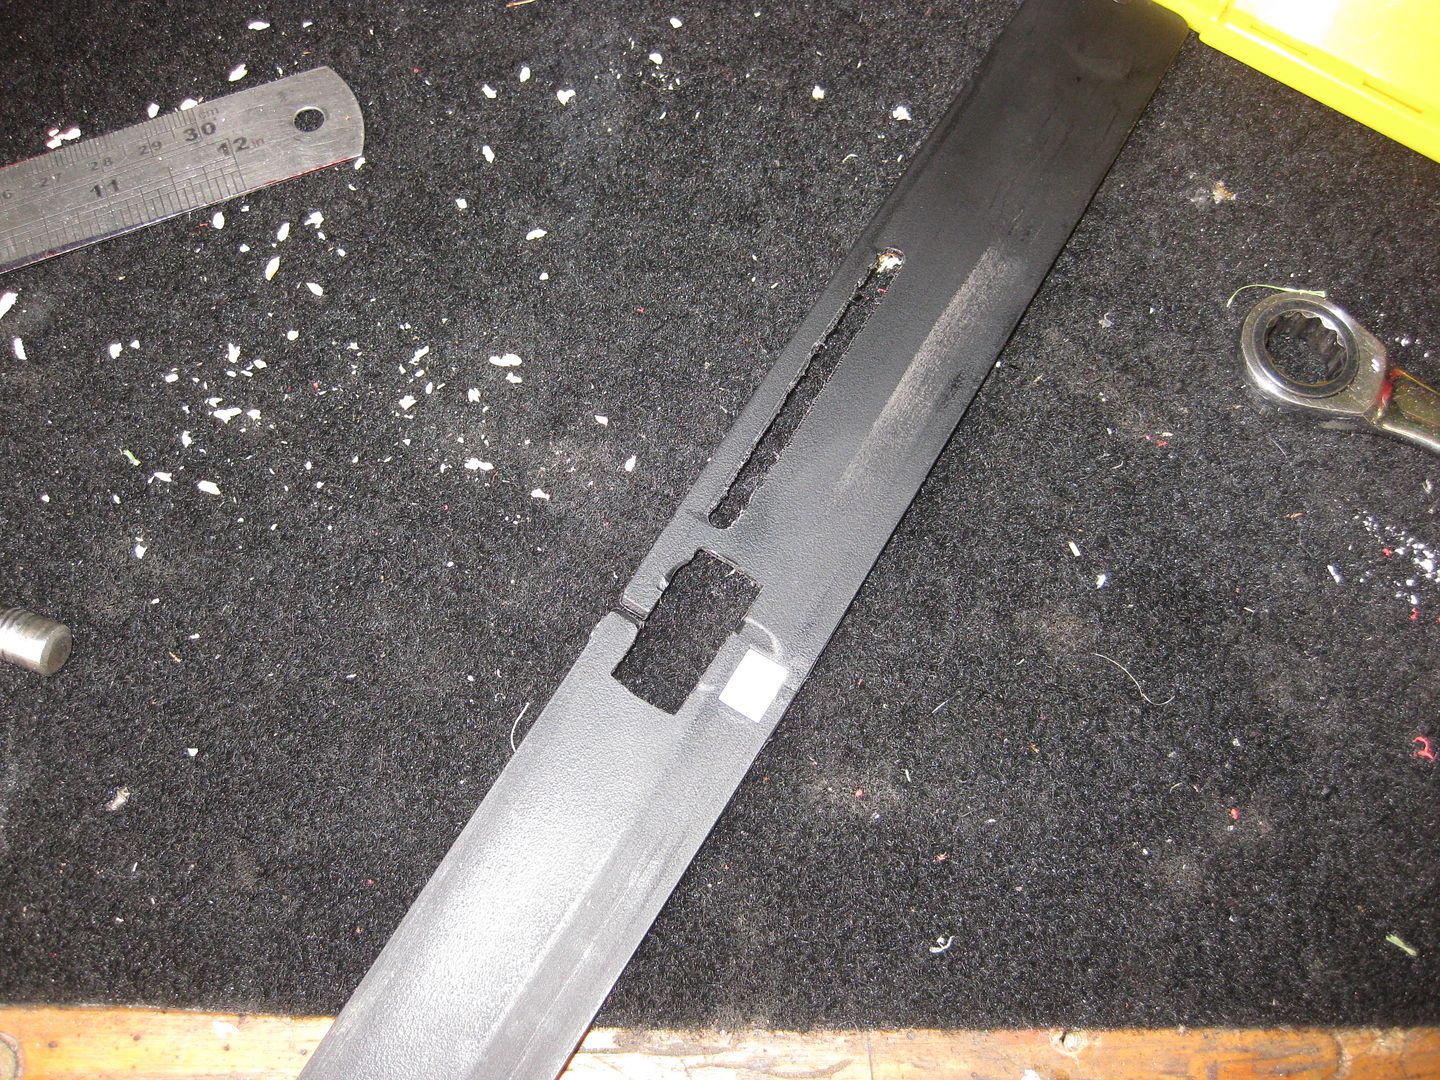
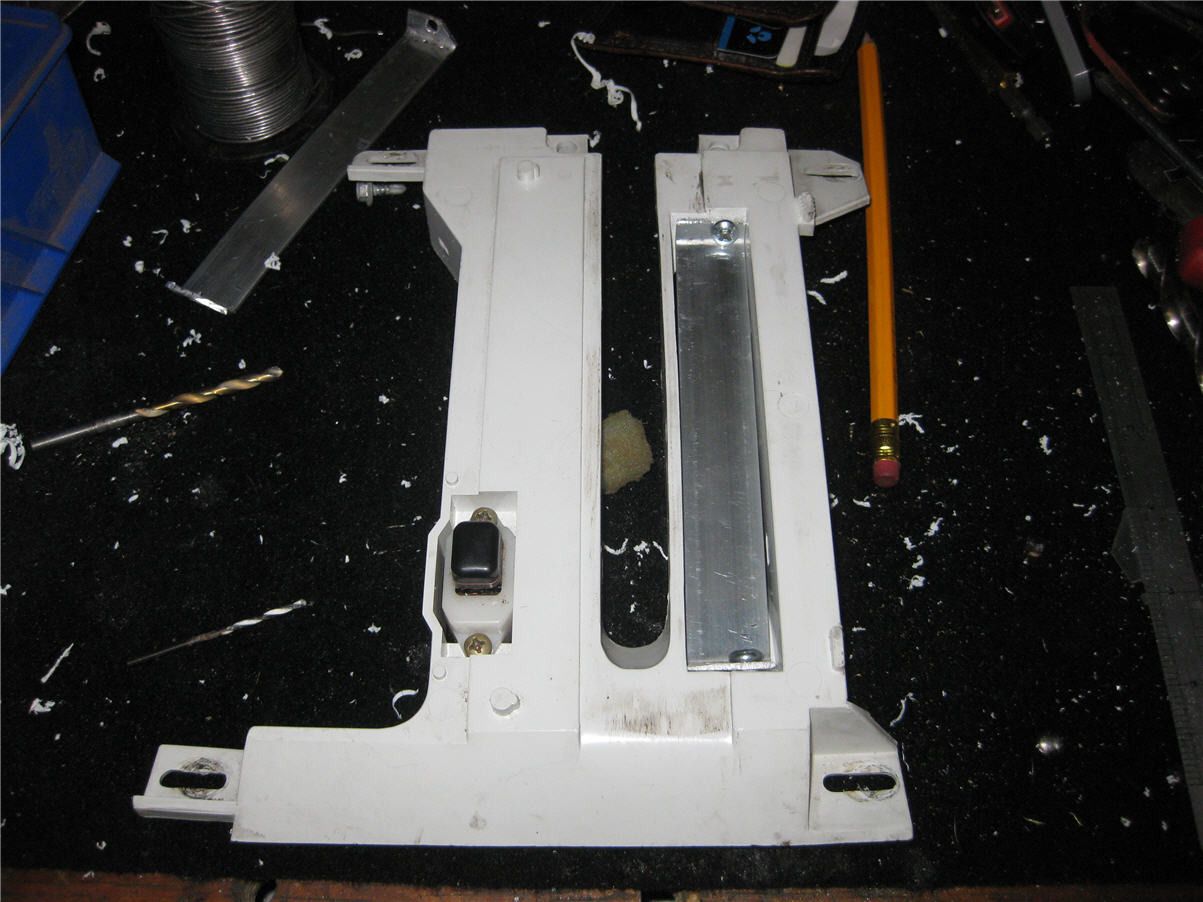
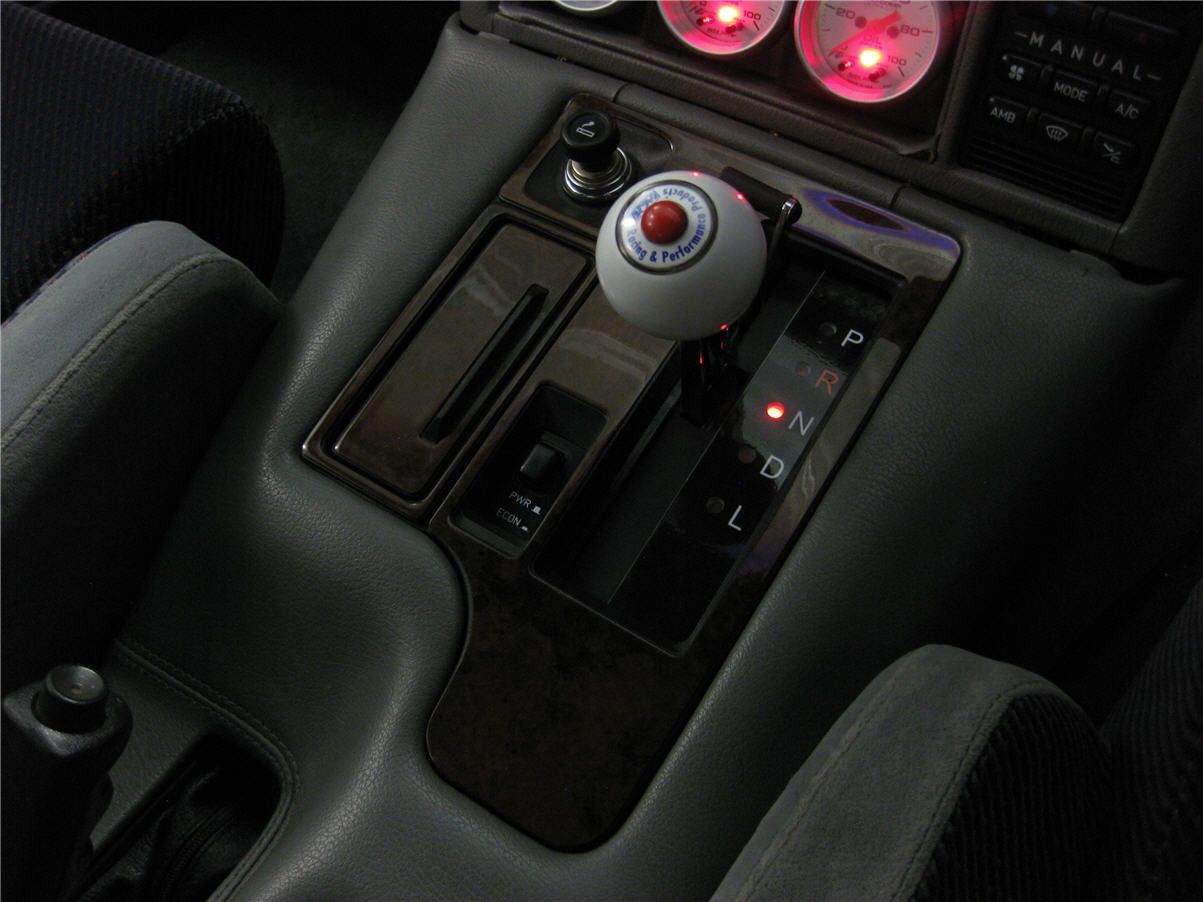
Posts: 5 777Nice little job done and dusted. Hot as over here so just started messing around with this this morning and just sort of got into it. Got Galwer Art & Signs to make up a nice decal I drew up for me, so applied that to the selector clear plastic display. Used a sander and removed the silk screening etc for the underside. Cut the bottom out of the original white plastic housing and made up an ally strip to mount the panel lights. Also made up a little loom and used a 6 way connector so its all easy to service or remove if I have too. I am really happy with it, nice and neat I think. Few pics for posterity;
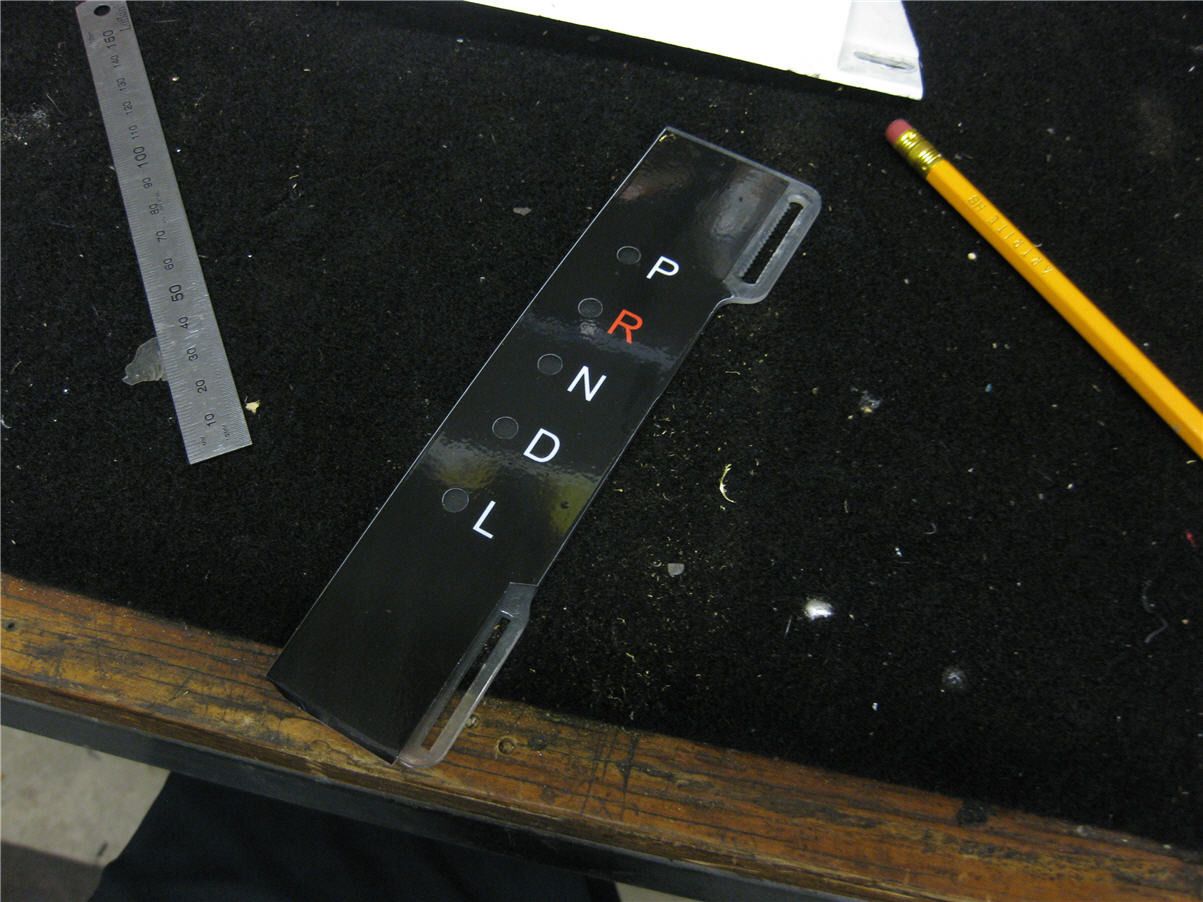
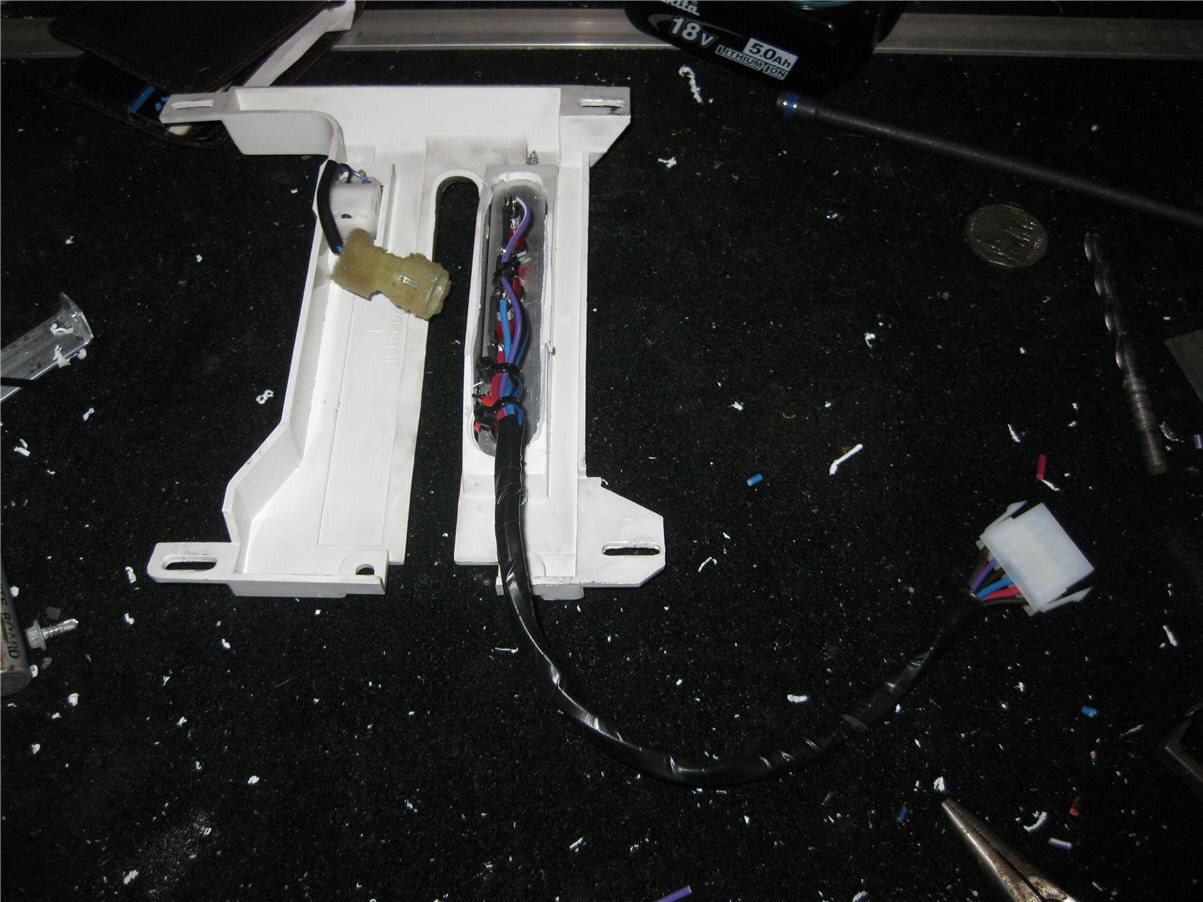
p.s. forgot to mention I had to cut about 5mm away along the edge of the black plastic strip that moves back and forth with the shifter.
September 25, 2018 at 12:51 pm #27203
Heron SSVParticipant- Central Coast NSW
- 2009 Pajero Exceed 84 VK SL LS3
View build HERE
Posts: 585Cheers Gary, I think I’ll copy the gear indicator idea, looks mint.
September 25, 2018 at 3:34 pm #27204
VRSenator065Participant- Adelaide SA
- VR Senator LSx454 1960 Kombi (project) 1921 Nash Hot Rod (future project)
View build HERE
Posts: 5 777Have to say I am very happy with how it all turned out, its very neat and semi-factory like.
October 3, 2018 at 11:46 am #27244
ChrisMParticipant- Melbourne Vic
- VN Calais LS1
View build HERE
Posts: 140Gees Gary, nice gauge pod there
 October 4, 2018 at 4:53 pm #27257
VRSenator065Participant- Adelaide SA
- VR Senator LSx454 1960 Kombi (project) 1921 Nash Hot Rod (future project)
View build HERE
Posts: 5 777That was before I started making mine!!
October 4, 2018 at 5:28 pm #27260
ChrisMParticipant- Melbourne Vic
- VN Calais LS1
View build HERE
Posts: 140Haha. We started with the same ones. I do like your ones better
October 5, 2018 at 9:22 am #27269
VRSenator065Participant- Adelaide SA
- VR Senator LSx454 1960 Kombi (project) 1921 Nash Hot Rod (future project)
View build HERE
Posts: 5 777Yea this is how it all sits now

-
AuthorPosts


You must be logged in to reply to this topic.
